Destiny 2 Shattered Realm Ruins of Wrath - All Trivial Mysteries And Enigmatic Mysteries In Week 3
Here's how to find this week's Trivial Mysteries and Enigmatic Mysteries in the Ruins of Wrath area of Destiny 2's Shattered Realm activity.
We're into the third week of Destiny 2's Season of the Lost, venturing back into the Ascendant Plane to try to find Mara Sov's lost Techeuns. This week, we're entering the Ruins of Wrath, a new Shattered Realm area reminiscent of the Hive-controlled regions of the Moon. As with the other two areas, the Ruins of Wrath are a twisting, confused place, filled with secrets to uncover.
We've wandered the Ruins of Wrath this week to uncover as many of its mysteries as possible, thanks to the new Safe Passage ability you can earn this week, if you've been keeping up on maxing out your Wayfinder's Compass. Here's where you can find the Trivial Mysteries and Enigmatic Mysteries hidden in the Shattered Realm this week.
Ruins Of Wrath Trivial Mysteries Locations
Trivial Mysteries are Awoken caches that are relatively easy to find, and which generally only require you to use one of your powers to unlock--either Barrier Breach, Truesight, or Safe Passage. They're typically very near to a marker, so keep your eyes peeled.
In Light's Reach

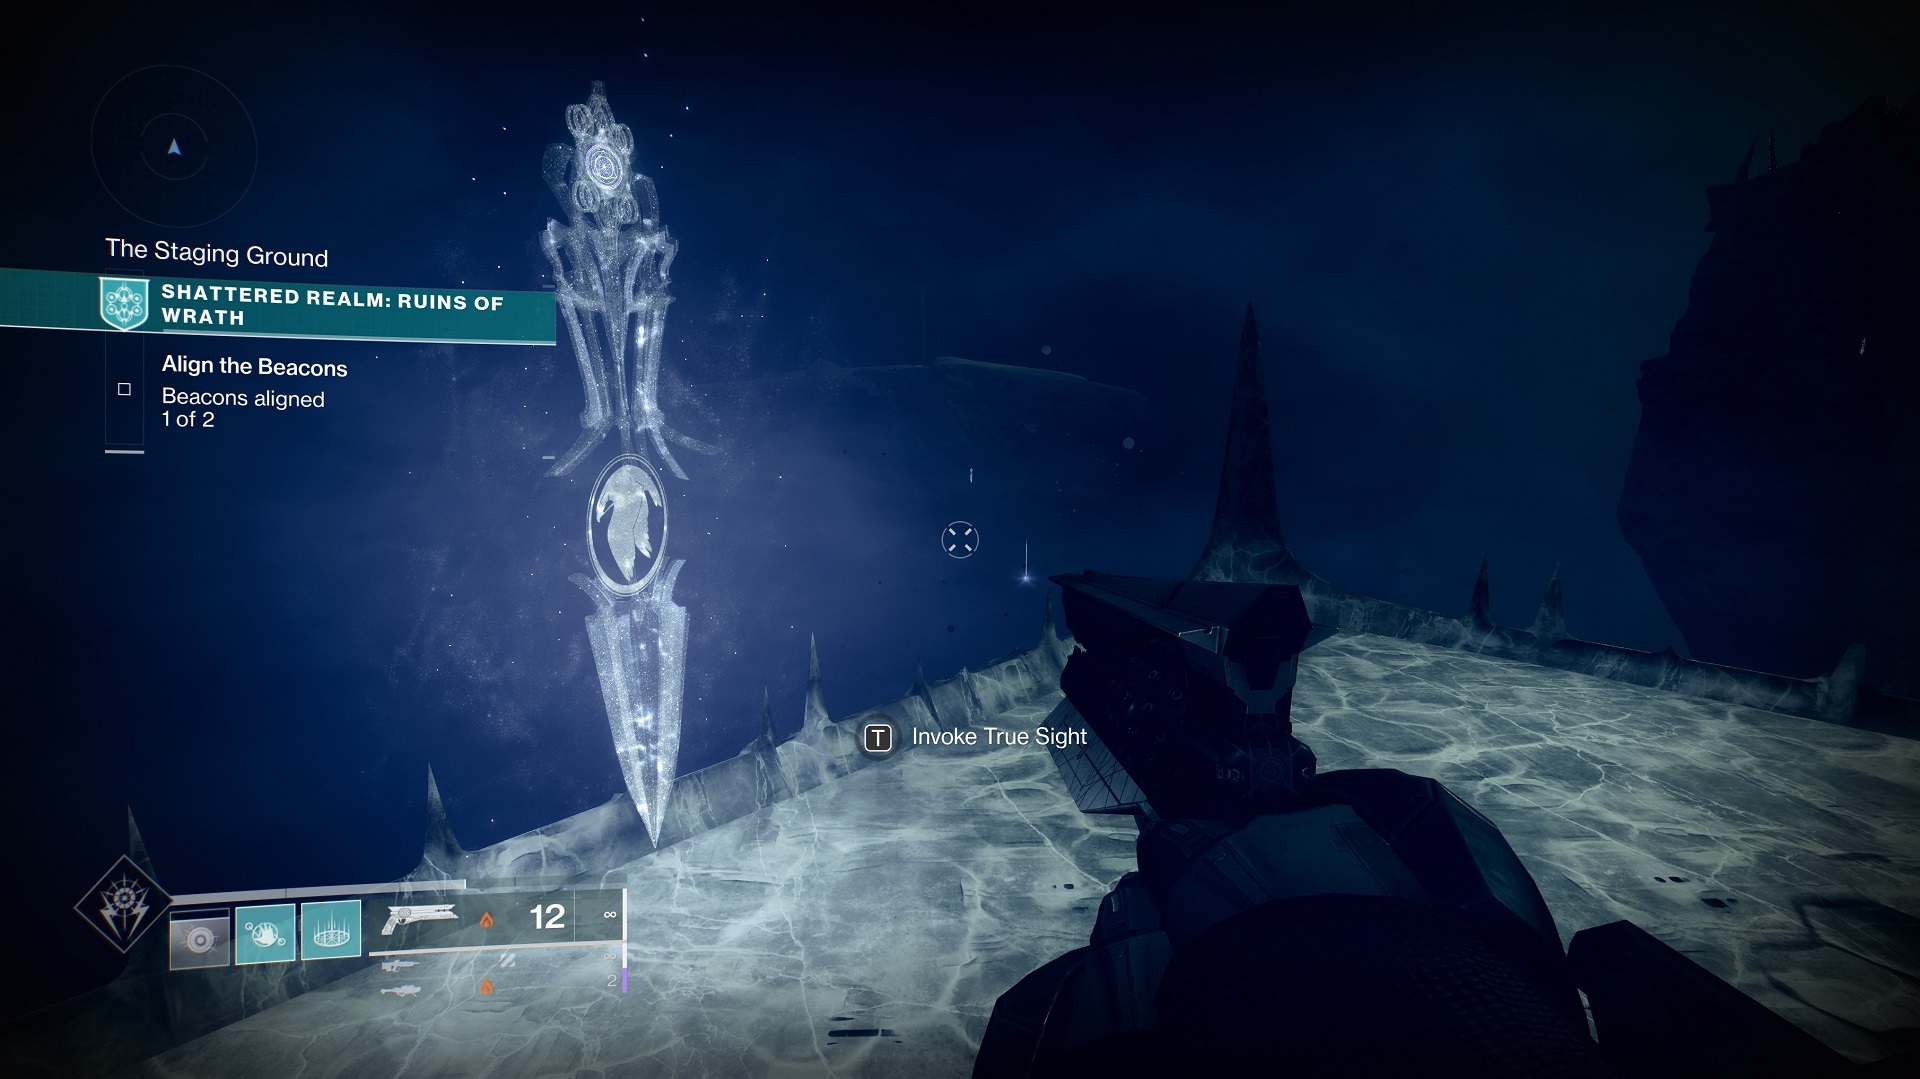
The first, easiest Trivial Mystery to find is right near the first beacon, in the center of the area. After aligning the beacon, do a 180 and head back the way you came to the platform here known as The Staging Ground. The big platform here will have a Truesight marker on it. Activate it and ledges will appear out in space in front of you, allowing you to jump out to a round platform and find an Awoken cache.
Below

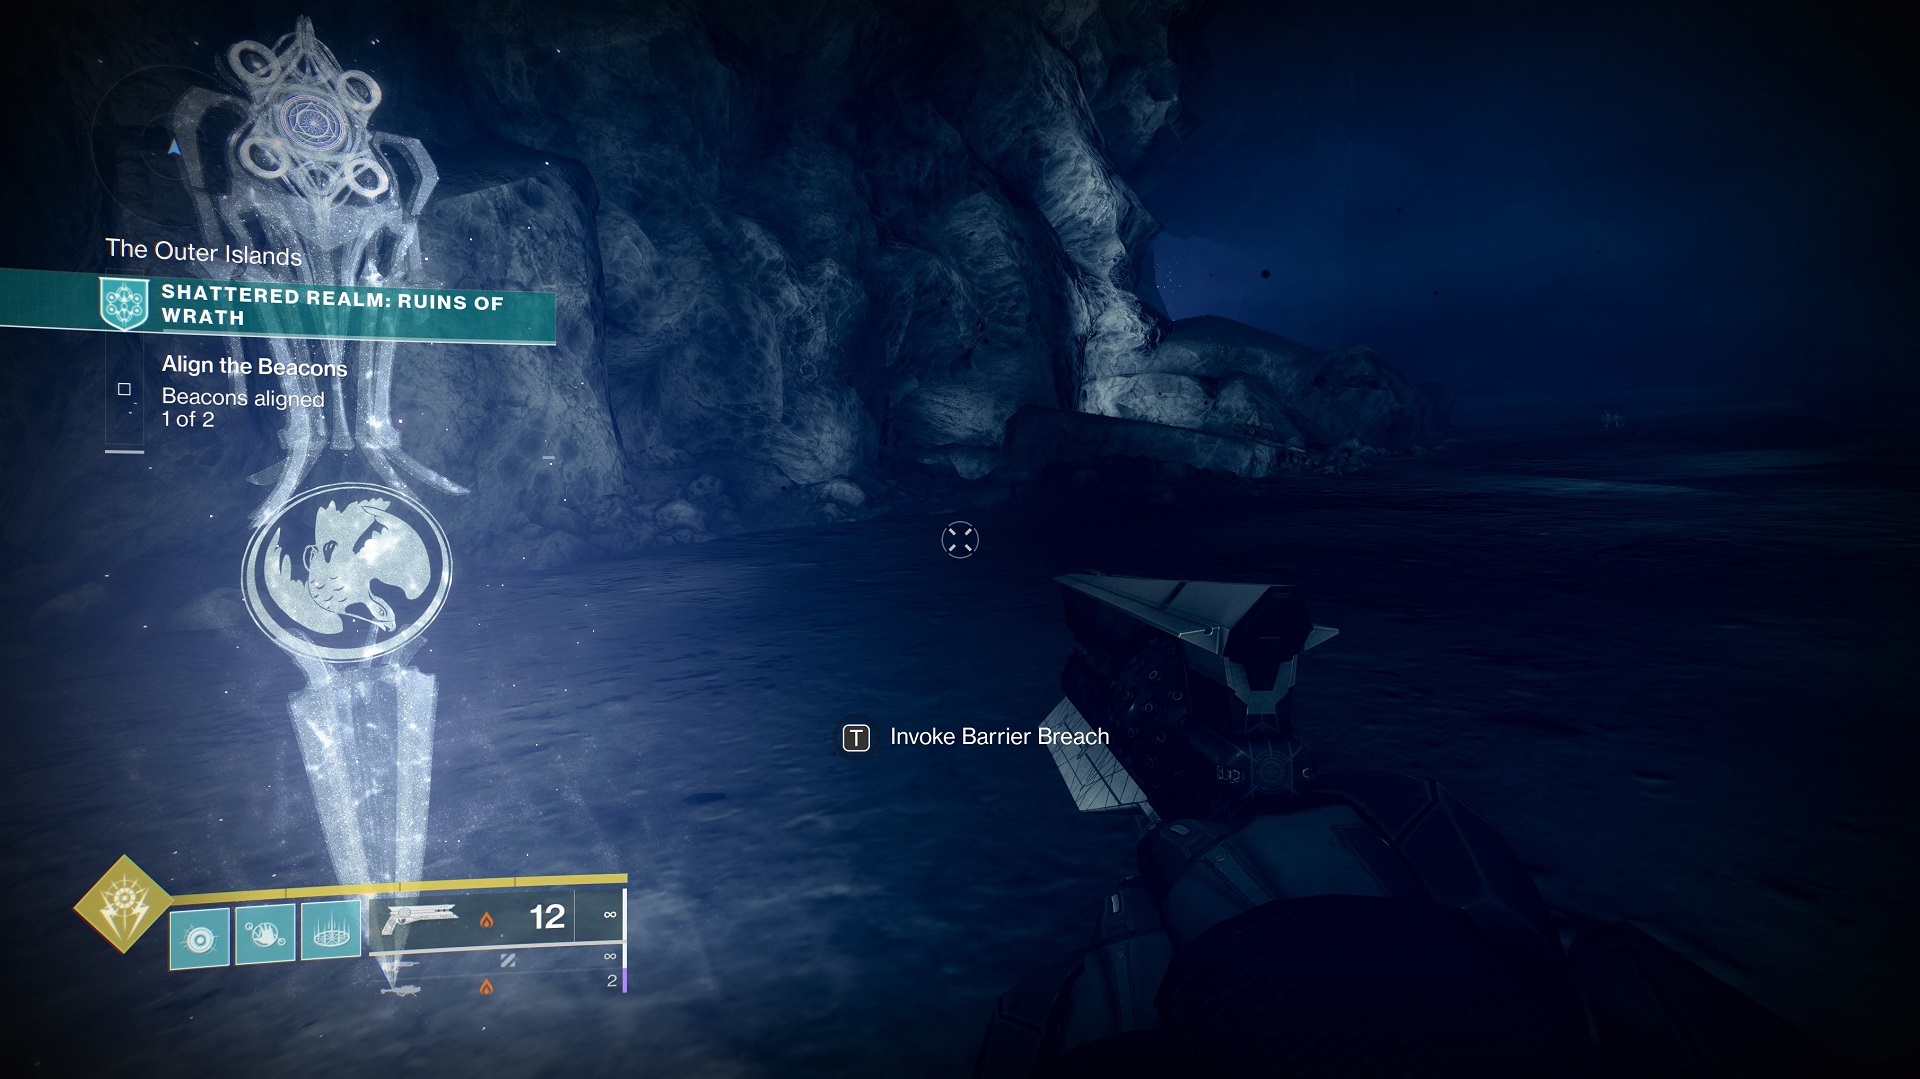
From The Staging Ground, your Truesight should provide you a path to cross the chasm here back toward the island where you started, allowing you to reach a hollowed-out lower area beneath the approach you took as you first entered the level. Here, look for a Barrier Breach marker, with a barrier hidden on the wall near some big Hive lanterns.
Turret Treasure
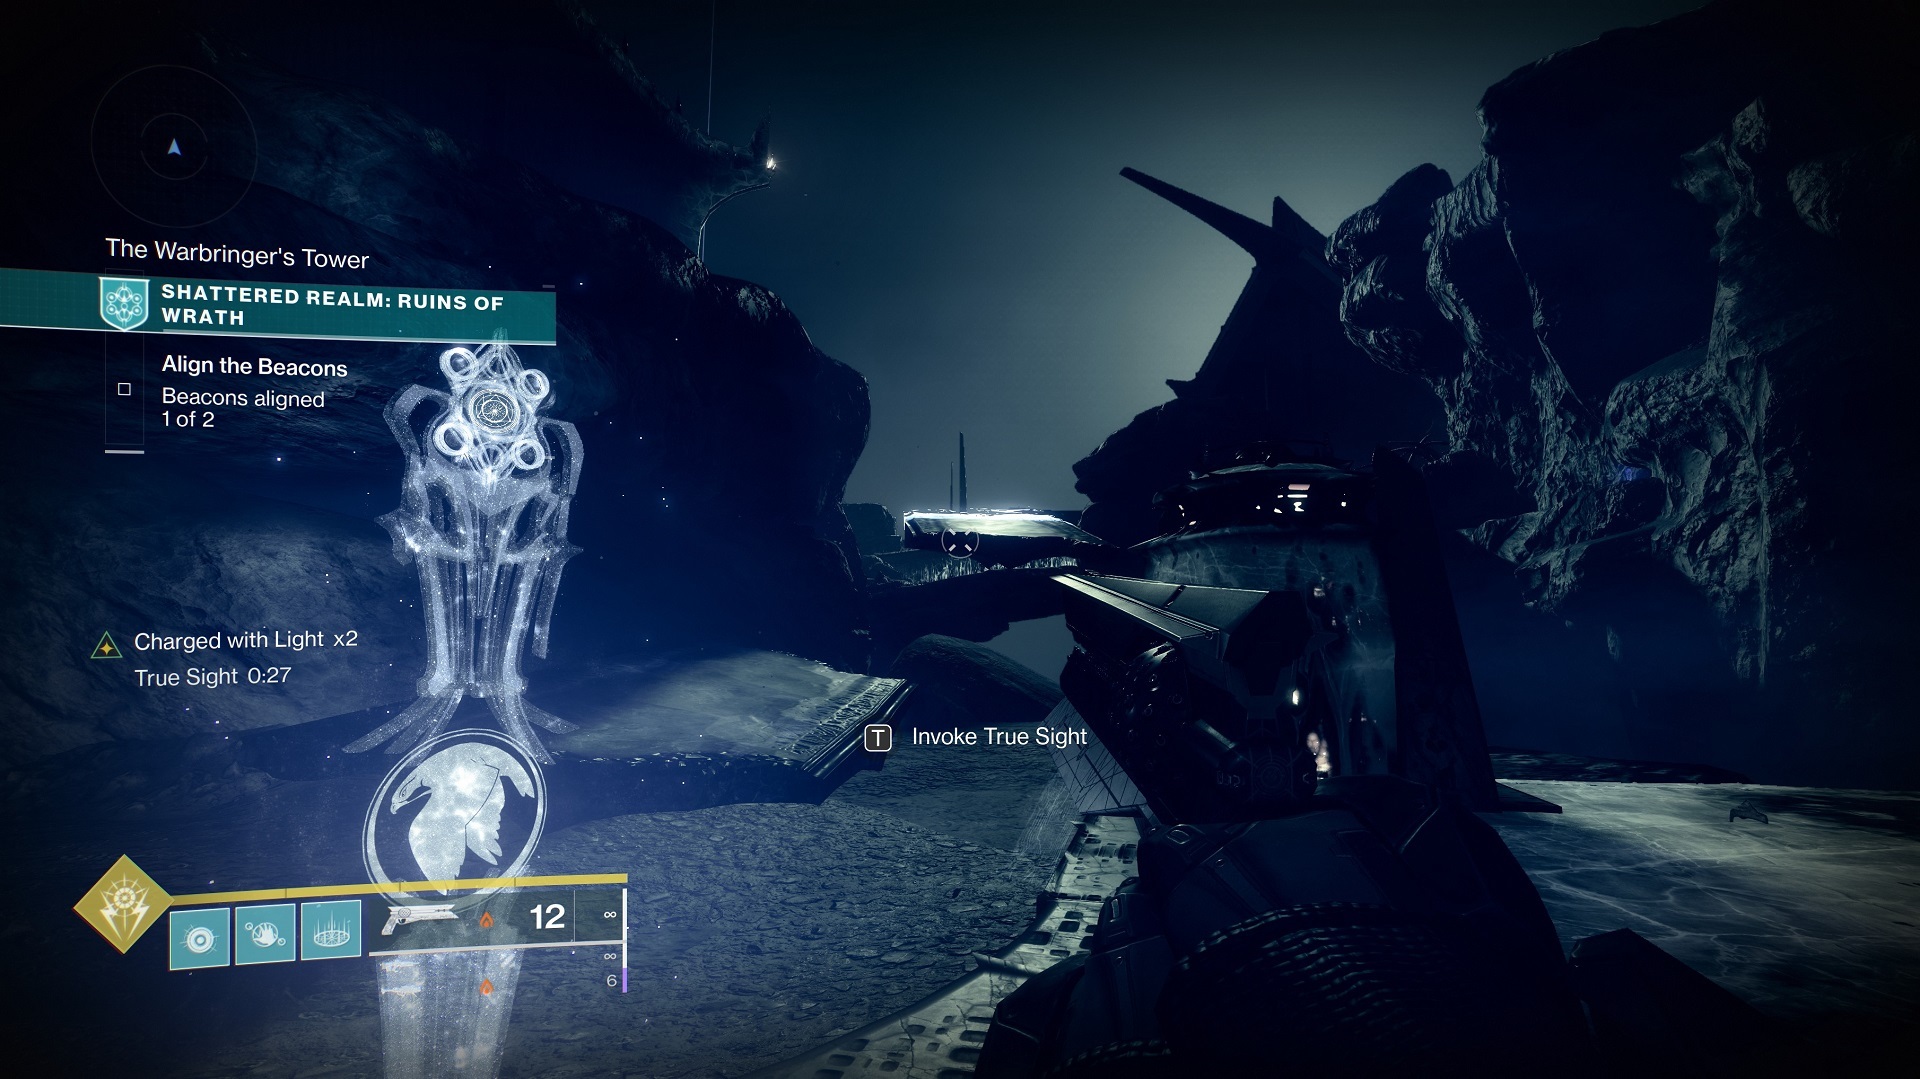
Return to The Staging Ground and check the right side. You should see some Hive buildings, including a big tower you can't enter, marked on your HUD as The Warbringer's Tower. Activate the Truesight marker nearby and look to the right for a series of platforms that will let you get up onto the rough of the nearby smaller building, with an Awoken Cache waiting on top.
Impactor Cache

Cross the central area called The Field of Promised Ruin, Head to the second beacon and complete the alignment. Once it's done, drop down near the front of the area, where you first climbed up to the beacon, to find an area you can reach beneath the platform where you just completed the alignment. You should find a Barrier Breach marker here and a barrier just around the corner from it.
Kamacite Cache

After the second beacon is aligned, head back to the central area that's covered in the green Field of Strife areas. This section is known as The Fields of Promised Ruin. Head to the back of it, closest to the big diamond-shaped ship at the far side of the area, and activate the Truesight marker to gain access to some platforms that will lead to a hidden Awoken Cache.
Chrondite Cache

From The Fields of Promised Ruin, head to the right toward the Hive buildings, which are located in a section marked as Debris Field. As you approach, you'll see a small square Hive turret surrounded by the green Field of Strife energy that makes it so you can't double-jump. If you have the Safe Passage upgrade, use it at the marker and climb up on top of the turret. If you don't have the upgrade, use the rocks beside it to give yourself enough of a boost to mantle onto the edge of the building. There's a cache waiting for you there.
Howardite Cache

From the last cache with the green Field of Strife energy field, head to the right with the Fields of Promised Ruin at your back. You'll find a spot where you can drop down to a lower area, beyond which is a cave leading to a pathway underground. You'll also see a Barrier Breach marker here. Use it, then head inside and watch the right wall to find a barrier you can pass through to find the cache.
Pallasite Cache
You'll likely have noticed this Awoken Cache in the Fields of Promised Ruin, but weren't able to reach it. It's just sitting on a small rock island, but the Fields of Strife debuff that robs you of your double-jump means you can't get to it unless you have the Safe Passage upgrade. You should unlock that upgrade this week by completing your Astral Alignment and Shattered Realm activities. Once you do, you can easily get to the cache just by finding the nearby Safe Passage marker and jumping out to it.
Ruins Of Wrath Enigmatic Mysteries Locations
Aloft, Adrift
This one is to the left of the first beacon when you're facing it, with your back to the beginning of the area. Look for a Truesight marker on the edge of the platform; use it and you'll see a group of ledges leading you out to a big island floating out in space, somewhat near the second beacon in this area.
Head out to the island and circle around the back of it to find a Barrier Breach marker. The barrier's not far; inside is the Awoken Cache.
Eclipsed Cache

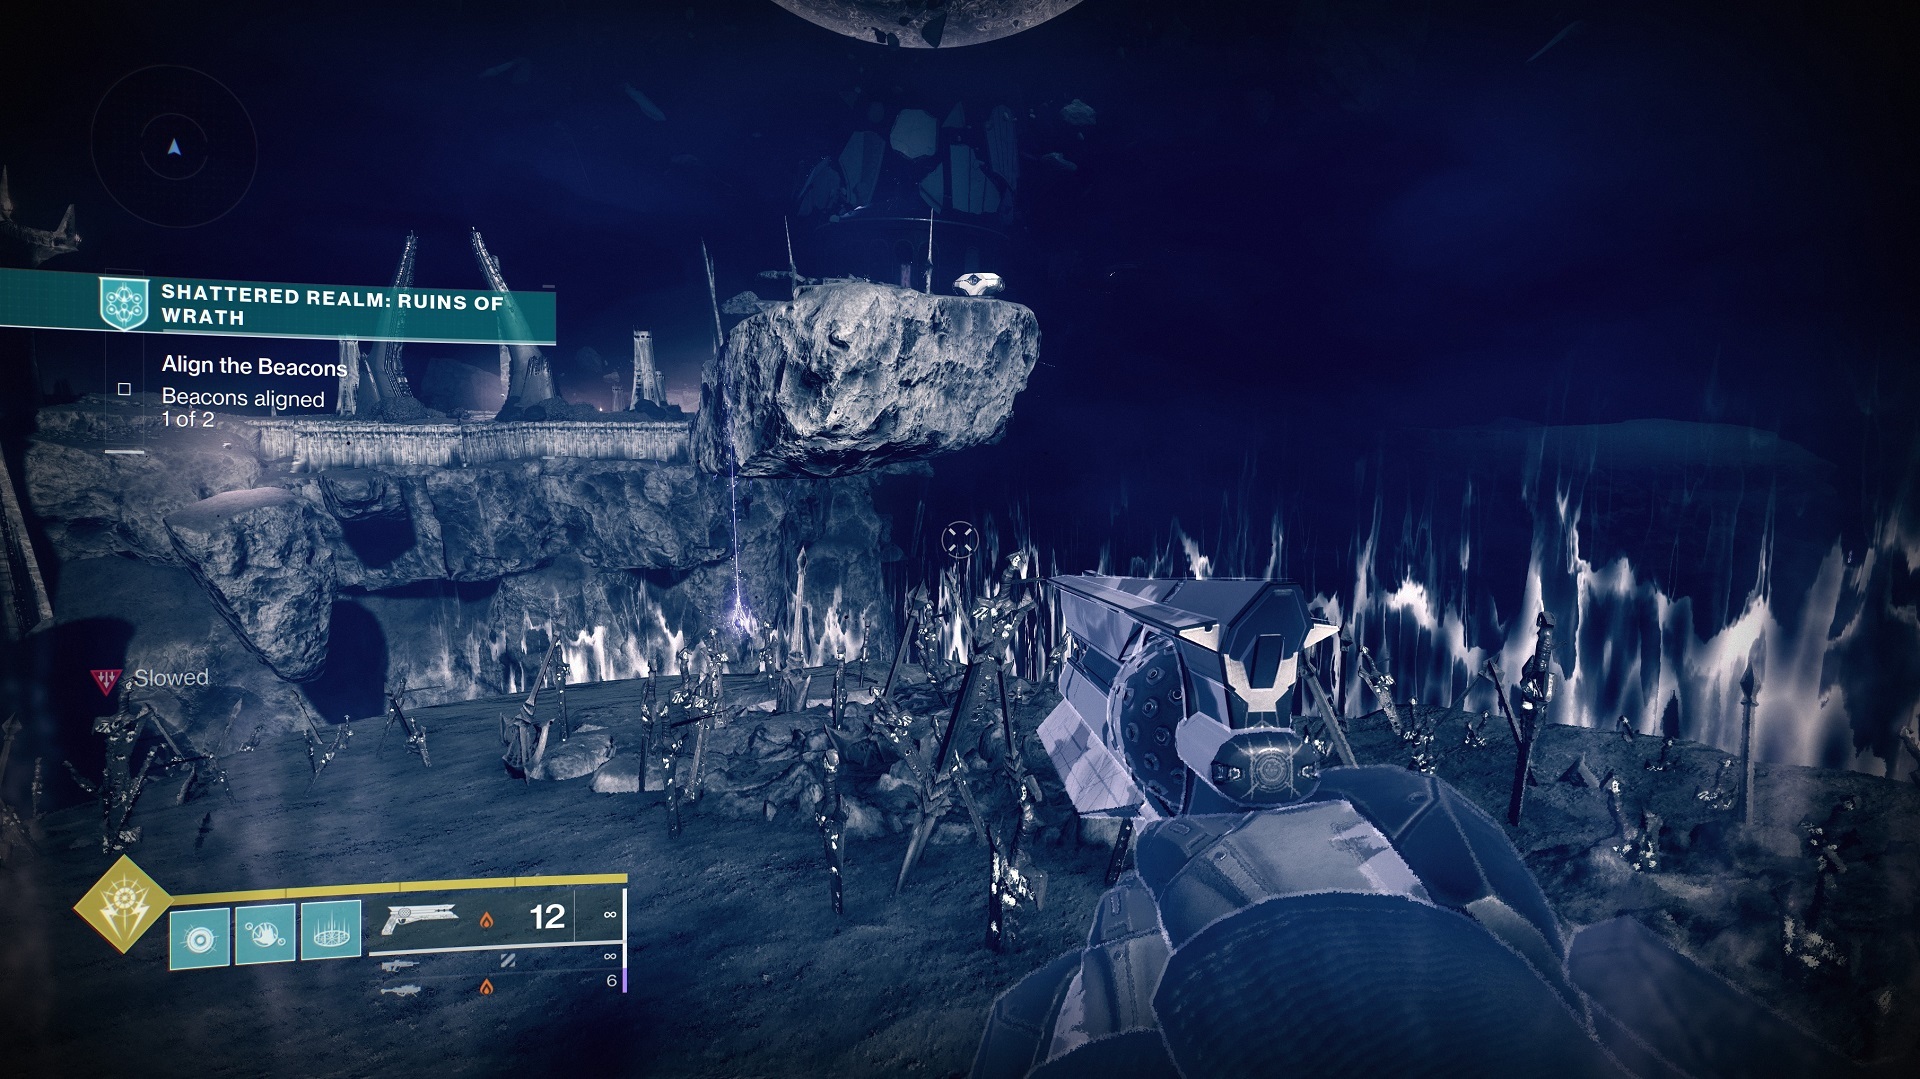
This is a tough one to reach. After aligning the first beacon, you can progress forward into The Field of Promised Ruin, a broken area covered with Fields of Strife, the green sections of the ground marked by a bunch of Hive swords that cut your Light powers. These areas stop you from double-jumping or sprinting. As you cross the Fields of Strife, look to the right to spot a couple of Hive buildings, in an area marked on your HUD as The Debris Field. If you head into the one on your left, up a small hill, you'll find a barrier with no Barrier Breach marker beside it. Instead, there's a Truesight marker that reveals platforms just behind the barrier and through some iron bars beside it.
This is a tough barrier to get through and you'll need some serious speed to do it; we recommend equipping all the Mobility armor mods you can to get the stat as high as you can make it. You might also want to grab a Lightweight frame gun like Retrofuturist, which gives you a slight speed boost when you've equipped it.

From the barrier, head down the path to the right. You'll go down a slope, deeper beneath the surface, until you eventually hit another barrier (the Howardite Cache Trivial Mystery). Just beyond that, you'll exit the tunnel and find your Barrier Breach marker.
You need to activate this first Barrier Beach marker and then head up the path back the way you came to get through the barrier you just passed. Inside is another Barrier Breach marker; when you're ready, activate it and then run all the way up the path to where you started. Make sure to activate the Truesight marker as you pass and get through the barrier at the top of the path. If you've decked yourself out for maximum speed, you should just make it. Climb up the series of stones you've revealed to get on top of the tower, where you'll find the Awoken Cache waiting for you.
Destiny 2 News And Guides
- Destiny 2 King's Fall Raid Guide: How To Beat Every Encounter And Open Every Secret Chest
- Five Years Of Destiny 2's Dramatic, Transformational Changes
- Destiny 2: Season Of Plunder Guides, Season Pass Gear, Exotics
- + Show More Destiny 2 News And Guides Links (2)
- Destiny 2 Season Of Plunder: Seasonal Challenges Guide Week 10
- How To Get Map Fragments, Treasure Coordinates, And Maps In Destiny 2: Season Of Plunder
Got a news tip or want to contact us directly? Email news@gamespot.com
Join the conversation