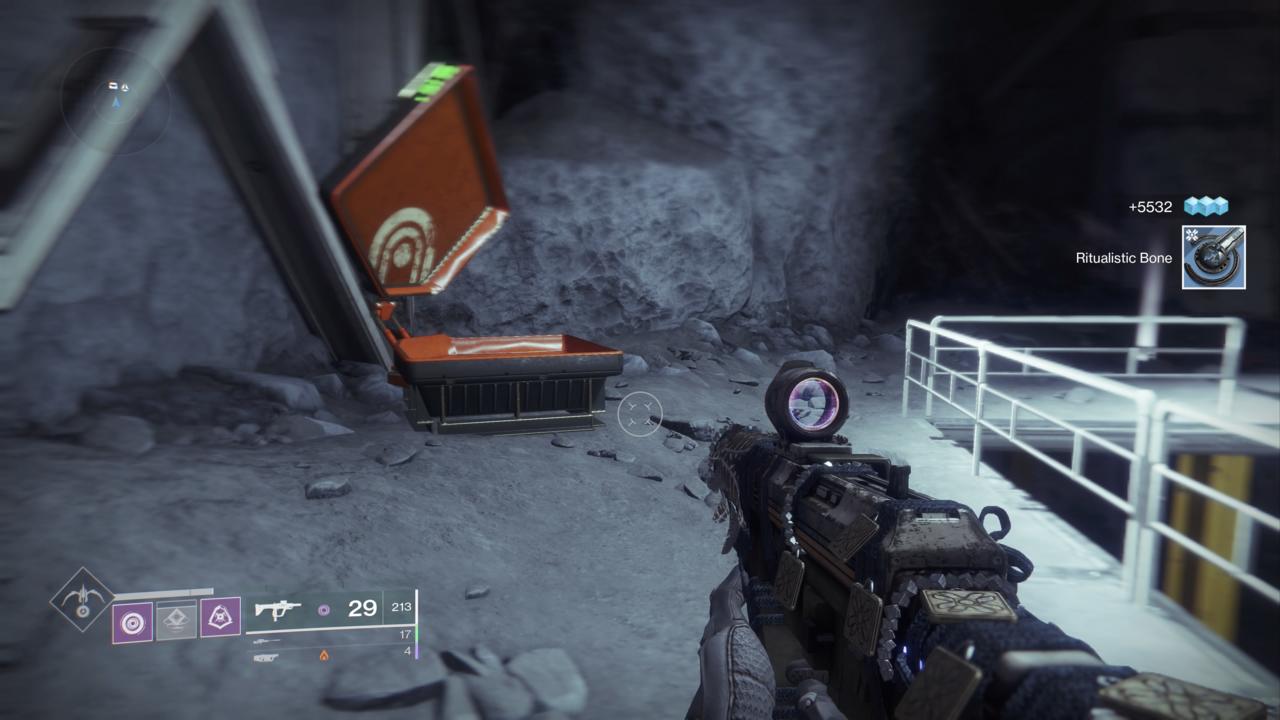
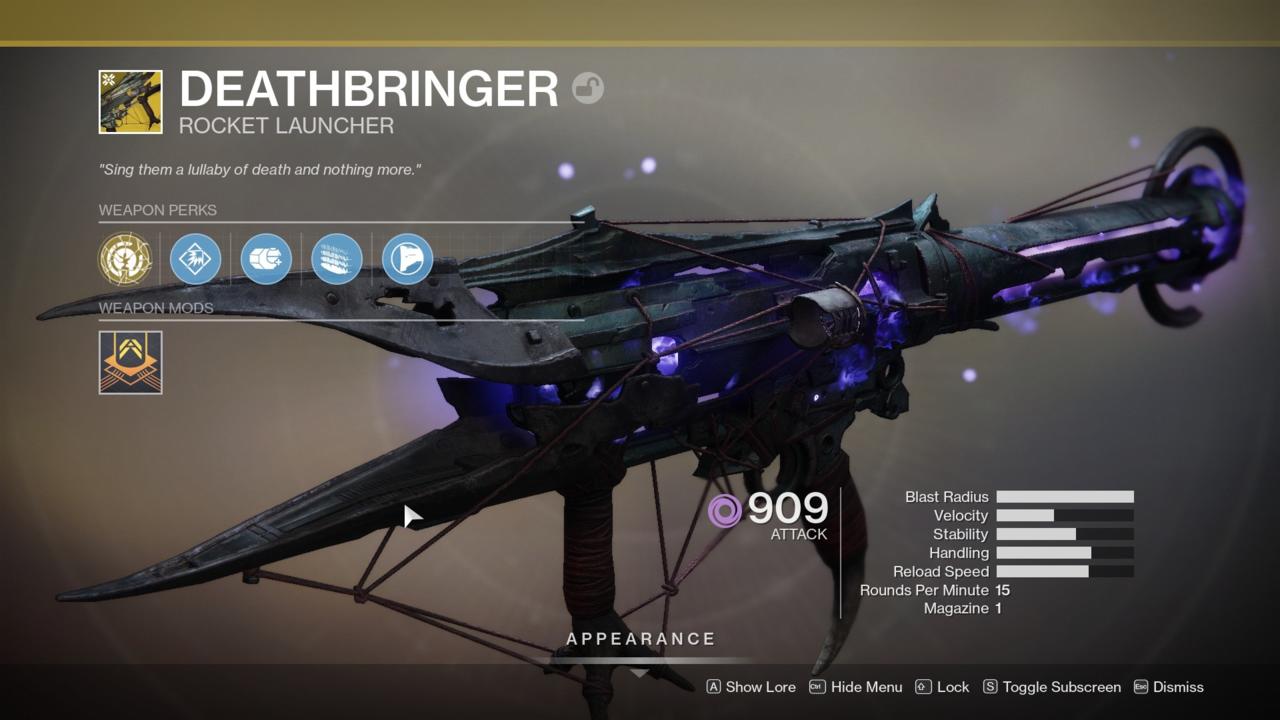
As with every new big content drop for Destiny 2, Shadowkeep has its share of special new Exotic weapons to chase down. One that pops up when you finish the main story campaign of the expansion is the Deathbringer rocket launcher, which requires you to wreck a whole bunch of Hive enemies in order to get it. It's not as difficult as the Garden of Salvation's raid Exotic, Divinity, but unlocking Deathrbinger is going to require some work of its own. The Exotic also handles differently from most rocket launchers; it's a gun you use indirectly, shooting over your targets for the best effect.
The lengthy quest to unlock Deathbringer will take you all over the moon to unlock it, and has some pretty significant grind attached. The good news is, it's possible to knock out the quest relatively quickly if you know where to go, what to do, and which enemies to concentrate on for the fastest progress. We've got a complete list of all the steps below, plus all the tips you'll need to get Deathbringer quickly and relatively painlessly.
Complete The Story Campaign
Before you can go after Deathbringer, you need to finish up Shadowkeep's campaign. When you finish the mission called Beyond, head back to Eris Morn on the moon and speak with her. She'll give you a new quest: Memory of Sai Mota. It's not a gold Exotic quest, but it'll put you on the path to getting what you need for Deathbringer. Grab the Lunar Spelunker bounty from Eris, which you'll need to complete in order to advance the quest.
Clear Out The Lost Sectors
The Memory of Sai Mota quest will send you through all four of the moon's Lost Sector locations. You'll need to do three for the first part of the quest: K1 Crew Quarters, K1 Logistics, and K1 Communion. Those are the three southernmost Lost Sectors--the last is in Sorrow's Harbor, so don't worry about that one yet.
The Lost Sectors are pretty straightforward, but you'll need to raise your Power level to a pretty decent height before you can handle them. The story campaign should bring you high enough to handle them, but you'll want to be at least around 840 before getting started.

Explore K1 Revelation
Once you've handled all three Lost Sectors, you'll get a Firewall Data Fragment item for completing the Lunar Spelunker bounty. Complete the K1 Revelation Lost Sector by clearing out all the Revenant Wizards and destroying the crystals they protect, then finishing off the Nightmare Ogre at the end of the area. Once you've done that, climb up into the tunnel on the right side of the arena, where you'll find a door you can use the Firewall Data Fragment to enter. Activate the console inside to advance the quest, which now requires you find pieces of Sai Mota's Necklace.
Destiny 2 News And Guides
- Destiny 2 King's Fall Raid Guide: How To Beat Every Encounter And Open Every Secret Chest
- Five Years Of Destiny 2's Dramatic, Transformational Changes
- Destiny 2: Season Of Plunder Guides, Season Pass Gear, Exotics
- + Show More Destiny 2 News And Guides Links (2)
- Destiny 2 Season Of Plunder: Seasonal Challenges Guide Week 10
- How To Get Map Fragments, Treasure Coordinates, And Maps In Destiny 2: Season Of Plunder
Get The Necklace Pieces
This part's mostly easy. Head to Sorrow's Harbor and kill Nightmares there--or jump into a Nightmare Hunt. Either way, you need to use Arc abilities to clear 10 Nightmares (it doesn't matter how strong they are), with each one dropping two pieces of the necklace. Once you have 20, return to Eris, who's now waiting inside the portal, to complete the Memory quest and unlock the Exotic quest for Deathbringer.
Head To The Circle Of Bones
You'll next be prompted to "Explore the Circle of Bones," where you'll find a mission that will start the Deathbringer quest proper. To reach the spot, transmat into Sorrow's Harbor and head south to the Hellmouth. Go toward the opening into the Hive temple and descend downward. Keep going through the Gatehouse area and beyond until you hit a much larger, wide-open area--the Circle of Bones. From here you can find the mission flag that will send you descending further into the Hellmouth. Head toward the Summoning Pits and kill the boss there to get a new item: the Silent Skull. You'll need it to create Deathbringer.

Gather The Bones
With the mission complete, your next job is to zip around the moon completing a few activities. Two are pretty straightforward: Head to the Hellmouth area and complete a Public Event to get your first bone fragment. For the second, you'll need to complete the K1 Revelation Lost Sector again, located in Sorrow's Harbour. They should be easy to handle at this point.
Your last item on the list might require a bit of searching and waiting. From Eris's transmat location, jump on your Sparrow and head to the right toward Anchor of Light. When you get there, hang out a bit until you see an elite, yellow-bar enemy called the Bone Collector. This is a Hive Acolyte who will wander through the area like a high-value target, and when it spawns in, you'll see a notification in the bottom-left corner of your screen. He's usually right out in the middle of things near the big dome building and spawns pretty regularly. Kill him to complete the quest step.

Back To The Scarlet Keep
Next, you'll need to return to the Scarlet Keep Strike. Load into it from the Director's moon map and run it as normal. You're looking for a Hive Wizard called the High Conductor--look for it during the elevator portion when you're ascending the tower of the Scarlet Keep. The High Conductor shows up on the second floor of the area among the other wizards, and is easy enough to deal with in the regular course of fighting enemies. Once the wizard is dead, you can complete the Strike as normal or head back to orbit--either way, you have your next step.
Another Grind In Sorrow's Harbor
You're almost done. In order to charge the skull, you have to gather the screams of your enemies. The step basically just means you have to kill a whole bunch of enemies: around 200 minor enemies, roughly 50 elites, and 10 bosses. That sounds like a lot, but this step goes pretty quickly if you know where to go for the best results.
The short answer is Sorrow's Harbor. Turns out, the Nightmare Ogres that spawn regularly in Sorrow's Harbor all count as bosses, which makes what would be the toughest step on the list into one of the easiest. The smaller Nightmares that spawn with the ogres are also very useful--they count as elites, which will give you progress on the middle bar. And of course, any random regular enemies around are good to kill too.
Once you've killed the bosses, you'll probably have made some decent progress on the other two bars, but Sorrow's Harbor isn't really the best place to kill a bunch of minor enemies. You can make solid progress on both the other two requirements in either the Scarlet Keep Strike or in the K1 Revelation Lost Sector. The Strike might be the better way to go, since it seems that enemies killed by teammates also count toward your progress. In fact, if you have other activities to complete to earn Powerful gear, this is a good time to do some of it to double-count your progress--although you'll move faster if you kill enemies on the moon. We found one run of Scarlet Keep and one run through K1 Revelation completed the requirement for killing minor enemies and nearly completed the elites requirement. To shore up the last of the latter, we went back to Sorrow's Harbor and quickly mopped up a few more Nightmares.
With that out of the way, you're down to one last mission, located, once again, in the Circle of Bones.

Go Kill Some Deathsingers
Drive back to the Hellmouth and dive down to the Circle of Bones to find another mission flag for "Choir of the Damned." Your job now is to turn the deadly song of Hive Deathsingers into a gun. Follow the markers down into the Catacombs, which you'll remember from the story campaign when you found the Cryptoglyph. This is a 920 Power level mission, so you might want to recruit a friend or two as backup. The good news is, despite the numbers attached, this is actually a pretty easy mission. The toughest part is quickly dealing with the Deathsingers without getting overwhelmed by enemies.
As you head into the Catacombs, you'll start to see glowing green energy appearing around the edges of your screen. That's the Deathsong--you'll also notice a timer ticking down when that happens. Once the Deathsong starts, you only have a minute to kill the Deathsinger using the spell, or you'll be wiped. These are Hive Wizards and they get objective markers, so they're easy to find. They'll also stop singing if you break their shields or stagger them, so the situation isn't quite as dire as it seems.
The tough part about reaching and killing each Deathsinger is the big group of enemies you'll have to fight through to get there. But in most cases, as it turns out, you can sprint past most of the baddies and just drop the Deathsinger, then advance to the next area when the door beyond each one opens.
You'll kill three Deathsingers before you reach the boss at the end of the mission. The situation hasn't changed, except now you'll have more enemies to deal with, including a couple of ogres. The boss Deathsinger will also try to fly away from you mid-battle and start a Deathsong--but again, doing some damage will stop it, so you don't really need to worry about it much.

With the boss dead, you're all done. Return to Eris and she'll give you your prize: the Deathbringer rocket launcher. It's a little different from the other launchers you're used to, firing shells that explode into void orbs that seek enemies. The orbs become more powerful the farther they fall through the air, and you can remotely detonate your Deathbringer shells by letting go of the fire button--so the best way to use the rocket launcher is more like a mortar. Fire it above your target, then release the fire button to remotely detonate the shell and drop void orbs on it.

