Destiny 2 Harbinger Guide: How To Find And Complete The Quest To Re-Roll Hawkmoon
The Crow has a new mission this week related to Hawkmoon--here's where to go to start it.
Earlier in the current Destiny 2 season, players were able to take on the Exotic weapon quest to earn Hawkmoon, a powerful hand cannon. There's more to the story with Hawkmoon--this is the only Exotic with which it's possible to get random perk rolls. To get new versions of Hawkmoon, as well as its Exotic Catalyst, you need to finish a new quest related to the gun called Bird of Prey. The Crow has the quest, which gets you started--but like previous weapon missions such as The Whisper and Zero Hour, you won't get waypoints that show you where to go to complete it.
Here's what you need to know to get started with the Bird of Prey quest and exactly where you need to go to find the Harbinger mission.
Visit The Crow
First, head to the Crow on the Tangled Shore. If you've been keeping up with the Crow's missions in the Season of the Hunt and have already unlocked Hawkmoon, you'll find a new Exotic mission on his menu called Bird of Prey. Take it, and the mission will direct you to the EDZ--but it won't give you a waypoint to tell you where to go.
Find The Fireplace In Trostland
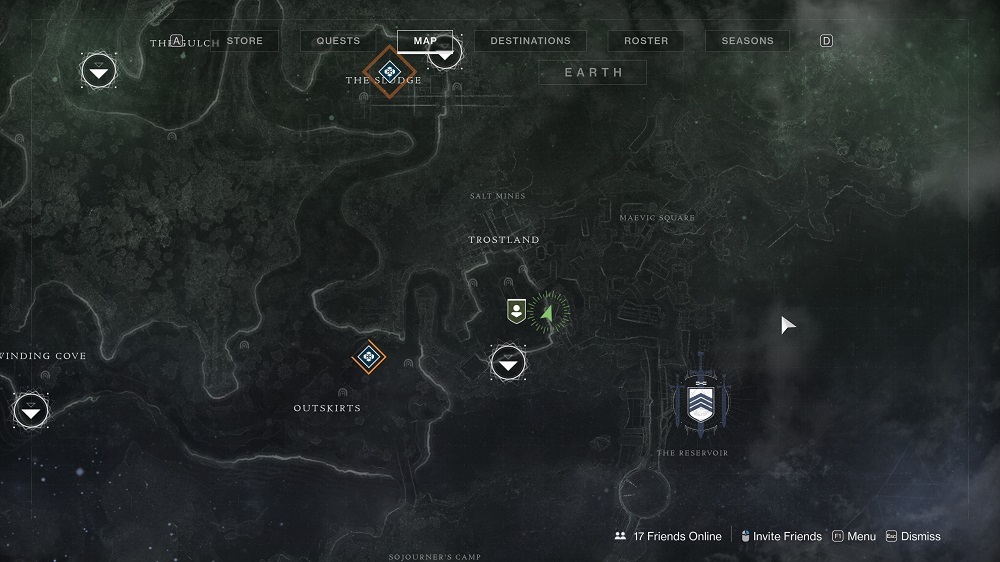
The next step of the quest sends you to Earth to find a secret path. Load into the Trostland transmat zone in the EDZ. Make sure you have Hawkmoon equipped, and head to the east side of the area, into the destroyed building to the right of the path that heads toward Maevic Square.
You're looking for a fireplace in the destroyed building. Shoot into it, and you'll blow the back out of the fireplace, revealing the path forward.

Immediately inside the hole in the fireplace, look to the left for a sparking fusebox. Interact with it and you'll start the mission.
Harbinger
When you activate the quest, you're thrown in with little guidance as to where you're supposed to go and what you're supposed to do. Before you go any further, consider your loadout for the mission. A bunch of tough modifiers, including Match Game, are in play for the mission. Expect to have to switch guns on various occasions to deal with enemies at range and up close. For the first part of the mission, make sure you can break shields of all three types--you'll mostly run into Void shields on Taken Acolytes, but your targets, Savathun's Emissaries, each have a shield of a different type. Hard Light can be great for this section, as is something that can hit very hard at long range, like Xenophage. Later, you'll need mods to kill Unstoppable Champions,so keep that in mind as well. Finally, any Exotics you like that help increase your jump distance and range, like Hunters' ST0MP-EE5, can be very helpful.

Finding The Path
First and foremost, you need to find your way to the dam where the Lake of Shadows Strike takes place. Follow the pathway behind the fireplace and keep going down until it dead ends. Look for a hole in the side wall to continue, which will eventually take you outside. Kill the Taken Hobgoblin across from you. Leap to the platform where the Hobgoblin was standing, then look down along the cliff to spot a tree on its side. Jump down to it and use it as a runway, then jump all the way to the dam. Try to land on the small flat part toward the bottom, which creates a curved path running the length of the dam. You can also land in one of the copper-colored divots and then drop to the lip slightly below.

Now follow the lip along the dam, watching up and to your left higher up on the dam wall. You're looking for a rusted rectangular shape--that's a hatch door that's been opened. Leap up to it and you can enter the dam proper. Follow the pathway until you reach a huge room with turbines inside. Here, you'll find the Emissaries.

Fighting The Emissaries
You'll face tough enemies in this room, including Taken Vandal snipers, shielded Acolytes, Taken Goblins, and the Emissaries themselves--a Taken Knight, Taken Wizard, and Taken Centurian. Each has a shield of a different element, so having a gun that can break all three like Hard Light can be very useful.
You can die as much as you need to here, so take your time to deal with the enemies. If you stay in the area near the first Emissary, the others won't spawn right away. Attack each Emissary until it raises an unbreakable shield and flees the area. You'll have to send all three away to advance.

With all the Emissaries gone, look for doorways on the sides of the big room with the turbines where you first encountered them. You'll find that some of the doors are blocked by Taken Blights that you can destroy to open paths. Explore all of them and you'll eventually find the Emissaries with some minions guarding them. You can destroy all three at this point, so hunt them down and eliminate them.
As you're exploring this area, keep an eye out for glowing golden Paracausal Feathers. Earning enough of these over the course of several weeks' Harbinger runs completes a quest and earns you a new Exotic ship. Feathers are scattered throughout the mission, so search for some before moving on.
Follow The Hawk
You can now leave the turbine area. Look for the golden hawk, which is sitting near another door with a Taken Blight locking it. That'll take you to the arena in the dam where the Lake of Shadows Strike usually concludes. Here, you'll fight a number of Taken enemies in waves--first Thralls and Wizards, then Centurians, Vandals, and Unstoppable Phalanx Champions, then a mix of the rest, along with two Taken Captain Emissaries. Again, you'll need guns to take down all their various shields. It's a good strategy to stick to the elevated platforms above the arena, where you can hide behind pillars to gain cover--especially from the snipers.

Take your time on this fight and use ranged weapons as much as possible. Staying above the fray on the elevated platforms can make killing most of the enemies a lot easier and keep you alive. You need to survive this entire encounter, unlike earlier portions of the fight. There are three major waves in total, and once you've cleared the wave with the Emissaries, you're done. Clear it and you'll find a portal that'll take you to an area you'll recognize from the Hawkmoon quest.

The (Other) Platforming Part
Now follow the hawk and the waypoints through this platforming section, which you'll recognize from the original Hawkmoon quest. This section is lengthy and a bit confusing, but there's no penalty for experimenting with pathways and dying to find your way forward. You can also find Paracausal Feathers here, so watch out.
Eventually, you'll find your way to the Shard of the Traveler and the big arena that marked the end of the Hawkmoon quest. This is the boss fight of the mission, and it can be very difficult to handle solo.

The Final Fight
In this last room, you'll face a boss Taken Knight called Akorith, Lightdrinker of Savathun. He'll summon waves of enemies, each with a different makeup. When you knock out about a third of the boss's health, it'll gain an invulnerable shield and flee, sending tons of enemies after you. Most of the room will be too besieged to be safe, so head back toward where you entered, where you can find solid cover behind some rocks. Watch out for Acolytes with Void shields and Knights with Solar shields. Ranged weapons that allow you to do high damage quickly, like machine guns and Xenophage, can be very helpful here.
You basically just have to repeat the process from this point: Hang out in the back of the room, picking off enemies and avoiding Taken Knight flames. Keep clearing enemies and the boss will return, allowing you to lay into him some more. Fight through all three waves and the boss will appear once again, allowing you to kill it.
New Hawkmoon Rewards And Repeating The Quest
Once you've beaten Harbinger, it'll appear on the Director's EDZ map from here on out. Finishing the mission earns you the Hawkmoon Exotic catalyst and new versions of Hawkmoon with random stats and perks, so you can potentially find a favorite version of the gun that's different from the original you earned earlier this season. You can re-run the mission to weekly to earn more Paracausal Feathers, which will eventually unlock a new Exotic ship as a reward.
Got a news tip or want to contact us directly? Email news@gamespot.com
Join the conversation