Destiny 2 Growth Exotic Quest For Ruinous Effigy
There's a new Exotic quest in Destiny 2 this week, requiring you to investigate the Darkness and spend some time on Io, Mars, Mercury, and Titan.
The story of the Season of Arrivals in Destiny 2 is also one of departures. With the release of the Beyond Light expansion this fall, several of the game's current destinations--Titan, Io, Mercury, and Mars--will be removed from the game, at least for the time being. So as you venture through this season's activities, you'll be learning about and visiting those spots. A new Exotic quest in the game this week, dubbed "Growth," has you visiting those locations and uncovering their secrets.
The quest has you hunting for Ruinous Effigy, a new Exotic trace rifle. To get it, you'll need to engage with the Darkness, complete seasonal events, and trek across the solar system hunting hidden objects. We're building a complete guide to getting you Ruinous Effigy as quickly as possible. Here's what you need to do and where you need to go.
Step 1: Compete "Interference"
To get started on the Growth quest, head to the Prismatic , which will dispense the quest. You'll then need to convene with Eris Morn by completing the weekly Interference quest at the center of this season's events. To do that, knock out the weekly Prismatic Recaster bounty, "Means to an End," as normal.
When you're finished with the "Interference" mission, you'll see a new story beat between Eris and Zavala, and take a gift from the Darkness: the Pendulum. This one will send you scouring the rest of the solar system for more stuff.
Step 2: Pendulum
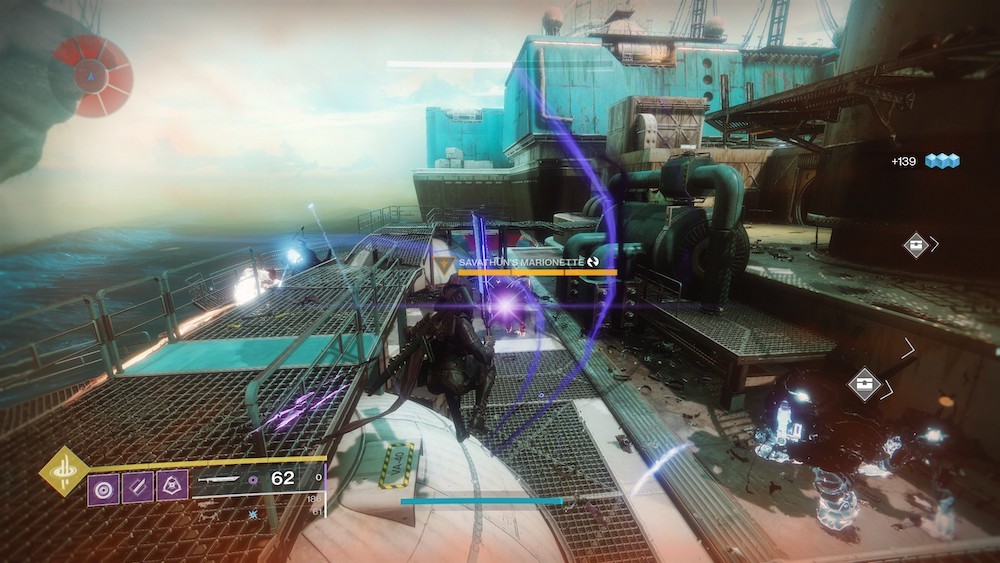
You now need to find 25 Calcified Light items and to kill 15 enemies called Savathun's Marionettes on either Io or Titan.
The Marionettes are Champion enemies you'll find running around the public areas of either Io or Titan. Look for them when Taken enemies appear in battles with other bad guys, usually following messages announcing the arrival of Taken Disruptors. Depending on which Disruptor appears, you might have to kill the enemy to summon the Marionette; other times, a Marionette will spawn with the Disruptor, and killing both might get you a second one, depending on which type of battle you're facing.
You can farm Marionettes pretty easily on Io in The Rupture. Taken Disruptors are constantly spawning around the area, so you can race around, killing the high-value targets in order to summon the Champions you need for the step.
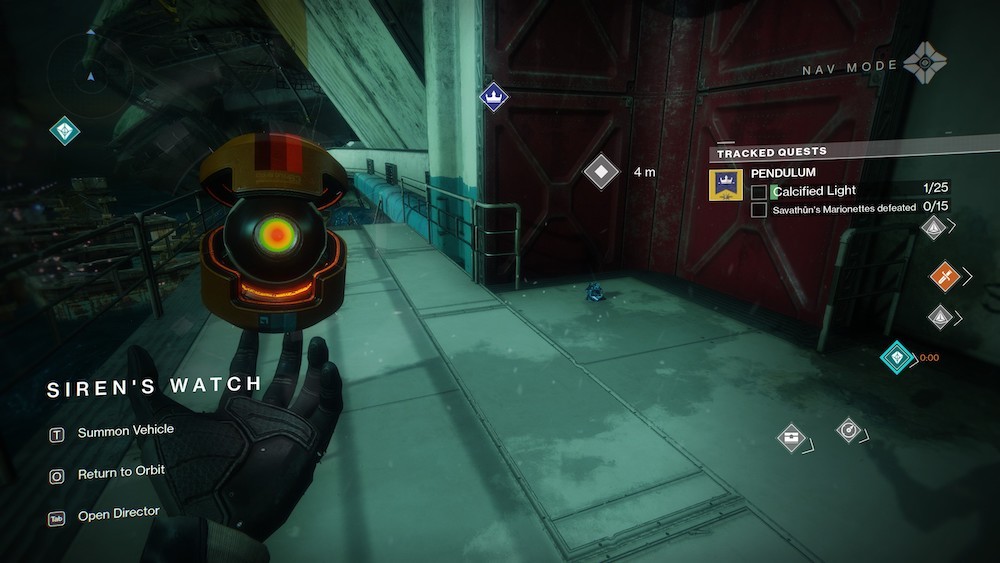
The Calcified Light fragments are tougher: you'll have to find and pick them up on all four planets. Your Ghost can lead you to them, but you'll need to be close. We're compiling all their locations now, so check back frequently as we fill them in.
Calcified Light Locations
Titan
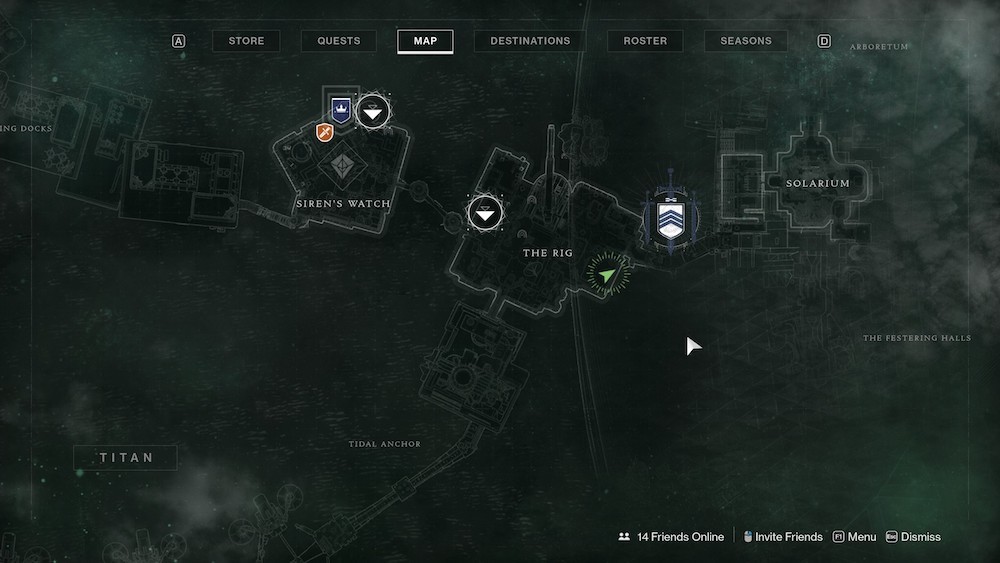
Siren's Watch
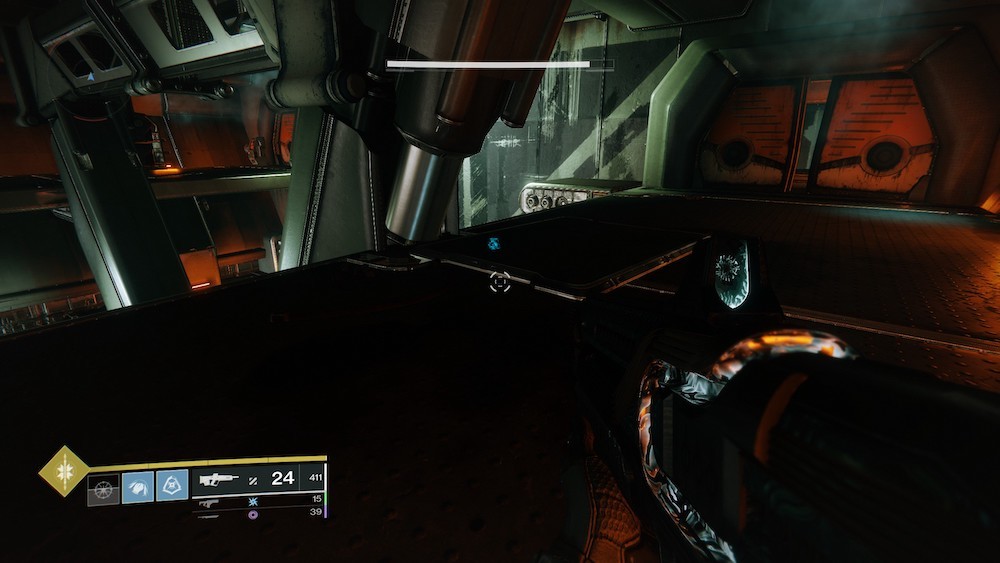
1. Near Methane Flush: Spawn in at the Siren's Watch transmat zone and drop down to the deck below. Look for a door around the back from the staircase to find a way inside and find the Calcified Light.
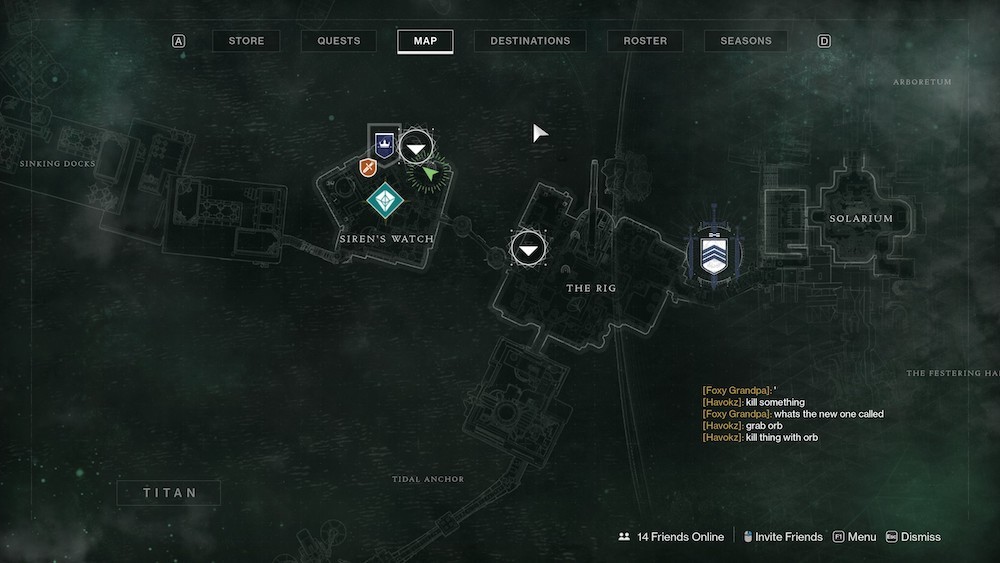

2. Near Sloane, outside: In Siren's Watch, go to where Sloane is and follow the nav-point to the catwalk wrapping around her building on the outside.
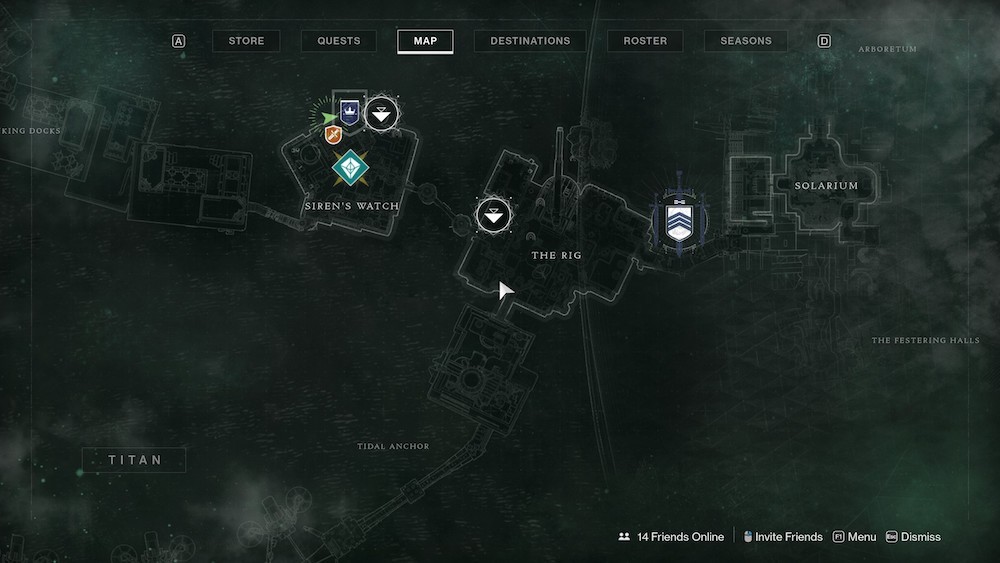
The Rig
3. On The Rig: Spawn in at the transmat zone on the rig and head south through the archway. You'll find the Calcified Light on the ground just on the other side of the structure near the platform's southern edge.
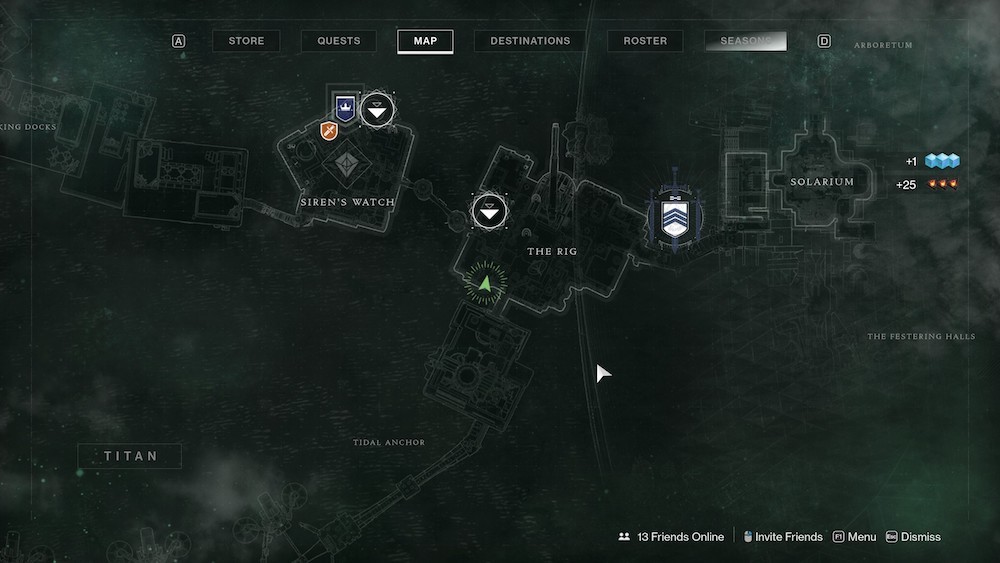
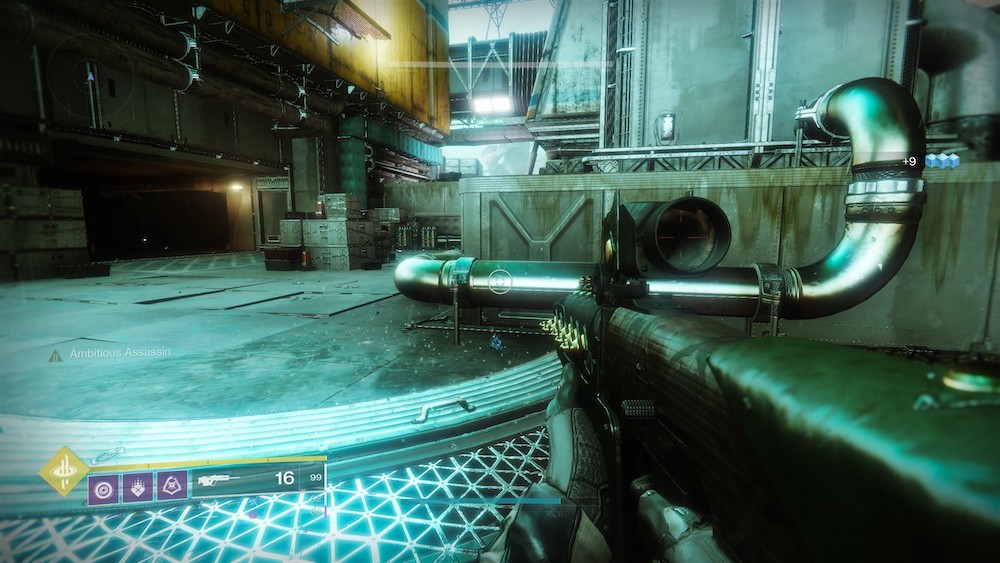
4. The Eastern Edge: Keep heading east from your last location, past the catwalks where the Fallen like to hang out. This Calcified Light is near the eastern edge of the platform, also behind some structures.


5. Amid Hive Corruption: You should notice that your last marker is very close to the last one. You'll need to get inside the structure east of you to find the next Calcified Light. Head around to the northeast toward the Solarium to find the door into the building. Turn back south and look for the Calcified Light near some computer terminals.
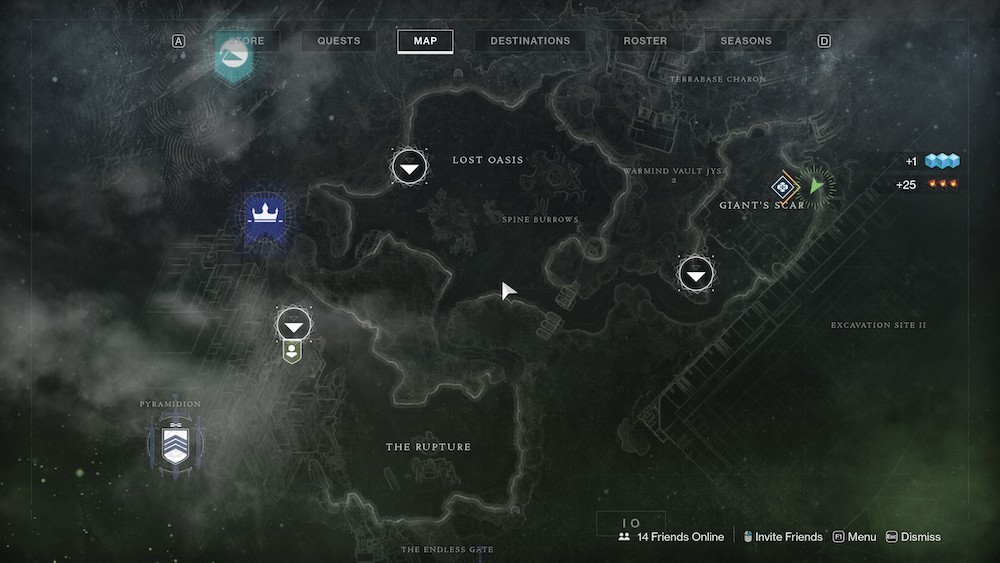
Io
The Rupture
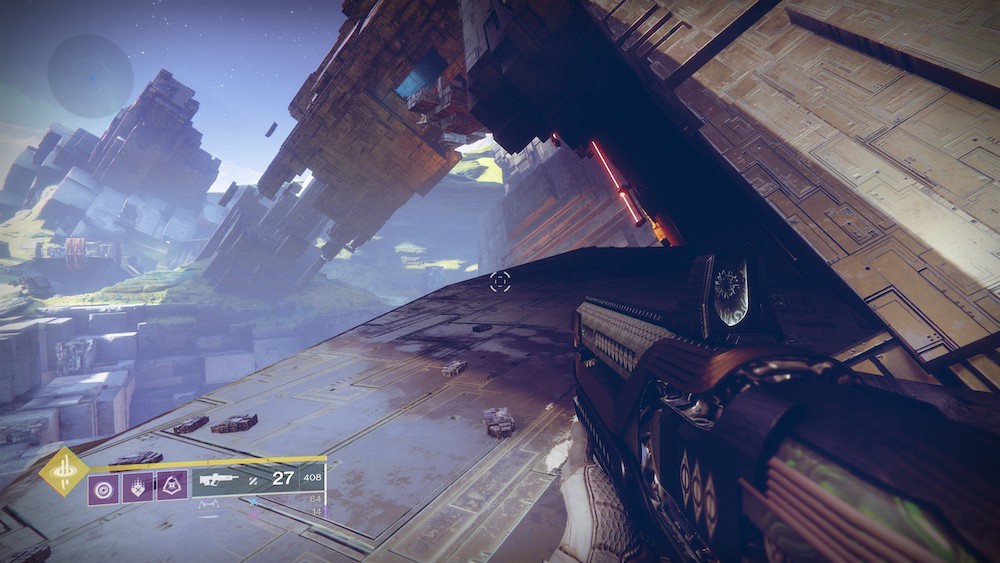
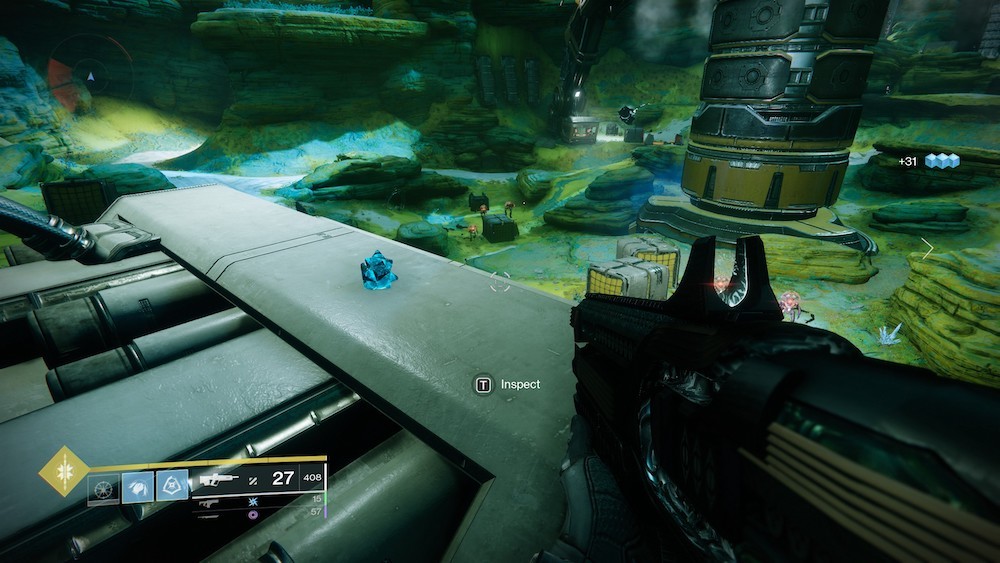
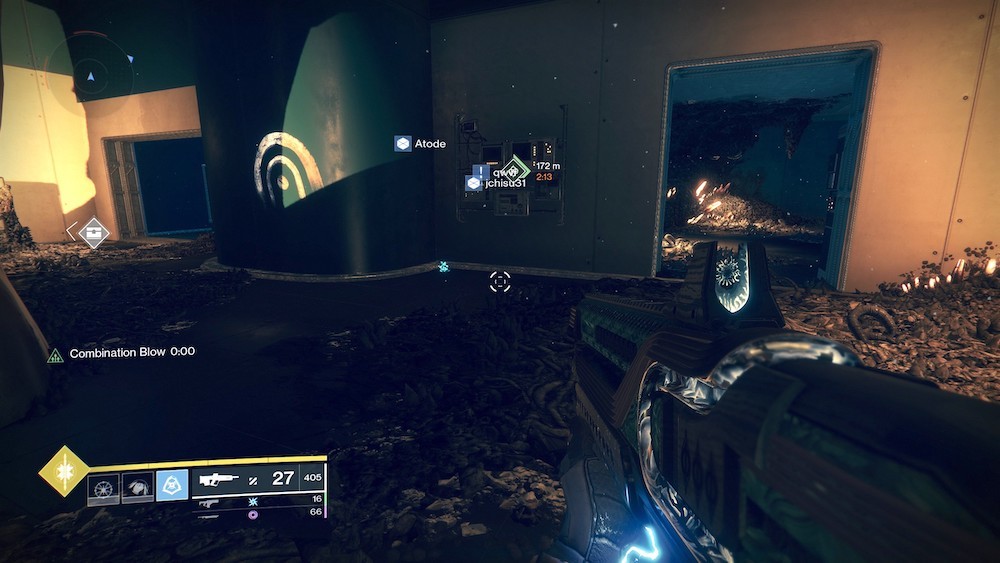
1. Atop The Pyramidion: From the transmat zone in The Rupture, you'll need to scale the Pyramidion, just behind where Asher Mir stands. To get there, scale the arm of the Pyramidion just south of Asher--the first one you come to. Climb up to the flat spot and follow the pathway inside the structure to find some platforms. Follow them and you'll reach a portal that will take you to the top.
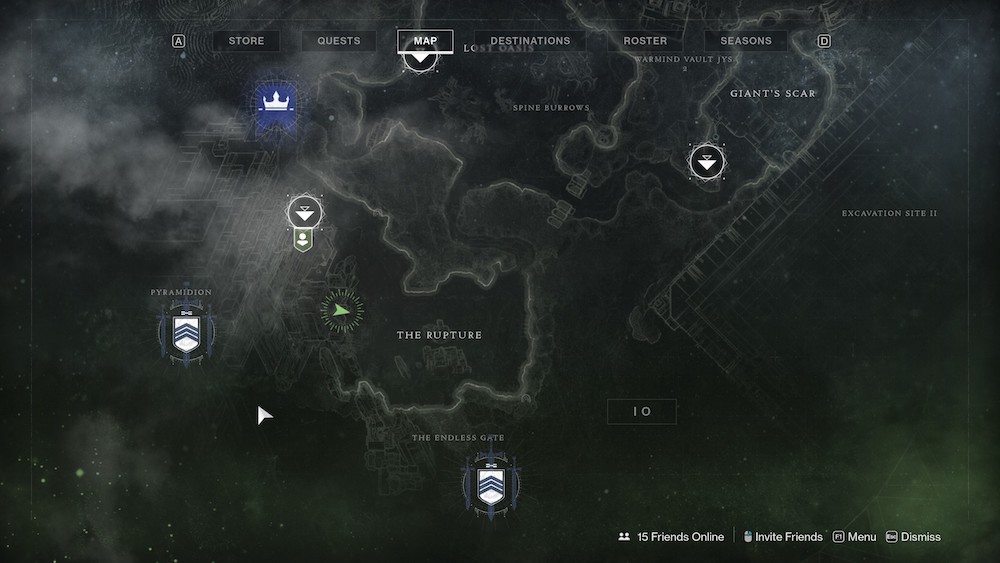
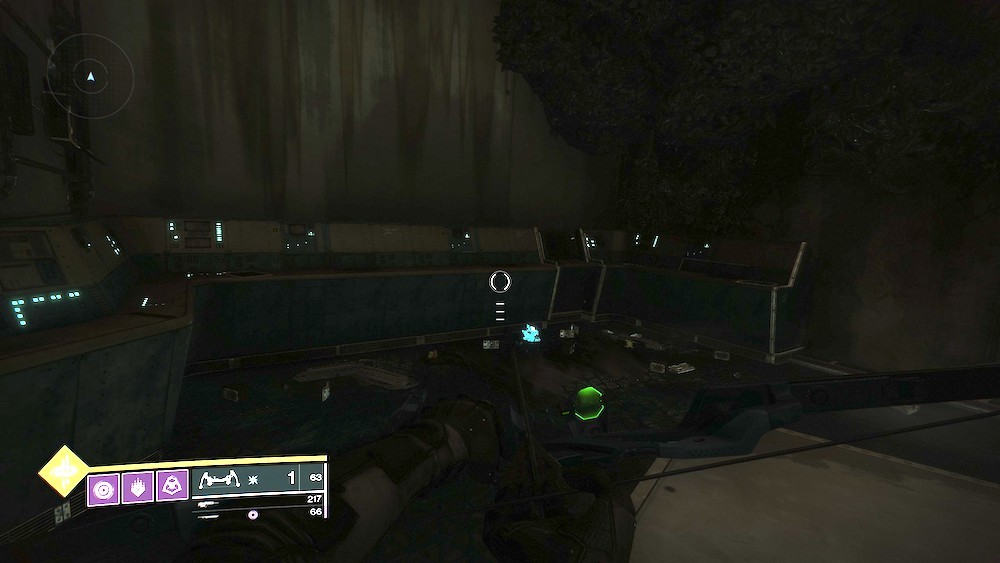
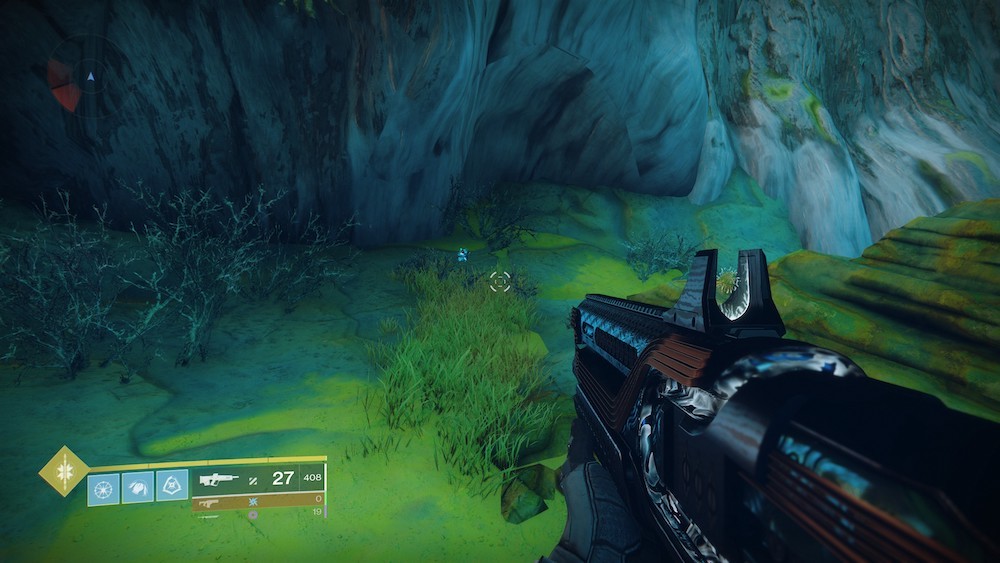
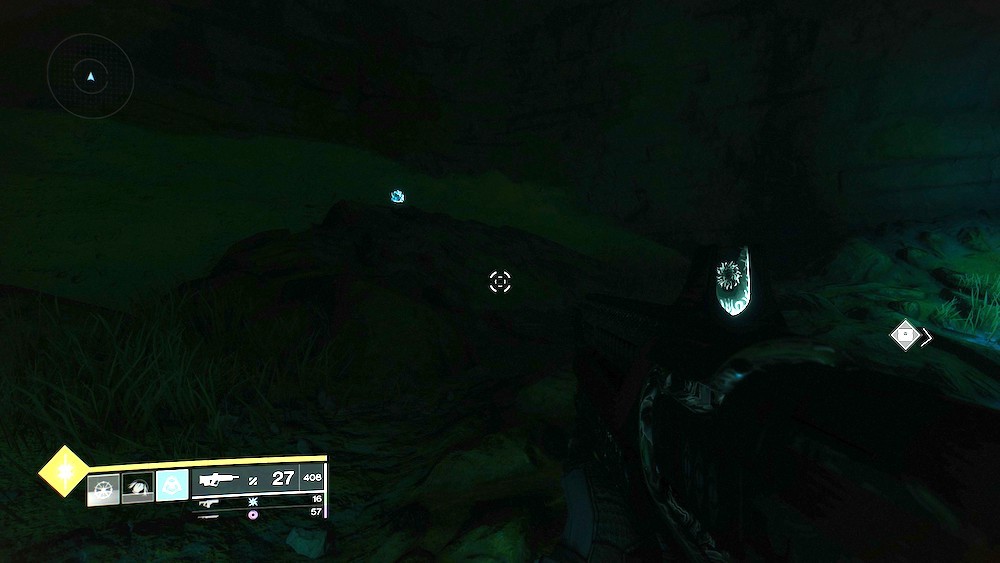
2. Beneath the Rupture: Head east into the area, near where the public event here takes place (and the Seraph Tower used to be). Look for a ridge to the east of the public event area where enemies spawn; if you head a little north, you'll find a cave entrance that runs beneath it. Head down inside and bear left when you find an opening to discover a small room full of blue fluid, a few Taken enemies, and the Calcified Light.

3. Rupture Caves: The next Light is found in another cave not too far from your present position. Head toward the southern corner of the area, near the Aphix Conduit Lost Sector entrance. Look for another cave entrance west of the Lost Sector, and to the right of the roots of the big tree above. Follow the cave inside to find the Calcified Light on a platform above you.

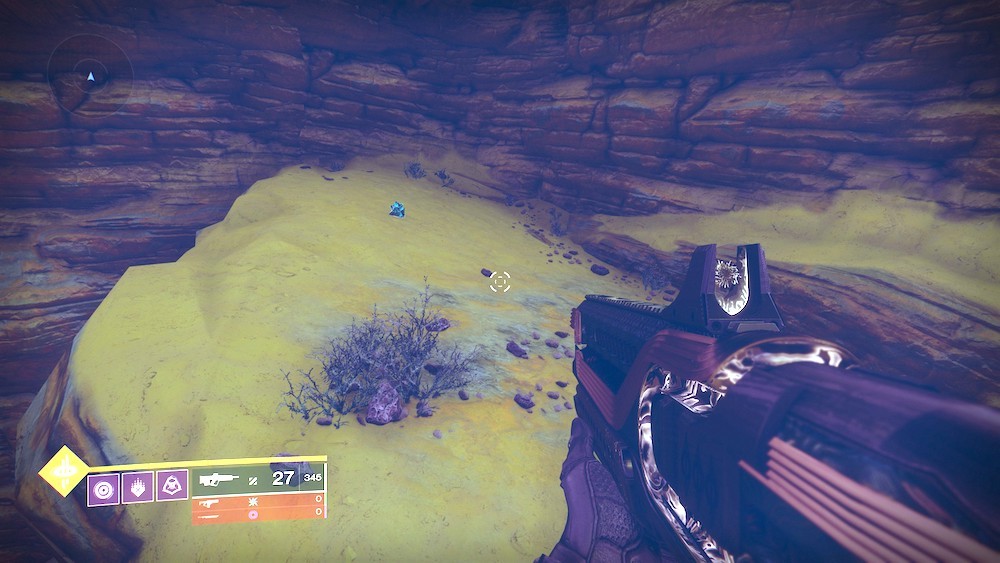
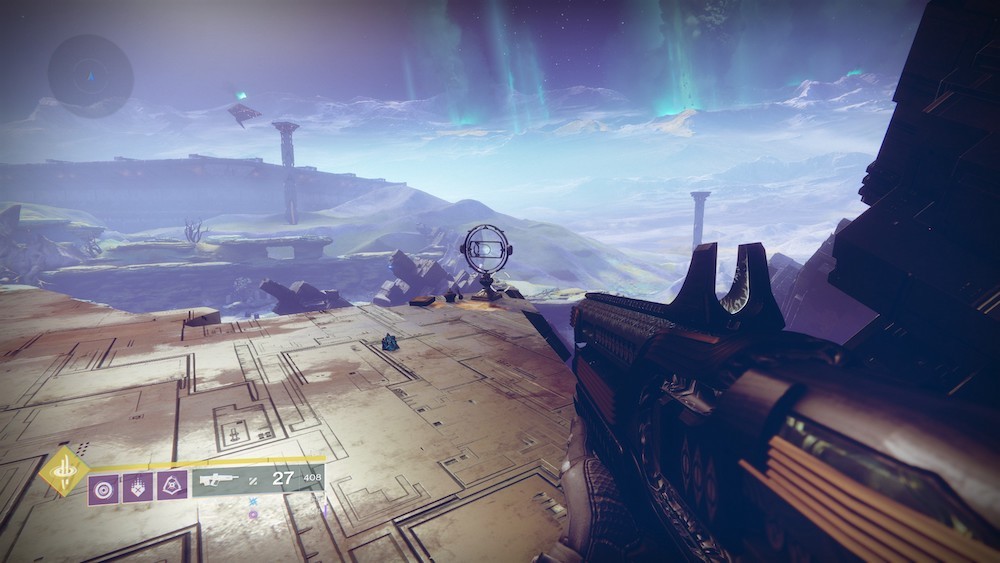
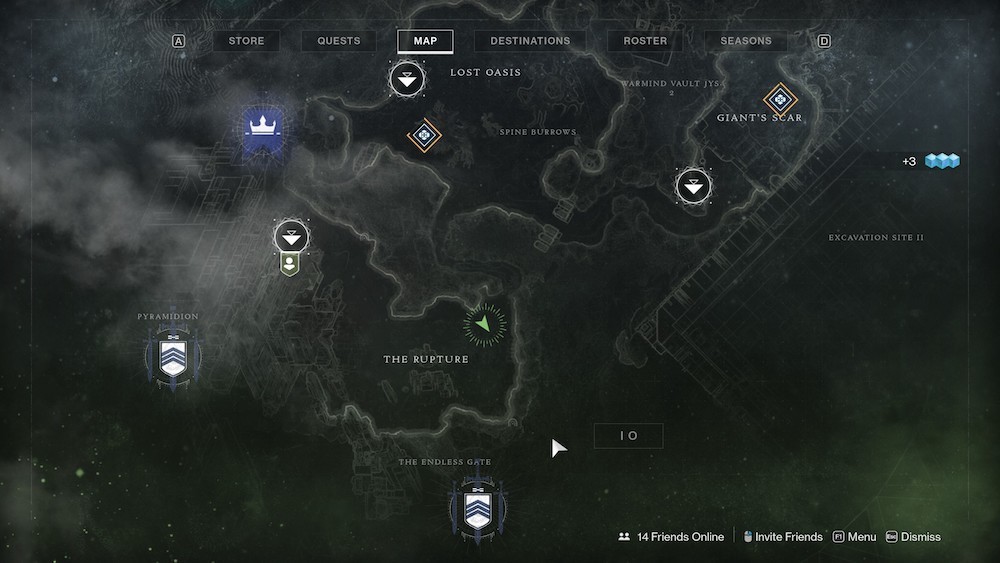
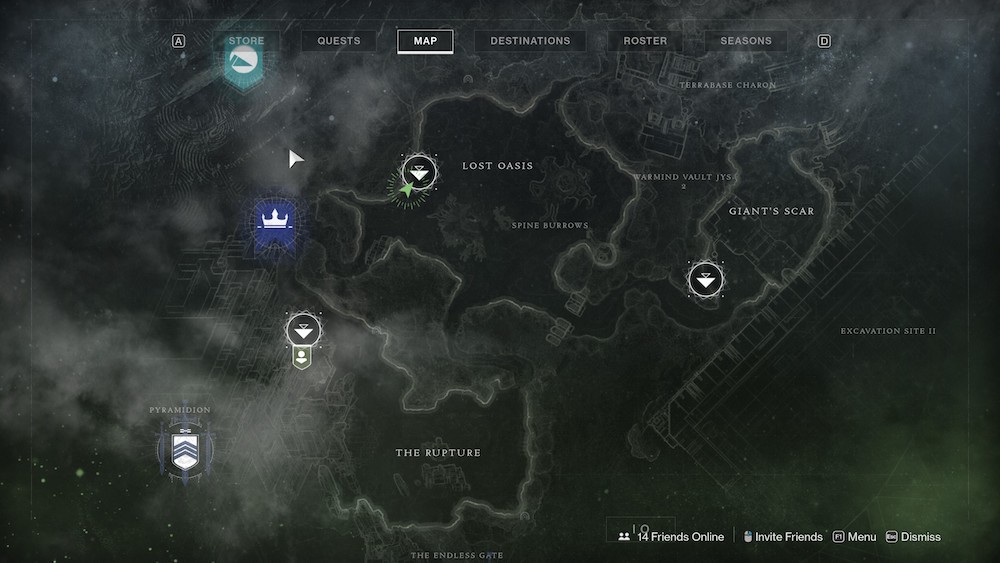
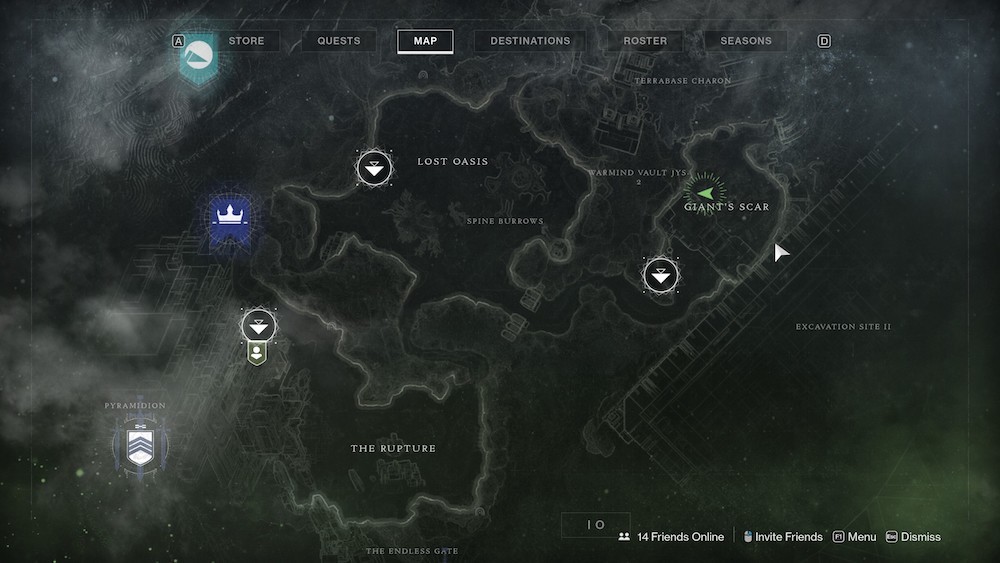
Lost Oasis
4. The Cliffs Below: As soon as you spawn in at the Lost Oasis transmat zone, turn to your right. With your Ghost out, you'll see the indicator showing the Calcified Light beneath you. Drop down to the cliffs below (a landing spot can be tough to see, so be careful) to find the Light waiting.

5. On The Big Tree: From low to high. Head for the big tree southeast of the transmat zone. Climb up one of the roots and get to a flat platform about halfway up, where you'll find the Calcified Light.


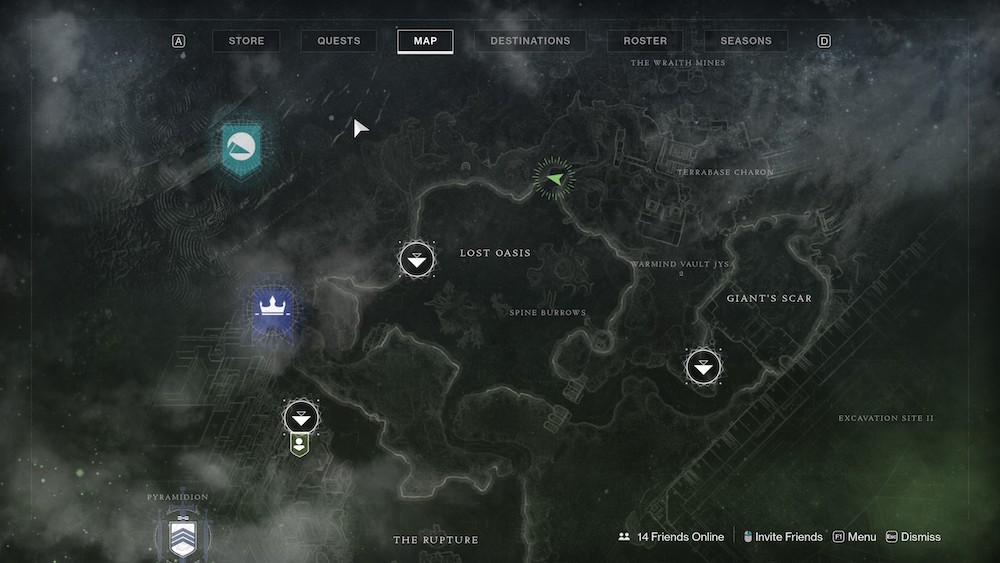
6. The Tree Near The Terrabase: Go to the north end of the area, near the path toward Terrabase Charon, where you'll see another tree sticking out of the cliffside. You want to get inside that tree, but you'll need to go around behind it to enter. Take the path toward Terrabase Charon and watch the left wall to find a cave opening that will take you into the stump. Look for the Calcified Light in the back of the room.
Giant's Scar
7. Inside The Base: From the Giant's Scar transmat zone, turn left and head north to the small entrance into the Cabal fortification ahead. Turn right inside and keep moving to the large room full of enemies, with another exit out into the rest of the area to your left. Hop up onto the second floor catwalk and find the Calcified Light waiting there.

8. On The Crane: North of the building in the main area of Giant's Scar, head to the northwest end of the area. Climb up on the small crane control building to grab the Calcified Light there.
9. Xur's Cave: Head to the northwest corner of the area and look for a cave opening in the cliff wall. You usually find Xur here when he visits Io; instead, find the Calcified Light in the back-left corner.

10. On The Edge: The last Calcified Light on Io is easy to grab. Just head to the eastern wall of the area and hop up on the small platform growing out from the cliff wall.

Mars
Braytech Futurescape
1. Just Below Ana: Spawn in at the Braytech Futurescape transmat zone and head into the building toward Ana. Jump up onto the level just beneath where she stands and turn right. The Calcified Light is nestled into the alcove against the wall.


2. On The Tanks: Head outside from Ana and turn left into the northeastern corner of the area. Climb up on the big cylindrical tanks there; the third one has the Calcified Light on top.


3. Near Core Terminus: Go to the western side of the area, to the entrance of the Core Terminus Lost Sector. Right next to the paint on the wall signaling the Lost Sector's location is the Calcified Light.
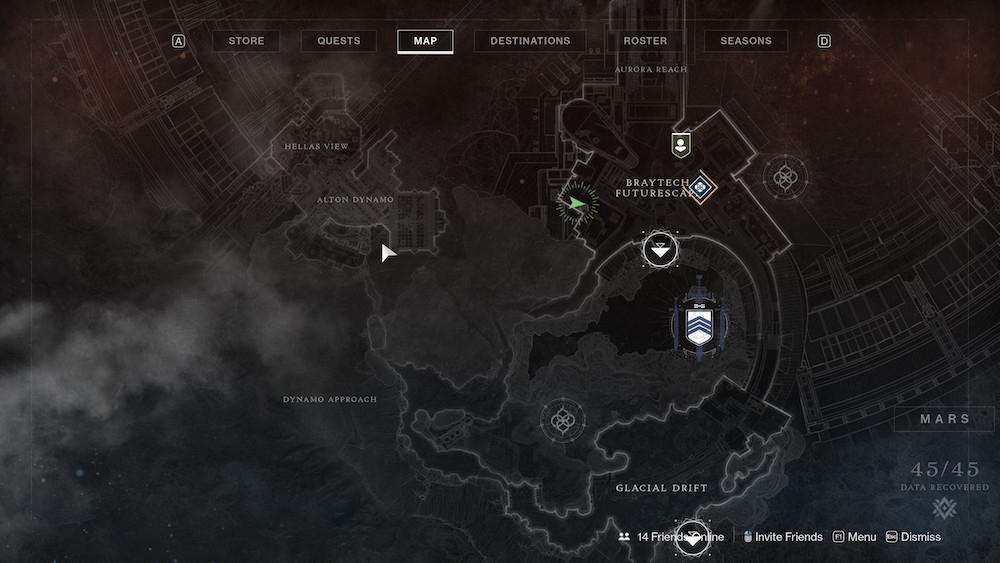
Glacial Drift
4. In The Train Car: Spawn in at the Glacial Drift transmat zone and turn right, heading up the hill to the bridge above. The Calcified Light is in the open train car right at the end of the bridge; just hop inside to find it.
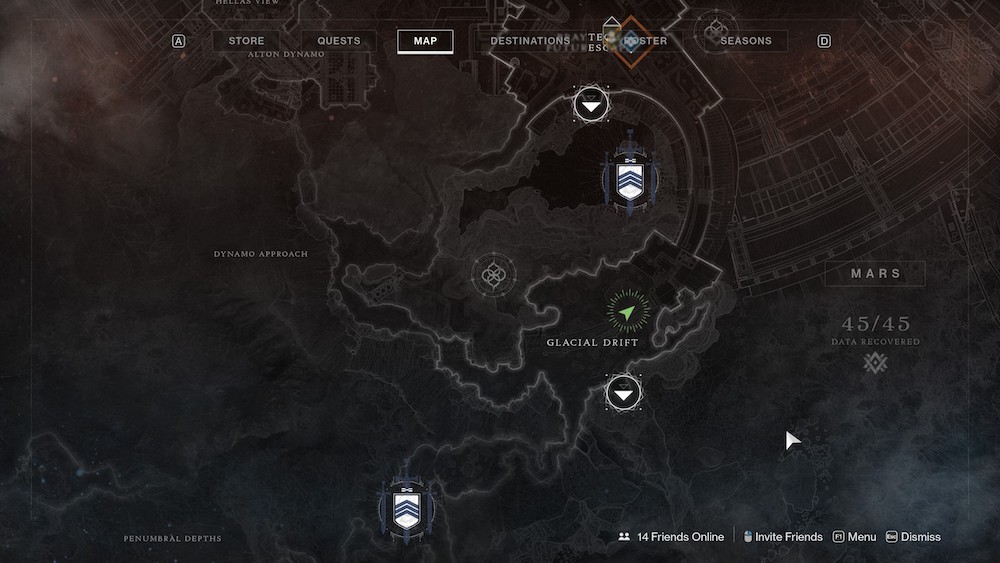

5. In The Elevator Shaft: Now head to the far western corner of the area, near where the Witch's Ritual public event takes place. You'll find an open door there leading to an elevator shaft that'll take you up to the bridge. The Calcified Light is on top of the elevator car.


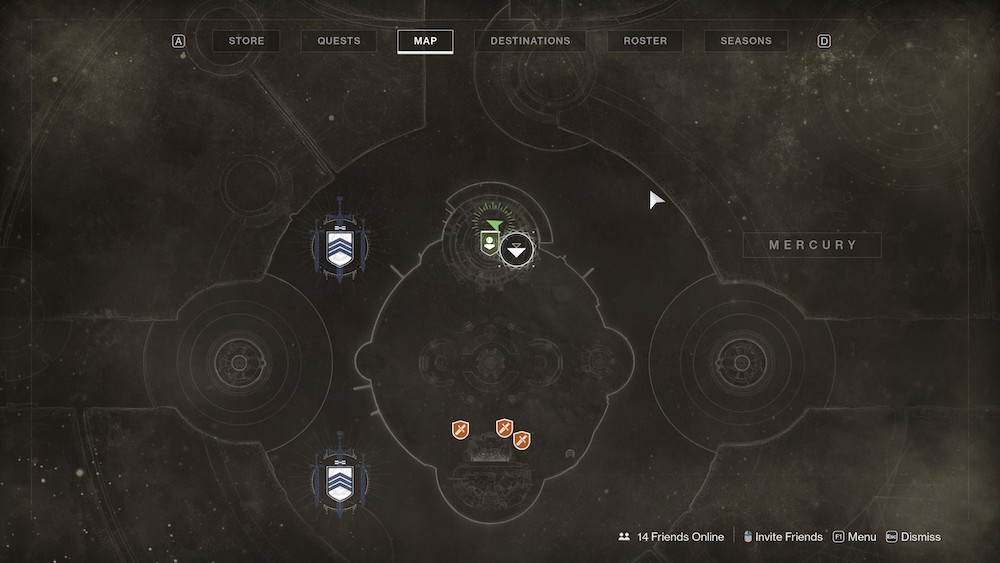
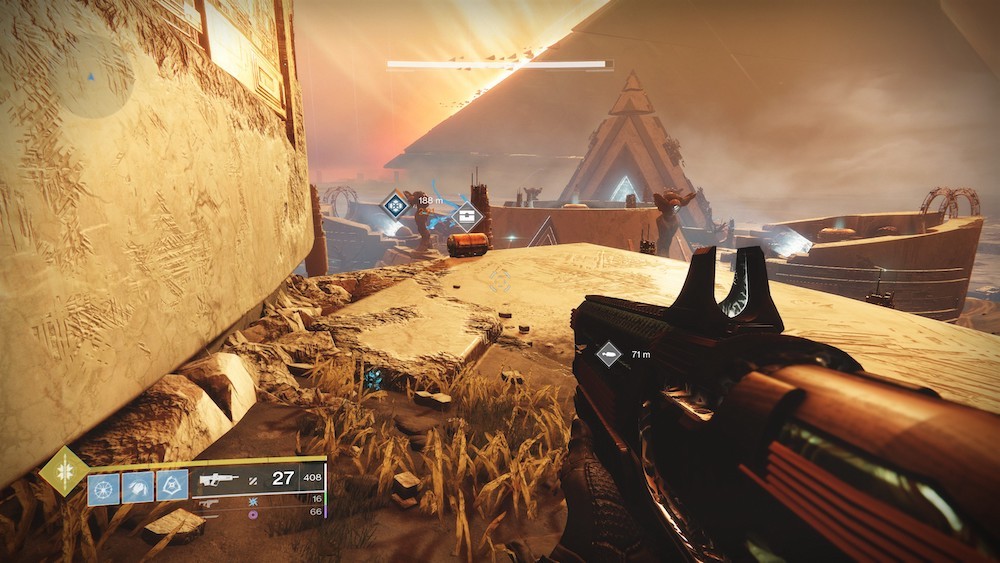
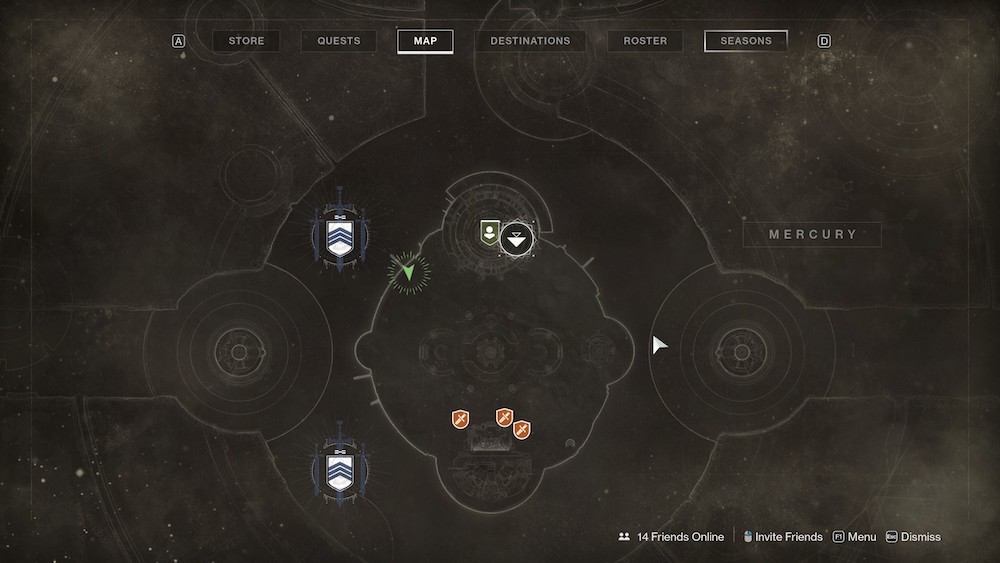
Mercury
1. At The Spawn: Immediately turn to your right when you spawn in at the Mercury transmat zone. Instead of going through the portal, drop off the platform to the ground below, where the Calcified Light is nestled near the concrete structure.


2. Around Back: Continue along the back of the Lighthouse until you see a spot where you can jump up (near where the Colossus spawns). The Calcified Light is near the back wall of the Lighthouse.

3. Above The Radiolarian Pool: Continue around the back of the Lighthouse until you're on the east side to find your third Calcified Light, on the ridge of the wall above the pool of white Radiolarian fluid on the ground. You can reach this spot by climbing the platforms near the pool if you're coming at it from the other direction.

4. Beneath The Tree: Head to the western side of the Lighthouse and look for a gnarled, dead tree near some sand dunes. Just behind the tree is the Calcified Light.

5. Near The Forest's Entrance: Go south toward the entrance of the Infinite Forest. As you leave the round structure while facing the Forest's entrance, look down to your left, or east. You should see a dropoff down to the lower area below, with as light platform about midway down with the Calcified Light on it.

Step 3: Feed
You've still got more grinding to do. Your next step will take you either into Gambit matches or The Reckoning, depending on what you feel like running. You need to complete activities of either type to proceed. Your goal is also to knock out Void damage kills and precision multikills while you do it. You get bonus progress for killing Guardians while invading or being invaded, and for playing through higher tiers of Reckoning.
The good news is that this step can go pretty quick. One Gambit Prime win counts for two-thirds of your progress on that portion. Using weapons like Recluse and Hammerhead can allow you to quickly rack up lots of Void kills and precision kills. Pick weapons you like that are good for headshots, like bows, scout rifles, and pulse rifles, and you shouldn't be working on this for long. The multi-kill step is the toughest by far, but stepping into a Reckoning run will help you clear it more quickly.
Step 4: Shape
Once you clear the Feed quest step, you'll get an Exotic Engram for your trouble. Take it to the Umbral Engram Decoder near the Drifter and claim your Ruinous Effigy.
Destiny 2 News And Guides
- Destiny 2 King's Fall Raid Guide: How To Beat Every Encounter And Open Every Secret Chest
- Five Years Of Destiny 2's Dramatic, Transformational Changes
- Destiny 2: Season Of Plunder Guides, Season Pass Gear, Exotics
- + Show More Destiny 2 News And Guides Links (2)
- Destiny 2 Season Of Plunder: Seasonal Challenges Guide Week 10
- How To Get Map Fragments, Treasure Coordinates, And Maps In Destiny 2: Season Of Plunder
Got a news tip or want to contact us directly? Email news@gamespot.com
Join the conversation