Destiny 2 Grasp Of Avarice Dungeon Guide - How To Start, Beat Every Encounter, And Find All Lore
We've uncovered everything in the Grasp of Avarice dungeon to help you find your way to riches.
The crown jewel of the Bungie 30th Anniversary DLC in Destiny 2 is the Grasp of Avarice dungeon, a high-level activity that's all about getting a little too greedy with the Destiny equivalent to crown jewels. The dungeon sends you beneath the infamous Loot Cave, a place from the game's distant past, where you'll search for some of the game's greatest treasures--including Gjallarhorn, an iconic Exotic rocket launcher. Finding your way into the dungeon is just the start, and there are plenty of secrets to uncover along the way.
Below you'll find a complete guide to the Grasp of Avarice dungeon, with every encounter detailed, every trap marked, and every lore item cataloged. Everything you need to complete the dungeon alone or with a fireteam is below. And while you're delving down beneath the Cosmodrome, you should also check out our guides for unlocking Gjallarhorn and Forerunner, the Halo-inspired Exotic sidearm, as well as our guide for getting the Gjallarhorn Exotic catalyst.
The Entrance
To gain access to the Grasp of Avarice dungeon, you have to grab the Gjallarhorn quest. You'll find this on Xur's vendor screen in his treasure hoard in the new Eternity location on your Director map (if you don't see it, check the second page). With that in-hand, drop by the Cosmodrome and talk to Shaw Han to advance the quest, which will create a new Grasp of Avarice node on your Cosmodrome map.
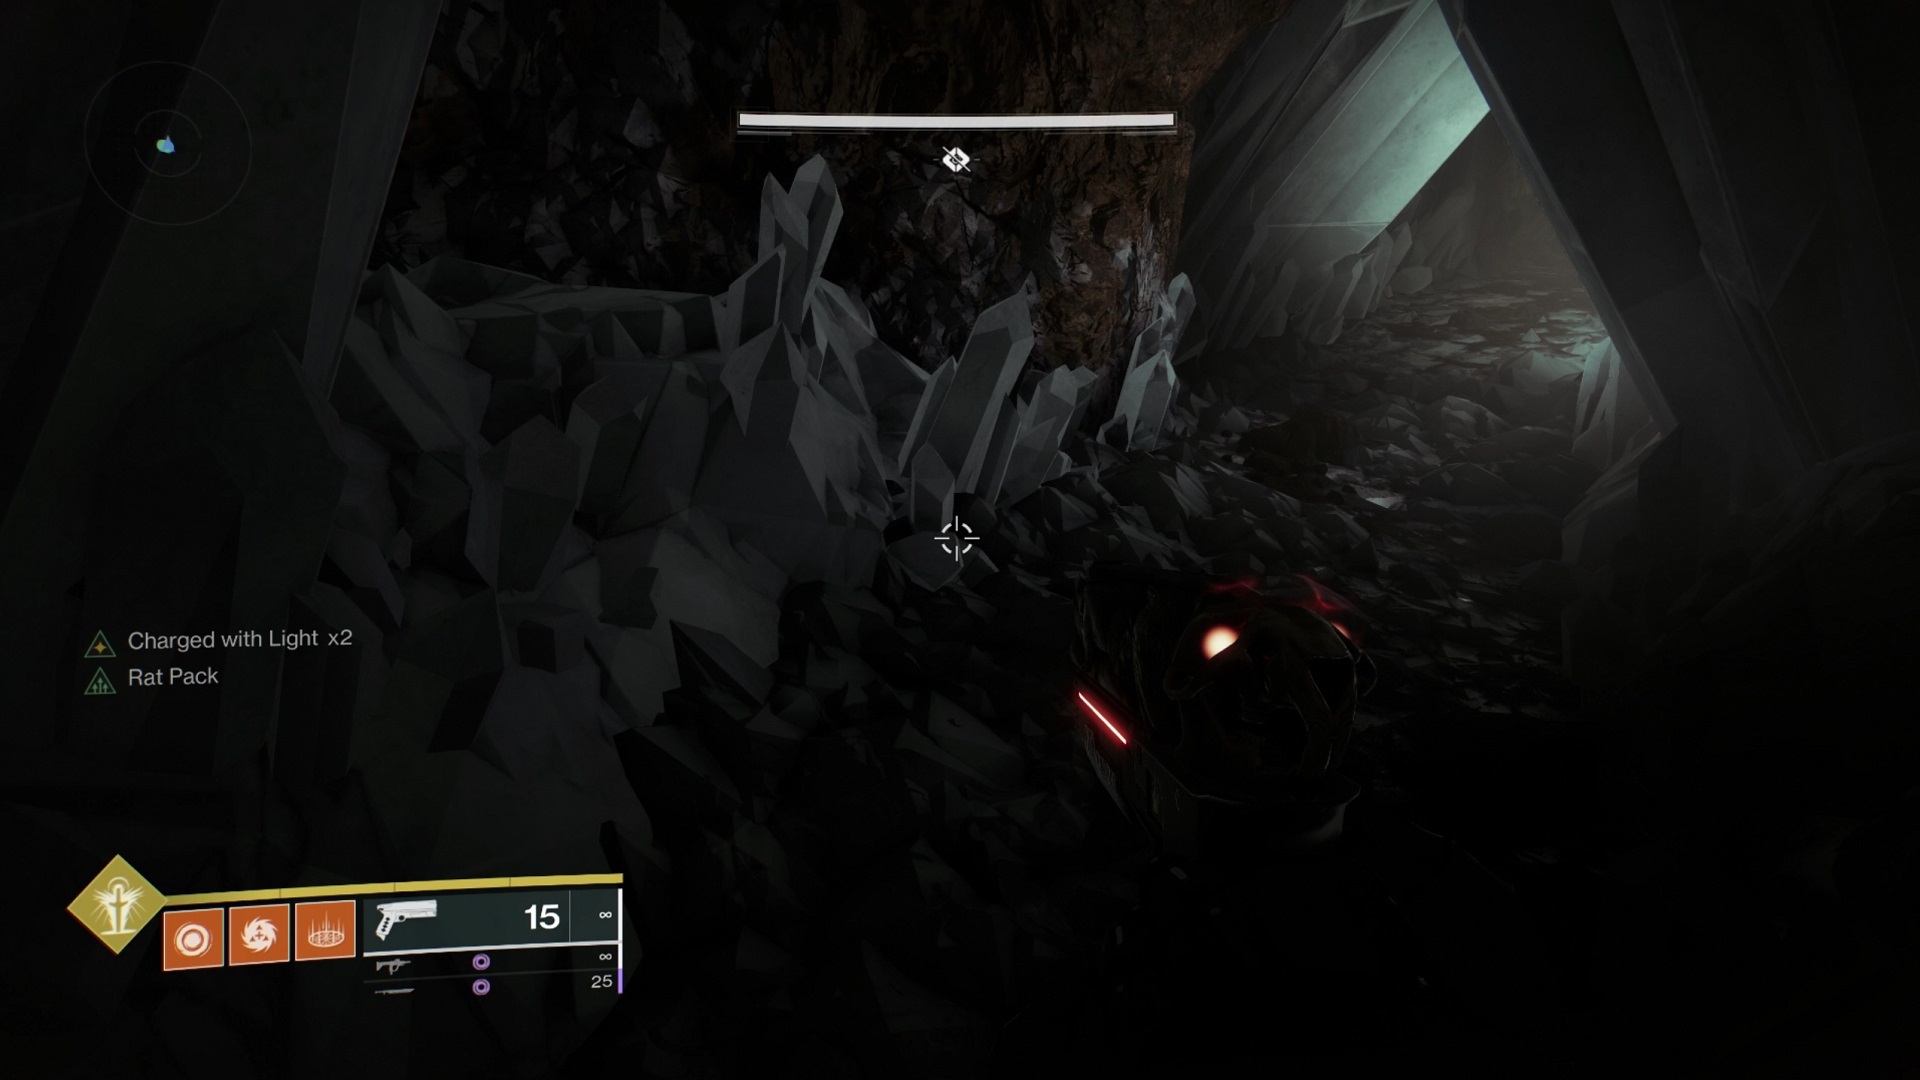
In order to get into the Grasp of Avarice dungeon, you need to find a way inside the Loot Cave. This is actually the main mechanic of Grasp, and you'll utilize it several times before you're done here. As you shoot the enemies streaming out of the cave, they'll drop yellow engrams, which look a lot like Exotic engrams. Pick one up, however, and you'll gain the "Burden of Riches" debuff with a timer. When that timer expires, you'll die, but you can reset it by picking up additional engrams.
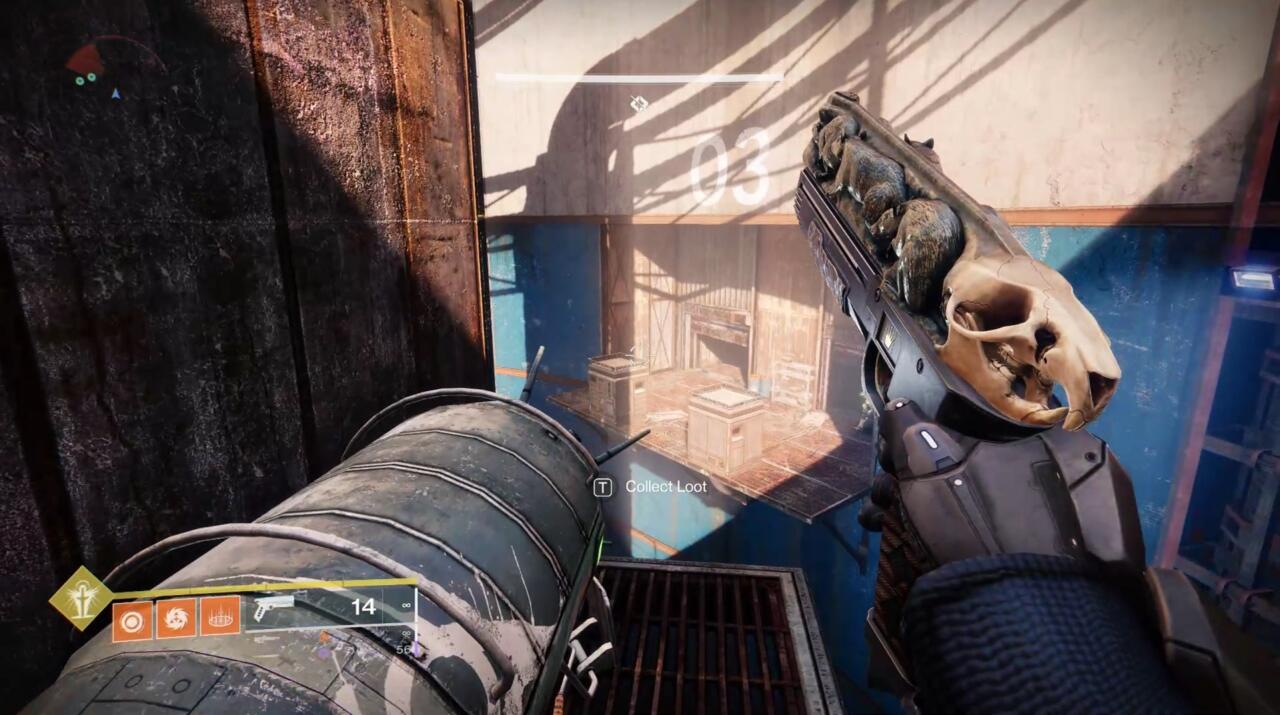
Your goal is actually to gather up as many engrams as you can while you clear out the enemies, then head into the cave where they spawn. Here, you'll find a white crystal. Stand beside it and the riches you're carrying, thanks to all the engrams, will be absorbed by the crystal. You'll lose the debuff (thus keeping you from dying), and the crystal will grow larger. So your goal is to keep grabbing engrams to raise your Burden of Riches debuff, then standing beside the crystal in order for it to absorb all your greed and get bigger. When the crystal becomes large enough, it'll flash, signifying that you've satisfied its lust for riches. That'll end the encounter and open the entrance to the dungeon proper, which is a hole in the floor of the Loot Cave.
Descending into the Cave
The next step of the cave is lighter on fighting but heavy on puzzles. First, note that the first hallway you enter contains Message in a Bottle lore item No. 1. Snag it as you go by to begin the story of Wilhelm-7, the ill-fated Guardian who descended into this cave in search of treasures and got more than he bargained for.
Note also that this first area, covered in more white crystals, contains the first chest you need to grab the Gjallarhorn Exotic catalyst. Use our Gjallarhorn catalyst guide to see exactly what you need to do for that. If this is your first time into the dungeon, you don't need to worry about it, as you'll need to complete the activity once to gain Gjallarhorn and return to unlock its catalyst.
Cross the crystal that forms a bridge where a bunch of Hive enemies are waiting and turn left. You should find a crate of blank engrams against the wall just below a big crystal, and Message in a Bottle lore item No. 2 among them.
Keep moving until you make your way into a room with a big round door with arrow signs around it at one end and two additional doors to the right. You'll notice that one of these doors is also marked with a skull and cross bones sign. As you might guess, the treasure-hunters who created this path deeper into the cave weren't excited for others to follow them and potentially abscond with their loot. The door with the arrow, therefore, is boobytrapped--if you open it, spikes will fly forward through the doorway and kill you.

Instead, open the foreboding skull-marked door, but don't go through yet. Instead, look down at the floor--you should see a square tile sticking up out of the floor. That's a pressure plate, and stepping on it will trigger another trap (you might be sensing a theme here). Avoid it by jumping over it or using the table on the right to climb around it. Push to the back of the room and you'll find a button that will open the big round hatch in the room you just left.
Before you leave the room with the button, head to the left of the button to find a small alcove filled with blank engrams. Look up to find a hole near the ceiling that leads to a small, concealed cubby hole, with Message in a Bottle lore item No. 3 inside.
The Trapped Path
Back in the first room, exit through the big round hatch, which should now be open. Following the path forward will take you to a big cylindrical room with a platform in the middle and a pit below. You want to jump across this pit to the platform, and then jump again to reach the button on the far side of the room. Trouble is, the platform will fall when you touch it, and the button is boobytrapped. Again.
Cross the pit to the platform and then jump again before the floor gives way to get to the far side of the room. Do not push this button. Instead, ignore it and turn around to face the way you just came from. Beneath the collapsing platform floor on the left, you should see a hole in the wall you can enter. Jump to that spot to find another button to press. This one will open the way forward. From here, leap back to the first button and then back up to the collapsing platform to return the way you came.

The button you pressed in the room with the collapsing floor opened another path, but not on the ground floor. Instead, you have to climb up in the room with the round hatch you first opened. At the top of this room, you'll find six round tunnels, each with a fan at the back, and pressure plates in front of those fans. As you can probably guess, five of those pressure plates will activate their corresponding fan, sending you flying out of the tunnel to your death. The sixth opens the path to the next area.
You want the tunnel that's farthest away and on the right side of the room from where you climb up--the back-right tunnel. If you've picked the right one you should be able to look down and see the round hatch door you just used on the wall just below you and a little to your right. Touch the pressure plate in this tunnel and a hatch will open in the ceiling, allowing you to jump out.

The next room is narrow and filled with garbage, and you'll again need to leap up to find your way through. Look up and you should see a platform above you, down the hall to the right, which has a blue arrow on it. That arrow marks the location of a pressure plate on the elevated platform, so when you jump up to it, be sure to stay to the right to avoid triggering another trap.
Standing on this platform, do a 180 so you're facing the hatch through which you entered the room. Ahead on the right, you should see another platform you can leap to, this one covered with open chests and blank engrams. Hop over to it and you'll find a hole in the wall on your right that leads to another nook, which contains Message in a Bottle lore item No. 4.

Back on the platform with the pressure plate, jump across to the hole ahead and follow it through until you hit another console with a button. Activate it to open the rotating hatch ahead, letting you into a reservoir with more hatches along the sides. Cross the bridge ahead to the open hatch on the left side of the room and head inside. You'll need to fight some enemies in here, while also keeping an eye out for more pressure plates that can activate traps; it's dark, so be careful. Clear the room and find a button in the back that you can activate, which will cycle the hatches in the area. The room you're in has two hatches, in fact, so while the door you entered through will close, another will open to your right.

Back outside in the reservoir, jump across to the next opened hatch on the other side of the room and repeat the process. This should open the hatch directly across from the one you use to exit this room. Enter the room across from you and ignore the button on the console here for now; instead, look for a hole in the ceiling that leads to another room lit from the outside through a window. You'll find a console here that opens the real path forward.
Before you leave the windowed room, look up toward the ceiling. Above one of the ancient computer consoles, you should see a hole in the corner of the room. Leap up to it and slip through to find Message in a Bottle lore item No. 5.
The last button you pressed in the windowed room opened a path behind you, back at the bridge you first crossed when you entered the reservoir. Head back outside and jump over to it, noting that there are some Hive enemies inside that'll give you some guff. Take them out and proceed through the new hole in the wall. At the back of the Hive room are two doors, and one is definitely boobytrapped. Pick the door on the right to find the path that safely leads forward.
The Scorch Cannon puzzle
Ahead, you'll enter a cylindrical room with four doors set in the walls, each numbered. Those numbers tell you how to advance through here, and you're about to learn a new mechanic you'll employ further on involving Fallen Scorch Cannons.

First, though, you need to open doors 1 through 3 in succession. Door 1 has a button console in front of it; activate that, and Door 2 will open. Inside that room, you'll find more enemies to fight. Be careful of trap pressure plates as you clear the area. In the back of the room is another console, the button on which will open Door 3. Clear this room to find another button, which will unlock Door 1, where you'll find a Vandal carrying a Scorch Cannon. Kill it and take the weapon, as you'll need it to advance. Note that each time you open a new door, enemies will appear, including Hive Wizards that fly around the central room.
Before moving on, look for a column between doors 3 and 4. On the back of the column closest to the curved wall on the outside of the room, you'll find a platform with a secret chest. Like the chests you find in raids, this one will only give you loot you've already received from within the dungeon, but once you've unlocked some goods, you can use it to find new rolls on weapons and armor. You You can reach it by jumping on the platform against the wall between doors 3 and 4, but be wary--that platform will fall away a moment after you've touched it.
Jump over to Door 4 and you'll find an egg-shaped Fallen machine with a hole in the front. Launch your Scorch Cannon missile into the hole. You can hold down the trigger to charge up the missile; once it charges up a couple of times, release the trigger to detonate it. If you released enough energy, the blast will power the machine and open Door 4. If not, shoot it again; three uncharged Scorch blasts will do the job.

Door 4 reveals a staircase going up. Before you charge forward, look to the sides of the stairs for small alcoves. There should be one immediately on the right, so duck inside. A cylindrical barrel will come flying down the steps, killing anyone in its path, but the alcove will keep you safe from the trap if you're quick.
At the top of the stairs is a hallway leading to a garage, and seemingly, a dead end. Before moving on, look on the wall to the right where you enter for an open door.

Inside is a pressure plate, so be careful to avoid it. Make your way to the back of this room and look for a white flat piece of wood leaning up against the wall. Walk around behind that piece of wood to find a vent hole in the floor that will lead to a room containing Message in a Bottle lore item No. 6.
Back in the garage, look for a stack of boxes in the middle of the room. If you climb them, you'll find a hole just above them into a ventilation duct, which you can use to continue forward. The duct will drop you into a flooded room with a catwalk against a pillar on the left side of the room. From this broken catwalk, you should be able to leap across the water to the exit on the far side. If that seems too daunting, hidden in the dark in the corner to your right is some more ruined catwalk, but it can be tough to see. Moving along the back wall to the right side will get you to the second catwalk, which is a little closer to the exit. Your best bet here, though, is to just jump from the first location--Hunters might want to equip the ST0MP-EE5 Exotic boots for a little extra boost in clearing the gap.
When you're out of this room, you'll hit your first boss encounter. You might also recognize your location: the end of the Devils' Lair Strike, where you fight Sepiks Prime. You're on the side of the room you've never accessed in the Strike, though, approaching from the opposite end as the usual entrance.
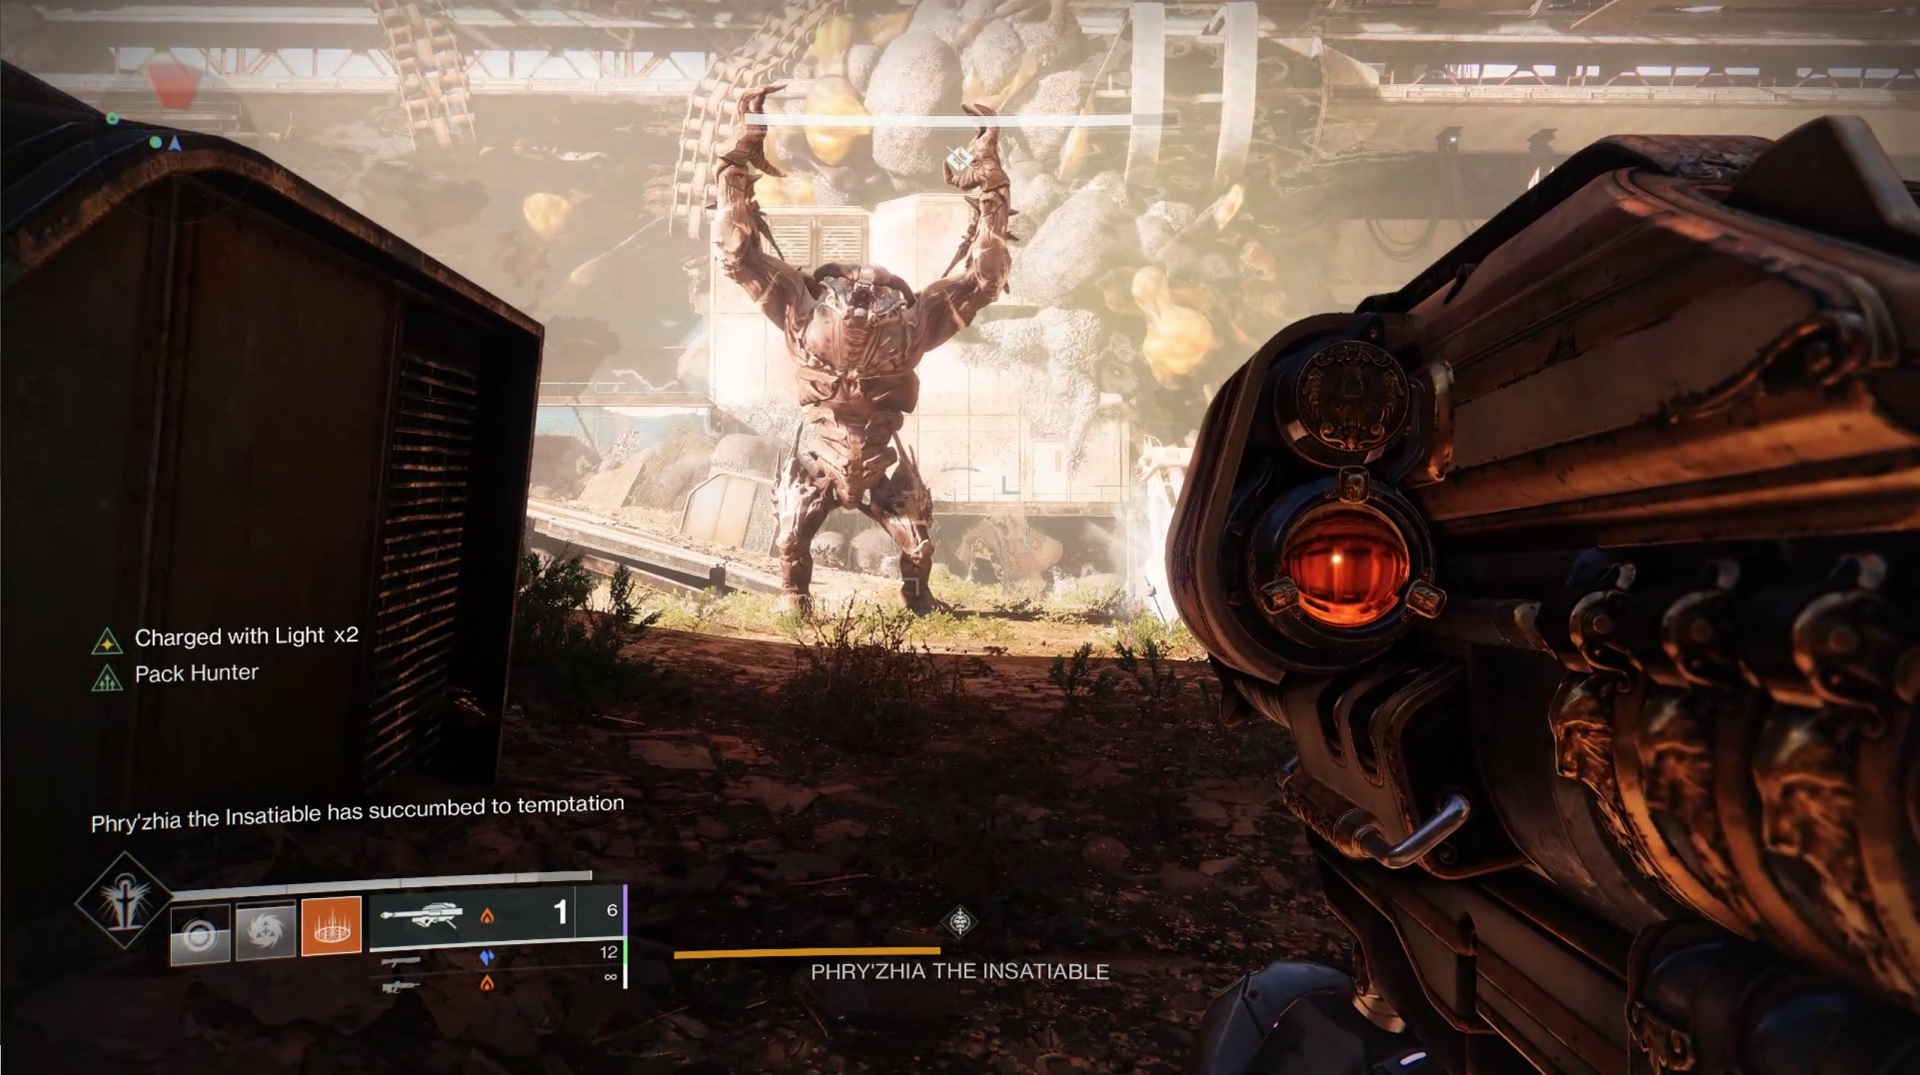
Boss Fight: Phry'zhia the Insatiable
Before jumping across the gap to the boss arena, make sure to drop a Rally Flag and power yourself up. The fight with Phry'zhia will require you to combine the mechanics you've learned so far, but it's not too tough if you can find yourself some decent cover from the boss. The ogre will lay into you with its laser eye attack constantly, and you can't damage it right away, so you're going to need to find safe spots to avoid getting hit, or employ tactics like invisibility to avoid taking damage.
As you enter the arena, you'll see Fallen spawn in the back of the room, including a Vandal with a Scorch Cannon. Kill the Vandal and snag the cannon, then look to the sides of the room, where you'll find two doors you can power up with Fallen machinery, just like you did with Door 4. It doesn't matter which you start with, so open one up and enter it. Inside, you'll find a ton of enemies to kill, and they all drop engrams that give you the Burden of Riches debuff.

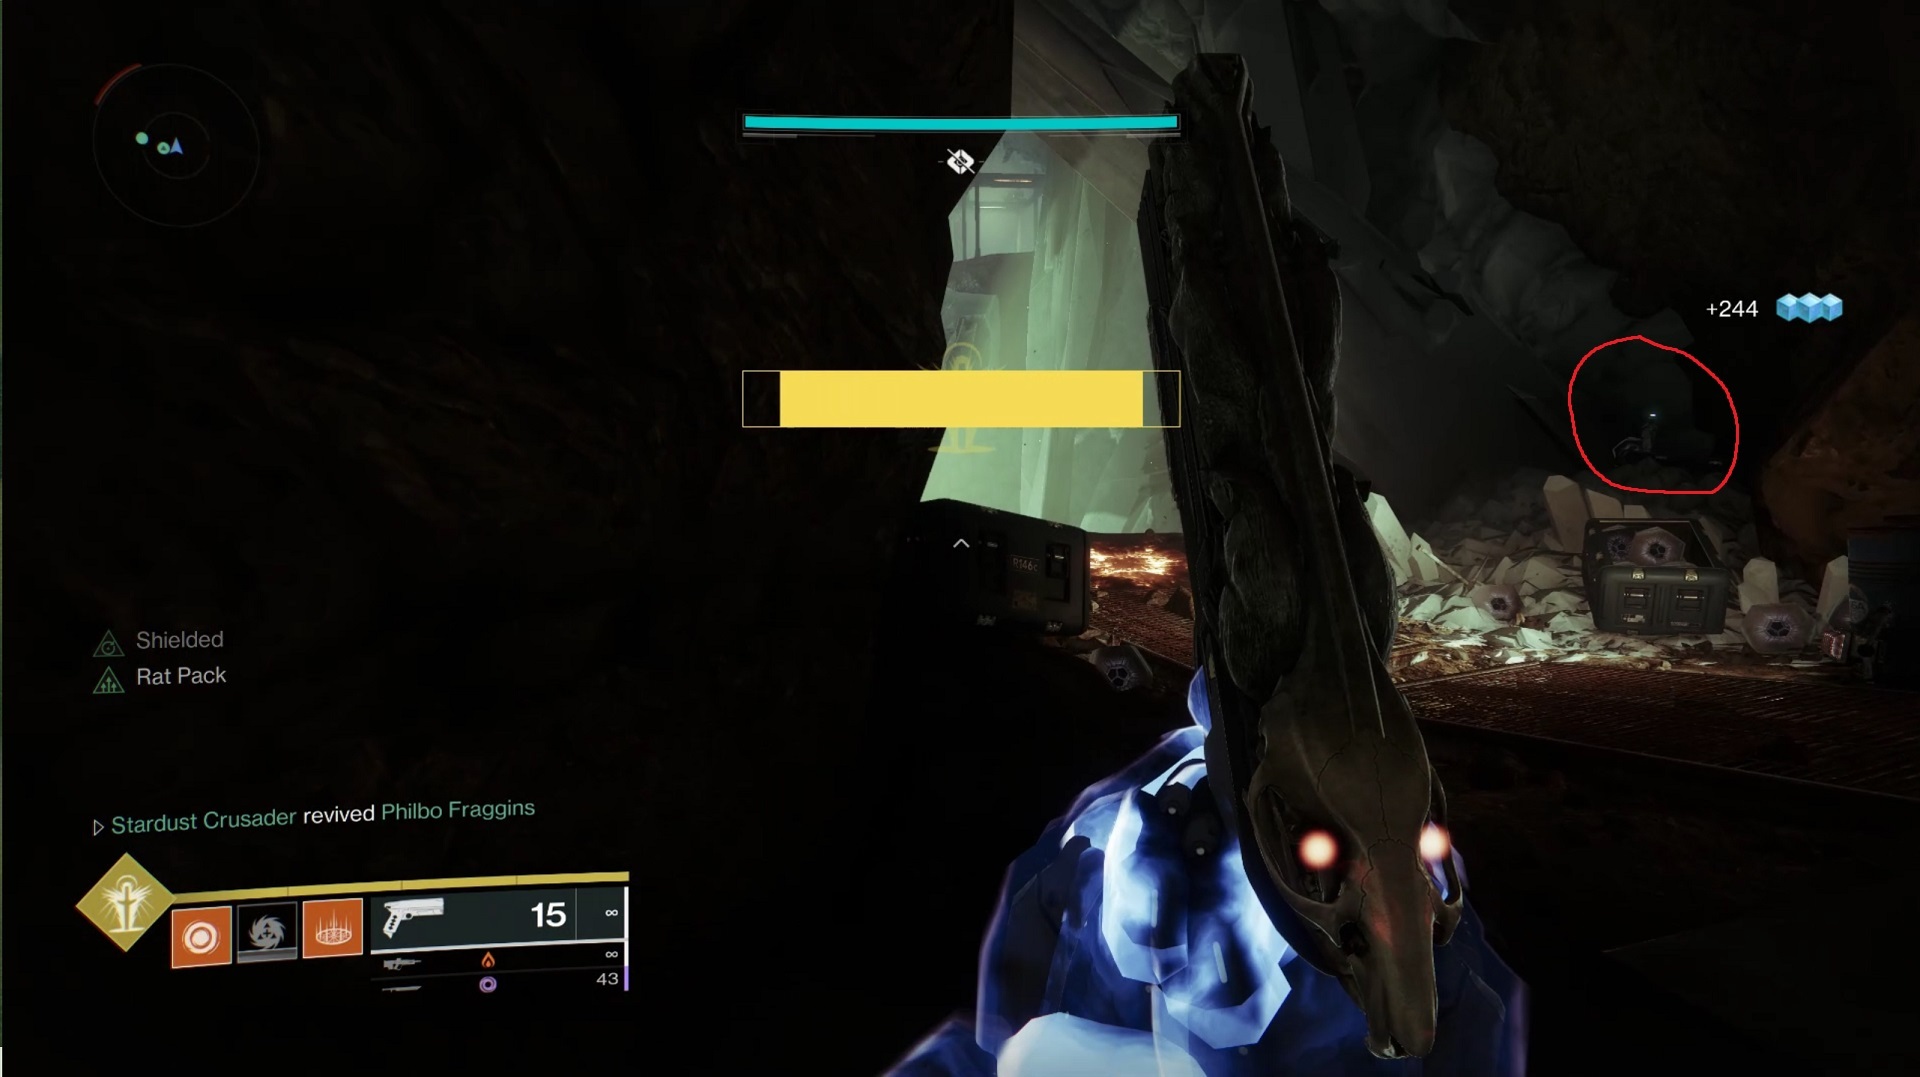
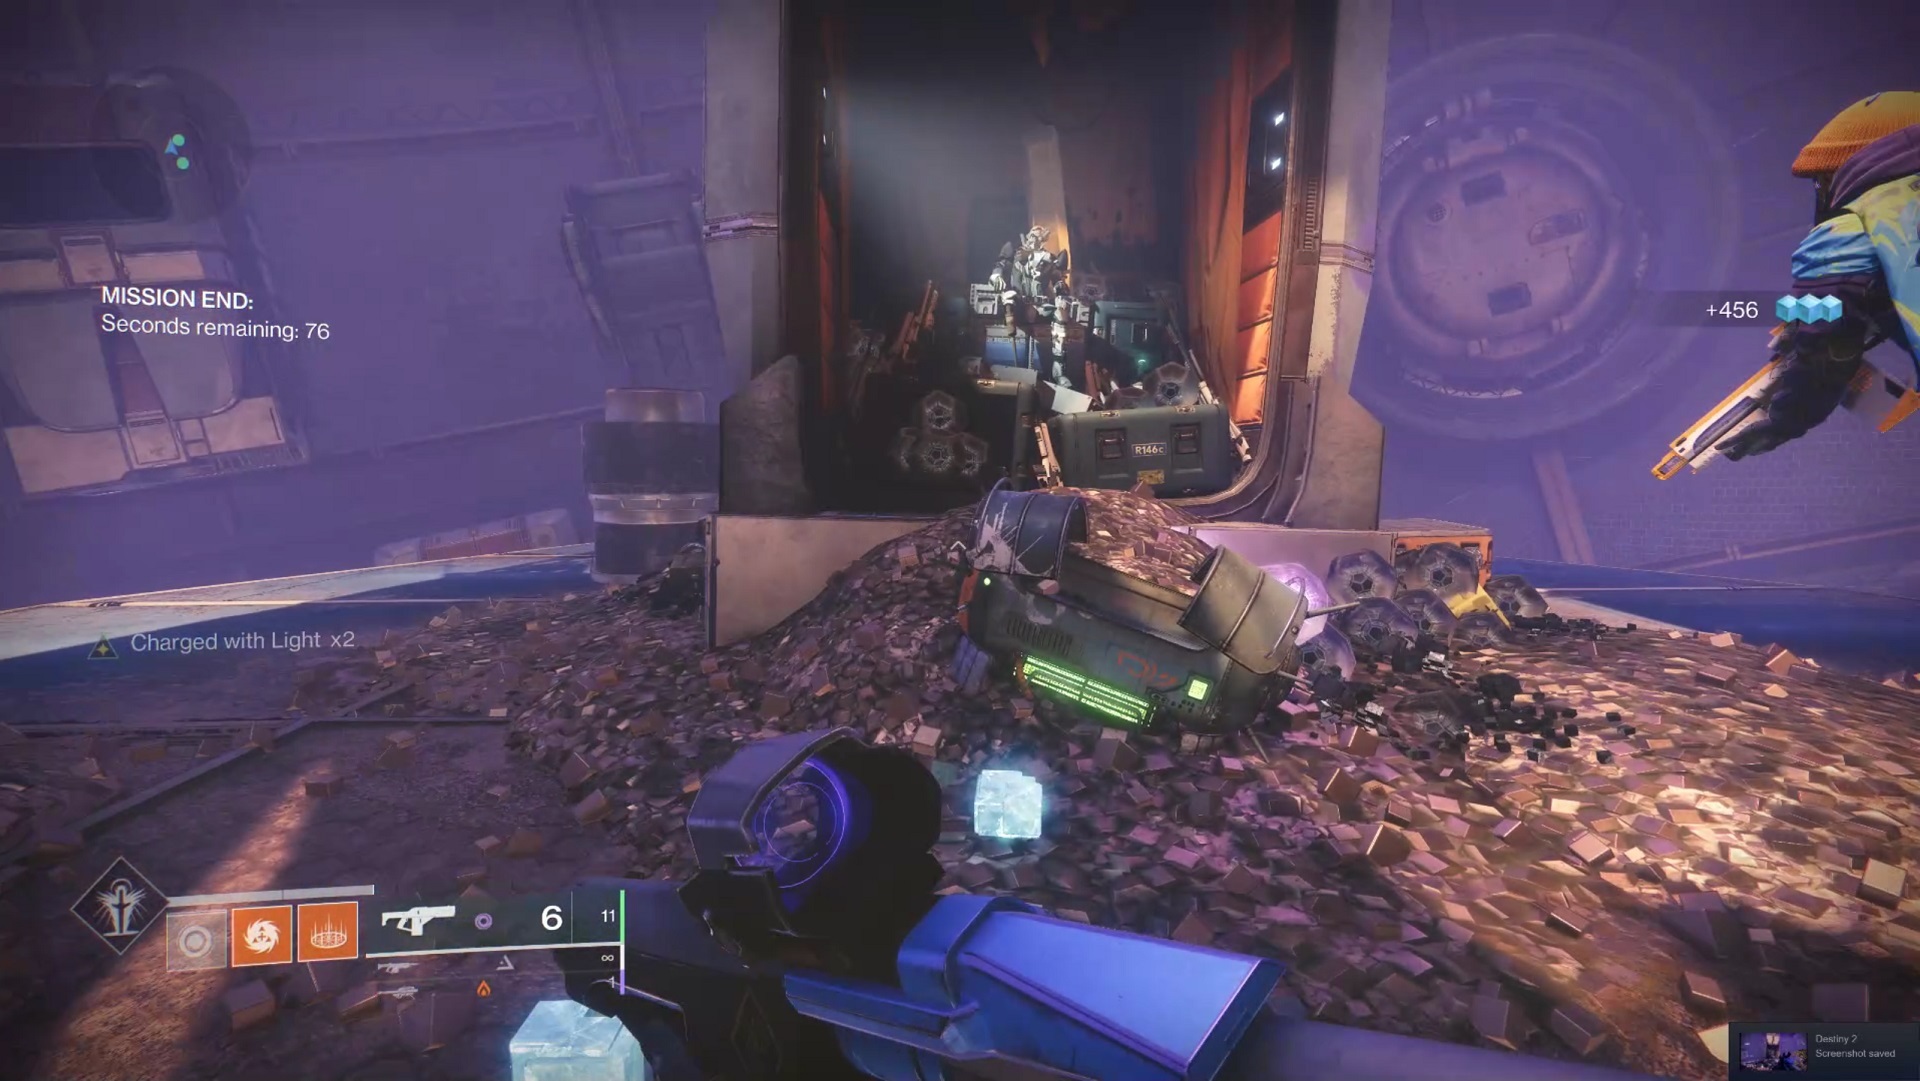
Gather as many engrams as you can, then head out into the boss arena and move toward where you jumped across the gap, at the front of the room. Don't be afraid to use your Super throughout this encounter, as the engrams you pick up from the Hive enemies will grant Super energy. For every 10 engrams you get back, you'll also get your Super back. A white crystal like the one you used to open the Loot Cave is here, so your goal is to gather as many stacks of Burden of Riches as you can before heading to the crystal to feed it. The crystal can block you from Phry'zhia's attacks as you're waiting for your debuff to fully go away, but note that Hive Thralls will stream toward you during this time, so be careful not to get surrounded. You'll need 25 engrams to grow the crystal to its full size; when you do, Phry'zhia's shield will go down, making the ogre vulnerable to damage. Go nuts.
For your damage phase, linear fusion rifles remain especially powerful, especially with the Season of the Lost's Particle Disruption mod equipped. Stasis can be helpful here to keep the boss from messing you up too much, but really, you just want to do as much damage as you can, as fast as you can, with powerful weapons. Stick close to cover on the sides of the room to avoid Phry'zhia wrecking you with its attacks, or use Supers such as Well of Radiance to keep you and your team alive. After a short while, the boss's shield will return, requiring you to repeat the process of gathering engrams again.
There's nothing much more to know about fighting Phry'zhia, and after you've hit it with enough damage, it'll fall, granting you your first dungeon loot drop and opening the way forward.
The Sparrow run
Head out of Phry'zhia's arena the way you would normally enter to fight Sepiks Prime. Hang a left and you should see a cylindrical tank just ahead of you. Hop on top and inside the tank--it hides Message in a Bottle lore item No. 7.

Keep moving forward until you hit a dead end in a new area called Rusted Gangplank. Here, you'll find two more buttons--one is trapped, and one opens the door to leave. Choose the left button (you can look at the panel on the floor of the right one to see that it's trapped) but don't press it yet, as you'll want a second to compose yourself. The button opens the big door ahead, leading outside into an intense Sparrow race section of the dungeon.
The sparrow run is very similar to the one that was part of Scourge of the Past, the raid released back during the Season of the Forge. The wrinkle in this run is that, as you move advance through here, you'll need to defuse Fallen mines with extremely short fuses. Just crossing under these mines while on your sparrow at full speed is enough to defuse them, so you never have to slow down or stop as you power through to reach all four--but the time within which you'll need to reach each one is very tight. Look for round white and red lights on the ground during the run; if you cross over these, you'll extend the mine timers slightly, making it a bit easier to reach them all. Our path through the run will direct you to several of them, but it's easiest to do with your fireteam splitting up the responsibilities to hit the lights along the way, as are lots of possible paths through this section, and lights scattered across all of them. You'll know the lights have been activated if they switch from red to green as you pass.

Speaking of Scourge of the Past--if you have the raid's sparrow, Always On Time, you should absolutely use it here. Its intrinsic perk makes enemies fire on it less, which is a huge boon through this portion of the dungeon. There's a good chance that, even if you're doing a great job driving, your sparrow might sustain enough damage from enemies that it'll explode, ruining your run. You can get Always On Time from the Monument to Lost Lights in the Tower.
When the door opens, head to the right to hit your first light, then cut left under the crashed ship to reach Mine A. As you enter the cylindrical crashed colony ship, bear left along the wall. If you can stick on that path, you'll hit the second light--just be ready to get back in the center of the path to go through the tighter round opening just ahead, which will get you to Mine B.
From Mine B, bear left again, going up the rocky wall and back inside the ship ahead (the right side has a Fallen Walker and almost certain death, so you really want to avoid that). The crashed ship's round opening ahead contains the third light, so you'll hit it no matter what if you take this path, and Mine C is just beyond in a big, open, rusted-out room.

Right after Mine C, go through the triangular opening with Fallen enemies standing in it, then bear right, bypassing the ramp in the center of the room. You'll see another ramp ahead of you on the right side of this area, with the fourth light at the end of it. Just beyond that are two spinning drill-like launchers. Take the higher one on the left, which will launch you into the skull-faced cave(!) ahead while also taking you past the last light. Mine D is just inside the cave and you should land on it, allowing you to quickly defuse it. Just note that this is the end of the line for your sparrow and you'll have to briefly defend yourself against some enemies.
Before you leave the skull cave, use the crystals along the side to climb up into the left eyehole above you, where you'll find another hidden chest. From there, drop down to the nose hole and look down into the gap you crossed with your sparrow, toward the right wall below. You should see a platform well below the skull cave you can drop down to. When you arrive, turn around and face back toward the skull cave to find Message in a Bottle lore item No. 8 nestled up against the wall, in the shadow of the platform above.

Back in the skull cave, climb up the white crystals to reach the exit on the right side of the room. You'll enter into a shaft where you can drop down, but don't go down yet. Instead, climb up using the crystals to find Message in a Bottle lore item No. 9 against the wall on the large, horizontal crystal above you. It's a bit hidden in shadow, nestled under some smaller crystals jutting out from the wall above it.

The Sunken Lair

Descend down the shaft to find yourself in the next encounter of the dungeon. This one is involved, but actually not too difficult. It's part combat and part puzzle, and will again require you to use Scorch Cannons to power machinery and to grow crystals using collected engrams.
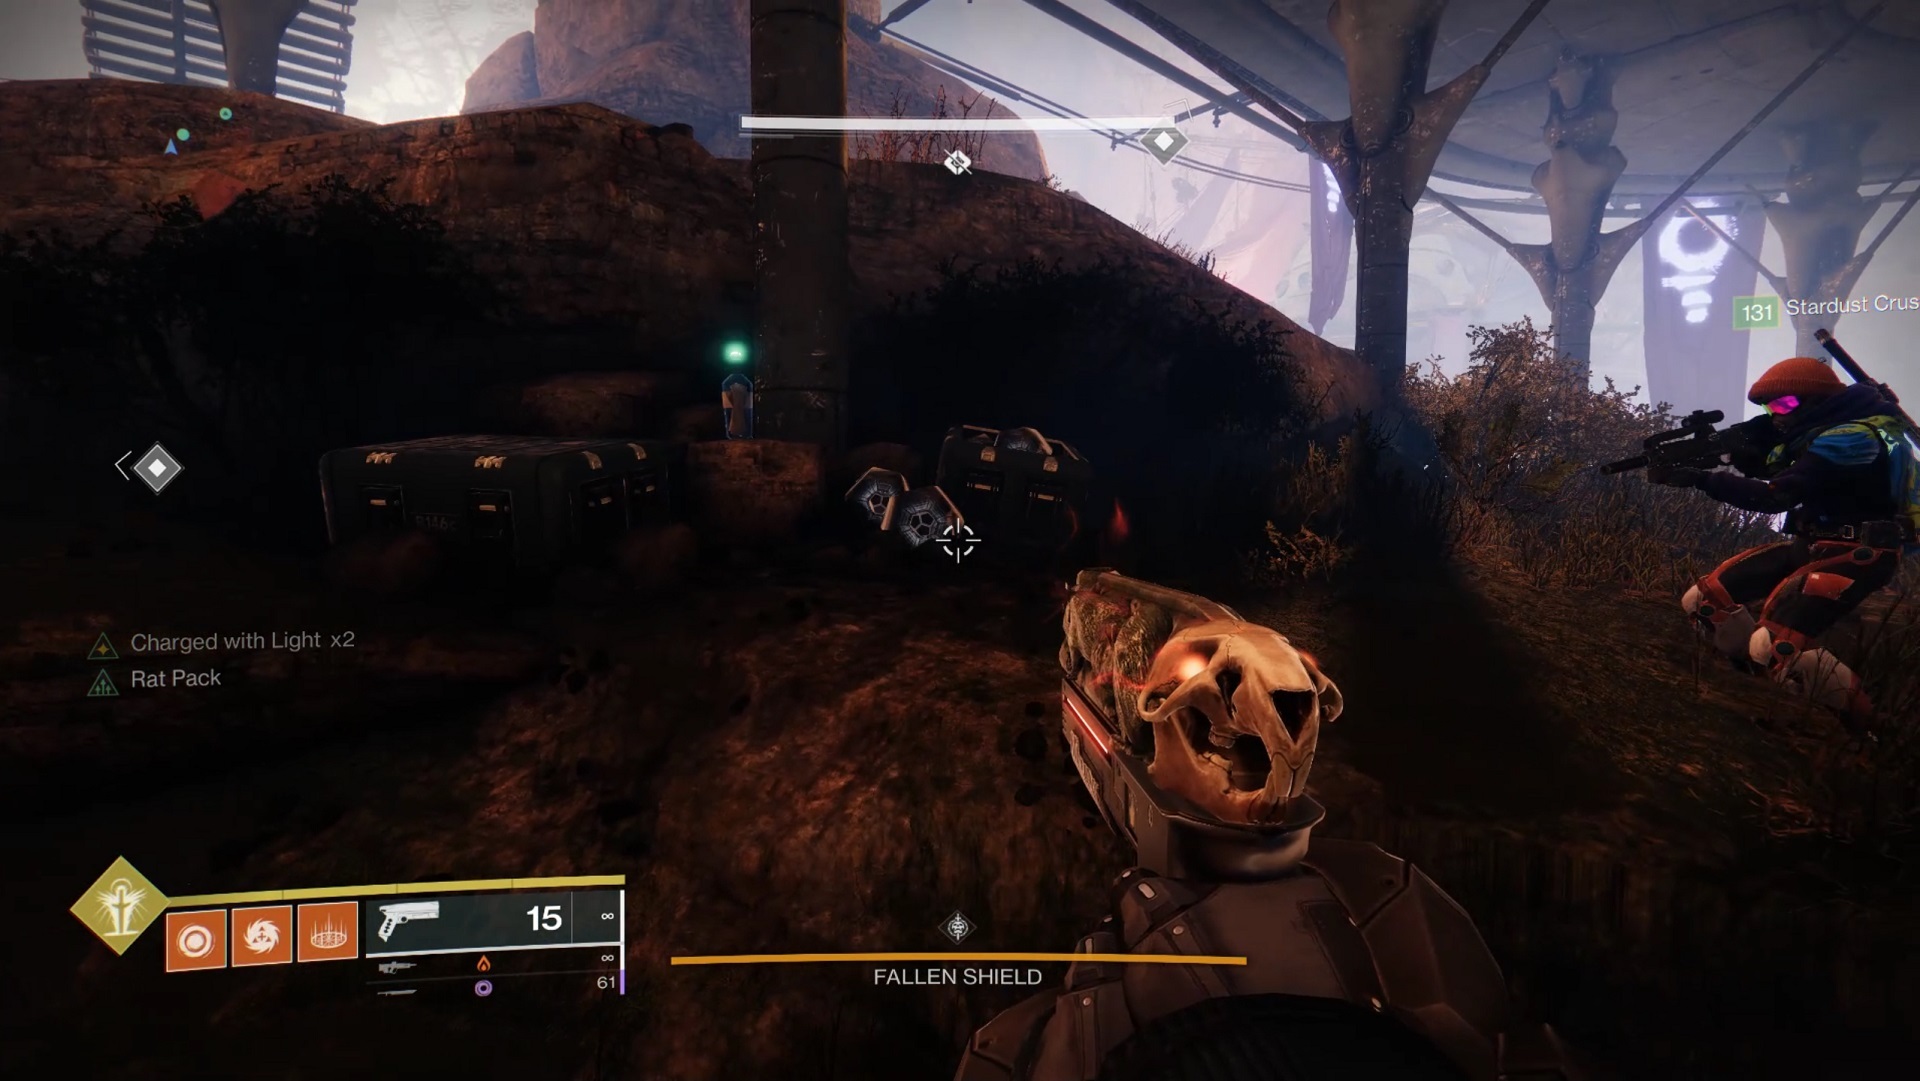
First, get the lay of the land. This room is made up of several islands that have Fallen structures on them. Each of these islands has a big round launcher thing on it, just like the launchers you used with your sparrows immediately before this. The launchers can heave you from one outpost to the next, and you can interact with them to rotate them and aim them at different, predetermined spots. Each launcher has a cable running away from it to a Fallen power generator, which you can power up using a Scorch Cannon--and each outpost has a Vandal wielding a cannon, so you can always easily find one.
When you fire a Scorch Cannon blast into one of the generators, it'll turn on its connected launcher, sucking up anything beneath it and sending it flying to wherever you've aimed it. You can use the Scorch Cannon's ability to remotely detonate its projectiles to make sure you're in position before the launcher fires up. Make sure you've got your launcher aimed where you want to go before getting into it, or there's a fair chance it'll launch you toward that round metal structure in the center of the room, causing you to fall to your death in the water below.

Look up at that round metal structure, which kind of looks like a hot air balloon. The bottom opening of that structure is shielded, and your goal is to destroy that shield. To do so, you need to target four round, lit-up objects located around the outside edge of the opening. You can't take them out with your weapons, however--you need something special to do the job. Namely: You need to launch dead Servitors at those shield generators in order to take them out.
There are four shield generators, so you need to find four Servitors to destroy them all. Those Servitors show up one at a time in random locations around the room, and they're all shielded, so they're immune to attacks. Start using the launchers to move yourself around the arena until you track down a Servitor. When you find it, enemies will flood the outpost to attack you. Kill them and they'll drop engrams to charge up a nearby crystal, which you'll find inside the central building of that outpost. When you charge up the crystal enough--20 engrams will do it--it'll deactivate the Servitor's shield, allowing you to destroy it. As before, 10 engrams gives your Super back, so don't be afraid to use it as much as you need to.
When you kill the Servitor, instead of blowing up completely, you'll be left with its dead, round metal shell. Carefully push the Servitor shell to the launcher on your island; it should roll pretty easy, but if the Servitor falls off an edge, you'll have to wait for another to respawn and kill that one. Once the Servitor shell is under the launcher, interact with the launcher to aim it up at the shield generator on the hot air balloon above you. Power up the launcher's Fallen generator with your Scorch Cannon to fire the shell.
You'll have to keep repeating this process, moving around the room with the launchers to find and destroy Servitors, but it's not an especially tough fight. Once you've got all four shield generators destroyed and the Fallen Shield is no more, head to the island in the center of the room. You'll find a chest with your next batch of loot for completing the encounter here.
Before you leave, head to the left side of the room if your back is to where you entered. You want the outpost against the left wall, which has a big turbine-looking piece of machinery hanging above it. Jump up to this turbine and get inside to find Message in a Bottle lore item No. 10.

Next, go to the center island's launcher, then look back toward the center of the outpost, with the building on it. You should see that you can get underneath the higher section of this central island. Check beneath the platform with the building on it to find a crate with engrams inside and Message in a Bottle lore item No. 11.
Back at the center island's launcher, adjust it so it's aiming straight up through the opening above you, then use it to fire yourself up to the top. You're now in Wilhelm's Hoard for the final phase of the dungeon--the last boss fight.
Boss Fight: Captain Avarokk The Covetous
Before you move to the center of the room to start the boss fight, look around a bit to get an idea of what you're up against. This room will again use the Burden of Riches engram mechanic and the Scorch Cannon generator mechanic. In the center of the room is the big crystal you need to bring your engrams to once you have the Burden of Riches debuff. To get them, you'll need to find Scorch Cannons to shoot one of three generators, stuck to the big rings in the center and facing the left side, right side, and front of the room.
The Avarokk fight is a little different from past encounters in the dungeon, because you won't be getting your engrams from enemies. Instead, they're located in boxes that are attached to the walls of the ship. To open those boxes, you need to charge up one of the generators a few times with a Scorch Cannon. Any generator seems to affect all the boxes in all three locations around the room, though; once they're charged, they dump a ton of engrams onto the ground for you to pick up.

Your goal is to then carry your Burdened by Riches debuff to the center of the room, where Avarokk is, and avoid him long enough to grow the crystal near where he stands. Grow the crystal with 60 total engrams, and as in the past, it'll deactivate Avarokk's shields, making him vulnerable. He'll move to the back of the room and stand still, allowing you to unload on him with everything you've got for a few seconds. When his shield goes back up, you'll repeat the process.
That's the basic gist of the encounter but there's quite a bit more to defeating Avarokk. The boss makes crossing the center of the room difficult, and he'll blast you as you're growing the crystal, so you need to be very careful as you're doing so. The room will also periodically flood with Dregs, who aren't especially powerful but who can overwhelm you with concentrated fire. They show up on the center, left, and right platforms, right where engrams are dumped out of their boxes when you charge the Fallen generators.
The main thing you need to be concerned with during the fight, however, is the pair of helpers Avarokk has in the center of the room. He's flanked by R-M80, a flying sniper shank, and a Fallen Marauder called Grisprax. Both are tough, yellow-bar elite enemies who are difficult to kill, and both can do a ton of damage to you. Eliminating R-M80 and Grisprax is essential to freeing yourself up to do damage to Avarokk. Note also that Grisprax drops 10 engrams, giving you a quick Super recharge when you bring him down.

You'll want to start with R-M80, whose ability to snipe you makes it extremely dangerous. Most of the time, when you die during the Avarokk fight, it'll be R-M80 that kills you. Focus on destroying it first, making use of high-power weapons or fusion rifles using Particle Deconstruction. Once the shank is dead, deal with Grisprax, who will likely be invisible on the central platform, but a bit easier to deal with because its attacks are short-range. With both enemies defeated, you're clear to wipe out Dregs and start gathering engrams to activate Avarokk's damage phase.
After you deal damage to Avarokk and its shield is restored, however, both R-M80 and Grisprax will respawn, forcing you to kill them again. You'll want to get away from the center of the room fast and find cover so you can stay alive and deal with all the enemies around. Again, Well of Radiance is extremely useful here--it's great for absorbing Avarokk's attacks during the damage phase so you can just lay into him without worrying about dying. Invisibility can also be very helpful here, particularly when you're headed to the crystal with Burden of Riches. Avarokk will attack you the entire time you're getting rid of that debuff, so try to run around the crystal to stay away from his stomp attack and to use it for cover.
Repeat all these steps until you've dealt enough damage to Avarokk to kill it, and you'll have cleared the Grasp of Avarice. The final moments of the dungeon reveal the fate of Wilhelm-7 when you get your final loot drop. Look inside the box that opens at the end with Wilhelm-7 inside to find one last pickup: Message in a Bottle lore item No. 12. That should unlock the "Richest Dead Man Alive" Triumph, earning you the Hraesvelgur ornament for Gjallarhorn.
While there's a full set of armor to be earned from the normal difficulty version of Grasp of Avarice, know that playing through the dungeon on Master difficulty will earn you Artifice armor pieces that offer an extra mod slot, making it unique and worth pursuing.
Got a news tip or want to contact us directly? Email news@gamespot.com
Join the conversation