Destiny 2 Dead Man's Tale Catalyst Guide - How To Unlock It And Find All 12 Caches
A new version of the Presage Exotic mission is now available, and if you can fight through the tougher difficulty, you'll earn an upgrade for a great new Exotic.
Destiny 2's Presage Exotic mission will earn you Dead Man's Tale, a new Exotic scout rifle. But if you want to further improve the gun with its Exotic catalyst, you'll have to take on a much tougher version of the mission, while also seeking out a whole lot of secrets aboard the Glykon. Here's how to get the Dead Man's Tale catalyst, what it's good for, and how to unlock it quickly.
Earning the catalyst requires you to complete Presage at least twice, but you'll get faster progress on the catalyst if you're willing to run it several times. There are a lot of moving parts involved with the new Exotic quest, however. It seems that you'll want to run the mission at least once a week to get the maximum speed out of your catalyst progress.
We've got plenty more coverage of the Presage mission, including a complete guide of how to access Presage and how to uncover all of its secrets, and a rundown of where to find hidden lore and unlock the Gilgamesh Exotic Ghost shell.
Step 1: Get The At Your Fingertips Exotic Quest
Once you've cleared Presage once and unlocked Dead Man's Tale, Zavala will have a new quest for you, called At Your Fingertips. The Exotic quest sends you back to the Glykon, where Presage takes place, to explore it more thoroughly. It also unlocks the Master difficulty version of the mission, which has a suggested Power level of 1320. You'll want to make sure you've geared up to handle the more-difficult enemies found within.
Step 2: Complete Presage On Master Difficulty
This is where the fun beings. Presage on Master has a suggested Power level of 1320, making the enemies found within drastically tougher to defeat than in the standard version--which is already no picnic. The tougher mission also includes a bunch of new modifiers, including Match Game, which makes it almost impossible to destroy enemy shields unless you hit them with the same element type. Finally, Master difficulty Presage includes a 25-minute timer, so you'll need to sprint through it as quickly as you can; make sure you know the route through the mission very well or you're going to fail a lot.
Master Presage also includes the Champions: Mob modifier, which suggests the mission will spawn extra Champion enemies throughout. At least in its first week, this doesn't seem to be the case--the mission actually includes no Champions right now. It's not clear if the inclusion of Champions: Mob is a mislabeling and the mission is not supposed to include Champions, or if it's bugged and no Champions are spawning. Either way, you might want to complete it as soon as possible, before Bungie has a chance to patch it and make it even tougher.
We highly recommend you bring a full three-player fireteam for Presage on Master difficulty, especially if you're not at max Power level. The mission is tough primarily because it's easy to get overwhelmed thanks to Match Game and because the timer can end your run even if you're doing well. Having three players also allows you to bring a variety of weapons to bear in the mission.
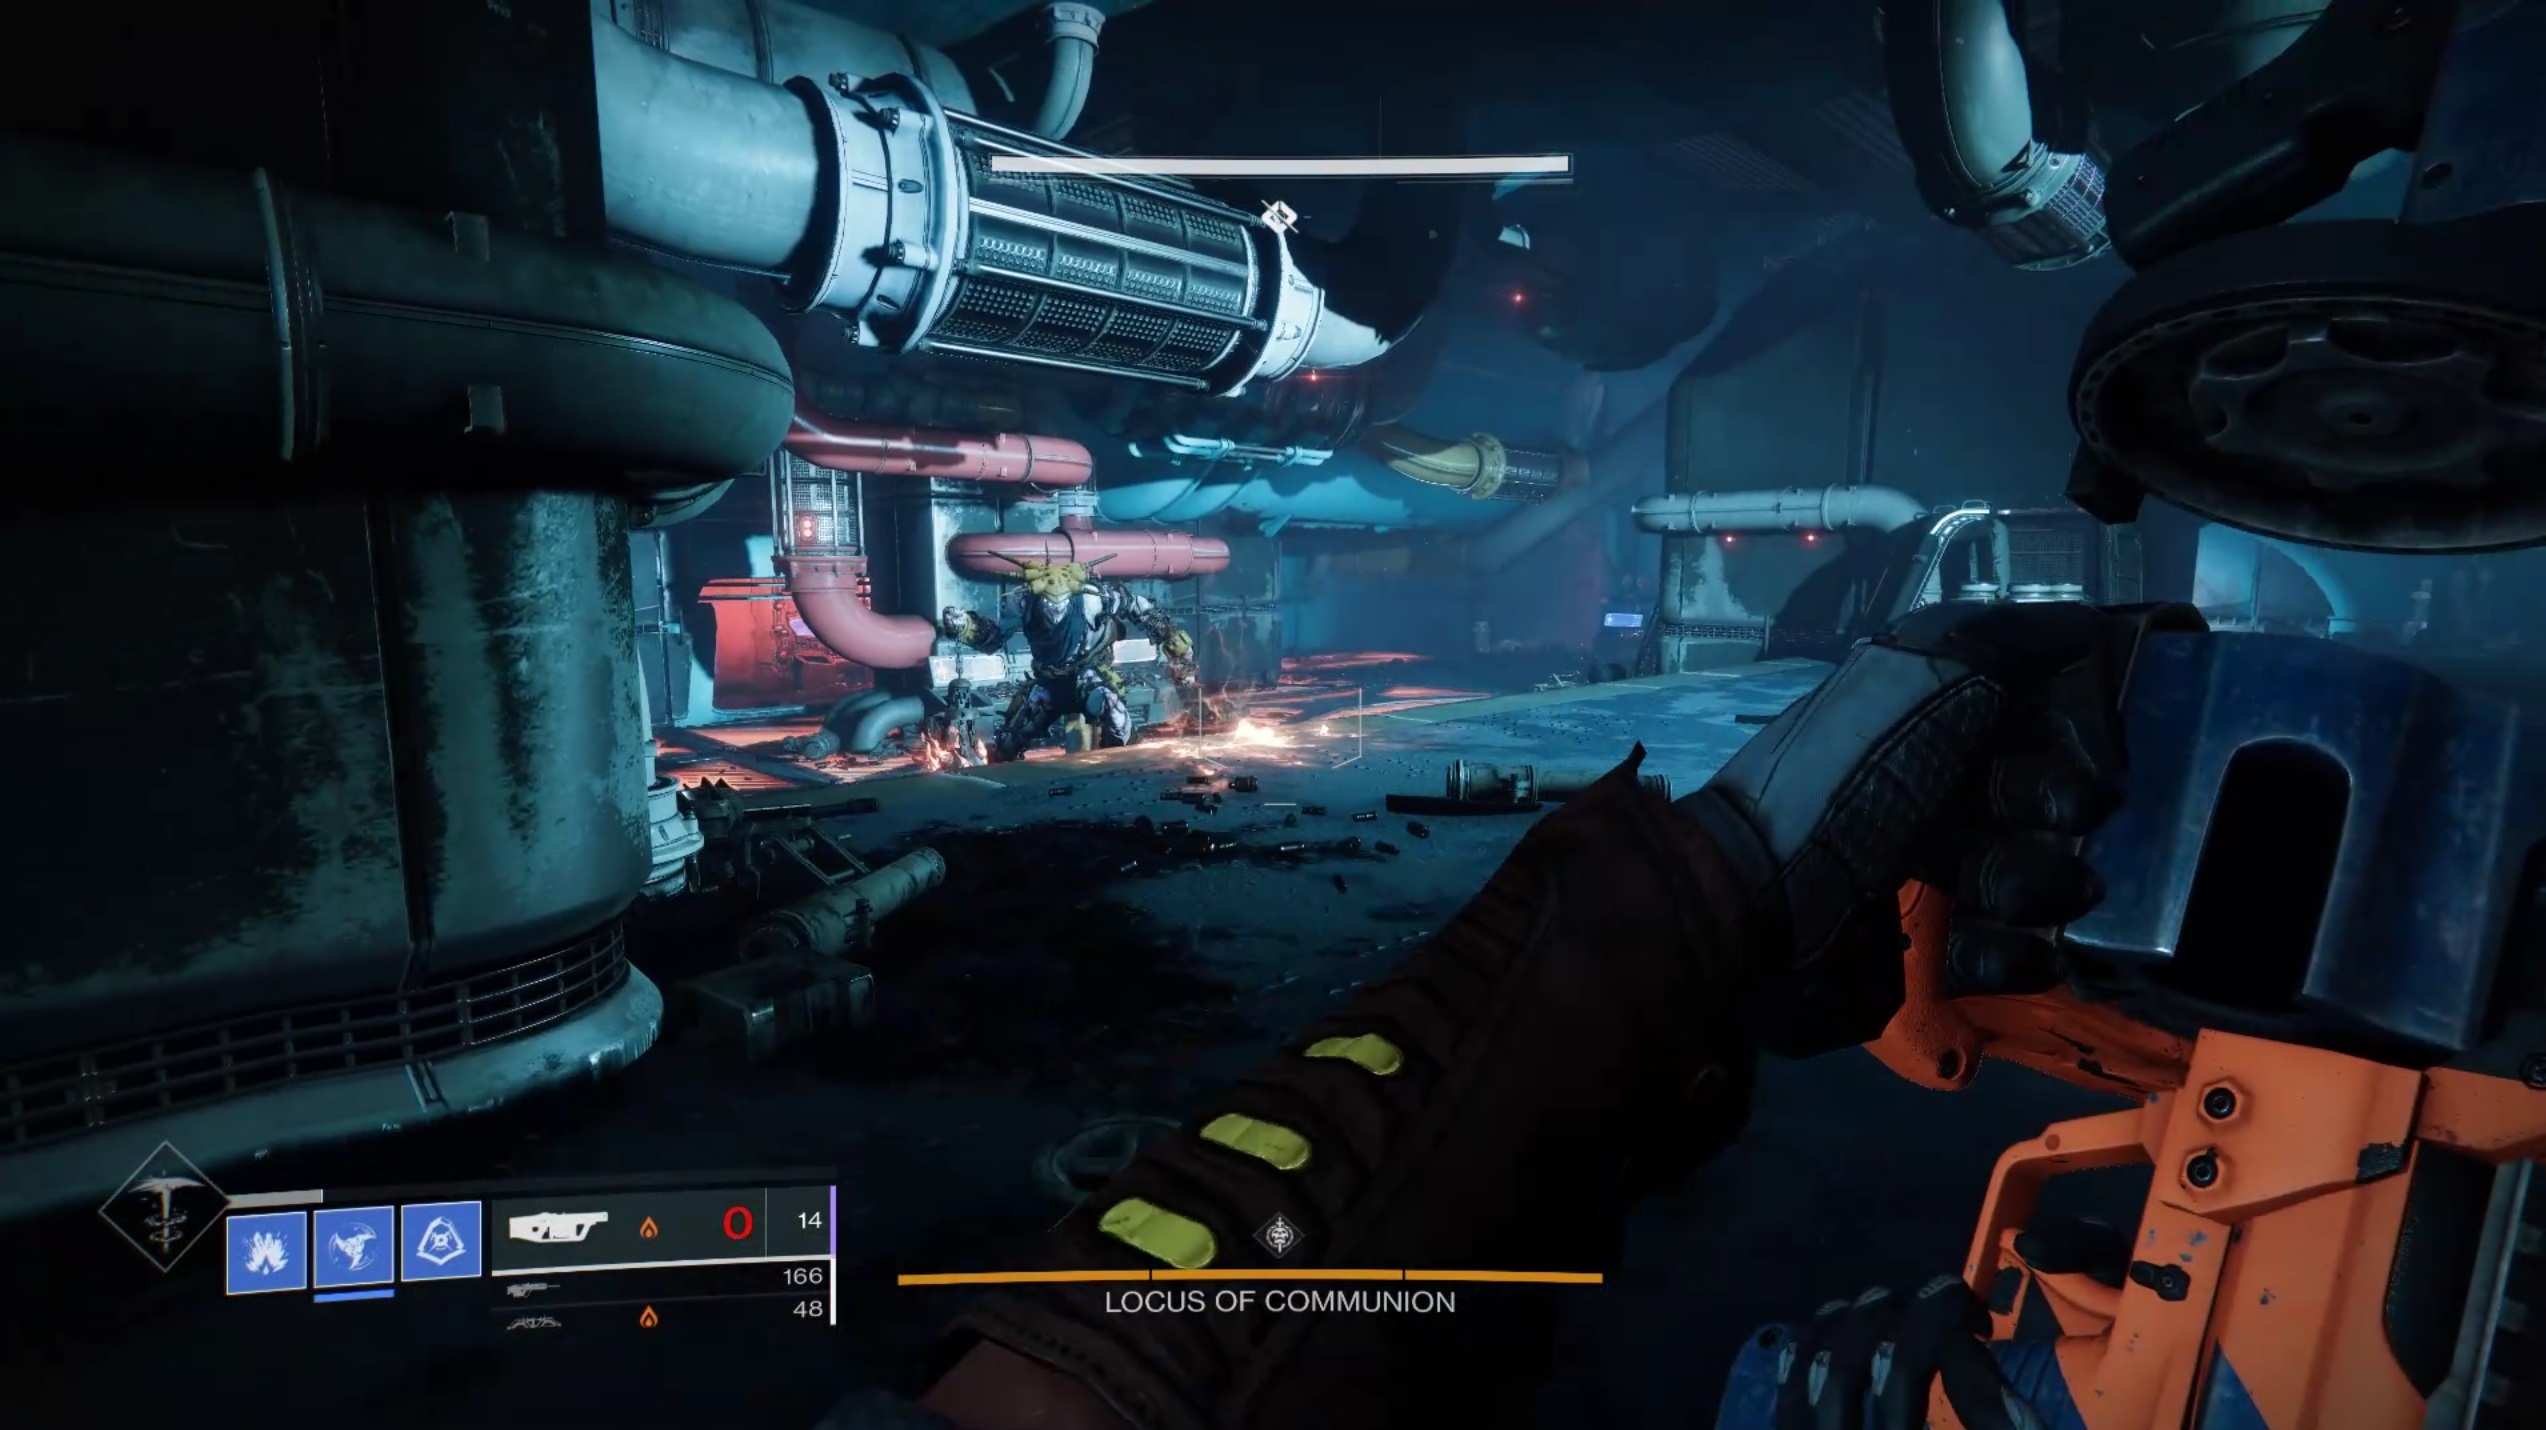
As far as loadout, we recommend bringing along powerful boss-killing weapons. We had the best luck with at least one Anarchy, which allows you to do sustained damage to the Locus of Communion boss even after you escape from the lower section of the boss room during the fight. Ticuu's Divination can also be highly effective for clearing out weaker enemies with massive explosions. Hard Light is an obvious choice for knocking out enemy shields, and sniper rifles such as Succession from the Deep Stone Crypt raid can be very effective for taking down distant enemies who can make your life difficult.
Note that the final fight is almost all enemies with Solar shields on the top floor, and Arc shields on the bottom floor, so plan accordingly. You only need to defeat the boss within the time limit.
Finish the mission and return to Zavala to complete At Your Fingertips and earn the catalyst. You'll now need to fully progress it in order to unlock its benefits.
Step 3: Search For Hidden Caches In Presage
There are two ways to complete the Dead Man's Tale catalyst. First, you can rack up kills with the weapon--but that's likely to take a while. Another method (arguably even slower, though) is to advance the catalyst by finding secret caches hidden throughout the Presage mission. This is a bit of a process in and of itself, but each cache you find will give you approximately 12.5% completion on the catalyst, allowing you to make significant leaps in unlocking it.
We found the best success by unlocking a few caches and then using Dead Man's Tale in various activities to do some leveling. Clearing the catalyst doesn't take long if you do it with kills, so if you're hoping to unlock it as soon as possible, that's your best bet. If you want a more leisurely, less grindy approach, go for the caches over a series of weeks.
How To Unlock Presage Caches
There are seeming a lot of hidden caches aboard the Glykon, and you can find them in the Presage mission, but you can't always access them. They're marked by small datapad consoles you'll find on the ground near locked doors; interact with the datapad, and the door opens, revealing a chest. The thing is, you can't interact with the datapads until you accomplish a specific goal that seems tied to the lore book that drops from Presage completions, called Captain's Log.
After the first time you complete Presage, you can re-run the mission to unlock new versions of Dead Man's Tale with different perks. Completing the mission once per week after your first run also unlocks a page of the Captain's Log lore book. At the end of each lore entry is mention of a hidden cache, so it seems like you need the lore page before the cache will become accessible to you. It appears that you can get one new lore page per week, per account.
Here's where you can find the caches that are available in the mission so far.
Hidden Cache 1: Inside The First Vent

Right after you find the entrance to the ship by platforming around the side of it, you'll enter a tight, red-tinted ventilation shaft. Watch for a vent cover you can shoot out on your left, covered by some of those weird Darkness vines. Inside is the datapad and your first locked door.
Hidden Cache 2: In The Floor

Keep moving through that first set of vents and you'll walk right over the second hidden cache. It's in a hallway painted blue along the path back to the front door of the Glykon, still in the first set of hallways after you enter the vent from the outside.
Hidden Cache 3: In The Vine Room
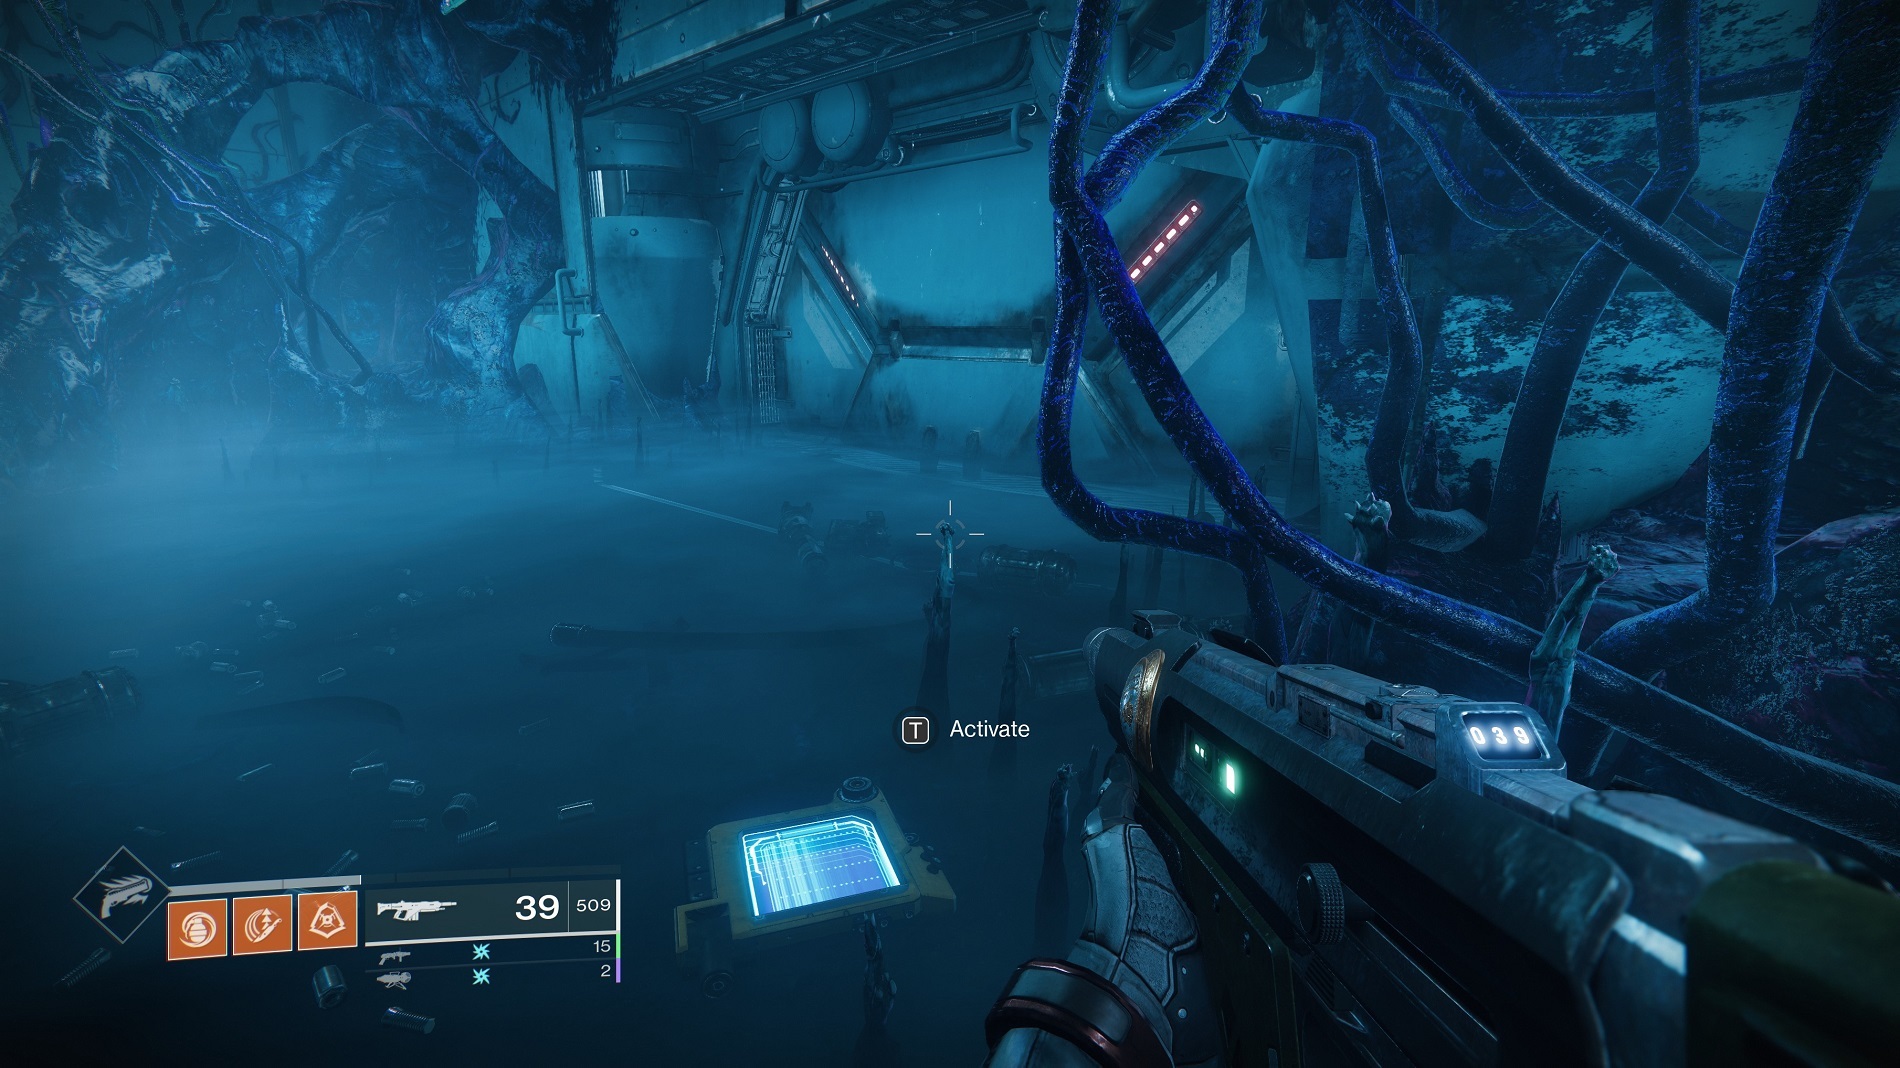
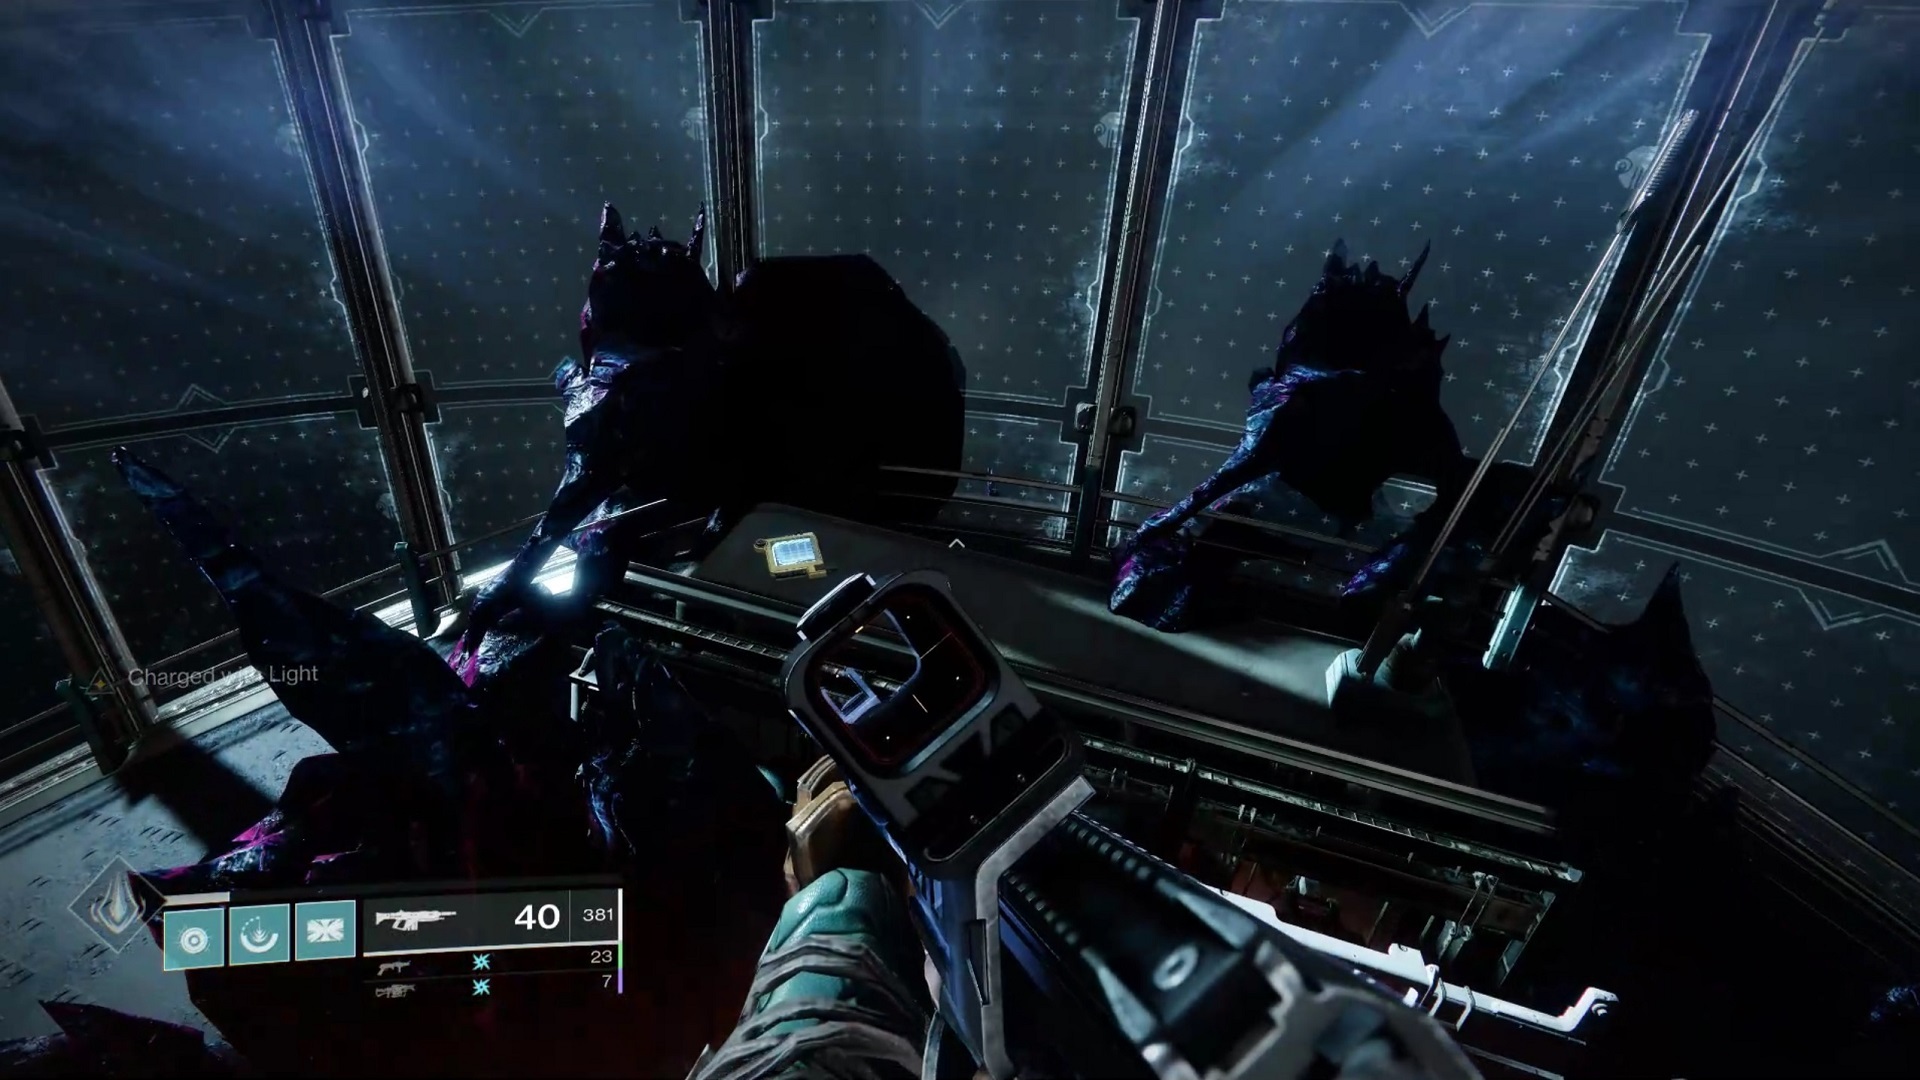
After you drop out of the vents, you'll flip a switch that opens the big cargo bay door where you first spawned into the mission, then go through another door across from it into the ship proper. This room is covered with the spooky Darkness vines that infest the ship, and several Cabal have been snagged by the flora, their bodies hanging in the center of the room. Go past them to the right side of the room to find a closed door with a datapad on the floor. Open it to reveal the cache inside.
Hidden Cache 4: In The Turbine Room

After passing through the main entrance, you'll find yourself in the Turbine Room, which is marked by electrified barriers. Head through the first Darkness-blocked passage to the section where you get ambushed by Screebs in the dark. Usually, you would jump up from this spot through the floor above, kill two more Screebs, and leap over the turbine to a cylindrical structure hanging from the ceiling.

Before you jump up, however, you can open the door to the fourth cache with a datapad on the ground. Inside you'll find another Darkness barrier--jump up to where those two Screebs spawn and turn right to find the fungus spores you can use to pass through the barrier.
Hidden Cache 5: Observation Room

This cache is halfway through the Turbine room, before you jump across the gap to the cylindrical platform and shoot the fuse to open the door in the floor. Just before you exit out into the Turbine room, turn left to find an open doorway. If you continue to the back of this room, you'll see a switch you have to flip through a glass window. Opposite the glass is a closed door with the datapad on the ground beside it hiding the cache.

Hidden Cache 6: Beneath The Trash Compactor

The switch for this cache is easy to find--you've likely noticed it after fighting your way through the still-running Trash Compactor just past the Turbine Room, where the walls close in and crush you if you don't escape quickly enough. However, the switch and the hidden cache aren't together. To find both, you'll first need to disable the compactor by finding and destroying three fuses hidden beneath the vents in the floor after you throw the compactor's switch. Once you've blown up all three, shoot the vent with the red lights around it to get into the path beneath the compactor. You'll find the datapad there that opens the cache, but don't continue from here as normal.

Instead, jump back into the Trash Compactor, which will now be disabled with its walls halted. The vent you dropped down will be close to one wall, but look at the vents on the opposite side of the room for another hole you can drop into. You'll find the cache waiting.
Hidden Cache 7: Cargo Bay

After clearing the Trash Compactor, you'll next head to your first battle against the Locus of Communion and his Scorn allies. Kill all the enemies in that first room to open the door to exit. You'll pass through a room lit in red, before heading into the darkened Cargo Bay. Look to the left just as you enter the darkened area to find the datapad on the floor that opens a nearby door, exposing the cache.

You'll know you've gone too far if you hit the Hangar, where you fight a bunch more Scorn, including a couple of Abominations--but don't go there just yet.
Hidden Cache 8: In The Hangar

You'll next encounter the big fight in the Hangar, where you'll face off against a host of Scorn, including two Abominations. Once the fight is over, you'll be free to look around. Head to the back of the Hangar near the big black Guardian jump ship--you might recognize it as a reward from the Season of Opulence. The cache door is to the right of the ship, with its datapad on the ground in front of it.
Hidden Cache 9: In The Docking Bay

The next cache is immediately after the last one, just past the big fight in the Hangar. After jumping outside the ship for a second, you'll come back inside a docking bay where a ship is attached to the ceiling. Head underneath it toward the back of the room to find a door with the datapad to open it on the ground beside it. The cache is just inside.
Hidden Cache 10: In The Laboratory

Just beyond the hangar, you'll travel through more tunnels and come out into a laboratory where Calus's minions were studying the Scorn. In the middle of the room, lying on a lab table, is a Scorn Chieftain.

The cache door is in the corner to your right as you enter, near the door you need to go through to exit the lab the first time. There's a big column in the middle of the room that can obscure the door and its datapad, but if you miss this door the first time, note that you'll be returning here after going through the nearby vents and can grab it on the return trip.
Hidden Cache 11: In The Vents

On your way through the lab section, you'll drop down into a maze of dark, red-tinted vents, where explosive Screebs will spawn. The easy way through this maze is to only shoot the double vent covers--where you see two covers side by side. As you follow the path out, you'll turn left to find a well-lit vent tunnel where a Screeb spawns. That's the way to the exit. Instead of turning left to go to the well-lit vent, turn right and shoot through the cover to find the cache door hidden in the darkness. You'll see the datapad on the ground beside it and a flashing light on the tunnel to the right.
Hidden Cache 12: The Crown
Katabasis' final cache is beneath the bridge, where you find his body. Go past the hanging Guardian and look on the console behind him, near the big viewport windows, to find the datapad. That opens two doors at the bottom of the room, on either side of Katabasis, that lead down to a lower deck. You'll find the last cache here, as well as the Crown of Sorrow--which triggers a new dialogue conversation between Osiris and Caiatl.

What The Dead Man's Tale Catalyst Does
Like all Exotic catalysts, the one for Dead Man's Tale significantly changes how the weapon works, adding new benefits to using it. First, the gun will now drop Orbs of Power whenever you score multikills, which can allow you and your teammates to earn your Super abilities more quickly.
The catalyst also adds a new perk that increases the gun's hip-fire rate, making it fire very quickly when you're not aiming down the sights. The catalyst also does away with the targeting penalty you'd normally suffer for not aiming, making it possible to score headshots with the gun a lot more easily. Essentially, this makes Dead Man's Tale very similar to another well-loved Exotic, The Last Word, allowing you to unload on targets from the hip with a high degree of accuracy. The catalyst increases the lethality of Dead Man's Tale quite a bit, especially in PvP situations.
Destiny 2 News And Guides
- Destiny 2 King's Fall Raid Guide: How To Beat Every Encounter And Open Every Secret Chest
- Five Years Of Destiny 2's Dramatic, Transformational Changes
- Destiny 2: Season Of Plunder Guides, Season Pass Gear, Exotics
- + Show More Destiny 2 News And Guides Links (2)
- Destiny 2 Season Of Plunder: Seasonal Challenges Guide Week 10
- How To Get Map Fragments, Treasure Coordinates, And Maps In Destiny 2: Season Of Plunder
Got a news tip or want to contact us directly? Email news@gamespot.com
Join the conversation