Destiny 2 Altars Of Summoning Guide: How To Complete The Seasonal Activity
Here's how to make an offering in Altars of Summoning and complete the seasonal activity.
Destiny 2 introduces Altars of Summoning, one of the new activities of Season of the Witch. Taking place in Savathun's realm, you'll have to aid Eris Morn in a series of challenging rituals. A small price to pay to get closer to the Witness in the lead-up to The Final Shape expansion.
Instead of the usual exploration-based activities, the activity tasks you with offering tributes and complete arenas. You'll need to juggle waves of enemies as per usual, alongside different objectives that involve puzzles, coordination, and lots of inevitable retries. Here's how to complete Altars of Summoning in Destiny 2, and the rewards for doing so.
Destiny 2 Altars of Summoning explained
Destiny 2's Season of the Witch introduces the Altars of Summoning activity. In order to gain access to it, you'll first need to complete the "Toil and Trouble" questline. Doing so kickstarts "The Bladed Path," which is the seasonal questline. Then, it'll immediately take you to your first round of Altars of Summoning to learn the ropes.
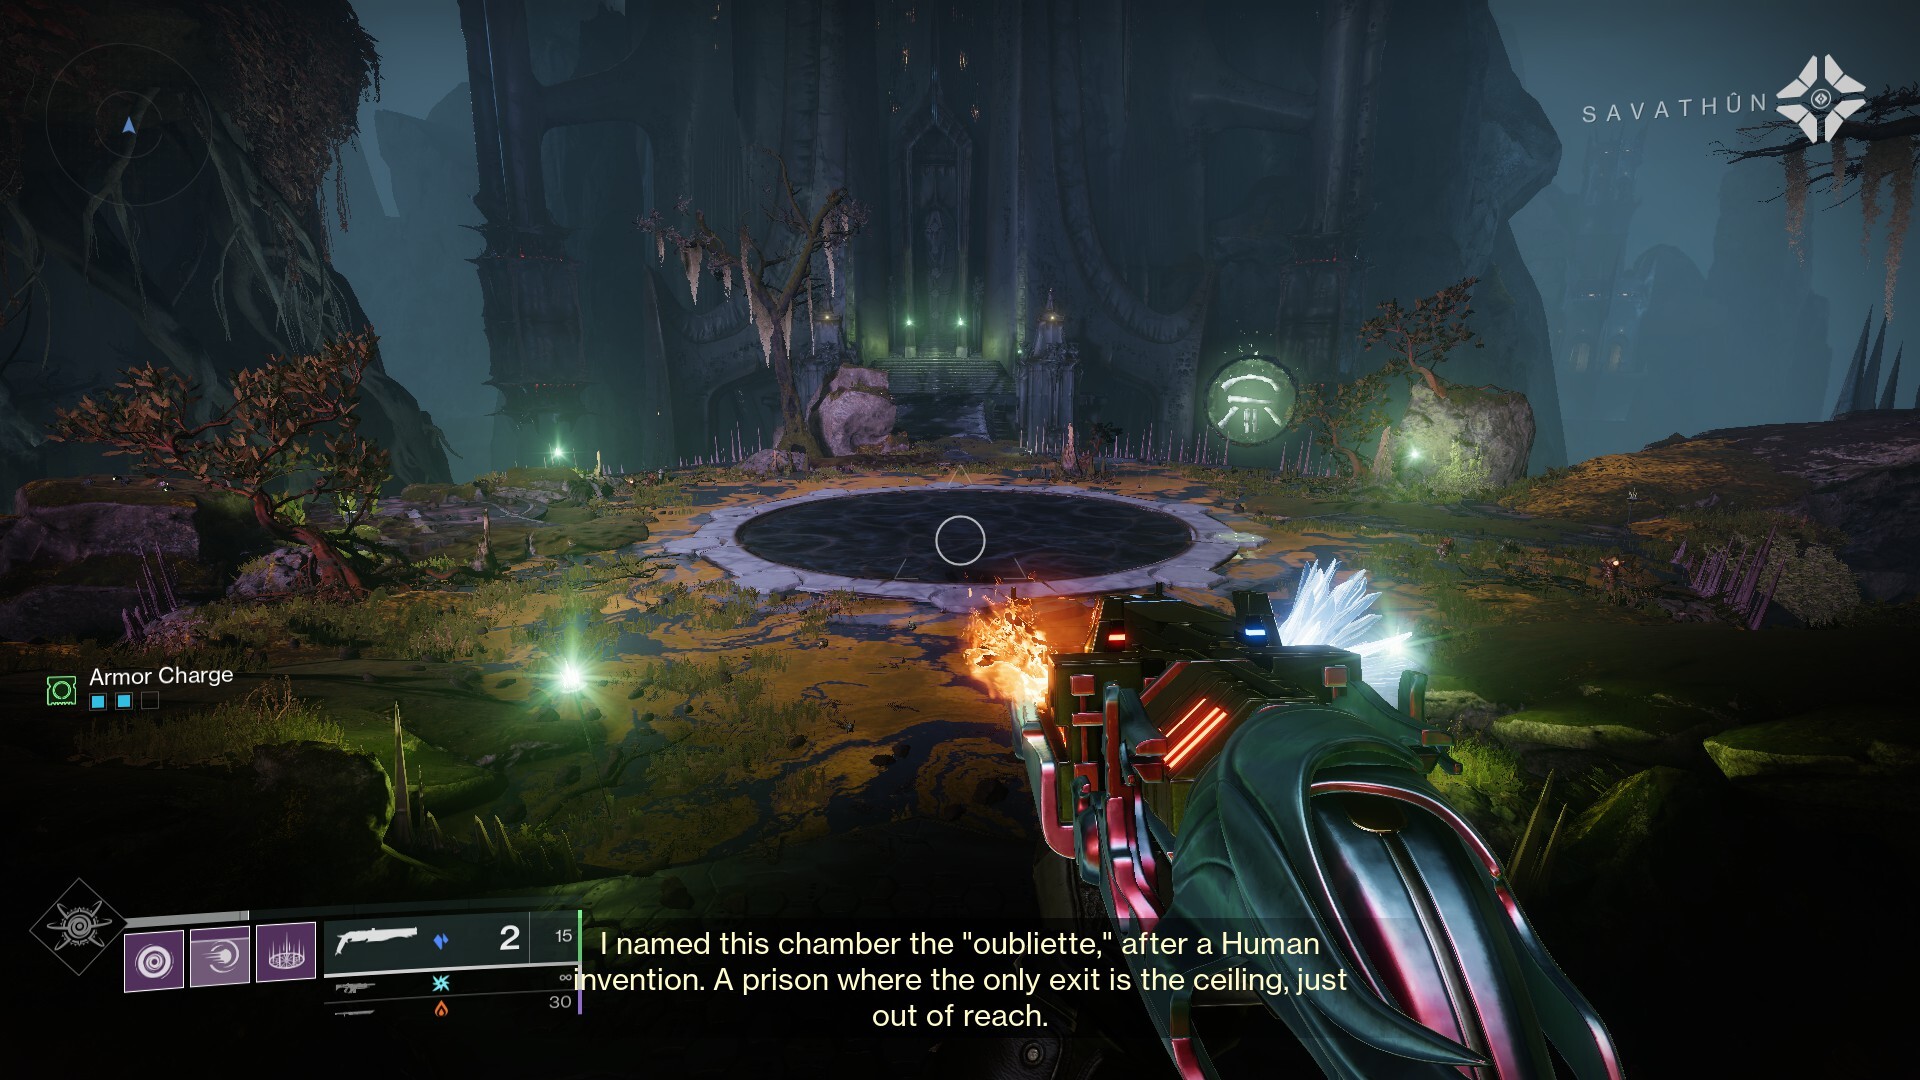
Here's how it works. You're first sent to a large open room which a Savathun emblem available. You'll be tasked to begin the Ritual of Induction. In order to do so, step on the ring underneath the floating emblem, and activate the button prompt. Then, follow the quest marker to find Eris Morn, and the activity will officially start shortly after.
Keep in mind that it's a rather simplified glance at the activity. I didn't have the option of matchmaking, for example, but the activity does allow you to create a fireteam of three in subsequent runs. Plus, you won't have access to offerings in this first run, which we'll get into more detail in the next section.
There are different Summoning Ritual types in Destiny 2 Season of the Witch, each with its own series of objectives. These can be somewhat overwhelming while you're still learning what to do.
Below are a few Summoning Ritual examples in Destiny 2 that we've encountered so far:
Lucent Tribute: Harvest and deposit Burdens of Tribute
In order to defeat Alak'nar in Destiny 2, you'll have to harvest and deposit Burdens of Tribute. For this, search for Tribute Bearers around the arena and take them down. Picking up their ground loot activates the Burden of Tribute status, which appears on the left side of the screen.
Here's the second step. You'll notice a number of ritual circles around the arena. One of them will emit a flashy, orange beam, and is usually surrounded by enemies. That's the one you need to cross through while having the Burden of Tribute status. It'll automatically count toward the total, which is usually three. Then, just go ahead and repeat the process until the boss' shield is removed. You can then continue to attack.

Keep in mind that if you're taken down while the boss is weak to attacks, you'll likely respawn to the enemy having regained its shield. Yes, it means you'll need to repeat the whole process again. And yes, it is annoying. Always ensure to deal as much damage as possible to the boss while you're still standing.
Ternary Minds: Defeat the Minotaurs
This summoning ritual involves a fairly straightforward objective in the Destiny 2 Altars of Summoning activity. You need to take down three Prevailing Minds, which are the usual minotaur-type enemies.
There are two conditions that might stop your progress. One involves the task to Prevent Vex Sacrifices, which requires you to hunt down marked enemies around the arena. They'll slowly move toward a Vex cube-shaped station. Try and prevent them from doing so.

The second condition asks you to Destroy the Lenses. As part of the Vex's usual scenery, these are white nodes that you need to manually shoot. It's a fairly straightforward ordeal, so make sure to prioritize it so you can continue dealing damage to the Prevailing Minds.
Now, even if one of the aforementioned conditions is active, double-check that the enemies aren't weak to attacks. On more than a few occasions, I was able to deal damage either way, especially when there are multiple of Prevailing Minds still standing. This might save you some time.
Arc Singers: Charge the Arc Crystals
You'll remember this task from the introductory mission to Season of the Witch. Essentially, you need to gather Arc Energy by attacking it with your melee action. Then, using the Crystalline Charge, melee the marked crystals around the arena.
While you have a 15-second timer to do, it restarts whenever you successfully charge a crystal. As such, if your fireteam has got you covered, you can make a run for it and activate all crystals in one go.

Once you're done, head over to the designated area to invoke hive magic. The boss will appear right afterward. Keep an eye out for lightbearer enemies, too, and prioritize them over regular enemies as they're likely to stop you mid-sprint.
Void Keepers: Destroy Void Crystals
Void Crystals will appear around the arena, usually covered by a shield. In order to destroy them, you need to enter said shield to be able to damage them. After destroying the designated number of crystals, you'll be able to destroy the abominations. The encounter usually ends with a fight against an Imprisoned Abomination.

Similarly to Ternary Minds: Defeat the Minotaurs, ensure that enemies actually have a shield surrounding them each time. There's bound to be one of them prone to attacks somewhere around the arena.
As for the crystals themselves, they're usually scattered around. If you see an abomination on a far corner or pathway of the scenario, it most likely means there's a crystal nearby.
How to make an Offering in Altars of Summoning
By now, you may have already come across Offerings, a new item introduced in Destiny 2 Season of the Witch. As you're progressing through the Altars of Summoning activity, you'll be given the option to make an offering. For this, either you or somebody else on your team can use one of the four marked stations.
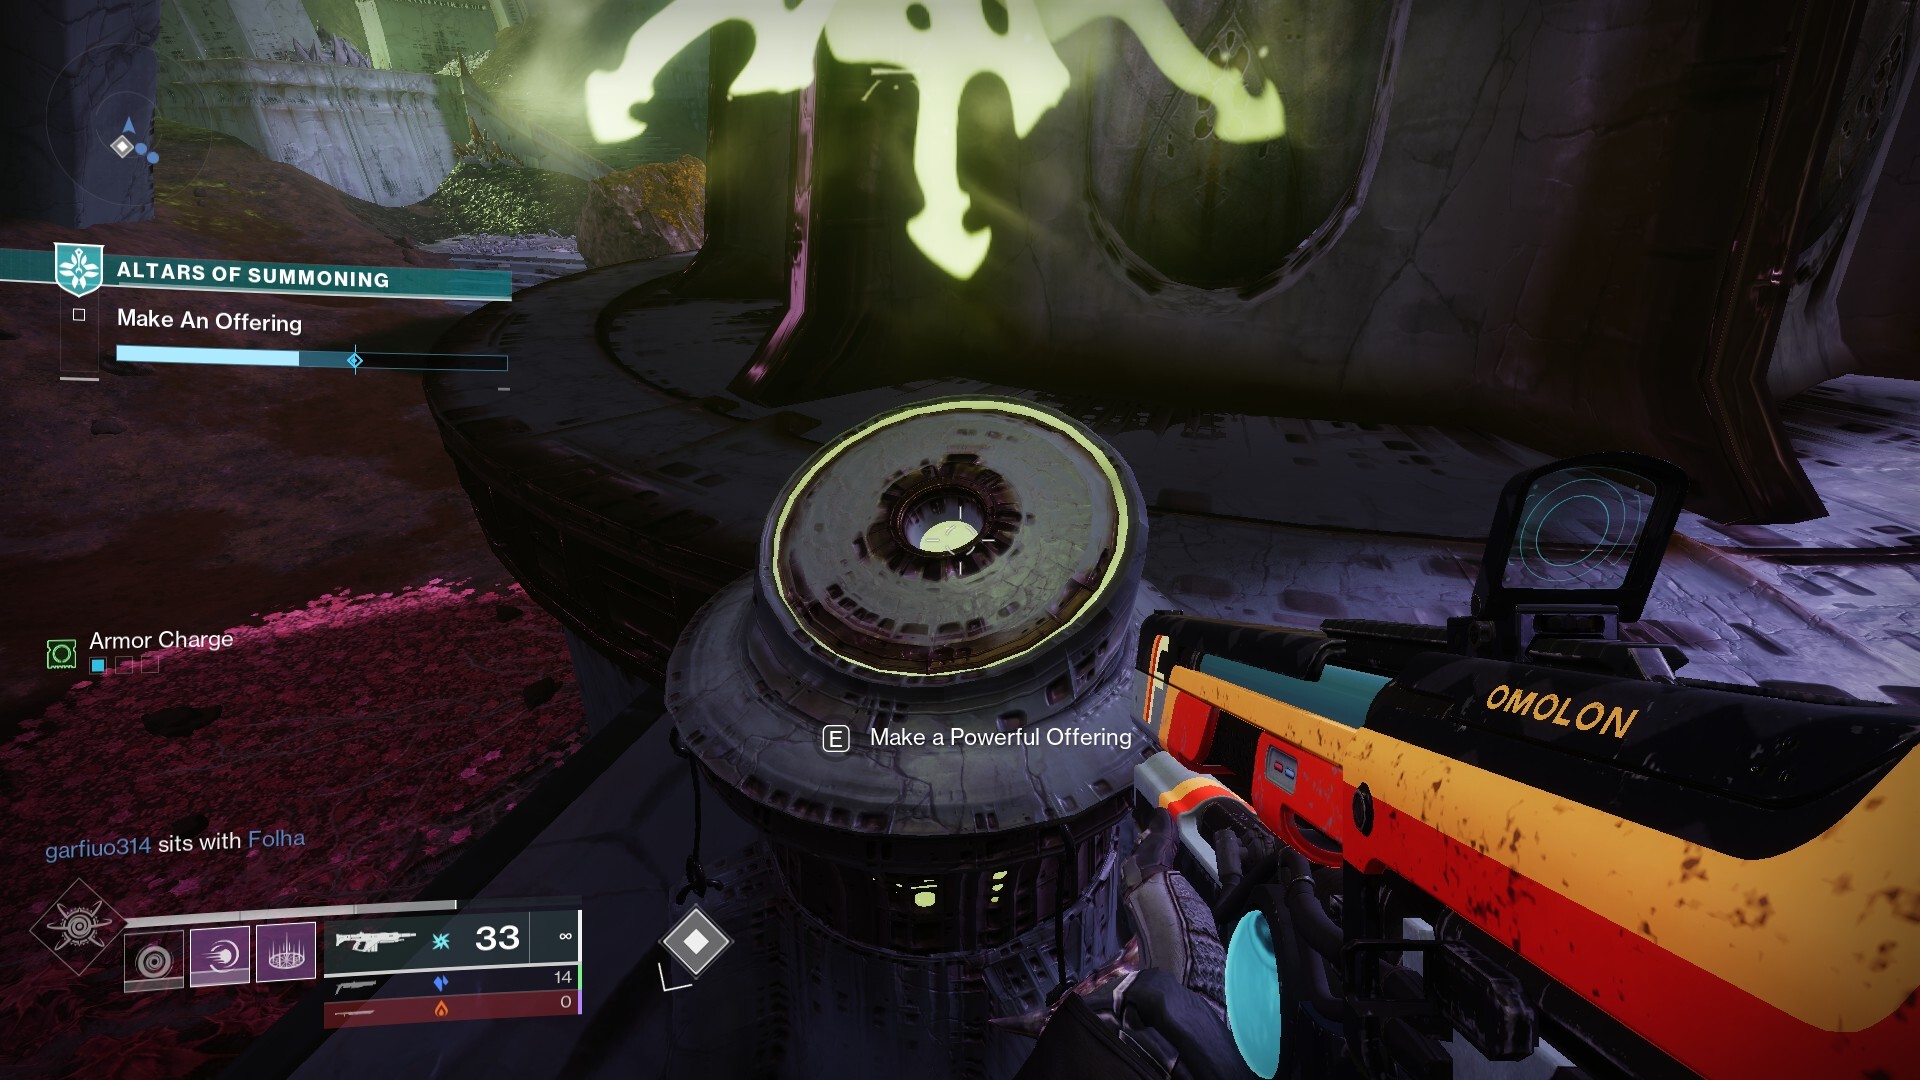
As of now, I've encountered Feeble, Robust, and Powerful offerings. The difference is in the difficulty of the summoning ritual. The bigger the tier (which is indicated in the item's description), the harder the arena will be.
Offerings are obtained by taking part in activities. If you want to try and get as many as possible, make sure to equip the Veiled Tithes armor pieces, which are dropped during the season. The armor perk, called Exhumed Excess, increases your chances of creating an additional offering during activities. Each additional piece you equip increases says bonus, to a maximum of four items.
Destiny 2 Altars of Summoning rewards list
The Destiny 2 Altars of Summoning activity nets you with all sorts of rewards. Aside from the usual gear pieces and weapons, the activity is a great way to gather the seasonal items during Season of the Witch.
Below is a list of all the rewards we've obtained in Altars of Summoning so far:
- Feeble Offering
- Robust Offering
- Powerful Offering
- Opaque Card (an item related to Insight)
- Witch's Engram
- Veiled Tithes gear pieces
- Ritual Table Reputation points (~250)
- Eleatic Principle power weapon
Keep in mind that you can continue ranking up rewards in the Altars of Summoning activity for a long period of time. Of course, this will depend on your fireteam's availability. If anything, you can exit after obtaining a set of rewards from Eris Morn. Just make sure to actually open the chest to claim them!


Got a news tip or want to contact us directly? Email news@gamespot.com
Join the conversation