Deathloop Tips For Beginners
Breaking the loop won't be easy, but these early-game tips will get you off to a strong start.
Deathloop has finally come to Xbox, alongside an update to the game on all platforms that includes new weapons, new trinkets, and even a new extended ending. But if you're just starting out, don't worry about all that now. What you should be focused on is taking in a few Deathloop tips. Arkane games are known for their puzzle-like level design and open-ended mission structure. That's truer than ever here, which means there are definitely better or worse ways to handle any situation. Use our Deathloop tips to hit the ground running as Colt--granted he does vomit right when the game begins, but you'll bee feeling better soon with these helpful hints.
Don't Worry About Seeing Everything At First
Deathloop takes a while to really let you loose on the island of Blackreef, slowly introducing you to all its mechanics as it ferries you between its four main districts. At each stop you're reminded that you will have plenty of time to return to these areas, and not to stress about seeing everything right now. You should heed this advice, especially since you won't be able to keep anything you find.
One of the last lessons that Deathloop teaches you is about Residiuum, which gives you the ability to infuse weapons, character perks (called trinkets), and slabs (Deathloop's name for its supernatural powers) and keep them between runs. This comes right before you're given the freedom to chart your own path through Deathloop, and right before a fresh loop starts. Nothing you gather before this point is kept, so any hours you might have spent scouring each district beforehand will be wasted.
Yes, you might have built a good mental map of each district ahead of time, but you'll soon realize that the introduction of all the Visionaries--Deathloop's eight bosses--change everything anyway. So, pay attention to Deathloop's tutorial but don't feel stressed about seeing everything from the get-go. Trust it, you'll get many other chances.
Prioritize Getting Slabs Before Anything

Just like Dishonored, you'll get access to several supernatural abilities that really inject a sense of playfulness to Deathloop's first-person action. Unlike Dishonored, however, you'll need to steal these powers from some of the deadliest enemies on Blackreef. This should be one of your first priorities when you're free to explore the island at will, since it will give you a big advantage with pretty much everything to come.
Two of the best slabs to aim for in the early game are Shift and Nexus, both of which are identical to abilities you get in Dishonored. Shift lets you teleport short distances in all directions, which cracks open the platforming possibilities you have when navigating each of the four districts. It's like learning to run after walking, and you'll likely struggle to find a reason to replace it in your arsenal once you have it.
Nexus is like Dishonored 2's Domino ability, letting you link together enemies and have them share the fates of any one in the group. Here the ability is an area-of-effect grenade that you can throw from quite far away, letting you set up group kills from a safe distance. Once linked, if you kill one person in the group, they'll all go down, which can seriously help clean out some pesky patrols around important objectives.
Infuse Those Slabs And Keep Upgrading Them

Just like weapons, slabs aren't kept from one loop to the next if you don't infuse them. That's why it's just as important to get to the safety of the tunnels once you've acquired a new one so that you can keep it for your next big run. These infusions are some of the most expensive in Deathloop too, which might make it difficult to infuse all the ones you find during a particularly productive run.
The first thing you should spend your collected Residuum on should be new slabs. Since you'll want to have access to them in any subsequent runs, and considering how difficult they can be to obtain, the high 15,000 Residuum cost is well worth it every time. This applies to all Slab upgrades you'll find, too, since those are separate from each slab and need to be equipped to each one once acquired.
Visionaries that drop specific slabs will drop upgrades for them once you've infused the base one, making repeated hunts of the same targets worthwhile to further enhance your supernatural arsenal. Weapons get the required killing done, but it's slabs that will make each of your assassination attempts easier, smoother, and just more fun.
Don't Infuse Any Of Your Original Starting Gear

Before long you'll start gathering loads of Residuum that you can spend on weapons, slabs, upgrades, and more between your escapades in districts. But while you should be using it to infuse items you find useful; you should take note of ones you will get at the start of each run regardless of whether they're infused or not.
This applies to two items in particular--your starting submachine gun and a character perk that gives you a double jump. These are available to your and in your inventory at the start of every run, so don't bother wasting precious Residuum infusing them. In fact, if you can live without a double jump, you can earn 2000 Residuum early in a new run by sacrificing it.
Hack Turrets Before You Deploy Them
This is one of those mistakes you only make once, but it can prevent you from having a run end prematurely in the most embarrassing ways. Around Blackreef you can hack all manners of electrical devices, from security cameras to automated turrets. These turrets will engage any enemies that are attacking you once they've been hacked, which can be great for setting up ambushes or turning the tide on a skirmish that initially started poorly.
You can find many of these turrets packed up in their suitcase form around Blackreef, letting you set them up in your own way for some strategic advantage. Just be warned that you must hack these first, too, otherwise as soon as you set them up, they will immediately turn around and gun you down.
Eternalists Have Poor Awareness

It might be a little subjective, but it certainly feels like Arkane has tuned the Eternalists, the NPCs in Deathloop that you'll regularly fight against, to be a little more forgiving. That means you can get quite close to them before they become alert to your presence, even if you're within what seems to be earshot. This applies to their line of sight as well, which is relatively limited outside of those equipped with long range weapons. Keep this in mind especially if you've played previous Arkane titles, as it gives you a lot more freedom to be a bit reckless.
That's part of the point, too. Deathloop certainly advises stealth, but it gives you far more tools to handle the chaos that comes with being detected. When that happens you can gun down everyone around you that is alerted, with enemies just a block away usually staying none the wiser. Just remember that despite their bad hearing and eyesight, Eternalists will investigate areas where deaths have occurred. When you kill an Eternalist their body disappears, but they do leave an ethereal strain that will alert other enemies to their death. You have no way to get rid of these from the outset, so you have to keep in mind where you're making your kills if you want to stay hidden. One upgrade to Aether, a slab that renders you invisible, does allow you to pull off stealth kills without leaving this stain, so you can make use of that when you manage to acquire the slab.
Julianna Has Amazing Gear, So Hunt Her Down
Quite frequently you'll have your main antagonist, Julianna, invade your game, which immediately makes whatever district you're picking apart much more dangerous. She's an incredibly powerful foe, with numerous abilities and top-tier weapons that can cut you down in the blink of an eye. When controlled by another human player, too, she's even more deadly (well, most of the time), since you're playing against another skilled Deathloop player that might understand the ins and outs of Arkane's shooter more than you do.
The conundrum then is that Julianna also has incredible gear. She'll always drop a rare weapon and a slab if you manage to take her down, saving you the time of having to hunt down another Visionary and potentially improving your offensive arsenal in surprising ways. Julianna also only has one life, while you can have three if you've been careful. Colt's Reprise ability lets you die twice in a district before the loop resets, giving you three chances to take down Julianna. Use them wisely, however, as her ability to adopt the appearance of any other NPC makes her difficult prey to track.
You Don't Have To Fight Juliana, Though

Listen, Julianna is tough. And often she'll arrive to crash your party at the worst time possible. Sometimes you're already making your way to the tunnels to take stock and infuse new gear you've found, and suddenly Julianna locks the tunnels until you've confronted her. Thing is, you don't have to get violent to get access back to your safehouse.
When Julianna appears, the tunnels that run beneath Blackreef are locked remotely by her, with a single satellite keeping the lockdown in place. If you're sly enough, you can make your way past her quietly, working your way towards the single point of failure she's established. Hack the dish and the tunnels will open again, giving you a safe exit that doesn't need to resolve at the end of a barrel. That, and you'll reduce the risk of losing any valuable gear you have on you at the time. This isn't the easiest thing to get right, especially with how mobile Julianna can be, but it's an effective workaround when required.
Not Every Run Needs To Be For A Visionary
You might be tempted to always hunt down a Visionary with every chance you get, but your progress through Deathloop will benefit from occasionally taking a break. Yes, Visionaries have those good, good slabs that really give you an edge in combat, but you also need to take stock of weapons, trinkets, and Residuum once in a while to make sure you can infuse new equipment regularly. That's especially true if you've found a bounty of great items in the morning and need to make sure it's infused by the evening.
There are advantages to exploring a district that doesn't have a target in it just to scope out how the district in question changes with the time of day, while also picking it apart for extra Residuum, killing enemies for trinket drops, and maybe finding a dormant secret tucked away in a corner. This can get lost when you are laser-focused on a Visionary, so the freedom of not having to worry about their demise can be liberating.
Just make sure that you use this time effectively--you are essentially sacrificing your time to not pursue leads in order to farm resources, and if you don't do it productively you might as well have just skipped the time of day entirely. Time doesn't progress once you're in a district, so slow down and take in everything you can. Future runs will benefit from it.
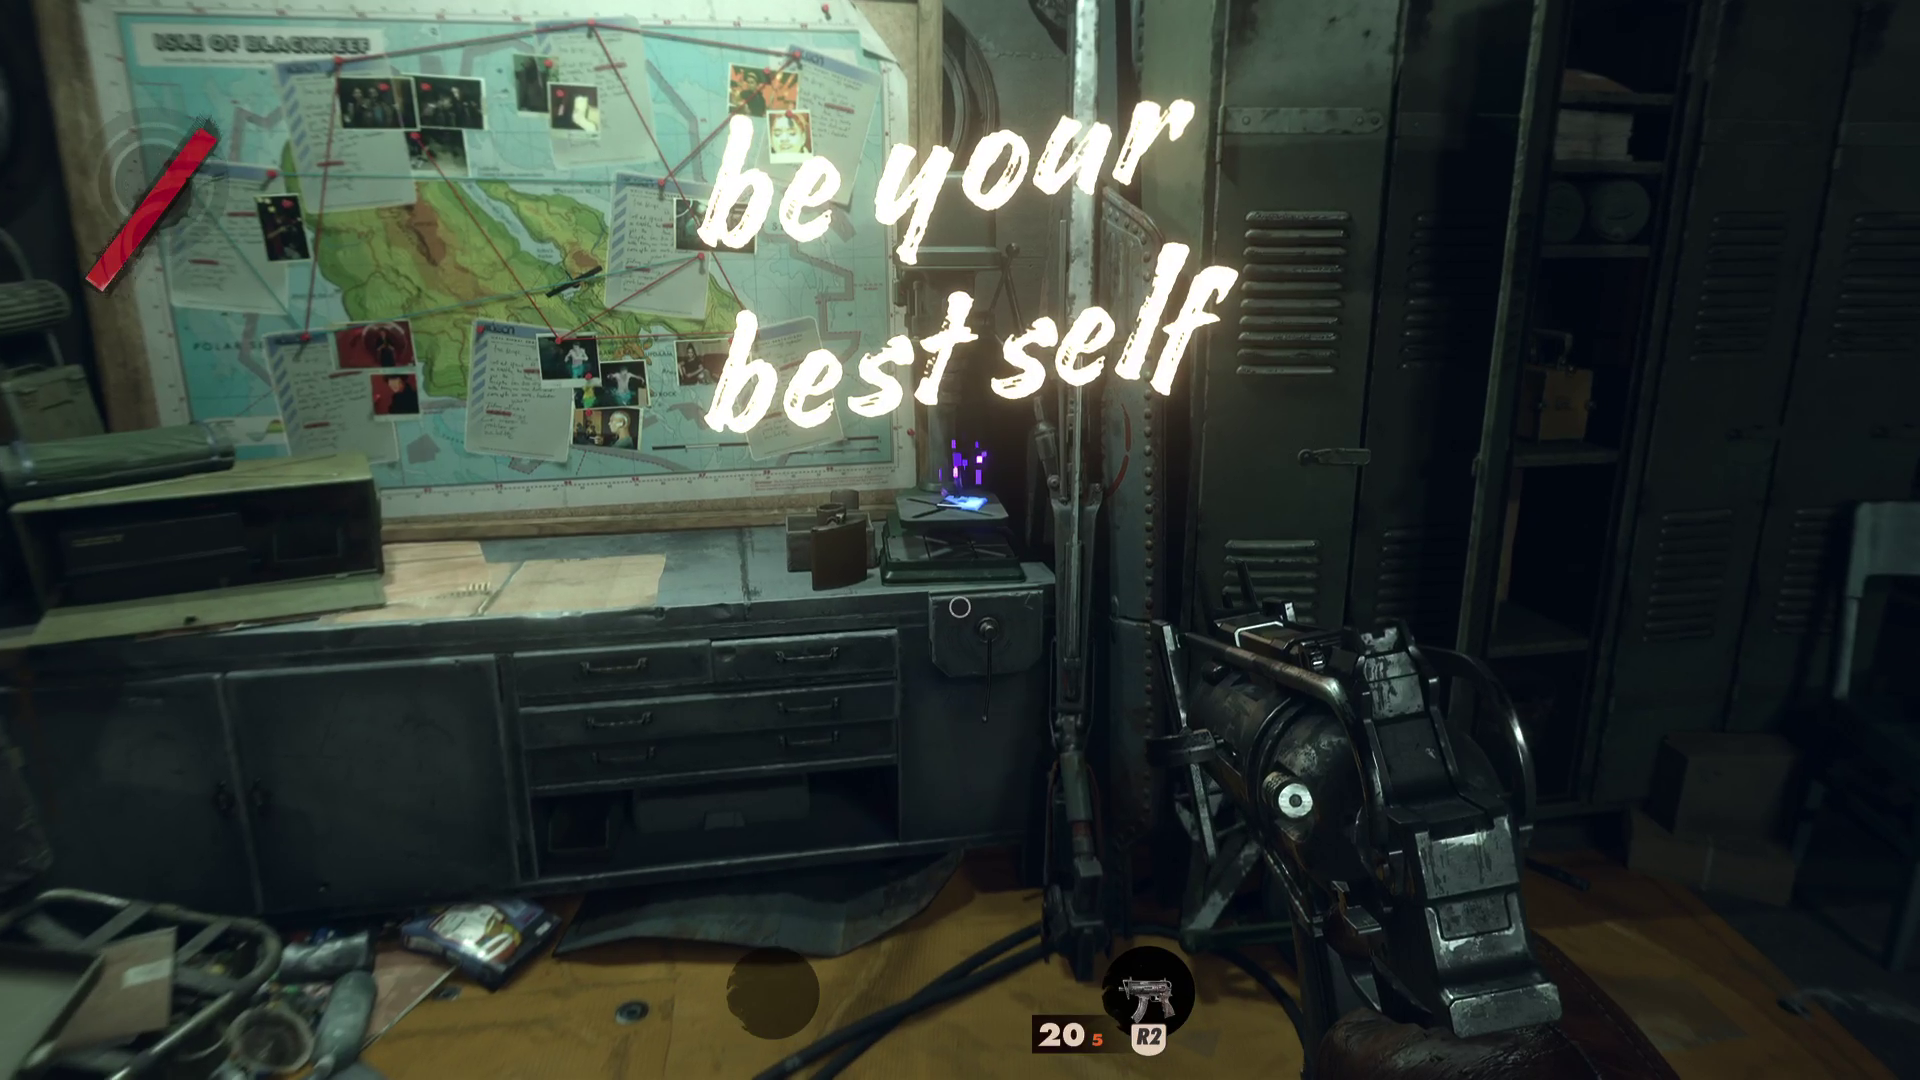
Take the time to consult your collected information

Deathloop wants you to succeed, and as such gives you a lot of information that is collected in your growing web of leads to pursue. Most of them are straightforward, providing you with waypoints to follow in districts and hints as to how to draw out Visionaries in ways that might expose their weaknesses. But there are times where you're expected to figure out things on your own. One early example of this is a code that you need to find sprawled across a heavily fortified bunker, which allows you to access a separate locked bunker that is crucial for breaking the loop. While you know that the code is there to find, it's up to you to put it together.
You can miss the minutiae of these puzzles if you don't take the time to gather your bearings and consult the notes you've gathered for each of the leads on each Visionary. It's worthwhile zooming out on your growing board of information to get a sense of the greater picture forming between the smaller discoveries you've made, which will help you decide on the next best course of action. It's also wise to pursue both Visionary and Slab leads early on, as you can effectively complete two objectives with one venture into a district. Plan each venture carefully and you'll cut down the number of loops you need to complete Blackreef's puzzle significantly.
This guide was updated on September 20, 2022.
Got a news tip or want to contact us directly? Email news@gamespot.com
Join the conversation