CoD: Modern Warfare 2 - How To Beat Raid Episode 2
Season 2 Reloaded added the second Raid episode, and here's our full guide to completing it.
Season 2 Reloaded is here, continuing Call of Duty: Modern Warfare 2's post-launch narrative with the introduction of the second Raid episode. Our full guide will show you how to get the Raid completed and score the episode's unique rewards.
What are Raids in Modern Warfare 2?
Raids continue the story of Modern Warfare 2's campaign, and this is a trio mode with a mix of stealth, action, and puzzle-solving objectives. The first episode launched on December 14 with Season 1 Reloaded, and here's our full Episode One: Atomgrad guide if you still want to experience the story and unlock a Gaz operator skin. However, you will get a story recap if you choose to skip ahead to Episode Two.
This is the second of five seasonal episodes, with a new Raid episode set to arrive for each season of Modern Warfare 2.
How to complete Episode Two
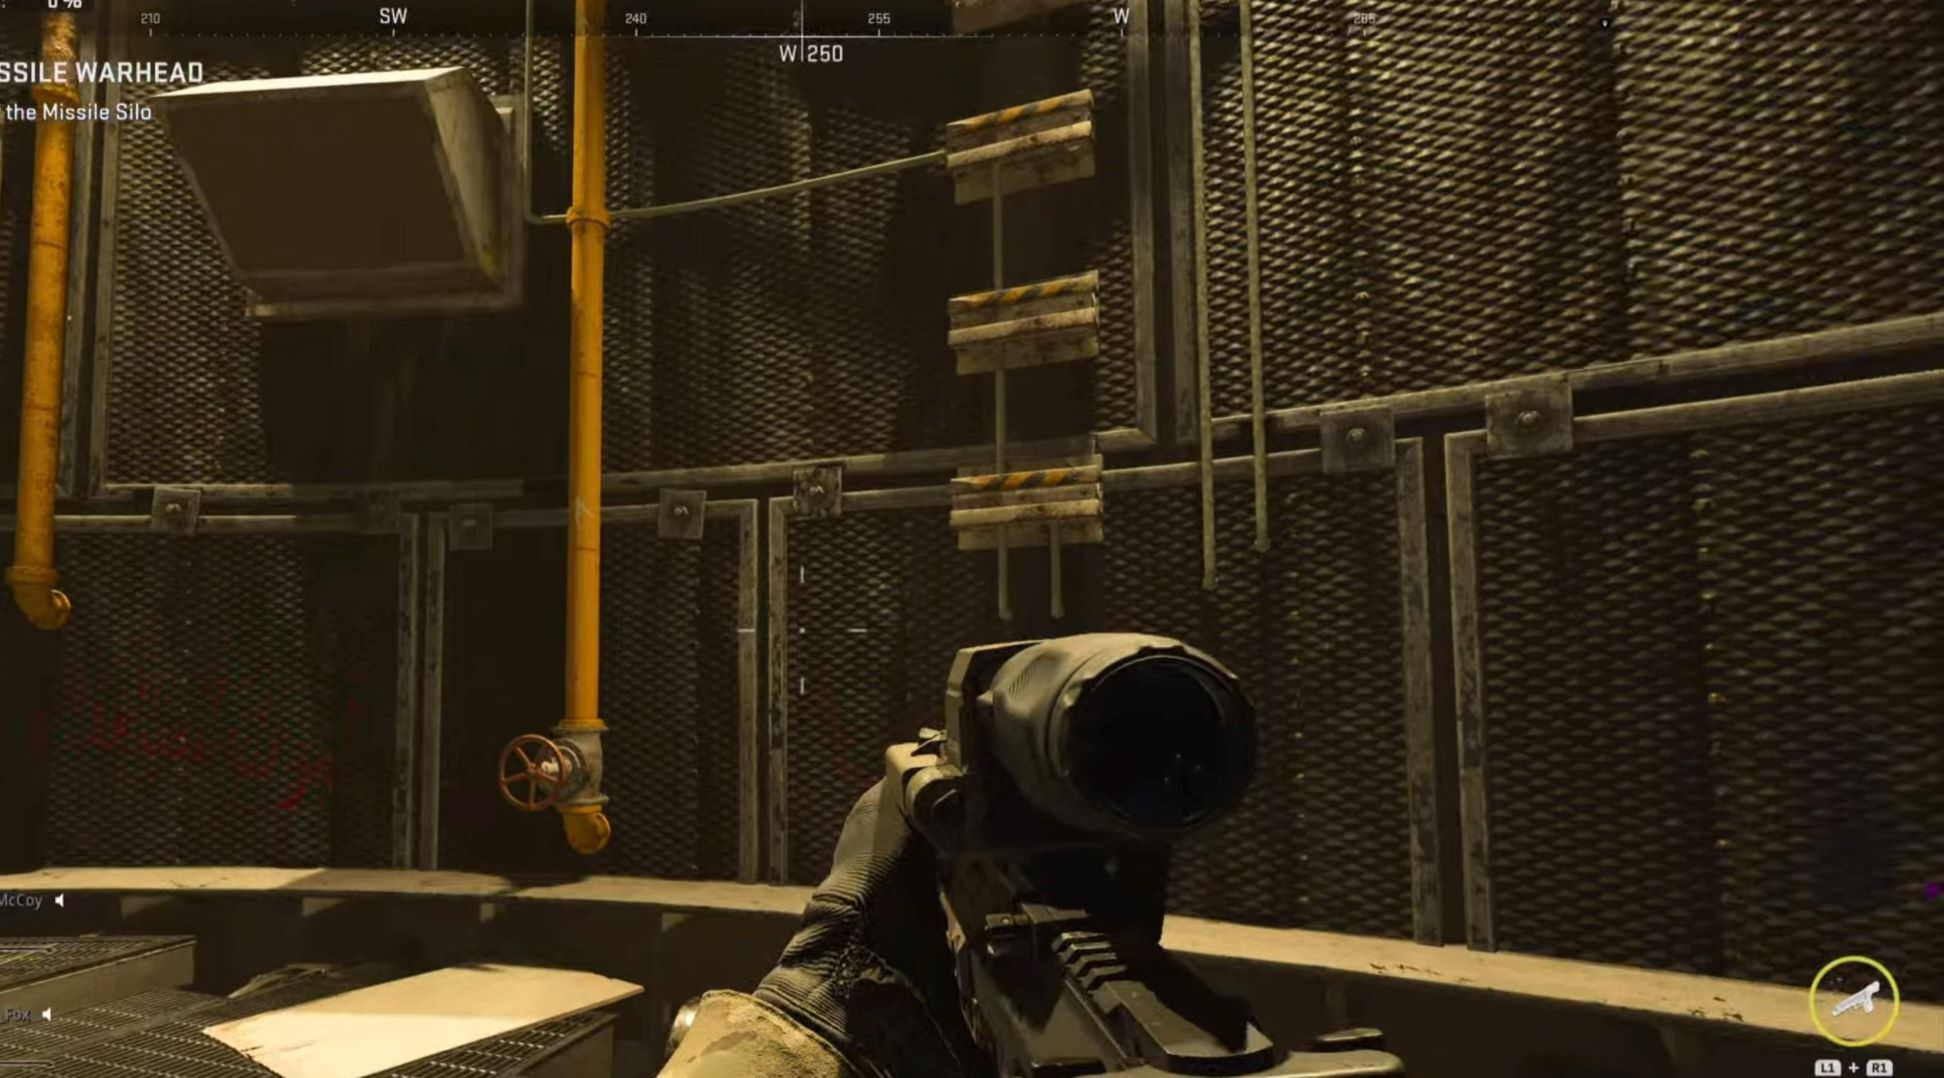
Reach the top of the missile silo
After the recap, you'll be inside the missile silo where you left off. You need to climb up the silo. You'll see a yellow ladder and some ledges to use to reach the level above.
You'll climb up to armored enemies waiting for you at the top. Take them out and just follow the arrows marked on the walls to a steep pathway leading up. There are vents shooting steam out in intervals, and it won't kill you but it will slow you down.
This will lead to another silo section that requires a bit of climbing and parkour to go further up. There will be a juggernaut that sneaks up behind you, but it's not too bad to deal with here. Take out the juggernaut, and you can start your climb.
However, there are steam vents blocking this climb. One person will need to stay at the valve near the ladder, while the other two climb up the side of the silo to reach the first white platform to stand on. There is another valve up top for the first person to interact with and help the last person get past the steam.
Tip: Send your worst platformer/climber up first, and leave your best player at the bottom valve. If the last person falls, they'll be knocked to the very bottom of the silo (beginning of the level) and someone has to go back down to revive them.
Crawl through the vents ahead, and the area will eventually open up to a control panel where you can interact with three red buttons to "Initiate venting sequence." Take out the enemies in the area first. Then, you each need to interact with one of the buttons, and they all need to be hit at the same time.

Once done correctly, large red vent lids will open on the left side to allow you to jump across and reach the other side. This might take a few tries. It's time-based and weight-based, meaning you must move quickly across, and you can't be standing on the same platform as one of your teammates. This is a checkpoint though, so you'll respawn here if you die.
Tip: Once again, it might be helpful to send your worst platformer/jumper first. This way you keep pace with them.
Ascend up the rope at the other side, and you'll be faced with another similar jumping puzzle. Hit the three ventilation buttons in sync, but this time you'll need to jump on the red lids on the left, and then leap to a fourth lid on the right. This lets you climb up the yellow pipe on the right to continue higher. Wait at the top of the yellow pipe until a lid opens directly in front of you, jump on it, and then you'll see more platforms open up on the other side. Jump across to the other side and continue down the line for four jumps, and then you'll need to look down for one last platform on the bottom right. Hop to it, and you'll be through this platforming section.
Head through the blue double doors to continue, and drop down into a tunnel with a ladder. This gives you a checkpoint.
From here, you'll follow a linear pathway with enemies. Take them out and keep going until you reach a staircase. The bottom of the stairs has an armor box to refill your plates, and items like stim shots on the table. Replenish all your gear here before continuing.
The area opens up into a much larger space filled with enemies. Clear them out and look for a rope leading up. Beware of more enemies waiting up here. Zip up to the next level, and you'll see a second rope going higher. Before you can zip up this rope, you'll need to turn off the valve shooting fire. This works much like the steam valves from earlier.
This means one teammate needs to stay below with the nearby valve, while the other two zip up. Timing is crucial here. You need to be ready to interact with the zip as soon as the audio cue tells you the fire is out. Then, the teammates up top will need to locate and turn off a valve for the person at the bottom.
Reach the missile warhead
Open the door up top to advance, and clear out a tunnel of enemies. The tunnel leads to another ladder descending down a smaller tunnel. Drop down and you'll be faced with one more jumping puzzle.
Hit the three red buttons in sync, and red lids will pop open. Just cross all the lids and it will take you in a U-shape to curve around the area. Not a lot to this one, you just need to be fast and avoid grouping up on the same platform.
Follow through the door into a dark tunnel. This is another checkpoint, and you'll be fighting more enemies here. Clear them out and look for an opening that leads down.
There are more enemies waiting for you at the bottom floor. Clear out all enemies, and you'll have a room with a resupply of ammo and armor. Resupply and head to a door that's marked for you to breach.
This leads you to another puzzle-type room. To break this room down, there are three control panels that can be interacted with here.
- The first one on your right shuts off toxic gas with a 4-second timer
- Further ahead you'll find one that shuts off fans
- And a third opens an airlock door further down the path
Two players will need to stay with the control panels. (There are constant enemies here, so be prepared to fight) These two people are responsible for guiding "the runner" through the locked door and through a 40-second timed segment.

Tip: The runner has the hardest job, so send your best run-and-gunner to survive this. Or send whoever has the most armor plates, or a medic with a self-revive.
(Also, the right wall with the control panels is made of a bunch of window panes, so you can actually look into parts of the rooms that the runner will be progressing through.)
To time this right, have the runner waiting at the locked door, another at the gas venting panel, and the third at the panel to unlock the airlock door. You need good communication here because the two at the panels need to hit their buttons at the same time. This opens the door and vents the gas from the runner's destination in time. The runner also needs to be ready to sprint as soon as it opens.

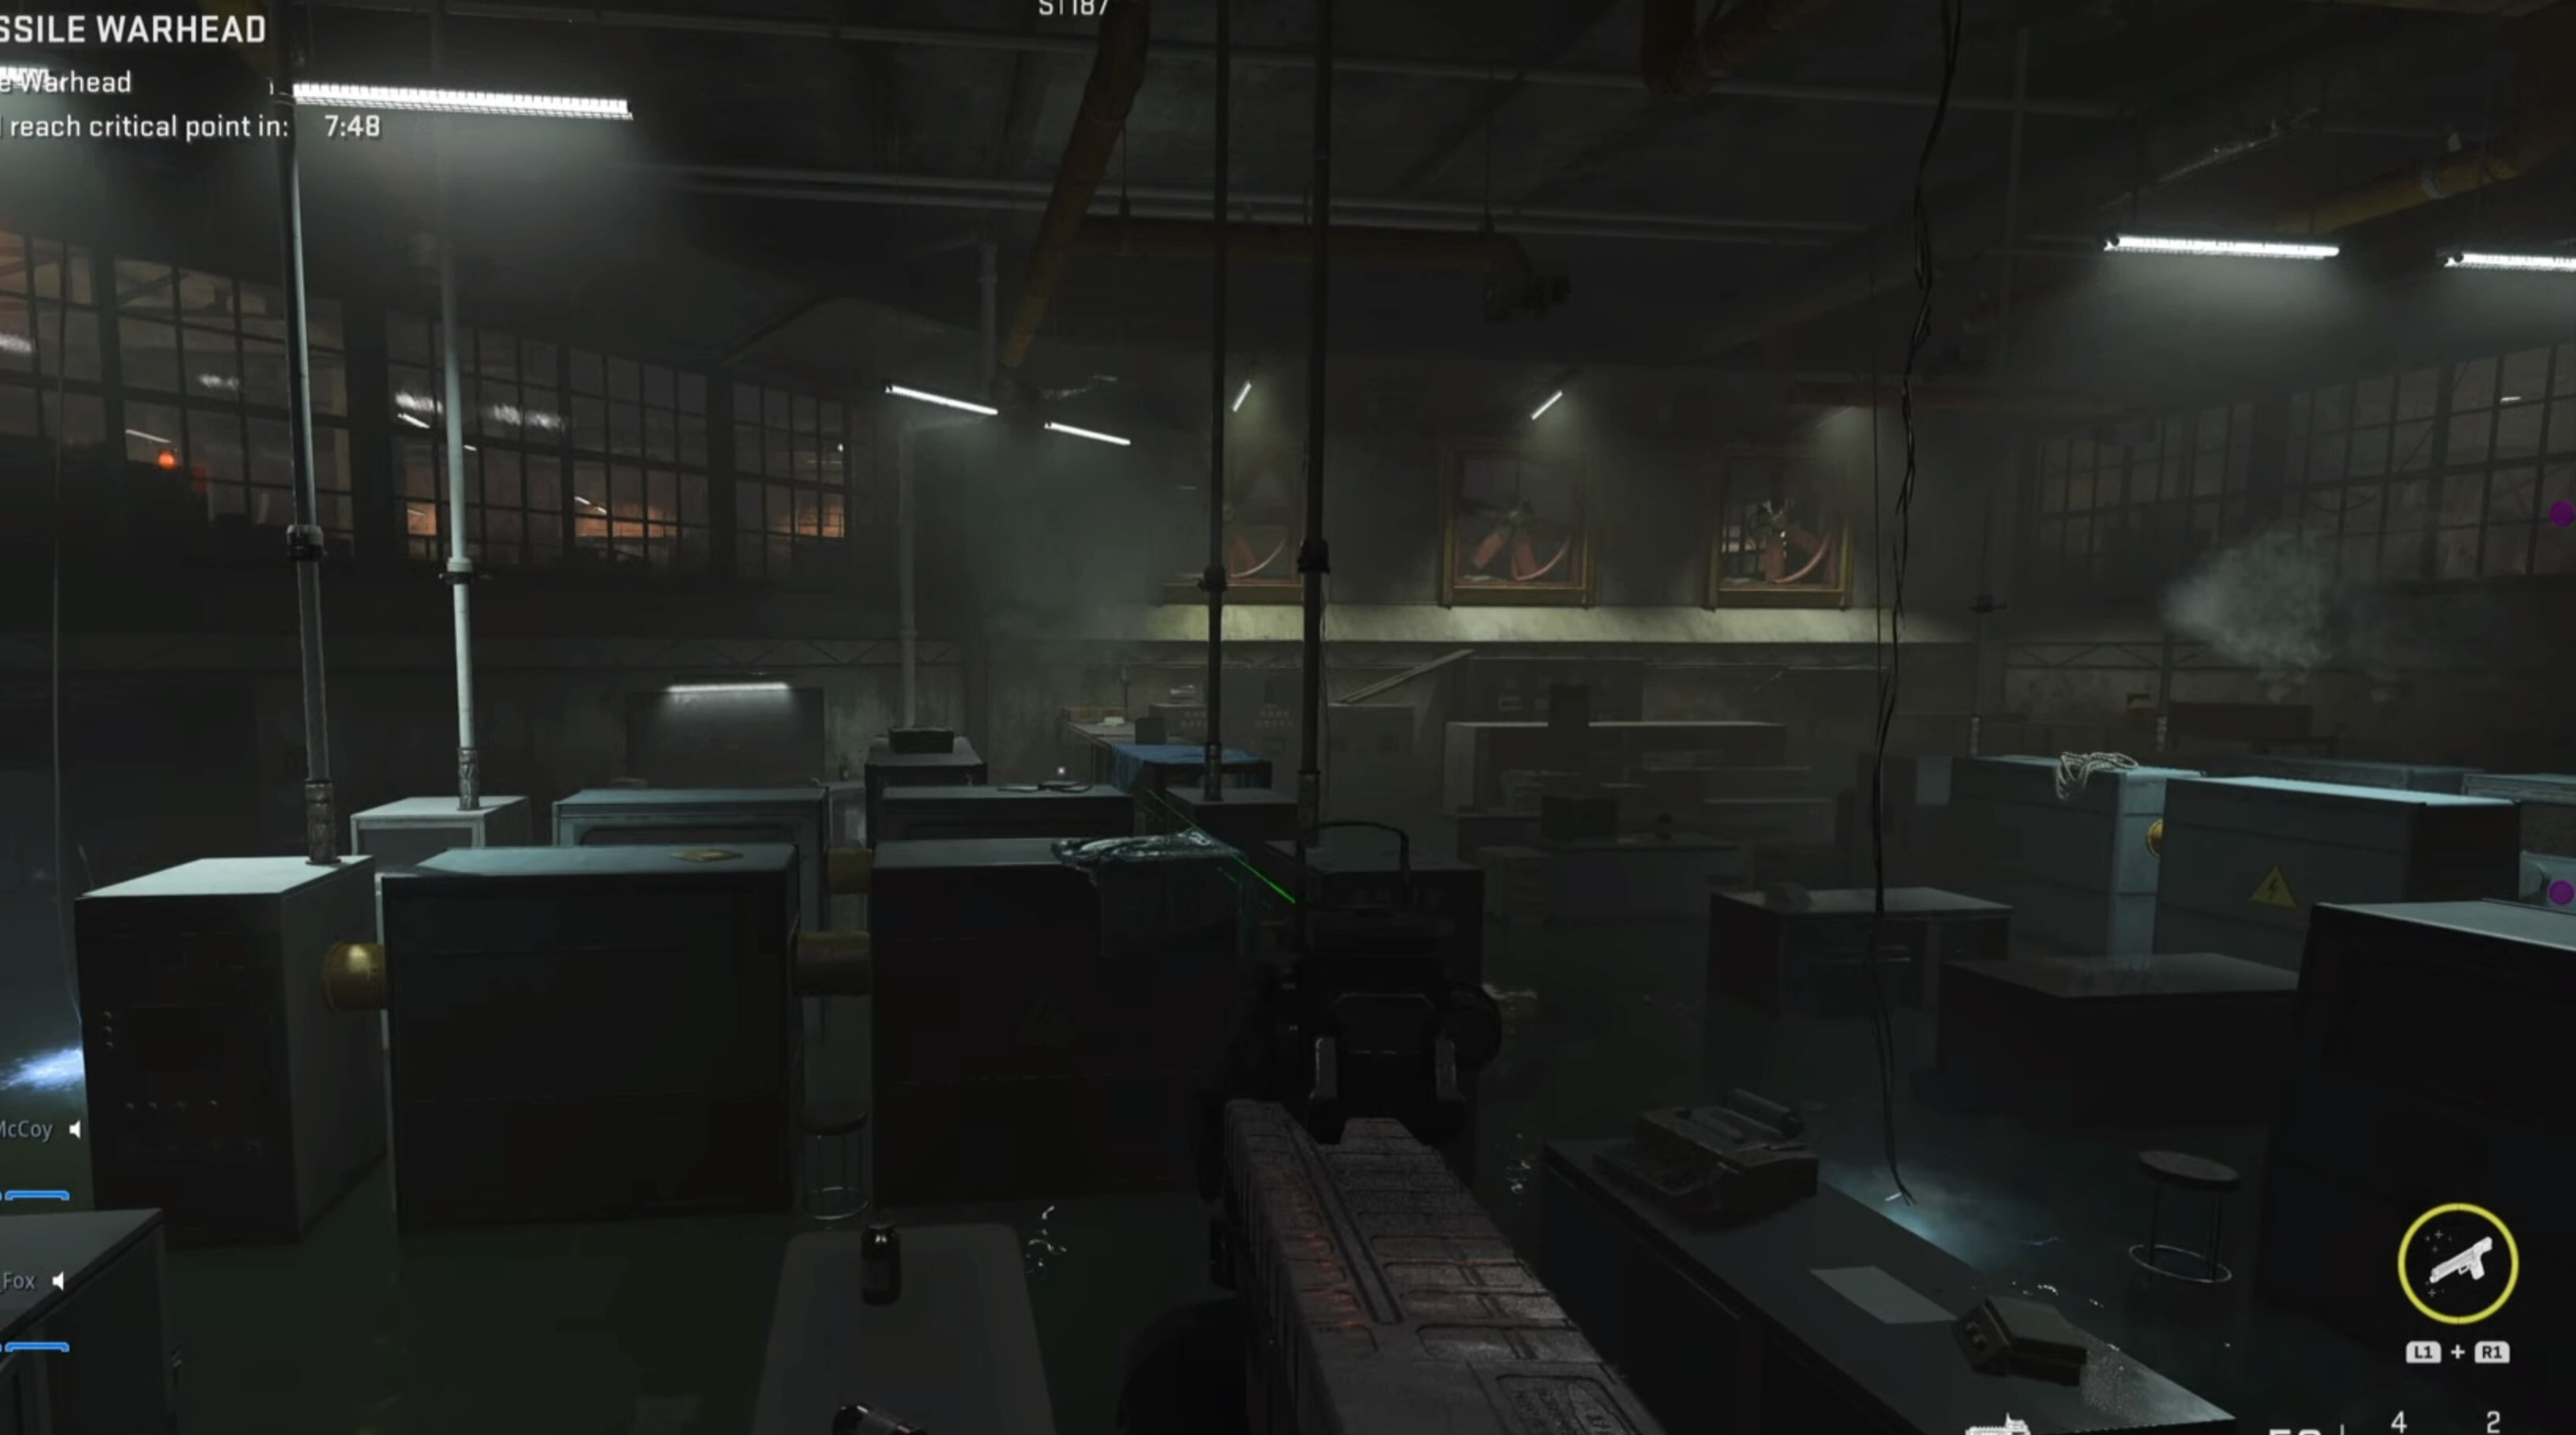
The runner will need to sprint through a room, carefully weaving around areas with electrified traps. But always keep moving. The second room is flooded with water, and the runner needs to parkour across the tops of PC terminals to reach the opposite side of the room. Touching the water shocks and slows you down. The runner must communicate when they're close to reaching the fans, so a teammate can run and shut off the fans at the middle control panel.
One of the three fans (it's random) will turn off, and the runner must pass through the fan blades. The runner drops into a new room, where they must avoid electricity and climb up some boxes to reach another room with a door. The runner must quickly communicate when they're getting close to the door, so the airlock door button can be pressed again to unlock.
From here, the runner is basically in a copy of the room that the other two players are in. They'll be tasked with using all three control panels by themselves to help the other two through the same rooms, and all while enemies are shooting at them.
Players two and three need to be waiting at their locked door (the one the runner originally used), and the runner needs to clear out a few enemies, go to the gas vent panel, shut off the gas, and then run back to the airlock door button. You can't worry about the enemies or take time to re-plate here. You must sprint directly from the vent panel to the airlock panel, or else they won't have enough time to make it through the puzzle room.
Players two and three need to progress through the room, communicate when they're at the fan, and the runner needs to turn off the fan, and then wait by the panel for the airlock to open the door when needed.
Players two and three can then help the runner clear the remaining enemies from the area. This is still tough, so stick together and use cover to revive each other if needed. There will be at least one minigun-wielding juggernaut here.
Then you'll make your way through a long hallway, which dead ends to a small area that looks like an elevator shaft. This is your final checkpoint. There will be a door at the end of this hall that you breach.
Breaching the door initiates a timer. You must push through waves of enemies, and you can't go back now, because a wall of toxic gas is moving up behind you. There will be an armor plate resupply here, but be quick about replating.
Head down a staircase, and you'll have more enemies to clear out in a wider pathway. You don't have to kill them all, but you do need to kill enough to keep moving without getting shot in your back. Run to the other end of the path, head up some stairs, and you'll need to plant a breach charge on the partially busted-looking wall in front of you.

Breach the wall, head up some stairs, and keep moving to avoid the gas. There's another tunnel ahead with more enemies to push through. Now all you have to do is reach the control panel at the end of the tunnel, and interact with the red button. All players must be here to hit the button and complete the Raid episode.
Raid rewards
Completing this episode rewards you with a classic looking Captain Price Bad Boonie operator skin. You also receive XP, a double weapon XP token, and one of seven random rewards. This can be an emblem, weapon charm, a camo, loading screen, or more.
You also unlock the option to play on a veteran difficulty, which will reward a custom weapon blueprint and another random cosmetic for completing.
Got a news tip or want to contact us directly? Email news@gamespot.com
Join the conversation