Apex Legends adds a lot to the last team standing formula by introducing characters to the battlefield. Knowing how to handle and work together with each of those characters is the added special sauce that can help you achieve victory in the game. That information lets you know exactly what you can and can't do in any given situation--and what you should expect your opponents to try on you. Just as important is knowing how you can help squadmates in emergencies, and how you can all work together to become champions.
Thanks to the battle royale formula, just about any team composition in Apex Legends is viable. But some characters work better together than others, and it's always smart to balance characters with different strengths and weaknesses. It's a good idea to bring along a defensive character or medic in almost all cases, for instance, although it's not essential. And picking characters that go well together can increase your odds of winning, especially if you're smart and work together with your complementary abilities.
We've spent a whole lot of time with all the characters in Apex Legends, and we've seen some of the cool things they can do together. Below is a list of ways you can use Legends in concert with each other to get the upper hand on your opponents and win those coveted championships.
Individual Character Guides
- Lifeline Guide: Tips On How To Be The Best Combat Medic
- Mirage Guide: Tips On How To Be The Best Holographic Trickster
- Pathfinder Guide: Tips On How To Be The Best Forward Scout
- Caustic Guide: Tips On How To Be The Best Toxic Trapper
- Wraith Guide: Tips On How To Be A Dangerous Bamboozler
- Gibraltar Guide: Tips On Playing As The Shielded Fortress
- Bloodhound Guide: Tips For Hunting Prey As The Technological Tracker
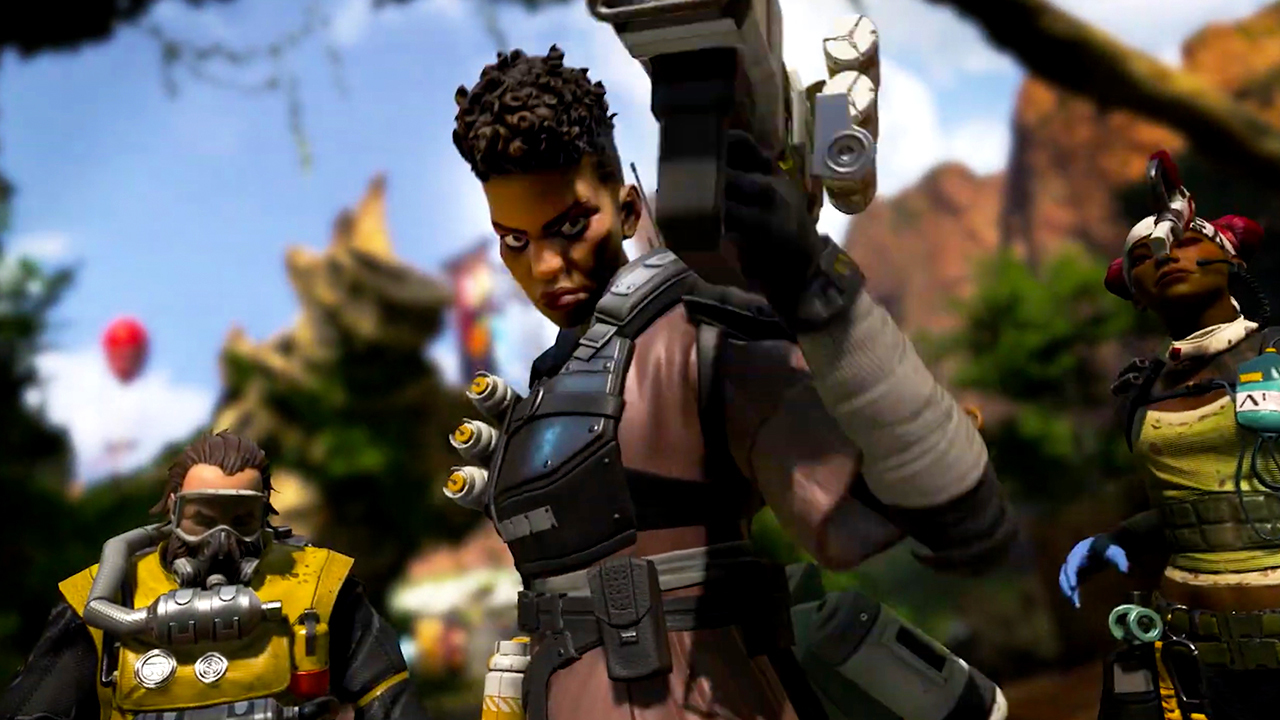
Bangalore
With Bloodhound
Bangalore's smoke grenades seriously affect any battle she's in by completely changing the rules of engagement. When you lay down smoke, you can rob another team of visibility, confuse them, force them to change positions, or lose them as you make your escape. Bloodhound's ability to see through obstructions allows them to fight like smoke isn't even there--and that means you can go nuts robbing opponents of their ability to see and fight back while Bloodhound fires away unimpeded.
With Mirage Or Wraith
Obstructing an enemy's view makes it a whole lot easier to bamboozle them. Dropping a ton of smoke on an area works in perfect concert with sending out a Mirage decoy to cut through the cloud and further distract or confuse enemies. Decoys are already pretty tough to identify, and even more so when they go running through a smoke cloud--and overwhelming your opponents this way gives you plenty of room to flank an enemy team or escape.
The same is true of Wraith, who excels at opening up flanking positions on enemies. Smoke a location to give her cover as she phases through and drops portals behind another squad's position. Wraith's ability to phase makes her formidable, but other players can sometimes still see and identify her because of the trail she leaves behind. Bangalore's smoke makes it even tougher for other players to see her, allowing her to flank or set up portals without the risk of getting caught out of position.
With Lifeline
A pretty obvious combination, Bangalore's smoke screen makes it a lot easier for Lifeline to head into the fray to pick up a downed teammate, and the smoke can often help them get the damaged squaddie out of harm's way so they can heal. Bangalore gets two smoke charges per use of her ability, which means you can dump a lot of smoke on a Lifeline who's reviving, or spread it around so opponents don't just rush through the smoke cloud as soon as they see it appear.

With Gibraltar
The only two characters with airstrike abilities are Bangalore and Gibraltar, and while they're very different, both can be powerful. Bangalore's airstrike does less damage than Gibraltar's, but covers ground in a rolling, forward motion. Gibraltar's mortar strike is stronger but is confined to a smaller radius. Still, combining either airstrike with the other's abilities can make them more effective--dropping a dome shield and then Bangalore's airstrike can give your team a place to hide out for a second, and smoking an area before Gibraltar's strike goes down makes it tougher for enemies to avoid. You can also try using both strikes simultaneously to control a large area of the map. In chokepoints, use Bangalore's weaker strike to push people into Gibraltar's tougher one, or vice versa--or just drop them to cover a huge area and hit enemies as they try to flee.
With Pathfinder
Pathfinder's major contribution to the team is often information on the battlefield. With Pathfinder's Insider Information, you can set up ambushes against enemy squads by getting into the ring ahead of other teams. Knowing other teams have to come to you to avoid the ring gives you better chances for attacks like airstrikes. Pathfinder's grapple hook is also great for zipping through and over smoke walls, giving you chances to flank squads when they're not ready. Smoke is also useful for covering zipline escapes; by the same token, you can drop ziplines near or behind enemies and pair them with smoke to give teammates a path behind enemies.
With Caustic
Like Bangalore's smoke, Caustic's gas can obscure the vision of other players, including teammates. Bloodhound can mitigate that issue with Eye of the Allfather and Beast of the Hunt, which can cut through the gas to let you zero in on targets and take them out while they're blinded.
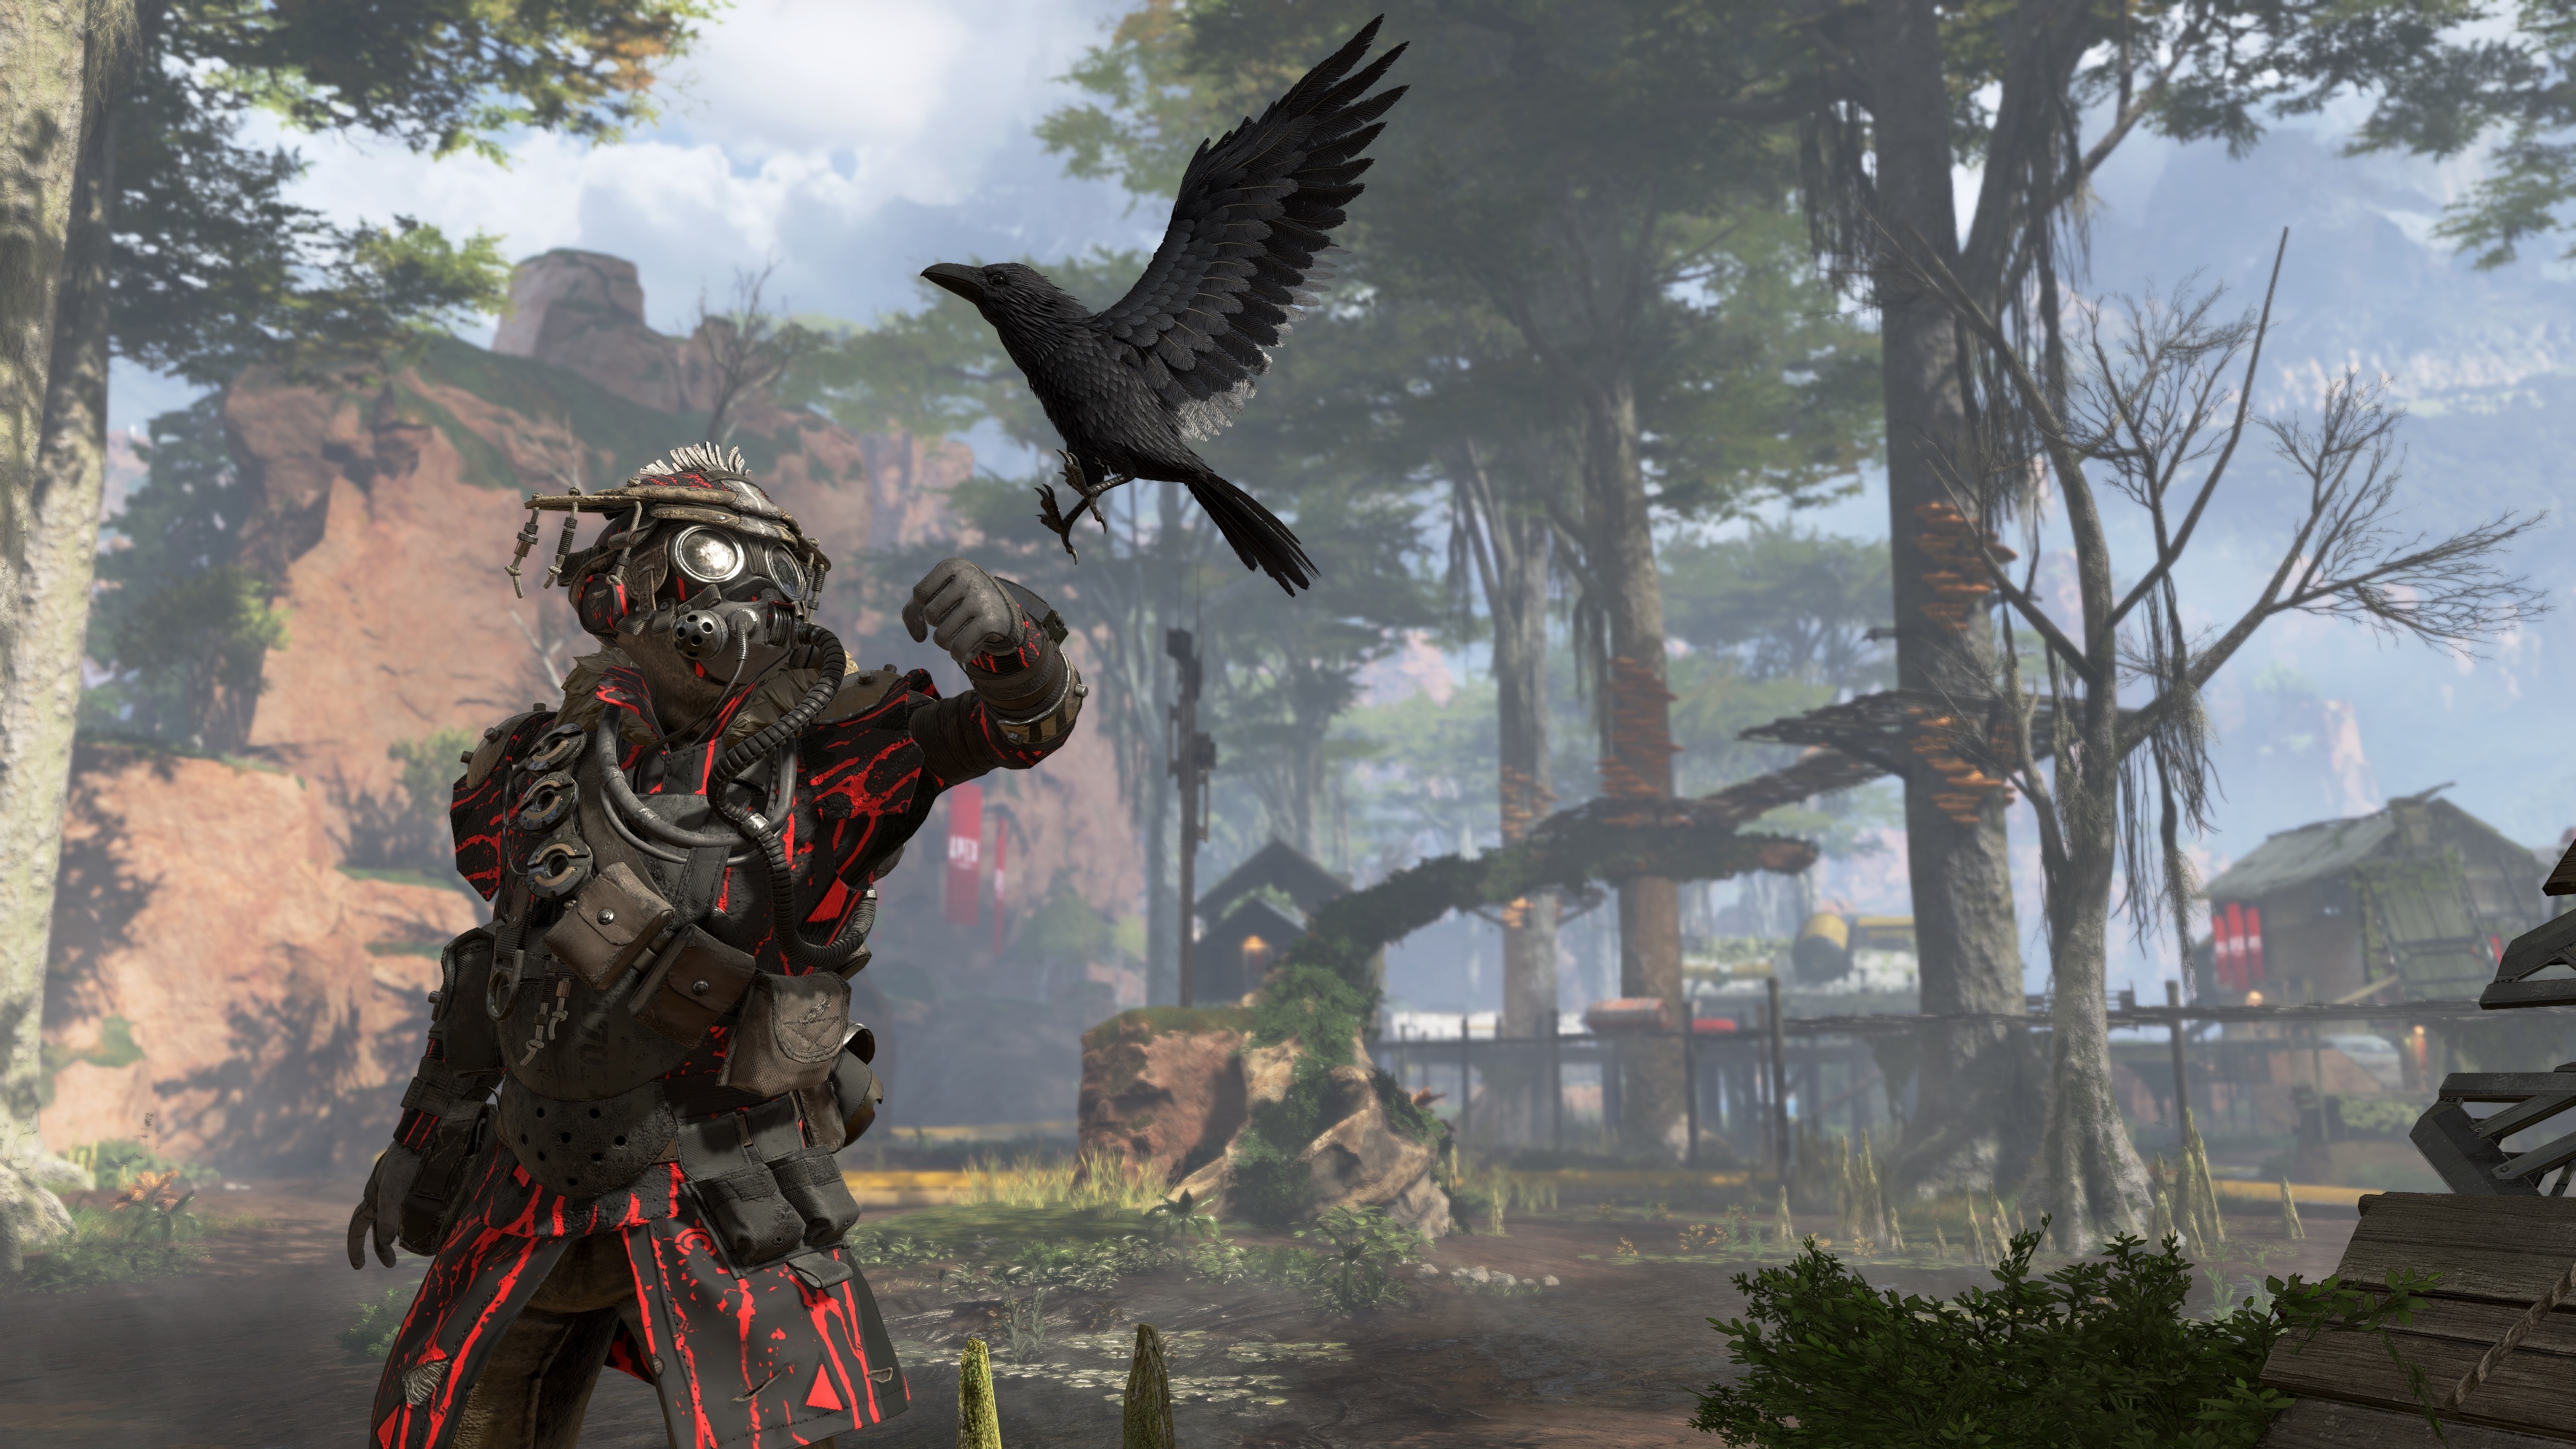
Bloodhound
With Gibraltar
Bloodhound's ability to find enemies and see their positioning can be very handy when you need to know where to drop a mortar strike. Bloodhound is best used to constantly inform teammates of enemy positions, so use that knowledge to either blast squads and flush them out of position with your strikes.
With Mirage, Wraith, Or Pathfinder
Using Bloodhound's ability to find hiding enemies can give Mirage and Wraith the upper hand when confusing squads and flanking them. Knowing where enemies are can give teammates the info they need to send a decoy in the right direction, distracting a team so you can approach them from another direction. The same is true of using Pathfinder's grappling hook or zipline or using Wraith's abilities--knowing where a team is set up is necessary to flank and create ambushes, which both characters excel at doing. also makes it easy to get into position for ambushes or to flank enemies. When playing as Bloodhound, try to provide your team with as much information as you can, and they'll be able to use their own abilities to help you.
Wraith's ability to get squadmates into new positions with her portals is especially good for Bloodhound. With Eye of the Allfather and Beast of the Hunt, Bloodhound does a phenomenal job ambushing enemy teams. Using a portal to flank a squad and then activating Beast of the Hunt can be a great way to take down a group of enemies quickly, too.

Lifeline
With Gibraltar
Throwing Lifeline together with Gibraltar is an obvious pairing since both carry defensive abilities that are great for saving the lives of their squadmates. Gibraltar's dome shield and mortar strike are great for protecting Lifeline while reviving other players (although be sure enemy players aren't going to charge straight up on you when you do). Gibraltar can also drop his shield on top of Lifeline's drone, which you can push forward to give yourself something of a mobile shield, too.
With Wraith
Wraith's portals are great for helping out Lifeline players. Squadmates who have been knocked down can still use portals, making it possible to get out of a battle and away to safety. With Lifeline's speedier revive times, that means you can get squadmates out of harm's way, revived, recharged, and instantly back into the battle with the help of a portal. The trick is for the other member of your squad to stay alive in the meantime.
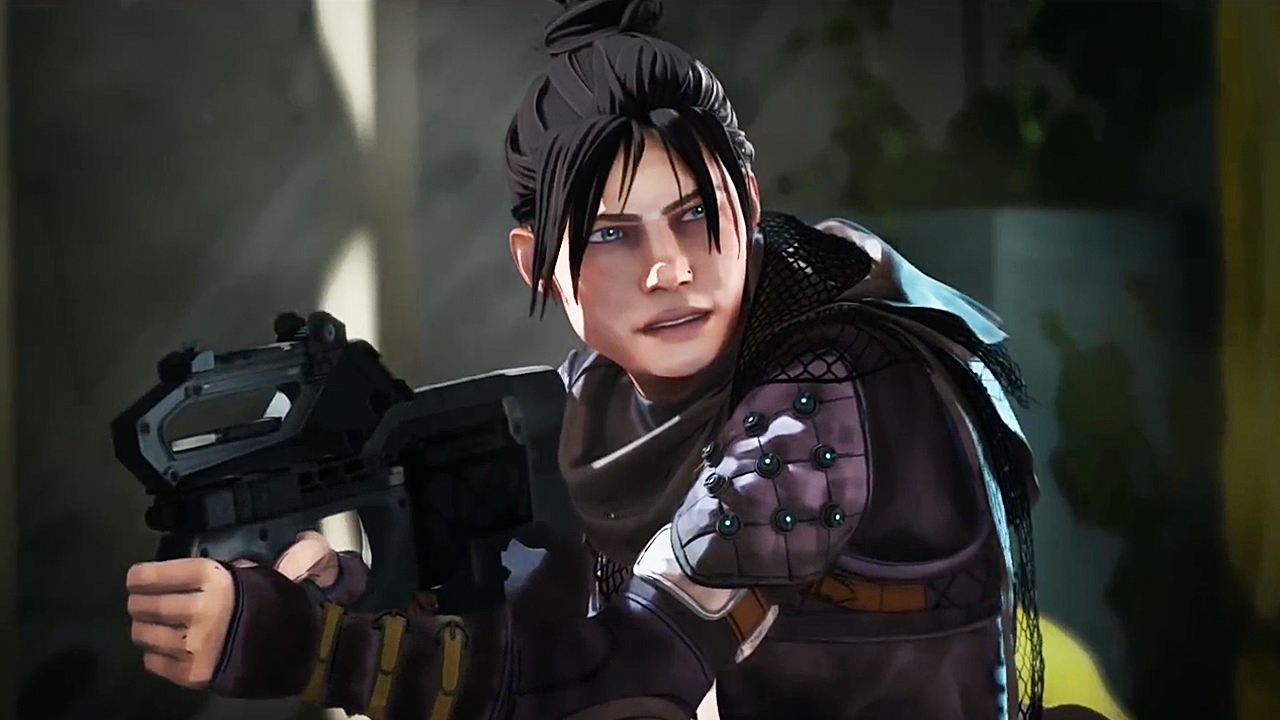
Wraith
With Mirage
With comparable abilities about confusing enemies and sneaking around them, Wraith and Mirage play similar roles and they can be very useful together in a battle. Mirage's decoys can be used to misdirect enemies while Wraith sets up portals or gets around behind enemies, and Mirage can do something similar with his ultimate ability, which briefly makes him invisible. Executing both moves together means you have much better chances of repositioning, and even if one of your flanking characters gets spotted, the other's chances are improved quite a bit.
With Gibraltar
Gibraltar's mortar strikes are great defensive cover for Wraith's movements and flanking maneuvers. Throwing down a mortar strike can give Wraith the cover she needs to phase behind a team or to get out of harm's ways. Mortar strikes have a serious effect on visibility, making Wraith's movements a lot easier.
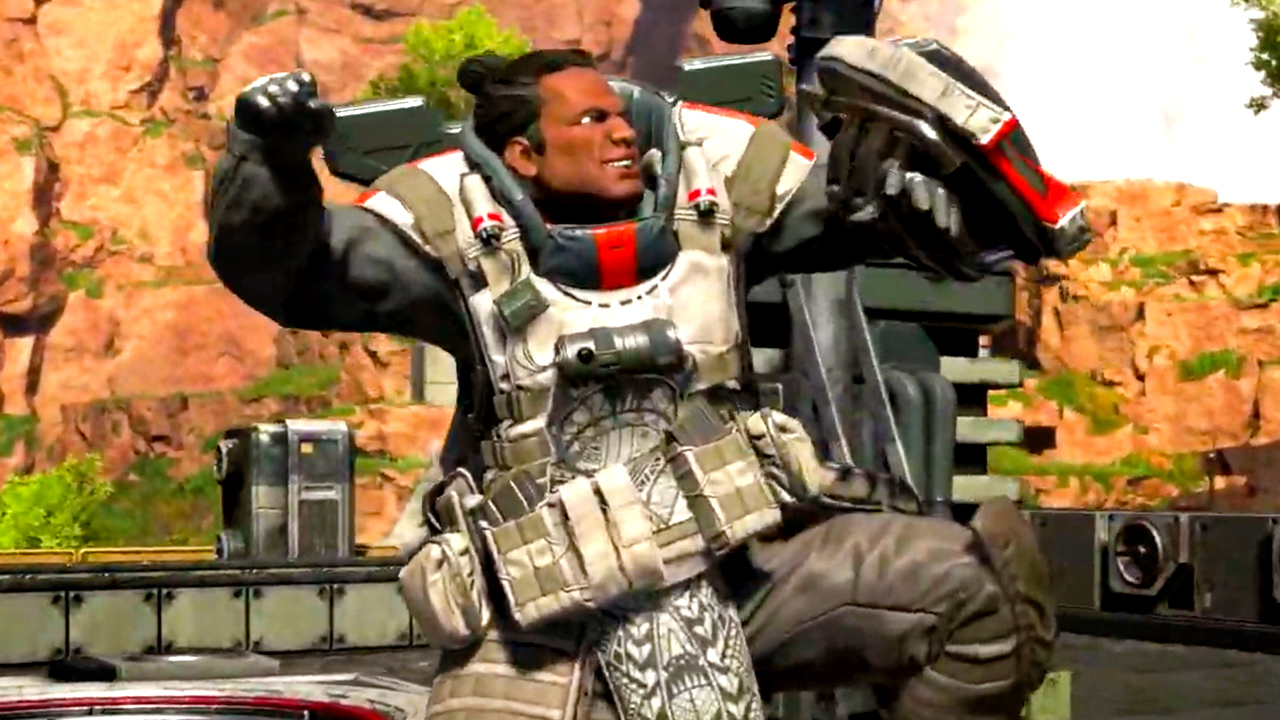
Gibraltar
With Caustic
Gibraltar's Dome Shield is really useful for stopping fire coming from down range, but it's vulnerable to players who close the distance and come rushing in with shotguns. That makes it great to drop a gas trap in Gibraltar's dome while you're using it, just in case the battle gets close. The trap will slow and blind enemies, hopefully giving you a chance to slip away and prepare to fight on your terms or use it as an opportunity for a spicy counterattack.
Activated gas traps and Caustic's gas grenades also highlight the enemies afflicted by them, which is great when you're trying to figure out where to drop a mortar strike. A quick reaction with Gibraltar's ultimate can add a whole lot more damage to a successful Caustic trap and help finish off a surprised squad.
With Mirage
Gibraltar's Dome Shield is handy when you want to make enemies think you're somewhere else, and a Mirage decoy inside the shield can help sell the illusion. You can also use Mirage's invisibility from his ultimate ability alongside a Gibraltar mortar strike, allowing Mirage to easily get up near an enemy position or to escape from one. Mirage decoys reveal enemy locations when they're damaged, which means you can use a decoy to try to pinpoint exactly where Gibraltar should throw his strike. You can also use decoys to distract while setting a strike, or when flanking an enemy flushed out of their position by artillery.

