Apex Legends: Habitat Map Tips
Everything you need to know about this tropical-themed map.
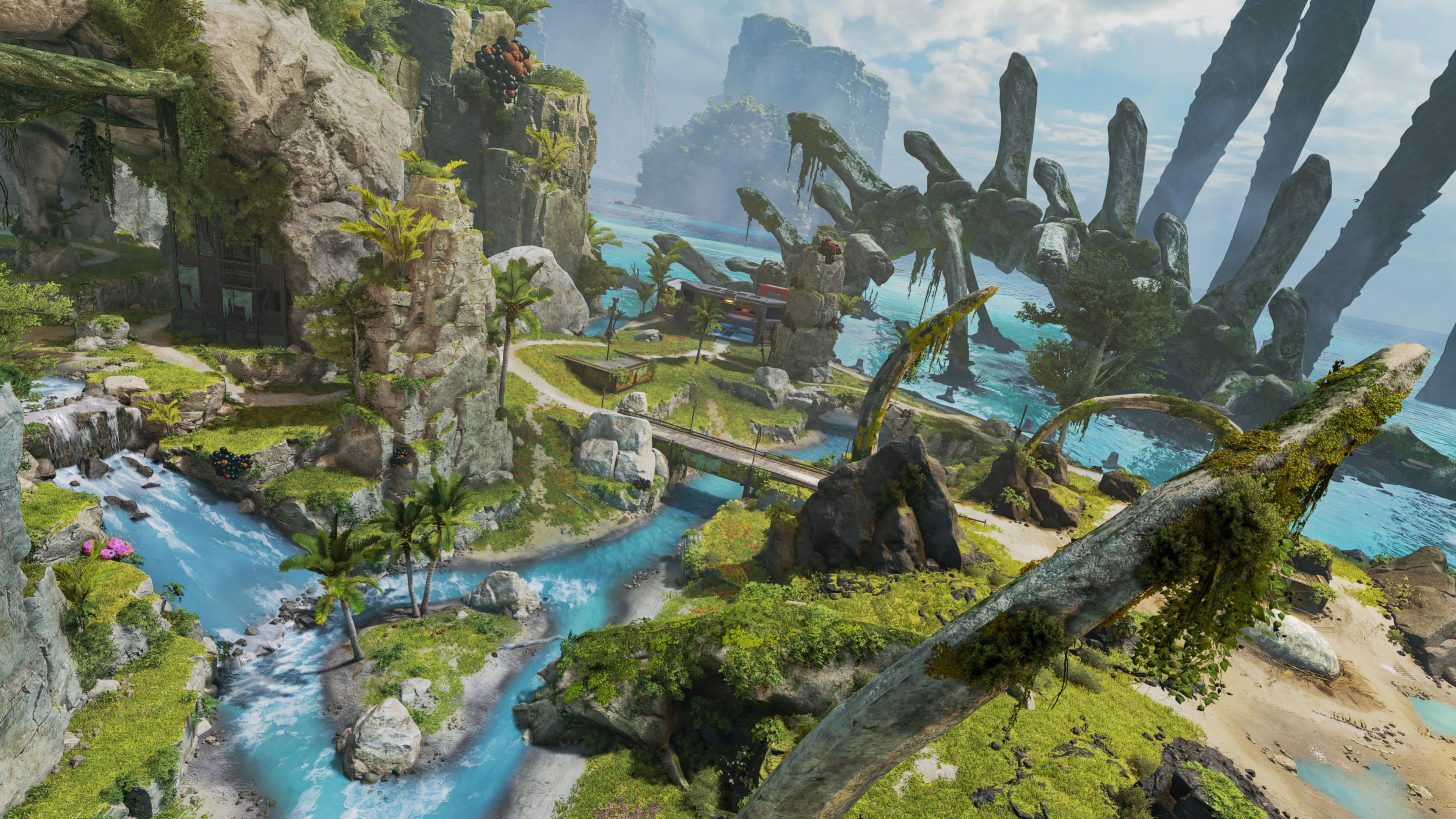
Unlike its traditional Duos and Trios modes, Apex Legends' 3v3 round-based Arenas mode features smaller maps and tons of close-quarters encounters for those looking to stay constantly engaged in combat. One such map is Habitat, which takes place on a small island located just off the coast of Storm Point and features the same type of tropical island aesthetic. Here's the important stuff you need to know about Habitat.
Points of interest
Similar to other Arenas maps, Habitat has two points of interest sitting on the sides of the map, the Cave and the Nest. The Nest is an open-air area, with no overhead cover. There are a few massive eggs and some rocks that can be used for cover, but sightlines are generally clear. As for the Cave, there is a rock formation providing overhead cover and a few areas with various elevations, so it's a little easier to move around without getting noticed immediately. Both areas have a supply bin containing two shield batteries, a medkit, and a phoenix kit, along with a material container. There is one additional material container at the bottom of a small waterfall, in the dead center of the map.
Habitat also has two ziplines, something not present on other Arenas maps. Both ziplines are horizontal, moving from the Nest side of the map to the Cave side. The ziplines are located in front of each squad's spawn, so players can quickly move from one side of the map to the other without having to charge too far into battle.
Tips and Tricks

With the exception of the spawn areas, there are no man-made structures on Habitat, so there are very few areas with overhead cover. Because of this, Valkyrie is a great pick for this map, because you can start every round knowing where the enemy team is. If you fly straight up using Valkyrie's passive ability, her jetpack, at the start of a round, you can typically see the enemy team and which direction they are headed. The only place where the enemy isn't visible using this method is the Cave, so even if you can't see the enemy, you still have a pretty good idea of where they are. This also means that ultimate abilities like Bangalore's and Gibraltar's are great to use.
The starting circle has three locations, one covering the Cave, one covering the Nest, and one sitting in the center of the map between the two points. Similar to other maps, you can use the circles stating location to your advantage. Many players will rush to the circle at the start of the round, in an attempt to get a strong position. You can use this to either rush them or to go to the opposite point of interest. With the ziplines allowing for quick movement across the map, you can run over to the area not in the starting circle, grab materials and healing items, and quickly head back to the circle before the enemy squad figures it out.
The location of the circle can also help determine your loadout of choice. If you exit the buy menu, you can check the map for where the circle is, then re-enter the buy menu afterward. The Nest is more open with clear sightlines, so a longer-range weapon is a better pick. The Cave has more obstacles and obstructions, letting players get closer to each other before the shooting starts, so an SMG or shotgun is more appropriate. If the circle lands in the middle, something closer range is a strong pick, since players like to sit on the edge of the circle when it ends up here.
Apex Legends News
Got a news tip or want to contact us directly? Email news@gamespot.com
Join the conversation