Metroid: Other M Walkthrough
Join Samus Aran on an exciting interquel concluding her exploits against Mother Brain. Our Metroid: Other M Walkthrough will provide tips for intense bosses, solutions to puzzles, and locations of items.
Join Samus Aran on an exciting interquel concluding her exploits against Mother Brain. Our Metroid: Other M Game Guide will provide tips for intense bosses, solutions to puzzles, and locations of items. Here's what's inside:
- Walkthrough: A full walkthrough to complete the story and post credits mode
- Boss Fights: Learn strategies to defeat intense boss fights
- Secrets: Locations of power ups and items to bolster your armory
Main Sector: Entering the Bottle Ship
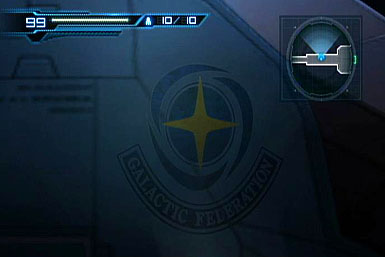
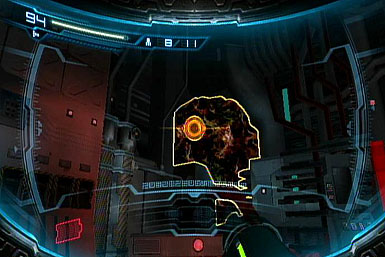
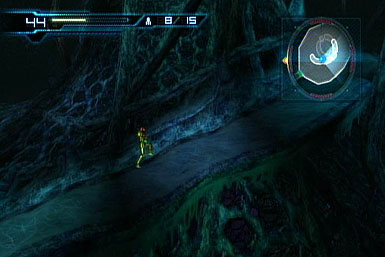
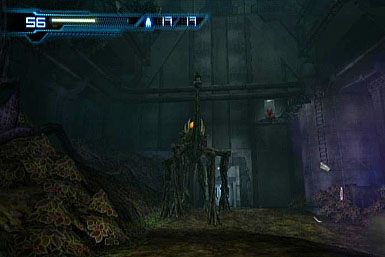
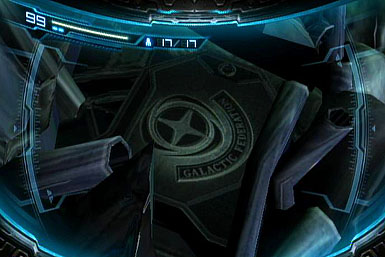
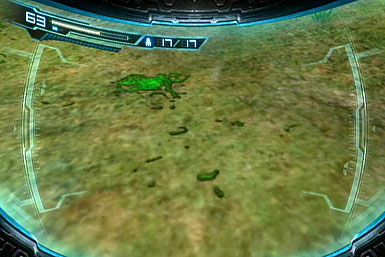
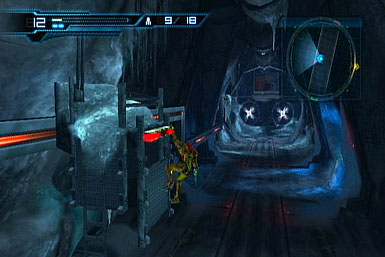
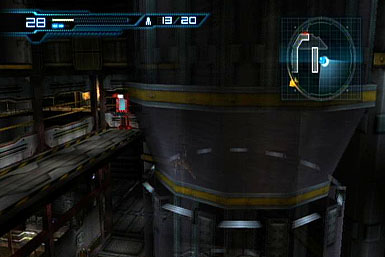
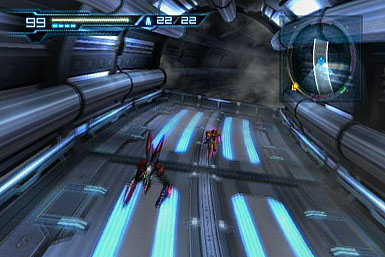
As you enter the Bottle Ship, you'll need to examine the area and search for clues. There is a transport ship ahead and you'll need to look directly at its logo: "Galactic Federation". Upon gaining control of your movement, continue ahead and you'll come to a sealed door. Blast it open with a missile and advance on.

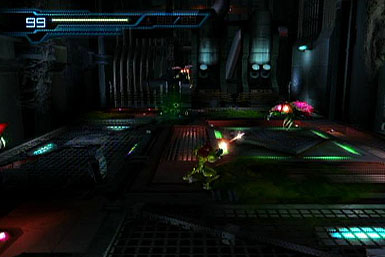
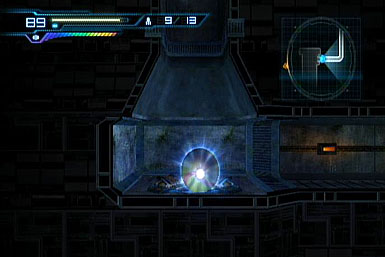
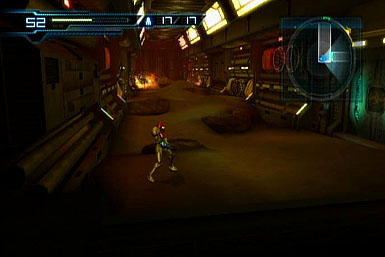
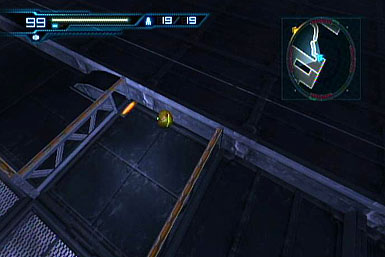
After watching a scene, move ahead and you'll fall through a broken platform. Here, you'll encoutner your first set of enemies. They are rather weak, so basic shots will be enough to defeat them. To return to the upper level, shift into a morph ball and roll under the grate on the right. Transform back into normal and climb the platforms until returning to the main level.

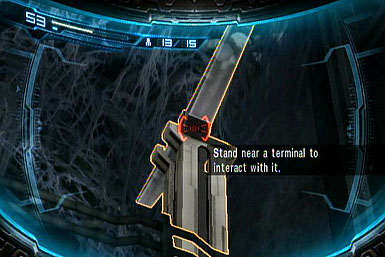
In the next room is a computer terminal at the top of a stair case. Move up to the console and activate it to unlock the nearby door. Cross the bridge ahead and kill whatever small enemies on the way. You'll come to an elevator that is currently out of power. Instead, jump across the multi-level platforms that ascend towards the ceiling.
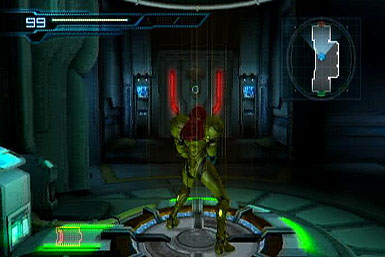
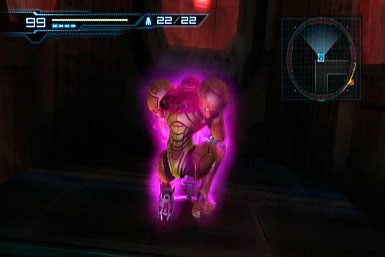
You'll come to a save room. Here, you can restore your missiles and energy. While you can use concentration to restore your missiles at anytime, save rooms are the only locations where you can restore you life meter to full.
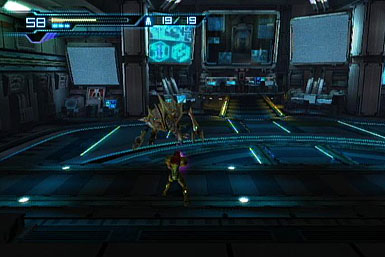
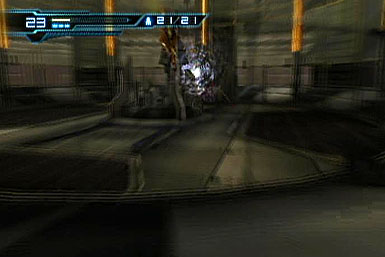
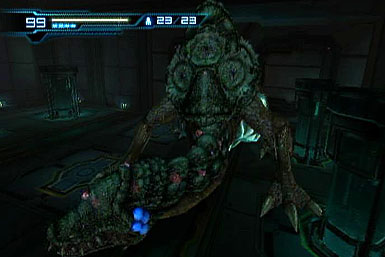
Jelly Monster
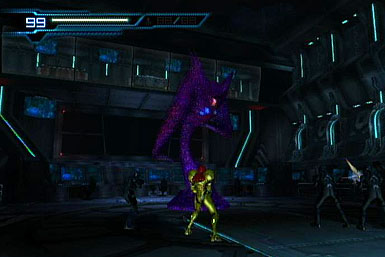
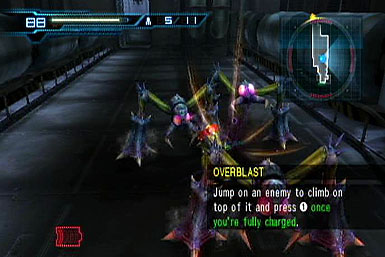
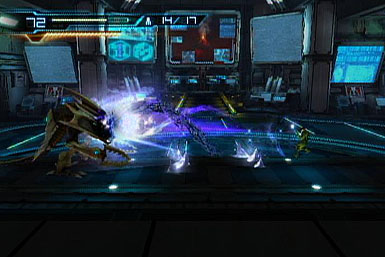
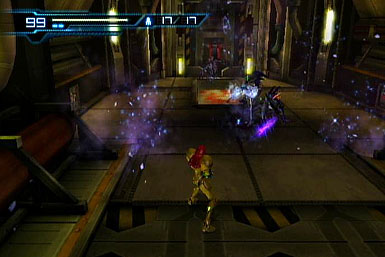
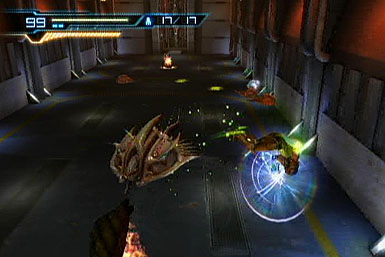
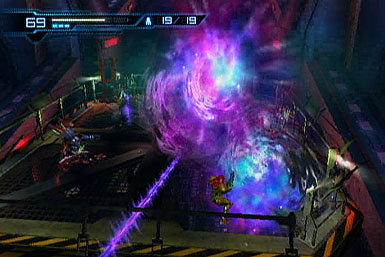
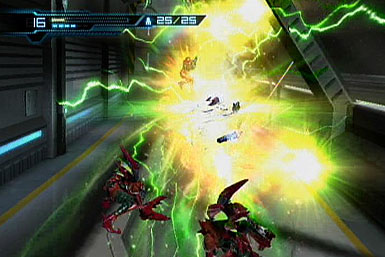
You and the Federation soldiers will come under attack from a giant purple slime monster. Your allies will freeze the enemy in place while you deal the real damage. When not on the offense, be sure to time your dodges to avoid taking any major damage. Your normal and charged beams are plenty powerful, but what you'll really want is an overblast to deal extra damage. After destroying its arms, the soldiers will freeze the enemy's lower half. Move in close with a full charge to execute a deadly overblast.
Main Sector: Restoring Power
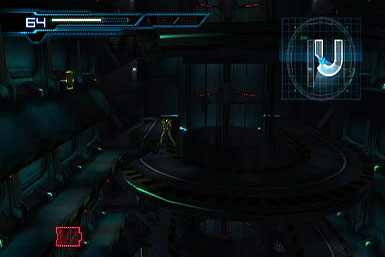
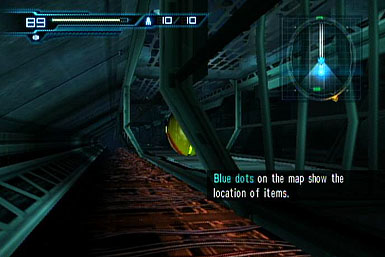
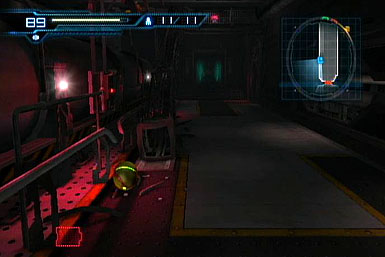
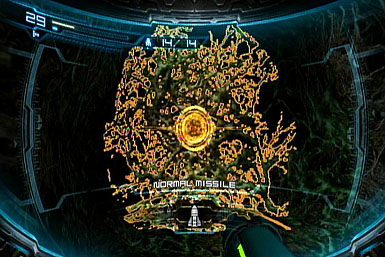
Adam will give you orders to restore the power to the ship. Follow the way point back to the center of the Main Sector. Along the way are several collectable items, including missile upgrades. You'll need to transform into a morph ball to reach these secret locations. To reach your goal, you'll also need to move in morph ball form. Locate the broken grate and roll up the diagonal ramp it forms. Along the way is a bonus energy tank and the way to the next encounter.
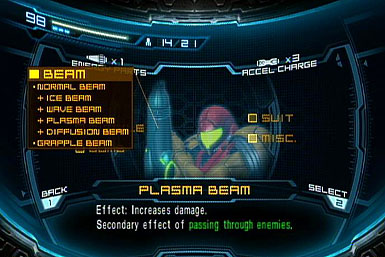
The control panel that restores power is protected by two insect hives. You should clear out the initial with plasma and then use missiles to destroy the hives themselves. Three missiles each will be enough to destroy the hives and secure the area. With the area safe, acess the panel to restore the Bottle Ship's power.
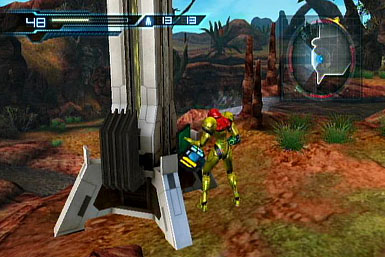
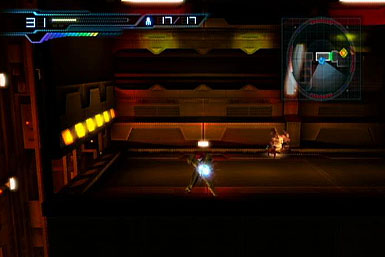
Exit outside and return to the control room where Adam awaits. There are more powerful enemies along the way. Some of them use powerful stomp attacks that can deal a hefty amount of pain. It's best to leap on top of them and deliver a full charged overblast. Also, be sure to stop and collect the missile pods that are newly available.
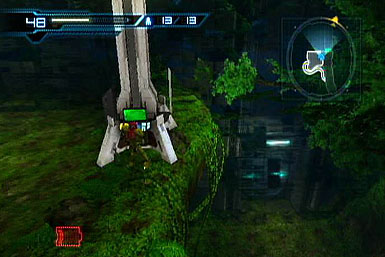
Adam has new orders to assist the team members that headed to Sector 1. Follow the waypoint to the main elevator shaft and take the green elevator marked with the number "1".
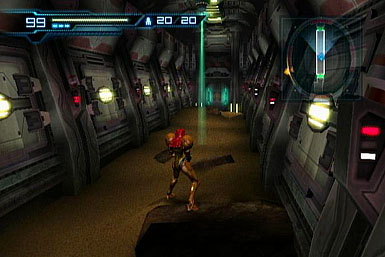
Sector 1: Illusions
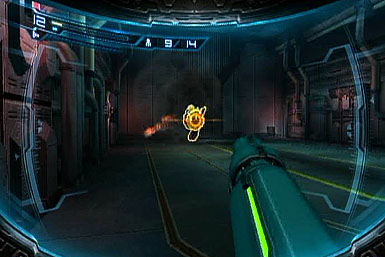
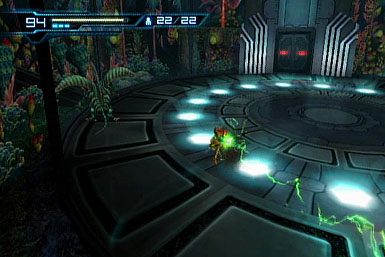
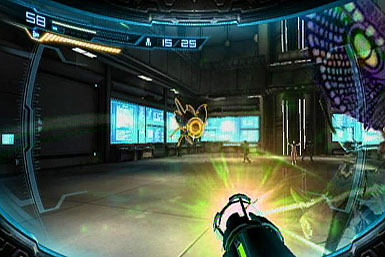
Sector 1 is populated with a large amount of vegetation, making it the Bottle Ship's greenhouse. Move ahead and you'll arrive at a circular room. You'll be attacked by two invisible enemies.
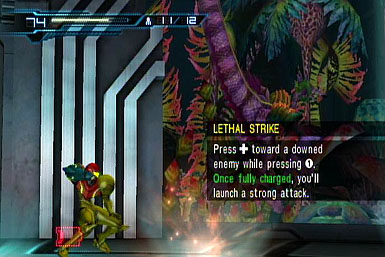
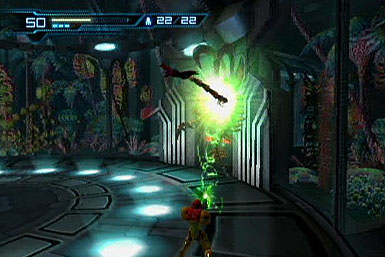
Don't worry about not being able to see them, as your missiles will be able to auto-lock onto their position. Once hit, the enemies lose their cloak for a short time. Use this opportunity to assault them with your plasma beams. When they fall to the ground prone, move into close to them iwth a charged shot to perform a finishing lethal strike.
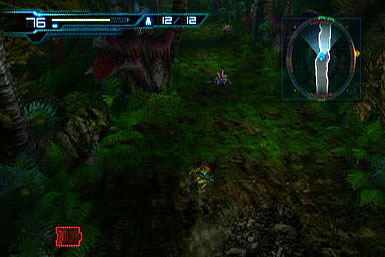
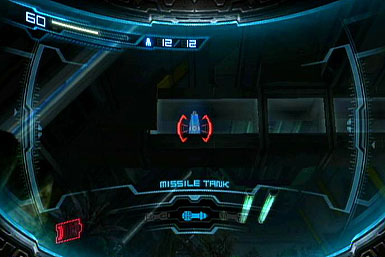
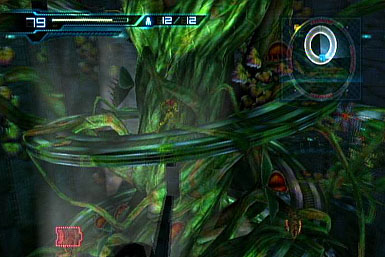
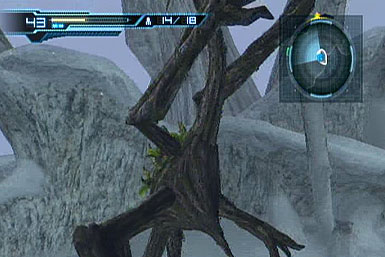
In the next room is a winding ramp leading up a large tree. Move up this curved incline and destroy the minor threats along the way. At the top, you'll slide down a hill wrought with hazards. As you descend, be sure to jump over any thorns and dodge the monsters. Move through the door on the right and into a morph ball shaft to reach a missile tank. This will also lead to the next room.
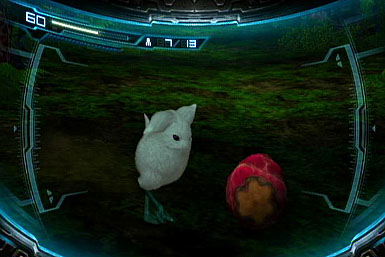
Be on the look out for some strange activity. There is a small white creature that is looking for food. Examine this beast and its meal to regain control of your movement. Up to the left is a control switch. Press the button here and it will reveal that much of the environment is simply an illusion. In the next area, roll through the small opening past a nearby waterfall and activate another switch.

Wall jump up to the next corridor and you'll soon arrive at a broken elevator shaft. As you ascend up, you'll be chased by a powerful enemy from below. The elevator is currently caught by debris that will only budge with a plasma shot. To avoid being crushed yourself, move off the wall, and into on of the ledges on the left. Use your first person mode to destroy the junk above, releasing the broken elevator, which will in turn squash the enemy.
Sector 1: Hive Nest
With the shaft cleared out, locate a booster for your morph ball and ascend up the opening. You'll arrive at some tough terrain that will require missiles to pass through. You'll be ambushed by several snake enemies that will crash through the walls. They move quickly, but can be stunned with a missile attack, leaving them open to a deadly overblast.
After following the waypoint, you'll arrive at another power console guarded by insect hives. Use your plasma beams to destroy the bugs produced, and then switch to missiles to destroy the hives themselves. Press the switch to unlock a new door and follow the waypoint to its location.
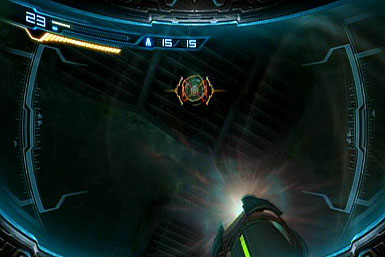
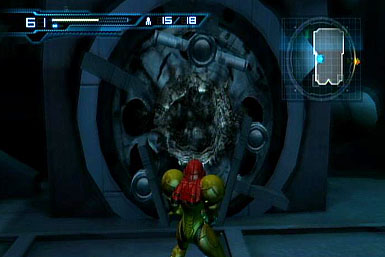
The way point will lead you to what appears to be an empty room. However, their is a device at the top of the room that will cast an illusion. This false image will cover most of the room, except for a small column on the far right. Switch into morph ball form and destroy this wall with a bomb.
Past another hallway, you'll arrive at another winding platform. To make things worse, it's not in peek condition: filled with many holes and guarded by enemies. Carefully ascend to the top and you'll descend down the center.
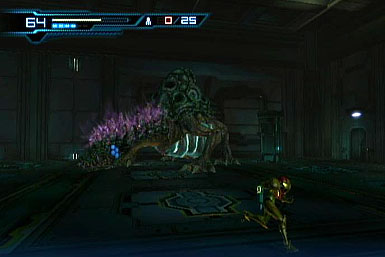
Insect Queen

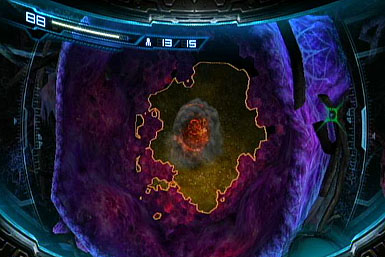
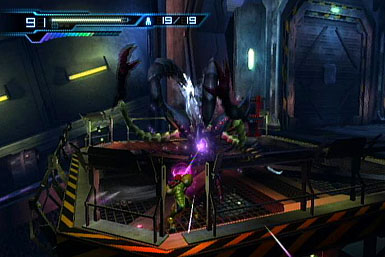
You'll need to examine the room before the actual fight starts. Look around for the larva sitting on the ground. This will alert a gang of workers that will swarm you. This is an opportune time to make use of your dodge, as it ill be the best maneuver to mitigate damage. Aside from your plasma shots to take on the workers, you'll need to stop and shoot missiles to damage the stationary pods. After the first wave is dealt with, the huge nest in the center will collapse, revealing the queen. Again, missiles are the key to dealing high amounts of damage in a small span of time.
Sector 1: Waterworks
Continue to follow the waypoint and you'll arrive at a hallway that has been flooded by water. There is dolly mounted against the north wall. Climb onto it to get it moving, however there are obstacles that you cannot see from your current perspective. Switch to first person view to locate enemies and switches. Use your plasma beams or missiles to deal with targets before they are able to hamper you.

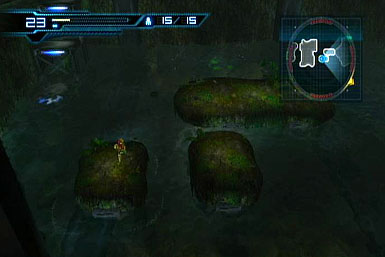
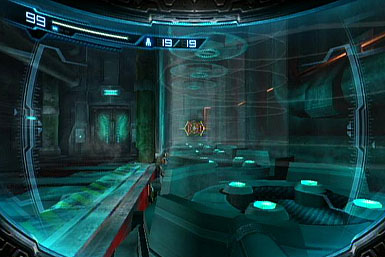
You'll soon come to a giant lake filled with several rock platforms. You can control the depth of the water by shooting plasma targets with a charged shot. One of these targets will cause the water to constantly raise and lower. You'll want to time your wall jumps so that the platforms align perfectly with the walls, allowing you to ascend to the door on the top.

Tree Monsters
You'll arrive in a forested area. There are many high platforms attached to the trees and ducts that can be entered while in morph ball form. Navigate this maze of rolls and jumps to reach yet another illusion generator. Deactivate this device will summon a large enemy that appears to be made of wood. It has a giant bulb on it back and can invert itself to place it on its belly. This bulb is the only weak point, and should be targeted with charged shots or missiles.

Despite this monster appearing as a boss, you'll need to defeat several more of them in the next corridor. These new additions fight the same as the previous boss, so take heed and resort to the same strategies. Afterwards you'll come to a new set of ducts that are filled with enemies. Use your bombs and move cautiously to avoid taking too much damage. Be sure to travel through alternate routes in this maze, as there is an energy tank along one branch. Follow the ducts towards the way point and you'll soon find yourself in the bio lab testing area.
mnav>
Sector 1: Bio Lab
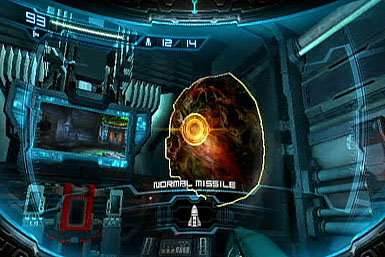
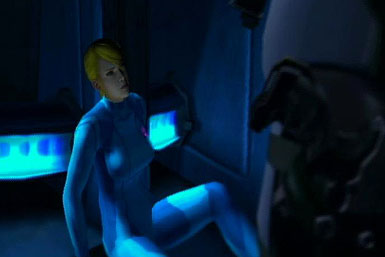
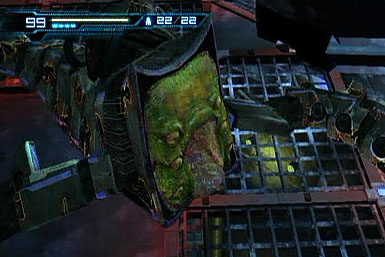
After meeting with the Federation soldiers and accessing the lab's computers, move deeper into the holding containers to continue your investigation. To regain control, examine the body and inspect the logo on its chest.
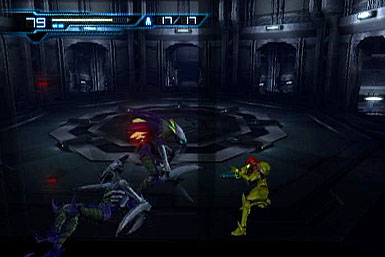
After reconfirming with the soldiers, you'll be attacked by several Space Pirates. As you will be outflanked you'll need to make quick work of your dodging abilities. Even with your plasma beam it's difficualt to deal strong damage. However, you can knock the enemies into a prone state, leaving them open to a close range lethal attack.
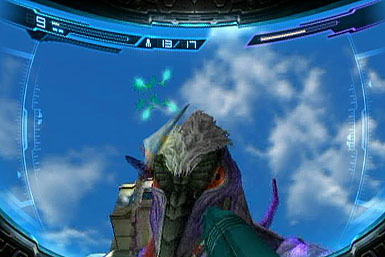
After the tense encounter, exit the lab building to watch a new scene. Afterward you'll be pinned down by a long beaked monster. You'll be unable to move, but can freely shoot. You'll want to shoot the enemy's tail to avoid taking damage, and counter by aiming for its head and mouth. When it's finally safe, investigate the puddle of green slime behind you to regain control. When ready, follow the way point towards Sector 3.
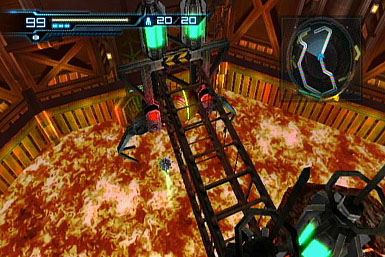
Sector 3: Lava Tunnel
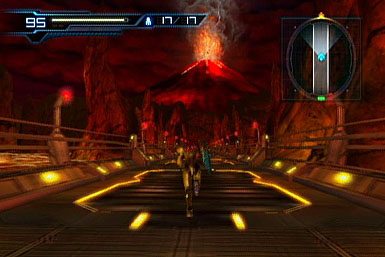
Ride the red elevator from the Main Sector to reach Sector 3. Move across the glass tube and a large enemy will pounce from the lava below. Quickly dodge to avoid being instantly devouered. Your suit is not equipped to withstand the newly exposed heat, so continue along the path as you take constant damage.

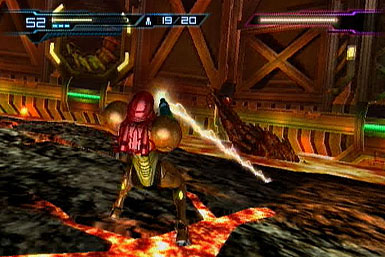
Once back inside you'll be granted access to your freeze beam, allowing you to cripple and trap enemies just as the Federation was able to. Continue towards the way point and you'll come to a long descending shaft. As you slide down, switch to first person mode to locate a plasma target. Shoot it with a charged shot to open a small gate that can be entered via morph ball.

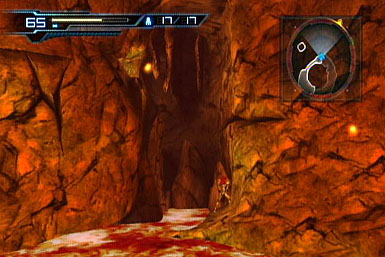
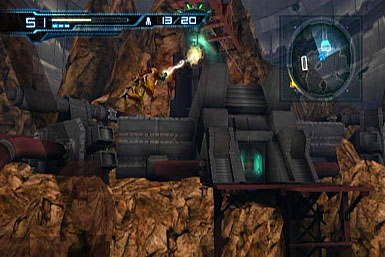
Continue along the path and you'll find yourself outside among the burning lava. Remember, you will take constant damage, so be sure to hurry. You'll be constantly attacked by the same giant monster from before. You are unable to counterattack in your state, so keep moving and dodging. You'll eventually escape the enemy, but will still be in the exterior. Keep moving and you'll soon enter another enclosed building.
Move along the path ahead and you'll enter a control room that is guarded by a shelled enemy. This enemy is very resistant to all of your attacks, however it will periodically extend its neck. Use this time to hit it with a charged shot and move in close for a lethal attack. Once the room is cleared, acess the pannel near the screen to unlock the door on the left. This new path will lead towards the activate volcano.
Sector 3: Volcano
Before actually entering inside the volcano, you'll be inside another interior control center. You'll be attacked by a gang of Space Pirates, but with your new ice weapon they can be defeated even easier. When ready, activate the panel ahead and move through the ducts.
You'll arrive inside the volcano, and the lava will start rising. You need to quickly ascend and move to the right. If you're caught in the molten river you'll take heavy damaged and be slowed by its pull. Make your way to the top of the volcano and you'll soon find yourself face to face with a new fearsome boss.
Lava Beast


Adam will finally authorize the use of your varia suit, which will finally prevent you from taking constant environmental damage. The boss has noticeable weak points that you should first freeze, then assault with a missile. After a short while it will change its patern and start slamming the ground. During this time freeze its arms and room up them to devliever a devastating overblast. One or two of these finishing moves will be enough to kill off the boss for good.
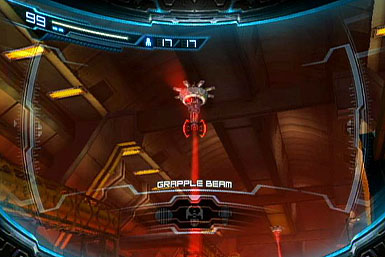
After the battle, the lava will finally stabilize. Descend back down into the volcano and follow the waypoint to the new path. You'll come to a area that requires the grapple beam, however Adam will instruct you to head to Sector 2 instead. Backtrack towards the sector elevator and you'll be attacked by another shelled enemy. Your tactics from the previous encounter will work just as well. When this enemy is killed, return to the Main Sector and into the blue elevator to Sector 2.
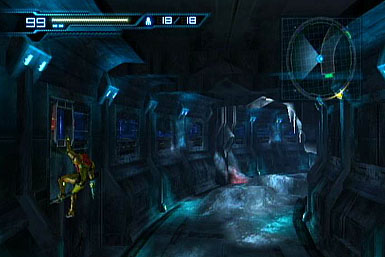
Sector 2: Icy Water
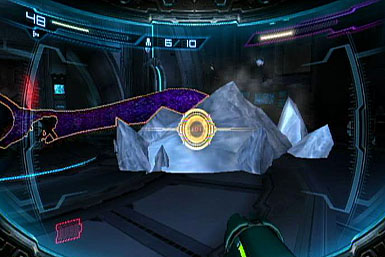
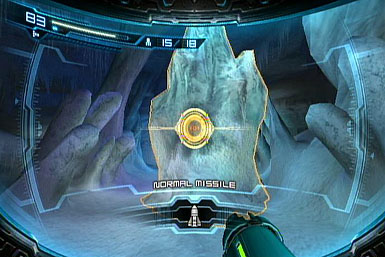
Once inside Sector 2, follow the path towards the waypoint and you'll enter a room filled with water. Dive into the pool and you'll locate a new missile tank. Your main goal is the plasma target, which when blasted with a charged shot will lower the water level. Return to the ground level and continue towards your goal.


You'll come to a corridor filled with huge slabs of ice. Shoot them with a missile to clear a path leading to the next room. Here, the bridge ahead of you will collapse and leave you face to face with a powerful enemy. Move to the right and you'll be able to ascend the cliff, allowing you to avoid all damage. Rain down missiles at the fearsome beast and it will eventually die. Return to the bottom and take the door ahead. The path ahead is blocked, but a duct on the left can be entered as a morph ball.
In the exterior you'll fight a new type of enemy that launches electric pulses. It can also shield itself from damage for a short time. Your best strategy is to kill or freeze it before it can form its barrier.

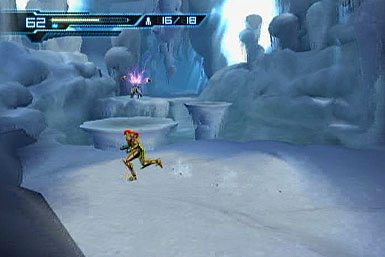
Ascend up the mountain ahead and past the interior ducts to come to another frozen lake. You can make your way across by shooting down the icy stalactites, which will drop and form platforms. Another electro enemy will appear as you cross, but they are no more threatening as before. Destroy it and you'll start your true climb to the mountain's top.
Sector 2: Artic Mountain
You'll enter a room with a long incline. There is a charging enemy at the top along with several hives which will constantly produce flying insects. To your advantage is a dolly on the left wall. Jump on top of it to start its movement. There are icy blocks standing in your way, so enter first person mode and blast them with missiles to clear a path. When the dolly reaches the end of the hall, jump to the platform above. This will give you a great vantage point to destroy the monsters below.

Additionally, at the top of this platform is a switch will unlock the door and lead back to the exterior. Follow the path and you'll find a circular structure on the east wall. It can be destroyed by a morph ball. The now open duct will lead to a long path. Adam will authorize use of your speed booster. Now when you move down long corridors, you will gain a burst of speed after some time.

This new speed boost power will bring you back towards the entrance and even smash an opening leading to an energy part. When you collect four of these, you'll gain a new unit of health. Return to the area with the broken bridge. With your new speed booster you can now cross the chasm. Don't move through the door too hastily, as there is an energy tank that can be grabbed by dropping below.

When ready, enter through the door past the broken bridge. This area is filled with spinning tubes which you can shimmy onto. Let the tubes spin and time your wall jumps to ascend higher and reach the exit. You'll encounter more enemies along this path, including the wood monster from Sector 1. Once again, shoot at its bulb that's positioned on its top or bottom. Proceed up the mountain to locate yet another research base.
Sector 2: Mountain Base
While outside the base you'll need to examine the second window from the left. This will grant you control of your movement. Head up the hill towards the base and you'll come to an accel charger, which will allow you to charge up to full capacity much sooner.


Enter the Deleter
After meeting with the Federation scientist, you'll be attacked by a hidden Federation soldier--the Deleter--piloting a heavy mech. This giant is constantly on the move, so be ready to dodge constantly. You'll want to freeze the robotic arms with a fully charged beam before destroying them with a missile. After both arms are gone, fire at the engine on its back to destroy it completely.
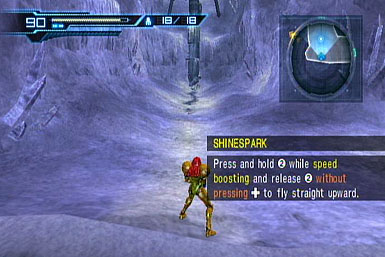
After the battle, continue along the path to reach an icy cliff that is too steep to climb. Adam will authorize your shinespark, which will allow you to leap huge bounds after speed boosting. Use your shinespark to ascend into a low rafter. You'll only be able to navigate this area in your morph ball form. Be careful not to move quickly, as the enemies around can only be killed with your bombs. Find the exit on the north side, which will drop you down to the top of the cliff.

Adam will authorize the use of your wave beam, which will allow you to shoot through glass. Charge up a plasma shot and activate the target across the other room's window. This will start up the cargo lift in the previous room. Start heading back that way, but the entire cliff will start to avalanche. Use your speed booster to out move the raging snow and return to the inside.
Move up the platforms ahead. If one isn't stable, shoot it with your freeze beam to lock it in place. You'll eventually reach the elevator which will lead you to the top. You'll at first be attacked by Space Pirates. With your new more powerful plasma beam, they are hardly a threat. However, upon reaching the top you'll face a new horned enemy. It's much too tough to defeat now, so dodge and freeze it until it eventually flees. Continue to the waypoint and you'll locate a series of tubes. Use your morph ball to activate their buttons, draining the containers. Enter first person and you should be able to spot a new plasma target. Shoot it to unlock an extremely long duct that will take you back to Sector 3.
Sector 3: Lava Pit
While your goal is the desert area, there is control safety hazard that is keeping the entrance locked. You'll instead return to the control room outside the volcano. With your speed booster you'll be able to easily cross any lava in your way. Once again the control room is guarded by a shelled enemy, however it is no match for your new toys. use the console in the middle of the room to unlock the route towards the desert.
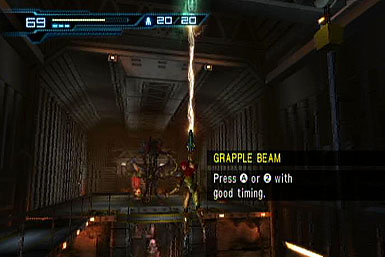
Upon reaching the door leading towards the desert, you'll find Anthony fighting a losing battle with the horned enemy from Sector 2. Adam will allow use of your grapple beam, allowing you to reach the battle. Once again the horned enemy is too strong to kill, so instead lure it towards the lava. It will charge passed you, diving straight into the deadly magma.
Follow the waypoint all the way back to the grappling beam room from your first visit to Sector 3. Swing across projections to arrive at a giant pit of lava.
Gone Fishing
At first you'll only be able to move through the overhead duct, using your morph ball bombs to release several grappling pods. However, one of them will sink into the lava itself and gobbled by the monster below. You'll need to fetch it from this fast moving boss.
You'll want to shoot into the boss' mouth with fully charged shots or missiles to dead the most damage. You can also make use of your grapple beam to reel in the beast, leaving it beached on the rocks for a few seconds. This will expose its belly, another tender weakness that can deliver alot of damage. Follow up with a final overblast to restore the grapple device and lead a way to the desert.
Sector 3: Desert
You'll arrive in the desert area. There is a large crane in the center. There is a grapple device on the front end, and on the back is a heavy weight. Shoot this weight with a missile to swing the crane. Position the crane to first access the illusion panel on the east side. This will cause a door to appear on the other side. Swing the crane back around and swing to the new entrance.

Inside the next area you'll encounter more spinning tubes that can be shimmied across. This will lead to the two highest position either side of the room. The one of the left contains the door, but it is locked. The right side has a panel that will release this lock.
You'll now be outside the building's exterior winding path. Clear out the enemies with your plasma beams and move back towards the door you entered from. There are several platforms ahead that are too high to reach with a standard jump, so give yourself enough room to speed boost and shinespark to the top.

Inside, you'll come to your third battle with the horned beast. Much like before, it can't be fully destroyed. However, after taking so much damage it will plant itself near a broken window. Shoot it down with a missile to knock it out again. Travel through the newly opened duct to return to the sector's core.
Sector 3: Lava Core
Follow the waypoint to locate a series of grapple devices. These will lead you towards the lava core, where there is a serious disturbance. Along the way are several damaging fields in your way. Fire a charge shot towards the generators on the side to temporarily deactivate them.

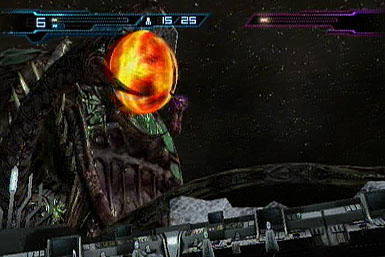
Ridley's Return
Before moving to the next area, swing across the grapple device to collect another accel charger. When ready move into the battlefield ahead. Examine the door leading to the exit and you'll be assaulted by your old nemesis: Ridley.
To help you for this fight Adam will authorize both your super missiles and your strongest plasma beam. Both of these will be absolutely necessary to deal with Ridley. Your beam will be good for deal initial damage and causing some freezing, but the super missile will be the meat of your attacks.

However, don't be overly offensive and neglect your defenses. Ridley will constantly attack three to five times before delaying enough to be countered. Use this time to dodge all of his attacks. When he uses his fire ball, jump to avoid the blast radius. With Ridley finally defeated, use the grapples to return to the room where you obtained the accel charger. Destroy the door with your supper missiles to continue your chase for the Deleter.
Sector 1: The Deleter
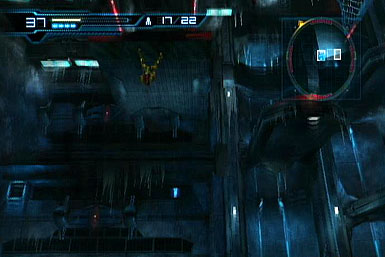
You'll arrive back in Sector 1 and will be pursuing the Deleter yet again. You'll chase him down towards the circular glass room from so long ago. You'll be ambushed by some old enemies, but are no match for your plasma and super missiles.

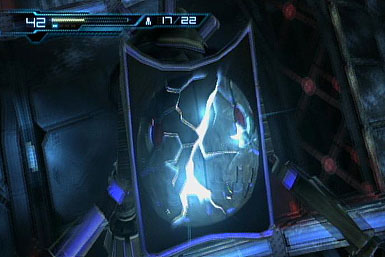
The Deleter will deactivate a bridge and destroy the operating console. You'll now disregard Adam's lack of orders and gain access to your space jump. This will not only produce a powerful screw attack, but allow you to jump several times in succession. Once safely across continue along to your waypoint to learn about Sector Zero.
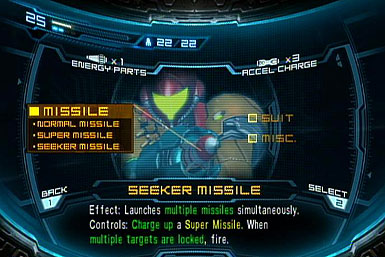
Backtrack towards the Main Sector elevator and you'll meet the horned beast for one final brawl. With your plasma beam and super missiles, the monster is no longer invincible. Simply pelt it with your strongest assault to finally do it in. It will drop a new power up: the seeker missile, which will destroy multiple targets. Continue to the elevator and once again return to Sector 2.
Sector 2: Gravity Well
Sector Zero is hidden deep under Sector 2. Follow your way point to reach a door that can only be opened with your multi-target seeker missiles. The whole realm will be under effect of heavy anti-gravity. You'll be pulled towards the ceiling, causing an inverse in your movement. You'll need to constantly make use of your space jump to avoid falling to the roof. Keep in mind though, first person view will remain right side up.

Gravity Gadget
You'll eventually come to a room that is not under the effects of the gravity shift. Ascend to the top via wall kicks or grapple beams. At the top, the creature attached to the roof will activate and attack. This boss will let out a gravity well from its tail. Shoot at this location to freeze the obstruction and restore gravity to normal.

Its face plate is its only weakness, and even that can only be damaged from fully charged super missiles. You'll spend much of your time dodging its nasty barrage of projectiles. If it chooses to charge your way and you have little room to dodge, consider leaping down to a lower level. However, when on the offense, return to a high point to gain a attack advantage. The best time to strike is immediately after it attacks with its spinning laser and comes to a halt for a few seconds. Five to six fully charged missiles will be enough to claim victory.
Sector Zero: Breaking Apart
You'll finally enter Sector Zero, however it's not nearly a stable situation. The hauls will began to rip apart as you are attacked by Space Pirates. While at first the vacuum's pull will be too great to outrun. You'll quickly gain the last suit upgrade: the gravity suit. This will protect you from any changes in gravity and further reduce the amount of damage you take.
Retrace your steps towards Sector 1, however upon entering Sector 2 you'll be ambushed by the previous boss you just defeated. However it is a much easier fight: Its face place has been removed, allowing you to deal more damage with plasma and missiles. Second, your new armor will will resist the boss' gravity effects. You can use even less strategy as before and still come out on top.
As you return to Sector 2's gravity maze, you'll be unaffected thanks to your new suit. Be sure to leap to higher levels of the map and collect energy upgrades that were previously inaccessible due to the regular gravity.
Sector 1: Final Battle
Return to where you left the researcher and you'll locate the Deleter, who has been killed by soem gruesome means. Move through the hallway and dash passed the floating orbs to arrive at the metroid hatchery.

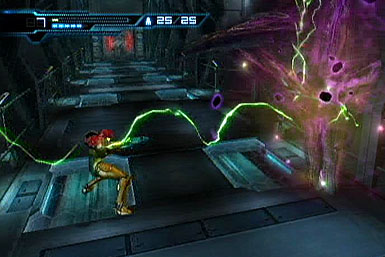
Metroid Queen
Locate the last scientist hiding inside one of the doors ahead. This will unlock a door containing the final storyline boss: The Metroid Queen. The queen is immune to damage in its current state and will instead launch out six baby Metroids over three waves. The babies must be frozen with your beam and then destroyed with a super missile. This can be incredibly frustrating as there are six targets and even the Queen can free her babies. It's best to destroy each wave quickly before you are overwhelmed. If you do get swarmed, it's best to cluster them together to freeze them all in one swoop. If they start attacking you, switch into a morph ball and bomb them until you're released.

Once all six targets are dead, the Queen will sprout crystal spikes. This will not only enhance her offensive power, but will provide a key vulnerability. Charge your missiles to full and launch out seeker missiles to deal the most damage. Continue to dodge when the queen goes berserk, and respond again when she stalls. About 30 missiles will be enough to finish this round. After a short scene, the queen qill once again be prone. Fire everything you have at her belly and she will eventually rise again, swallowing you whole. Use your last new ability: the power bomb to finish off the boss.
Follow the researcher into the next corridor to learn the truth about the Bottle Ship. You'll be assualted by a storm of powerful enemies and will be unable to move. You can't rely on the Federation soldiers to help you, nor can you freely move. Shoot the enemies enough to clear a path. Finally, target MB to finish the main storyline.
Return to the Bottle Ship
After the credits roll, you'll be given a post game challenge to explore the remains of the Bottle Ship. While you can move around and collect any missing items you may have left behind, your main goal is to recover an irreplaceable item.

Your power bombs will be the key to unlocking new paths. These will disturb powerful bug enemies that can perform tremendous damage. You should damage these foes with your plasma beam until they are grounded, and finish them with an overblast. The new paths they leave behind will travel across the sectors and into the main bridge. The corridor leading to your final destination will be filled to the bream with previous bosses and other powerful creatures. Both your power bombs and screw attack will be strong enough to kill most everything in one blow. Upon reaching the bridge you'll fight the true last enemy.

Phantoon
An old friend from long ago has returned for a final battle. Phantoon will fill the entire field with a plethora of eye projectiles, summon fisted minions and swipe with powerful tendrils. Thanks to your wave beam, you can harm him even through the glass, but that matters little as Phantoon will eventually smash that open as well. Your best strategy is to constantly dodge and fire with stopping to missile or fully charge. His helpers are best dealt with via screw attack, which will kill them in one shot. Once Phantoon has taken enough damage, it will eventually be prone, leaving it open to one final overblast.
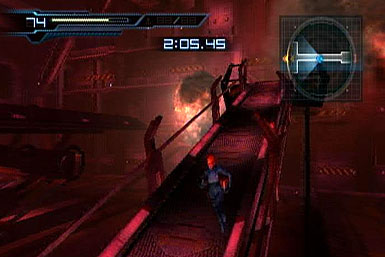
Zero Hour
With all enemy threats defeated, use your grapple beam and super bombs to reach your prize in the control room. The Bottle Ship will start to come apart and you are only armed with your zero suit. You cannot fully kill enemies or morph at this stage. Your best option is to just run. A fully charged shot from your gun will be able to stun or open sealed gates. Due to your low health and limited time, charge as fast as you can to your ship to truly complete Metroid: Other M.
Got a news tip or want to contact us directly? Email news@gamespot.com
Join the conversation