New Super Mario Bros. Wii Walkthrough
Discover every one of the Mushroom Kingdom's Star Coins with our guide to New Super Mario Bros. Wii!
Mario, Luigi, Toad, and Toad are back to rescue Princess Peach once more from the clutches of the Koopa clan. However, instead of going it alone one at a time, all four can now join in thanks to the addition of drop-in/drop-out multiplayer, allowing up to four people to play through the game simultaneously. Good thing too, as this may very well one of the most difficult Mario games yet. But even with the extra help, finding all of the Star Coins and secrets scattered throughout each level of the Mushroom Kingdom is quite a challenge, which is where we come in.
Here's what you'll find in GameSpot's New Super Mario Bros. Wii Game Guide:
- Walkthrough: We uncover every Star Coin and secret this game has to offer.
- Hidden Routes: Get a quick list of the alternate exits and routes hidden in some levels.
- Secrets: Discover the Mushroom Kingdom's many secrets.
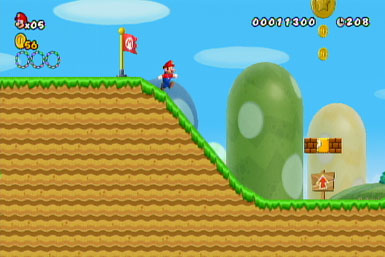
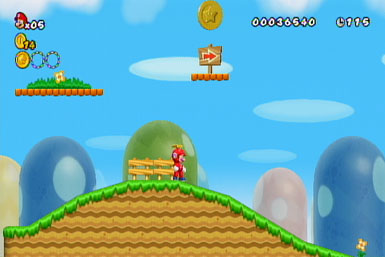
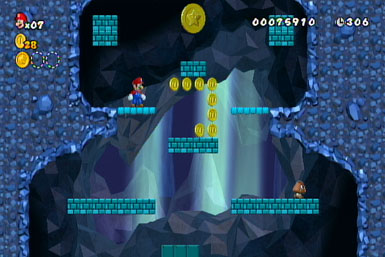
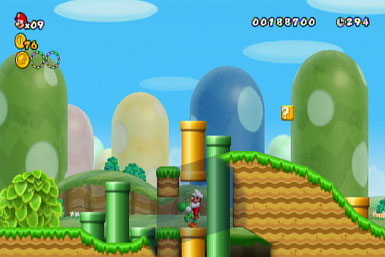
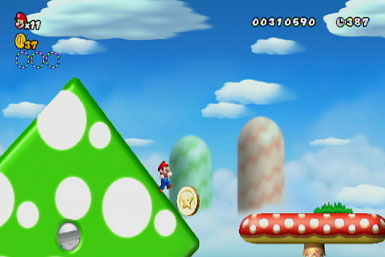
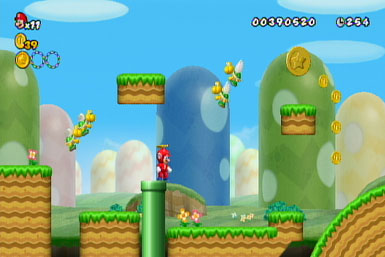
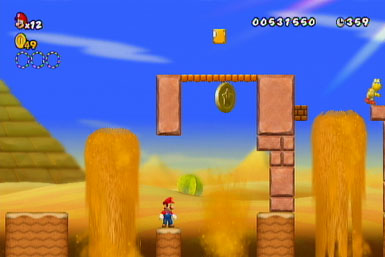
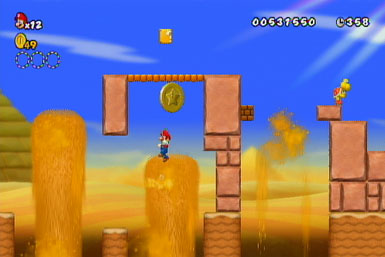
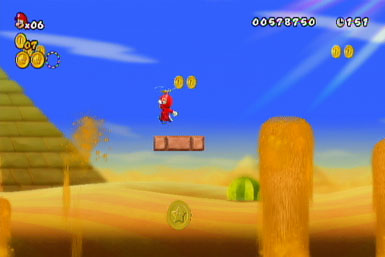
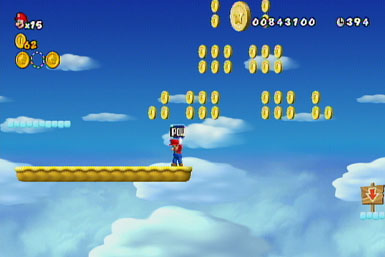
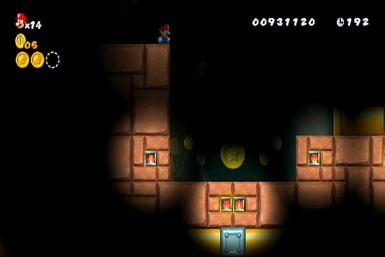
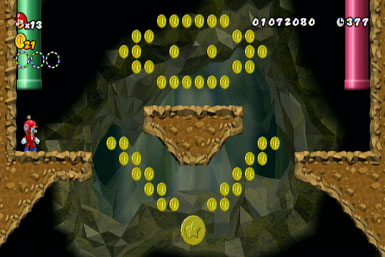
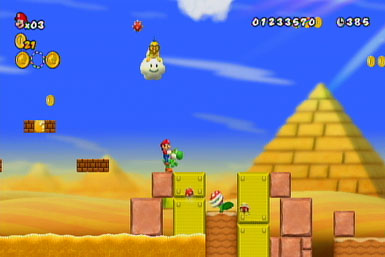
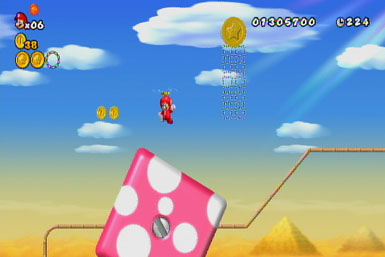
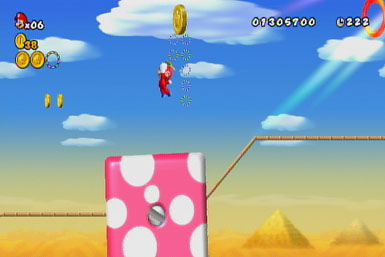
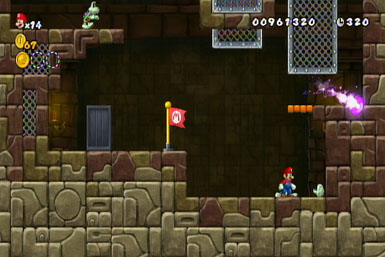
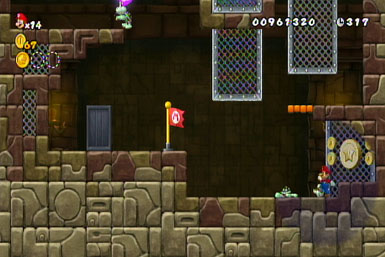
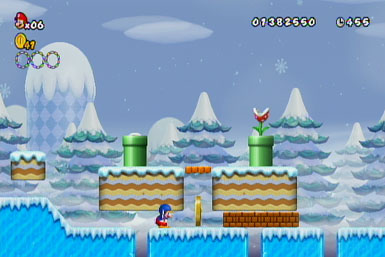
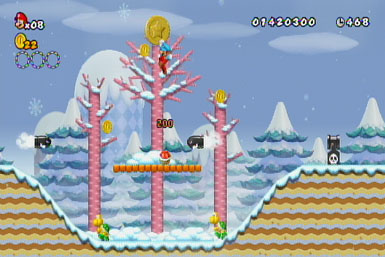
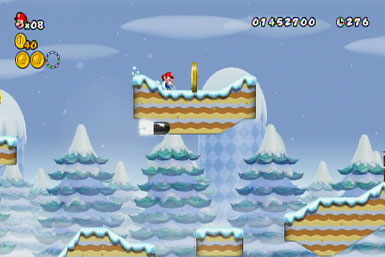
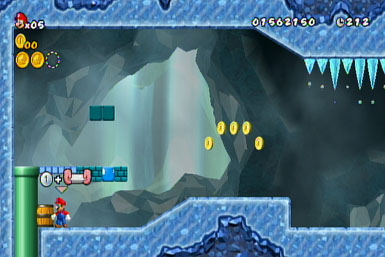
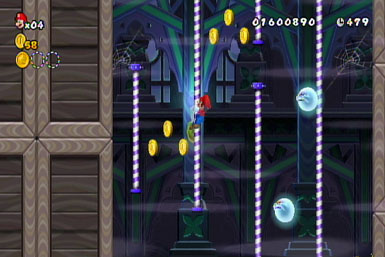
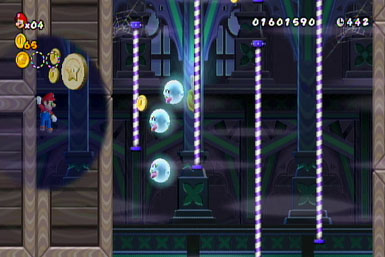
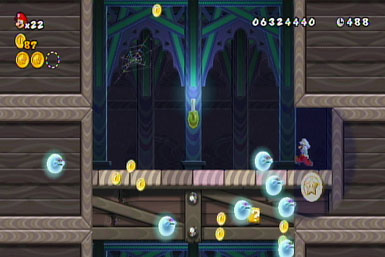
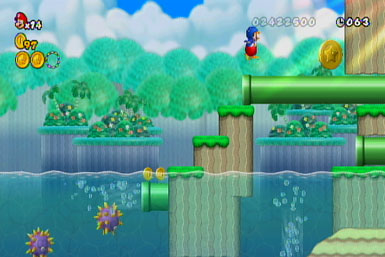
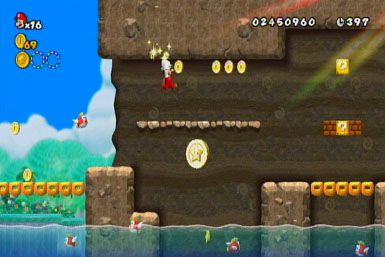
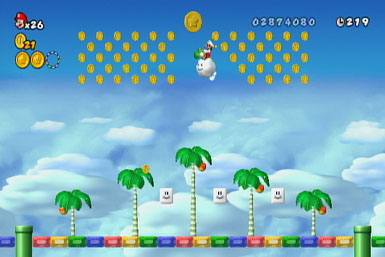
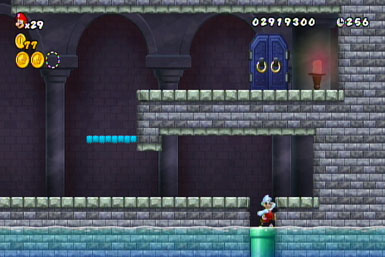
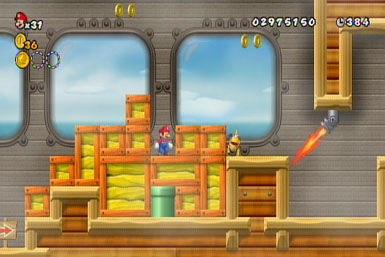
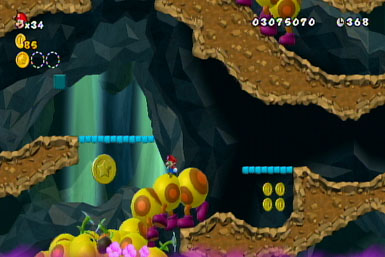
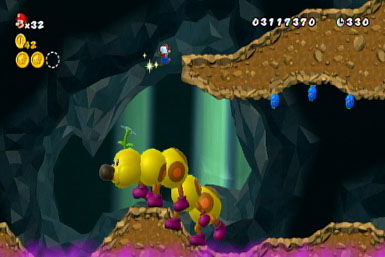
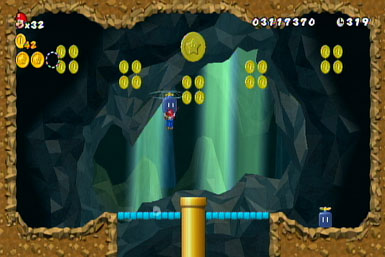
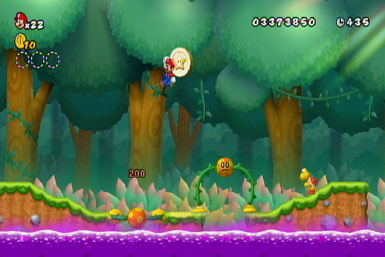
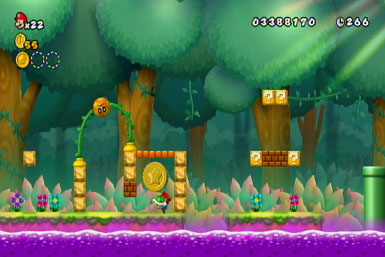
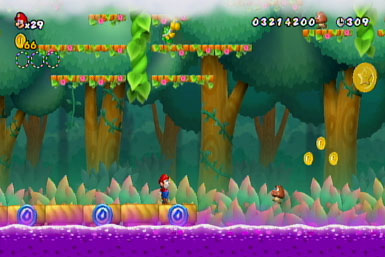
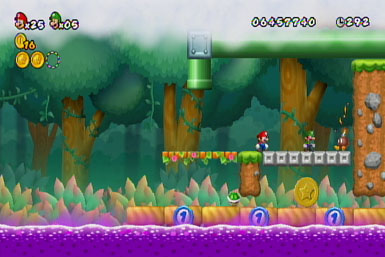
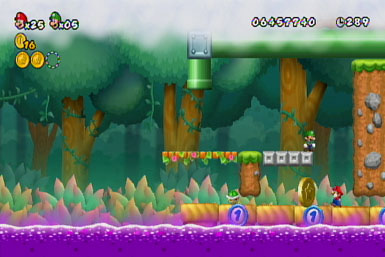
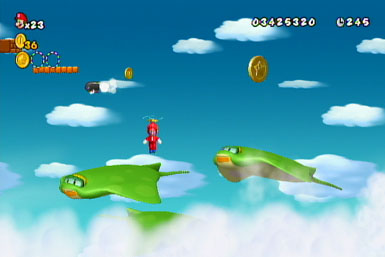
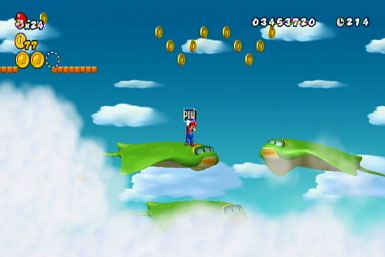
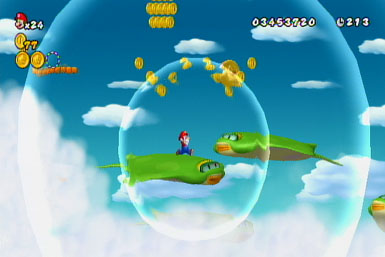
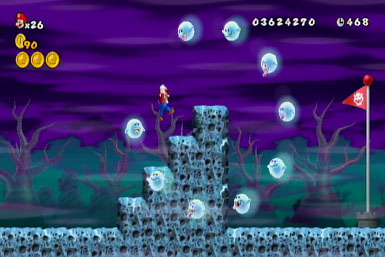
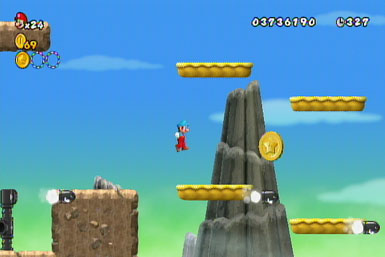
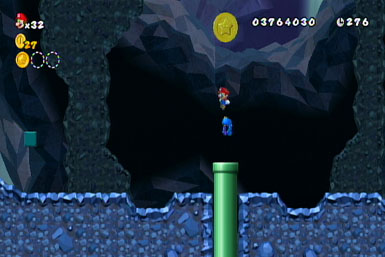
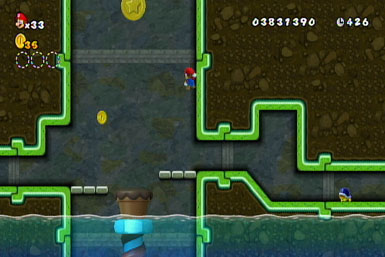
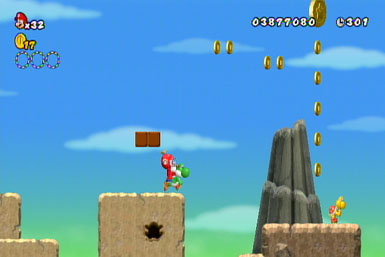
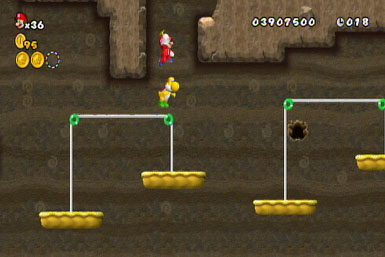
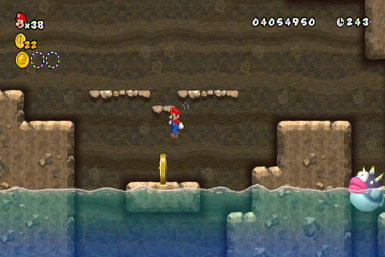
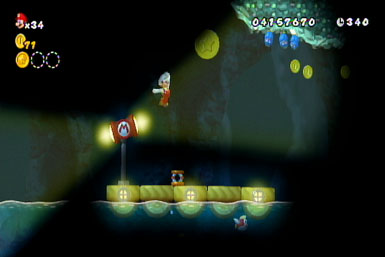
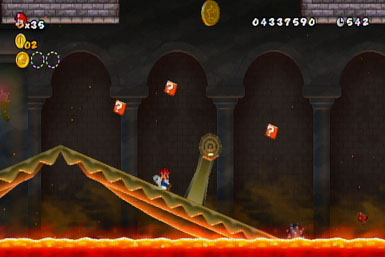
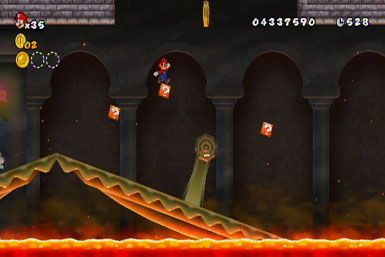
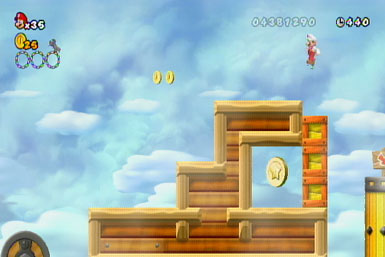
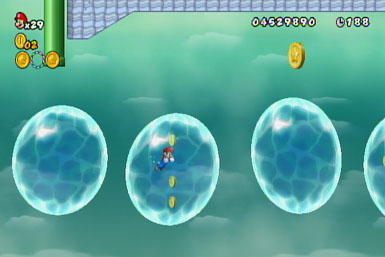
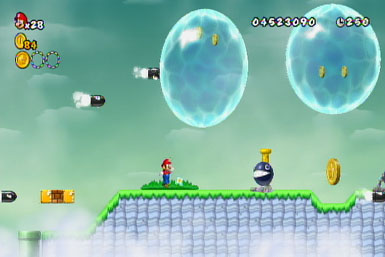
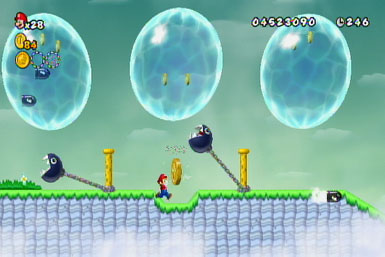
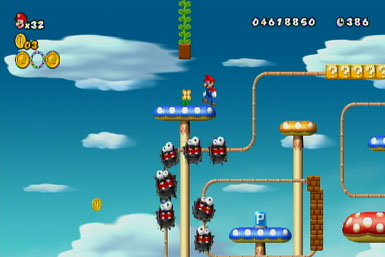
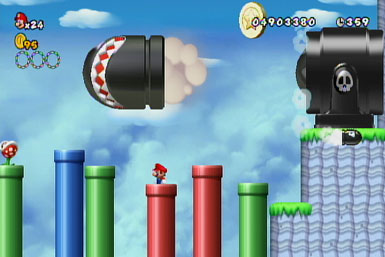
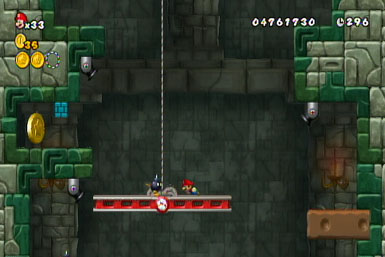
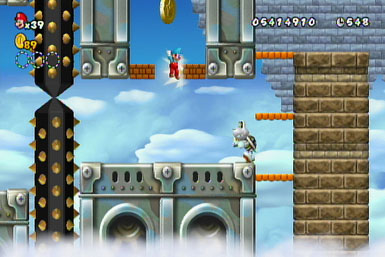
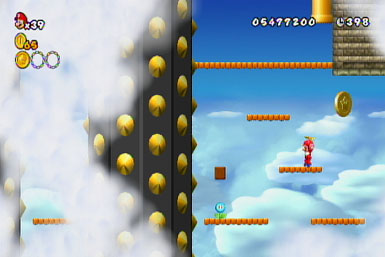
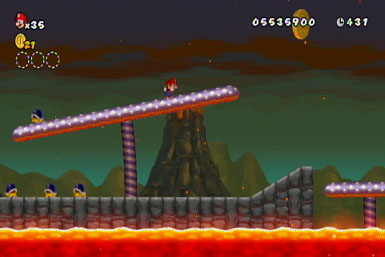
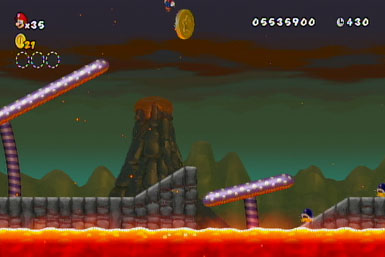
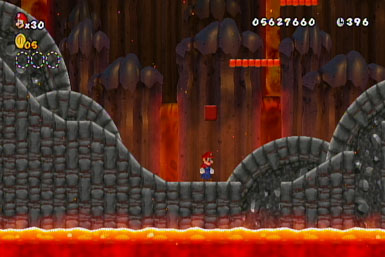
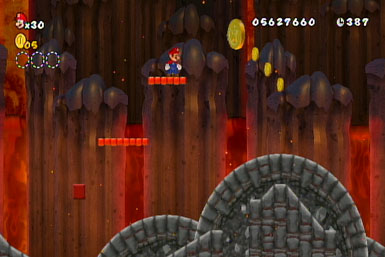
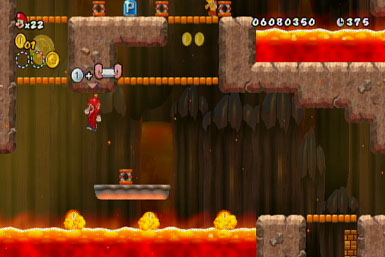
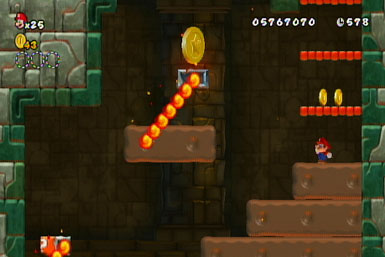
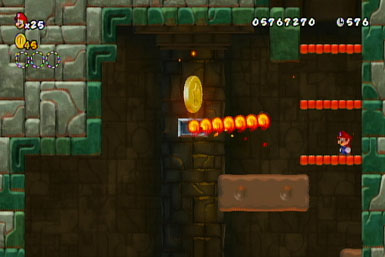
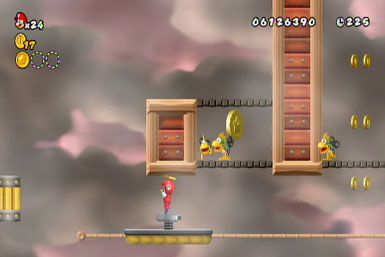
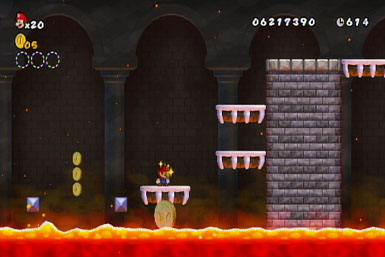
World 1-1
Coin 1 (after checkpoint)
Just after the checkpoint, you'll find the first coin hovering above a trio of item boxes. To grab it, grab the Propeller Suit from the item box below (or the one just beyond) and use it to spin into the coin. If playing multiplayer, you can also jump off a teammate's head.
Coin 2 (after checkpoint)
After the checkpoint, stop at the third spinning-ground section (also the 5th one in the level) and wait for an opening to reveal itself, allowing access to a warp pipe (you may have to wait a while). Inside, you'll find the second coin between the two pipes--wall-jump or propeller into it.
Coin 3 (after checkpoint)
You'll find the third coin just above a signpost on the higher route, after the red coin ring (also above the main course). Keep in mind that if you've taken the lower route that the coin may be too high to see--it's just before a trio of goombas. It can either be leapt to from the nearby platform or propeller hat'd into.

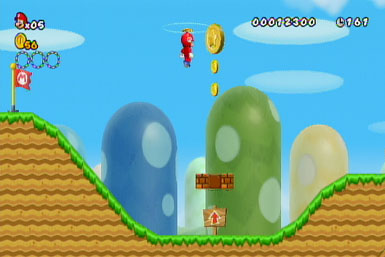
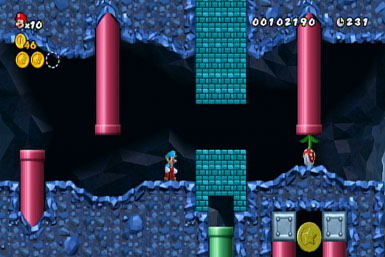
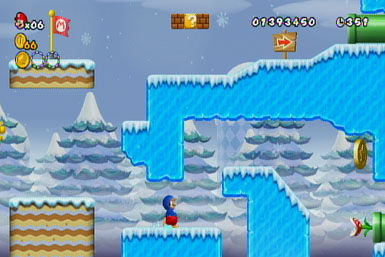
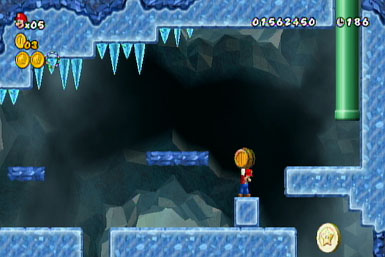
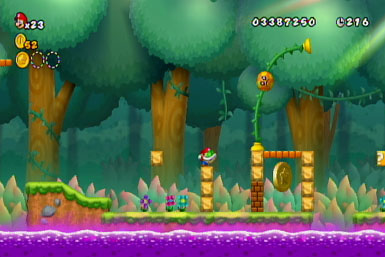
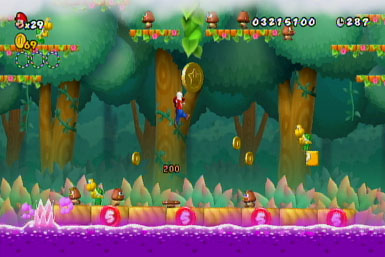
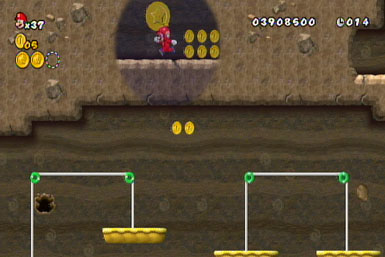
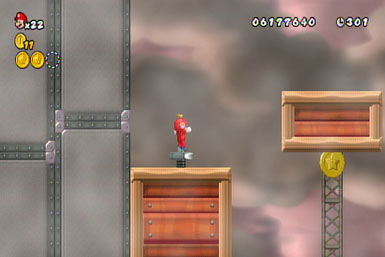
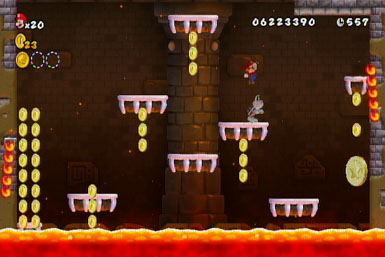
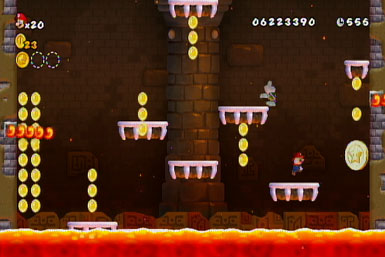
World 1-2
Coin 1 (before checkpoint)
You'll spot the first coin just after entering the underground area. You can easily reach it from the platform below when the left side tilts upward.
Coin 2 (before checkpoint)
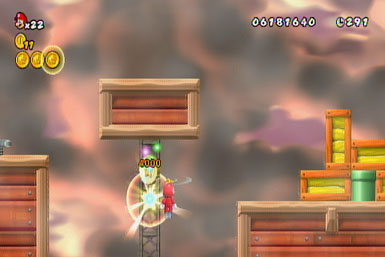
When you reach the first controlled tilt-platform, you'll spot a pipe in the top-right. Reach it by tilting the right side of the platform up and head inside. There, an item block reveals a "P" switch, which turns the coins into platforms and visa-versa. To reach it, hit a couple of invisible of invisible blocks to its left, and try not to grab the coins while leaping onto them. As soon as you hit the "P-Switch", use the newly formed bricks to reach the top of the room, where you'll find your coin.
Coin 3 (after checkpoint)
After the checkpoint, you'll find a bricked-in green pipe (as well as the coin just beyond, which you can't reach). Butt-stomp through the bricks to and enter the pipe. Underground, hit the P-Switch on the right side of the room to cause the coin to drop down.

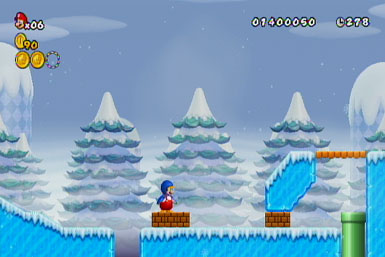
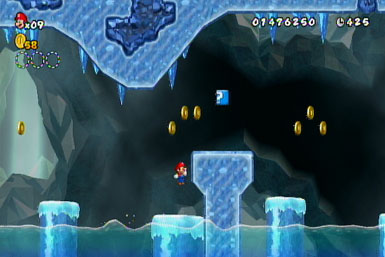
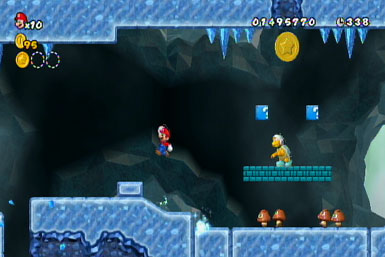
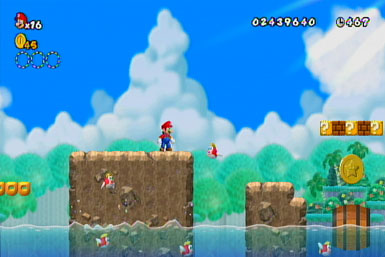
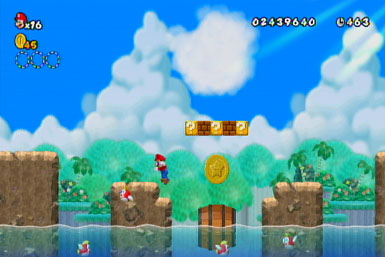
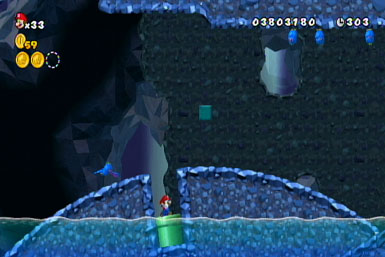
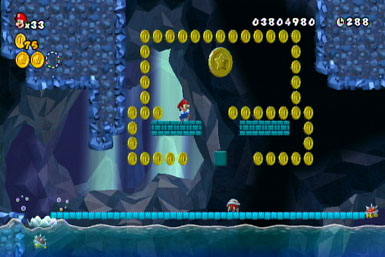
World 1-3
Coin 1 (before checkpoint)
Grab Yoshi and look for the first coin above a pipe, a short ways into the level. You can easily reach it with a flutter-jump from the nearby platform.
Coin 2 (after checkpoint)
Look for a hidden tunnel amongst these pipes, shortly after the checkpoint. Warp down the hidden yellow one to find the coin underground--leap off Yoshi (or a teammate's head) to reach it.
Coin 3 (after checkpoint)
A short ways before the end of the level, you'll spot a coin above a red pipe--leap from it to reach it.
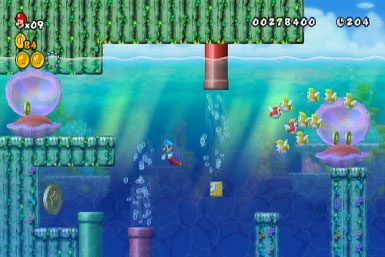
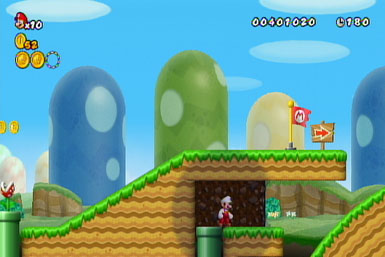
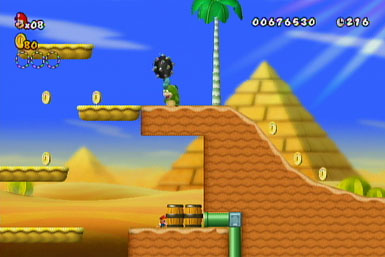
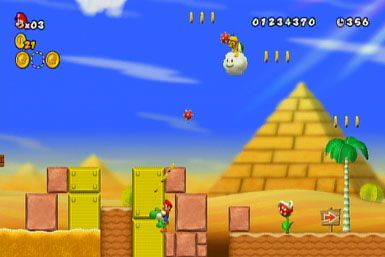
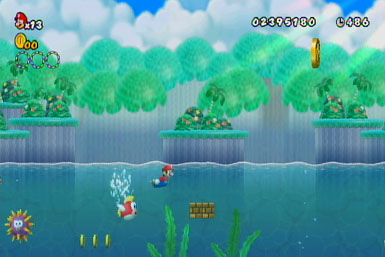
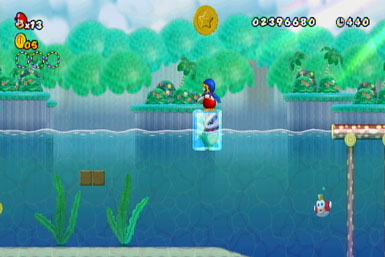
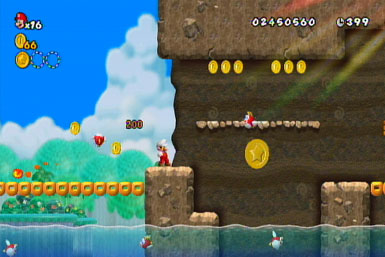
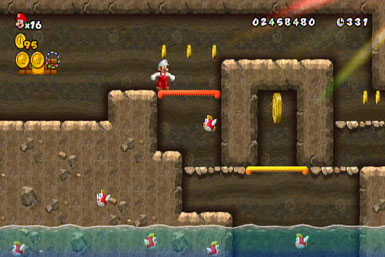
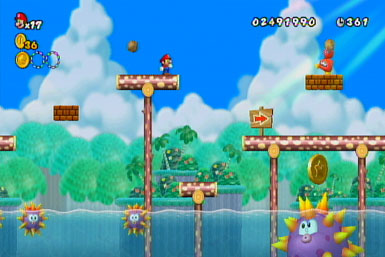
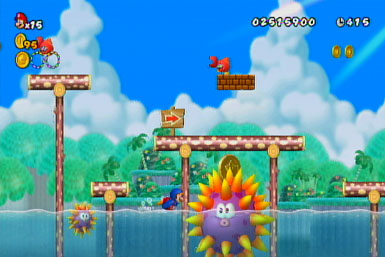
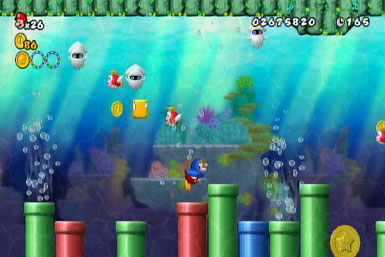
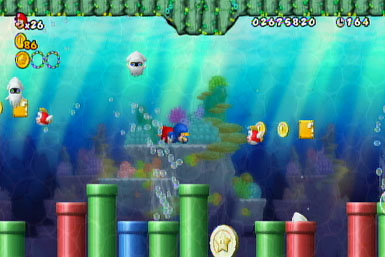
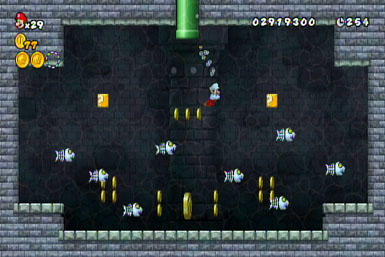
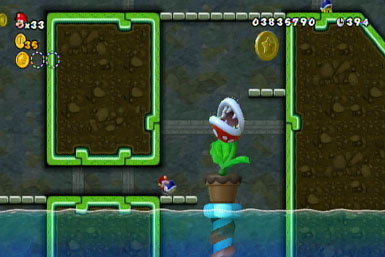
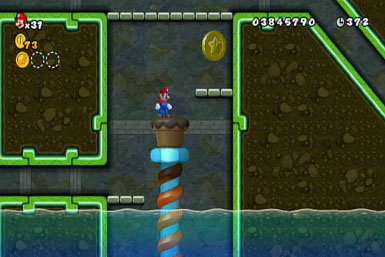
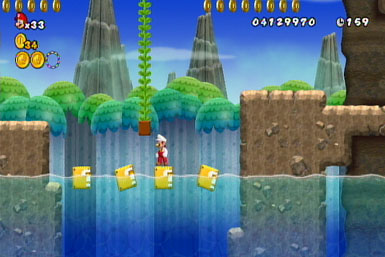
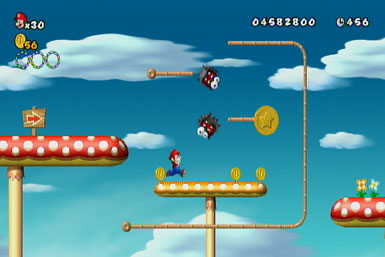
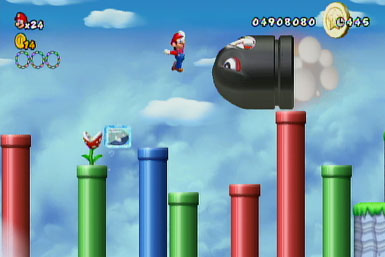
World 1-4
Coin 1 (after checkpoint)
Just after the checkpoint, you'll find a coin just above the water's surface, guarded by a Cheep Cheep. Carefully skim the surface of the water to avoid being blown away by the pipe and either freeze or leap over the Cheep Cheep as he swims toward you to reach it.
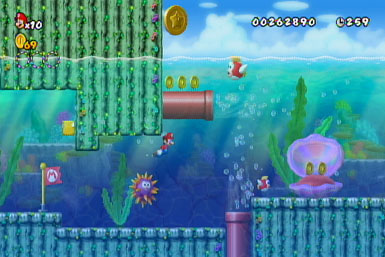
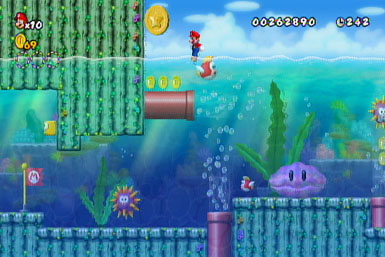
Coin 2 (after checkpoint)
To reach this coin, between the two water-spewing pipes, freeze a Cheep Cheep as he passes by below and ride the ice cube to the surface, pushing you into the coin. If you lack an Ice Flower, there's one in the box just beyond.
Coin 3 (after checkpoint)
The final coin can be found just after the second, in a small, hard-to-reach alcove blocked by both an Urchin and a water-spewing pipe. Take out the Urchin first by freezing it repeatedly until it hits the ceiling. Now it's just a matter of getting past that darn water-spewing pipe! To do so, you're going to have to drop in on it

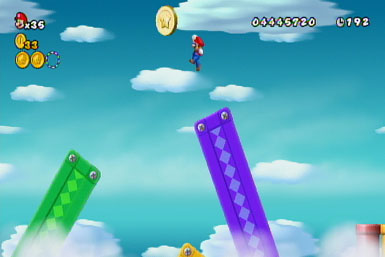
World 1-5
Coin 1 (before checkpoint)
When you reach the three circular tracks that the blocks run along, use the propeller suit to reach a walkway above. Now hit the left-most block (by running and ducking to get beneath it) to reveal a beanstalk you can climb to a hidden area. There, you can reach the coin by riding the moving the blocks above it before dropping down.
Coin 2 (before checkpoint)
The second coin can be found on the right side of this spinning green block, just before the first screw. Simply stand on the right edge and let it rotate you into the coin, before leaping to the nearby platform.
Coin 3 (after checkpoint)
As you cross the series of red spinning blocks, near the end of the course, you'll spot a coin just above a Paratroopa. Either propeller into it or bounce off the Paratroopa at the height of its flight.
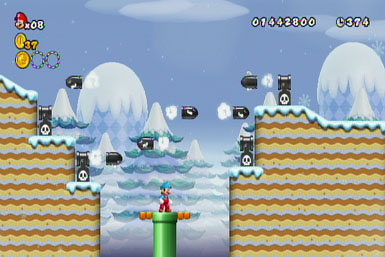
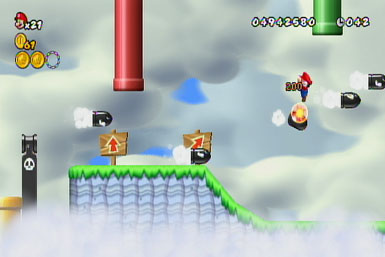
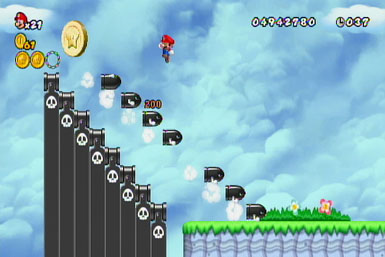
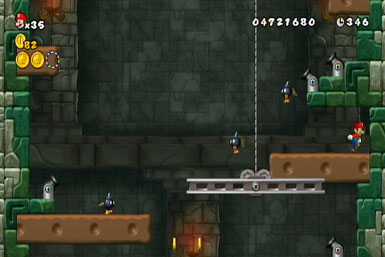
World 1-6
Coin 1 (before checkpoint)
The first coin is easily spotted just above one of the spinning-ground section. Either bounce off the inbound Paratroopas or a teammate to reach it.

Coin 2 (before checkpoint)
Bounce off the Paratroopas' heads here to reach the coin between these pipes.

Coin 3 (after checkpoint)
Just below the checkpoint is a hidden alcove containing a pipe--get into it by leaping from the left side of the spinning-ground section. After warping, simply leap to the platform on the right where you'll find the coin.
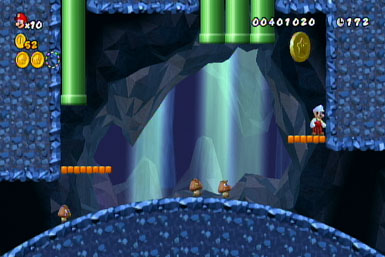
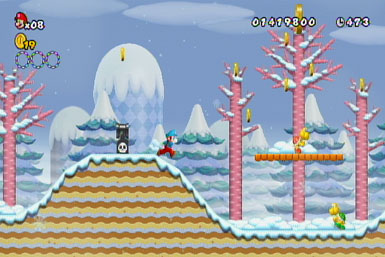
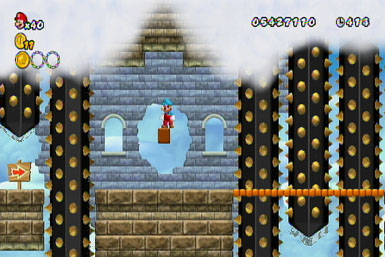
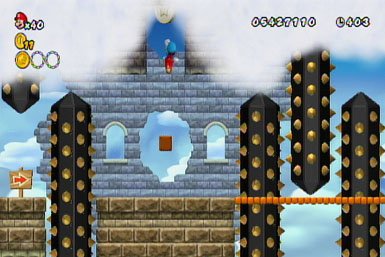
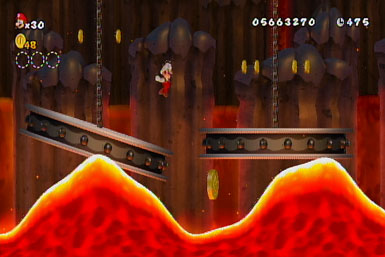
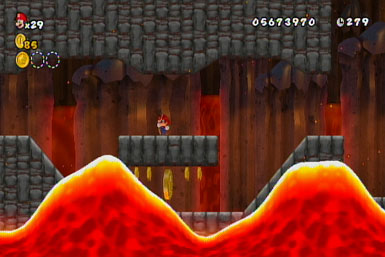
World 1: Mid Castle
Coin 1 (before checkpoint)
When you reach the first swinging platform, leap from it to a platform that extends from the left wall, then onto the platform above for a coin.

Coin 2 (before checkpoint)
Upon reaching the trio of swings, use them to reach a platform in the top-right corner, just below a hidden shaft
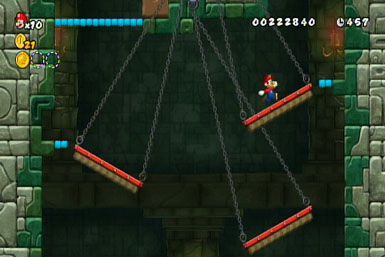
Coin 3 (after checkpoint)
Shortly after the checkpoint, you'll reach another swing just below two shafts--the coin's in the right one. To reach it, leap toward the left wall of the right shaft as the platform swings to the right, then wall-jump into the alcove above, where the coin is.

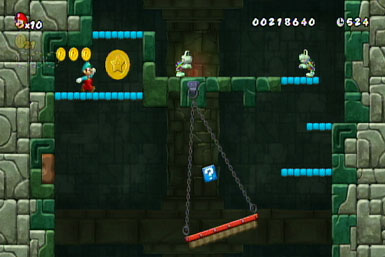
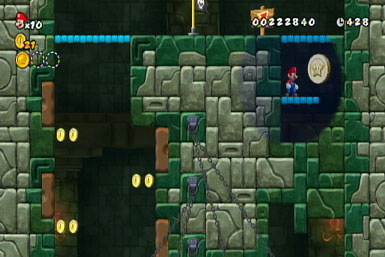
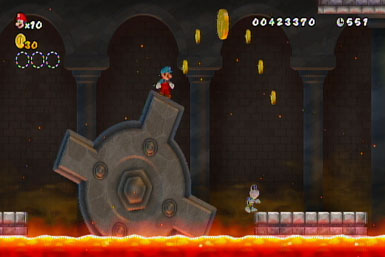
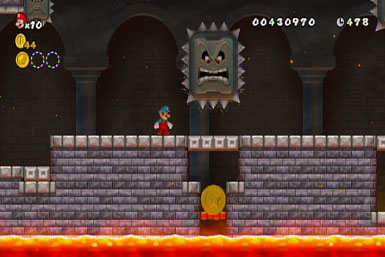
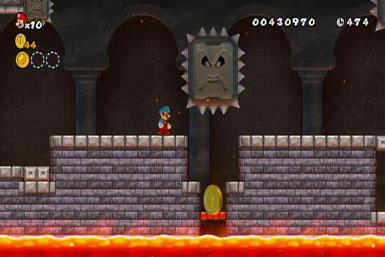
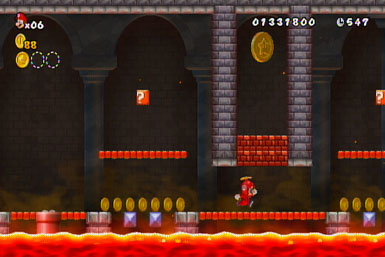
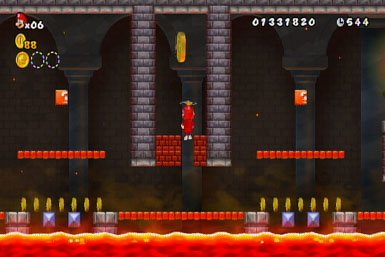
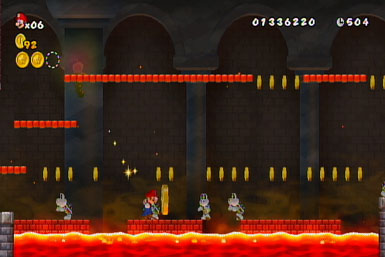
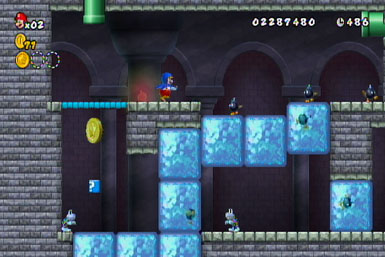
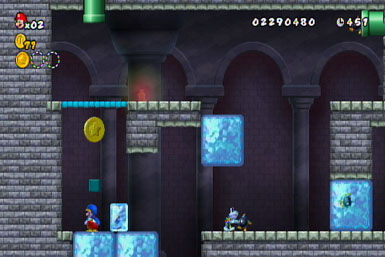
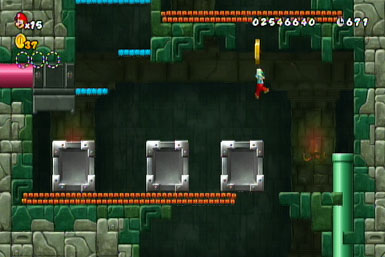
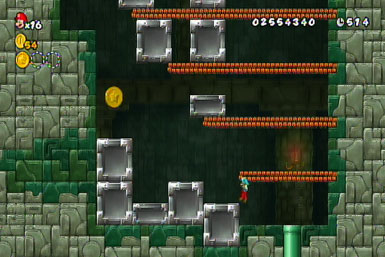
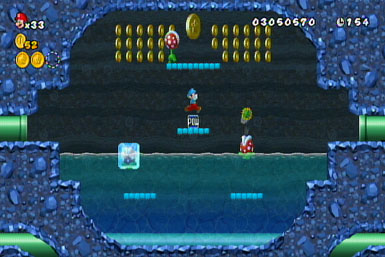
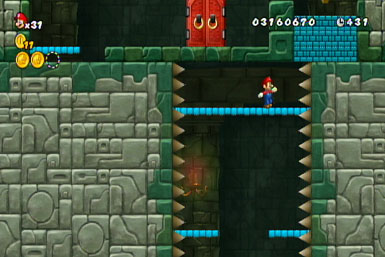
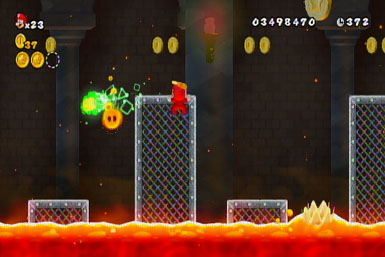
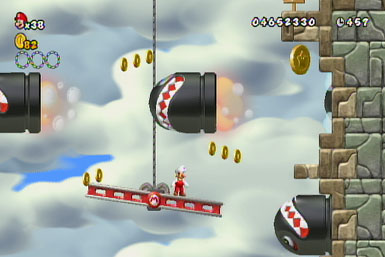
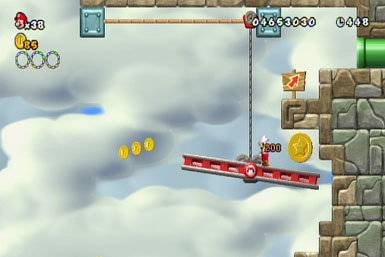
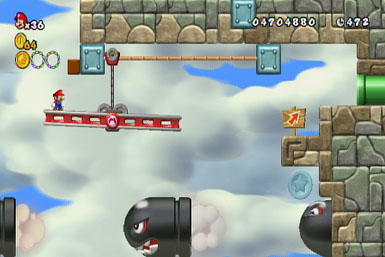
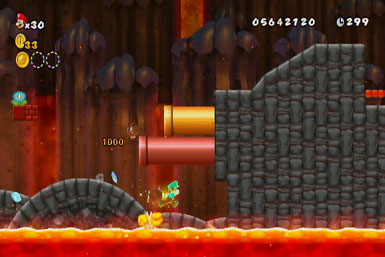
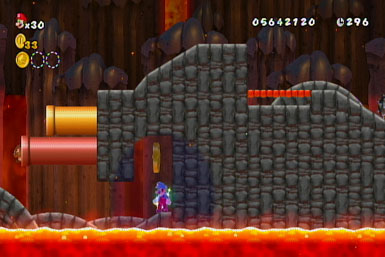
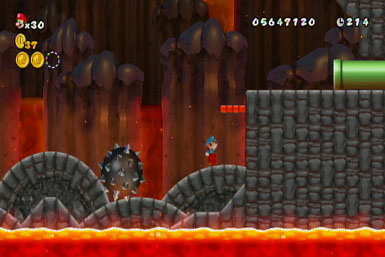
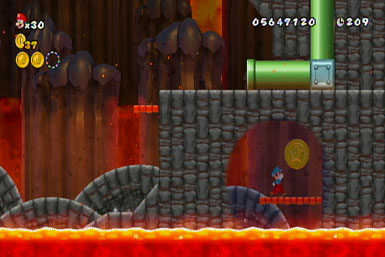
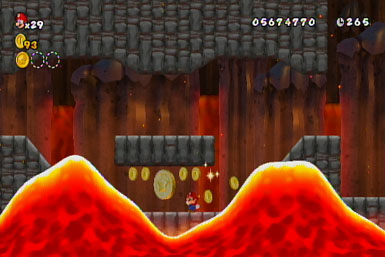
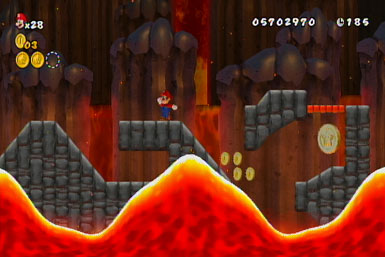
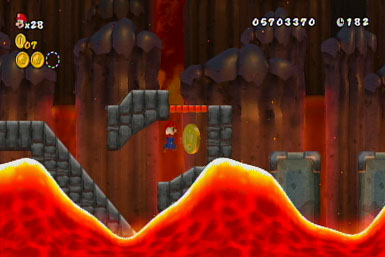
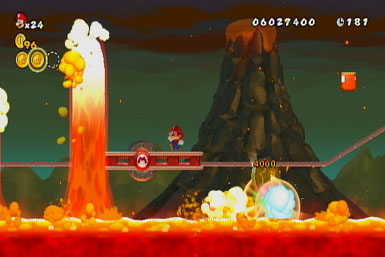
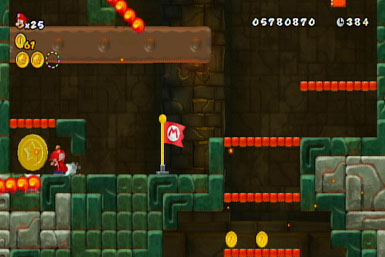
World 1: Castle
Coin 1 (before checkpoint)
The first coin can be found early in the level--just leap from the top of one of the gear's spokes to reach it.
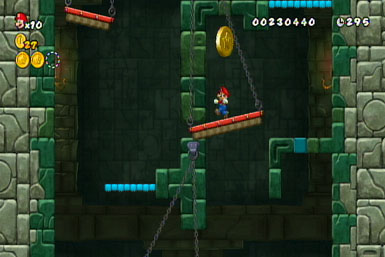
Coin 2 (after checkpoint)
A seemingly unreachable coin below turns reachable when the thwomp above stomps down, allowing you to drop onto it afterward. Just wait for the thwomp to drop and rise again before attempting to escape!
Coin 3 (after checkpoint)
Just before the boss door, you'll spot a green pipe by some lava. Ride the nearby gear down to it--inside, hit the P-Switch before collecting any coins, then run along the newly formed bricks and wall-jump off the far wall to reach the coin.

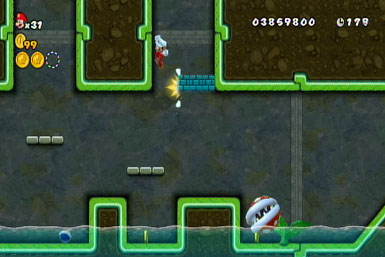
World 2-1
Coin 1 (before checkpoint)
To reach this early coin, just catch a ride on the spewing sand below.
Coin 2 (after checkpoint)
The easiest way to reach this coin is to carefully wall-slide down the short wall section just above the coin, and keep holding left to drop right into the alcove.
Coin 3 (after checkpoint)
This final coin, near the end of the level, is impossible to grab if you're playing by yourself…unless you have the propeller suit. If you do, just fall onto it and propeller out of there! If you're playing multiplayer, simply have any player leap for it, then have them immediately have them turn into a bubble afterward (by tapping "A") to avoid death.
World 2-2
Coin 1 (before checkpoint)
Immediately before the checkpoint is a shaft of quicksand--leap into it and ride it down to a hidden, underground area. Once there, hit the P-Switch to drop down the shaft to a warp pipe. Once through, ignore the first green pipe (that's the exit) and continue onward to a yellow, upside down switch. Hit it to make some platforms appear, which will allow you to reach the coin.

Coin 2 (after checkpoint)
Hit the left-most block here to reveal a beanstalk (to both hit the block and reach the beanstalk, leap from the nearby moving platform at its highest point). After climbing to the clouds, ride the moving platform and grab (but don't use!) the P-Switch. Hold onto it until the platform moves beneath the large coin, at which point you should use it, causing the coin to drop right onto you.
Coin 3 (after checkpoint)
Near the end of the level, you'll find a small warp-pipe that only tiny-Mario can reach after tossing the barrels away (you can find a tiny-mushroom via the warp pipe just before, to the left of a pair of moving platforms). Hit the P-Switch after warping to reveal a path of blue coins showing where to wall-jump in order to reach the coin here.
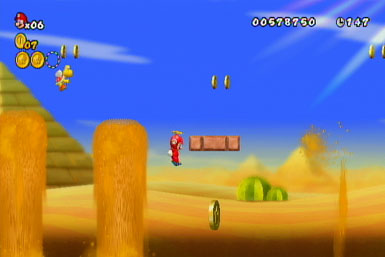
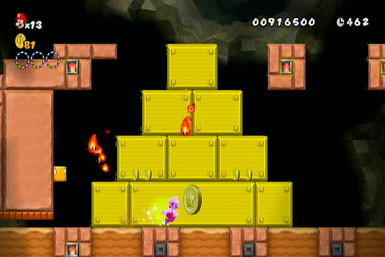
World 2-3
Coin 1 (before checkpoint)
Explore the base of the pyramid (just past the tiny-Mario tunnel) to find a coin.
Coin 2 (after checkpoint)
After the checkpoint, you'll run into a fire-spitting bro (similar to a hammer brother). If you take the lower route, just left of him, you'll find a coin (it's below the walkway leading up to the fire bro).
Coin 3 (after checkpoint)
When you reach the long slope just before the end of the level, use the nearby platform to jump onto the ceiling and follow it to a secret area containing a coin.
World 2-4
Coin 1 (before checkpoint)
Climb onto this platform, near the second ladder, to find three hidden blocks, one of which contains a bean stalk you can climb. Hit both the visible and invisible blocks here to reveal a path and more vines you can climb to the coin.
Coin 2 (after checkpoint)
Try and grab a propeller hat if you're playing by yourself! Now warp down this pipe just after the checkpoint to reach an underground area. Once there, drop onto the coin and then propeller out of there. If you're playing with multiple people, one player can simply leap for it, then bubble-up afterward to escape.
Coin 3 (after checkpoint)
The final coin requires a propeller hat to reach. It's located across from a hill near the end of the level--make a running leap from the base of the hill, then use the propeller hat shortly thereafter to reach the coin. After grabbing it, quickly wall-jump off the nearby wall to hop onto the platform above.
World 2-5
Coin 1 (before checkpoint)
At the third tree, you'll notice a cloud above obscuring a coin-like shape. Either leap from Yoshi or commandeer the Lakitu's cloud to reach it.

Coin 2 (before checkpoint)
This lonely piranha plant is blocking a secret entrance--take him out by spitting one of Lakitu's spiny guys into him from the right, then drop down the blocks to find a secret entrance leading underground. There, have Yoshi grab the light-block (so you can see) and flutter-jump up to the coin above.
Coin 3 (after checkpoint)
A coin can be found high above this structure that's home to numerous cactus-enemies (just before the end of the level). To reach it, highjack a Lakitu cloud from the blocks near the large piranha plant, a little ways before, then book it up and to the right to grab the coin before the cloud dissipates.

World 2-6
Coin 1 (before checkpoint)
You can find the coin just past the first item box--jump to grab it.

Coin 2 (before checkpoint)
Enter the green pipe just above these bricks, near the end of the track. Inside, either use the propeller suit or the propeller item in either corner to reach the coin.
Coin 3 (after checkpoint)
Just after the P-Switch and before the red-coin ring lies the final Coin.
World 2: Mid Castle
Coin 1 (before checkpoint)
You'll find the first coin on the left side of a split shaft, near the top of the first room. After climbing up the right side, grab hold of the gate as it moves left and jump from it to the coin.
Coin 2 (after checkpoint)
There's a hidden area, just right of the checkpoint, which contains the coin.
Coin 3 (after checkpoint)
Hop from fence to fence to reach this coin, just before the boss door.

World 2: Castle
Coin 1
There are two ways to get this coin. The first and easier method: As soon as the level begins, quickly either propeller suit or jump off a teammate's head (multiplayer only) to the ledge above for a coin, before it's rendered inaccessible by the moving screen. The second option is to take the middle path of the three-paths ahead--it'll lead you right to it when it loops around.

Coin 2
The second coin can be found in a shaft just past the three-path section. Destroy the bricks and wall-jump to grab it.
Coin 3
After the second three-path section, hit the P-Switch and quickly cross over the newly formed bricks to reach the final coin.

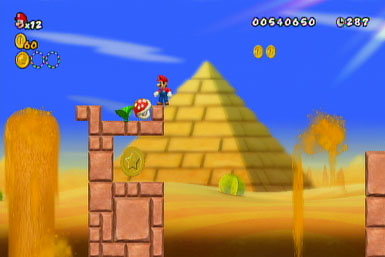
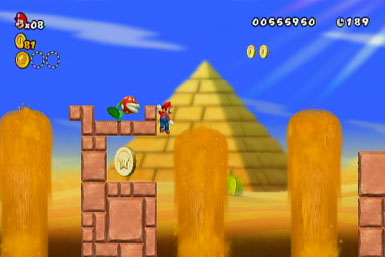
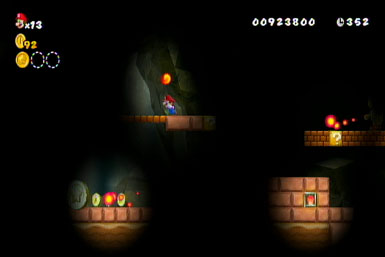
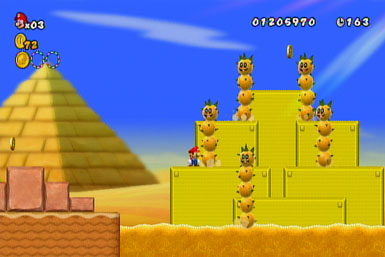
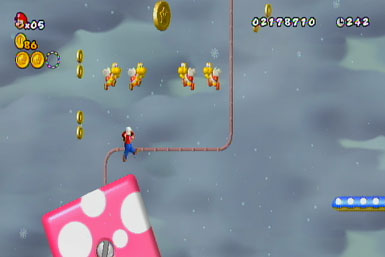
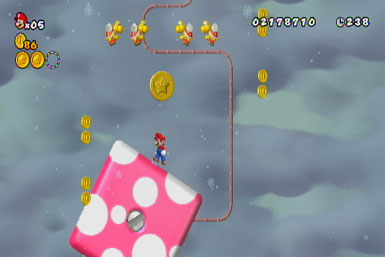
World 3-1
Coin 1 (before checkpoint)
Grab the penguin suit and use it slide through this series of blocks for the first coin.
Coin 2 (after checkpoint)
Just after the checkpoint, you'll find a lower route below a warp pipe. Use the penguin suit to freeze the piranha plant as he exits the pipe, then use him as a platform to reach the coin,

Coin 3 (after checkpoint)
Use the penguin suit to slide through the blocks preventing access to the pipe. After warping, freeze one of the penguins on the ground level, then catch a ride on him (ducking below the low barrier) to the coin.

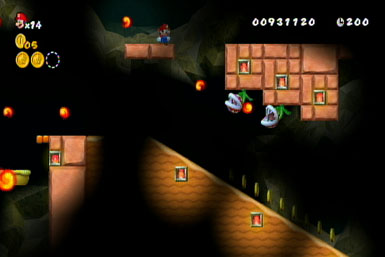
World 3-2
Coin 1 (before checkpoint)
Bounce off a Bullet Bill to reach the coin.
Coin 2 (after checkpoint)
Enter this green pipe then bounce off the bullet bills inside to reach a coin above. Timing it can be tricky--you really only have to bounce off the first two then wall-jump from the left wall into the coin.
Coin 3 (after checkpoint)
Either make a running jump for this coin from the left platform, or bounce off a bullet bill.
World 3-3
Coin 1 (before checkpoint)
Check underneath this platform for a hidden area containing the coin.

Coin 2 (after checkpoint)
It's as easy to get as it looks.
Coin 3 (after checkpoint)
After taking the warp pipe, you'll find a barrel. Carry it to the end where you'll find the coin--stand on the ice block and toss the barrel at the coin to obtain it.
World 3-4
Coin 1 (before checkpoint)
Leap from the sliding platform to reach this coin; just watch out for the fire bro!
Coin 2 (before checkpoint)
Duck beneath this platform and leap into its center to find a secret area with the coin,
Coin 2 (after checkpoint)
Look for this coin at the end of the series of moving platforms, just before the end of the level.
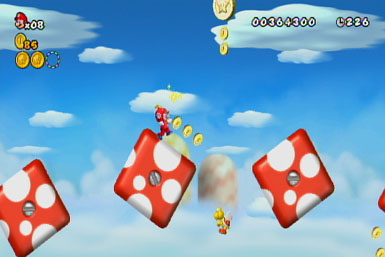
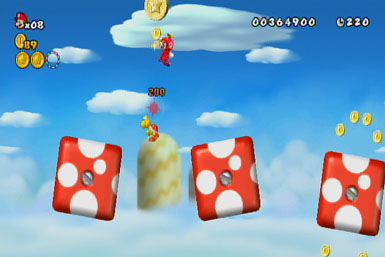
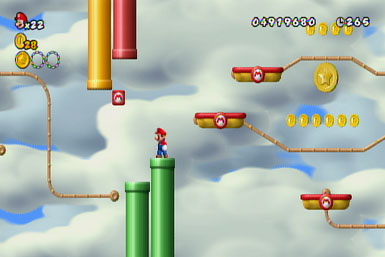
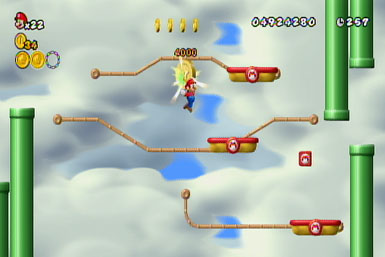
World 3-5
Coin 1
Look for the first coin on the right, early into the level.
Coin 2
The second (and third) coins can only be found after activating the Red-Switch on the world-map (to the right of this world). Once you have, all of the outlined bricks from before will be filled in, allowing access to new areas. More specifically, this will allow you to enter the red pipe at the very top of the first section. After warping, ride the pink block up to the second and easily obtainable coin.
Coin 3
If you haven't already gotten the second coin, consult the above section as you'll have to do the same thing here--you'll find the third coin just a bit further up from the second.
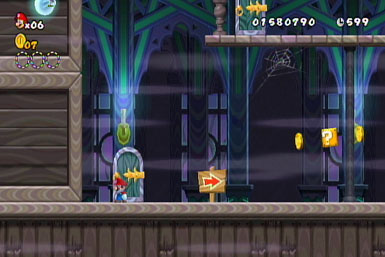
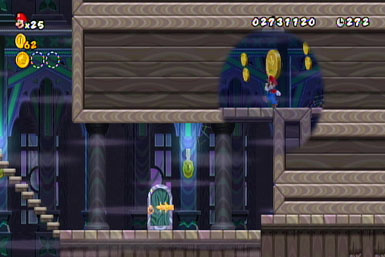
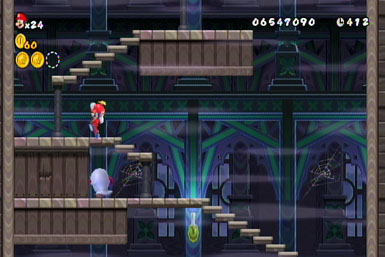
World 3: Ghost House
Coin 1
From the get-go, there's a secret area just left of the entrance where you'll find a coin.
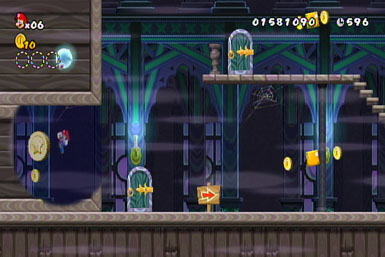
Coin 2
When you reach these series of ropes in the second room, you'll find the second coin in a hidden alcove along the left wall.
Coin 3
The final Star Coin is located inside the level's alternate exit. You'll find the a secret door inside the room with the rope running along the ceiling. Once on the rope, follow it so you're just above the left-most position of the first moving platform (that is, where it's positioned when it's moved all the way left). Now wait for it to move away and drop off the rope--don't worry! You'll hand in a hidden area below, containing a door. Once through, you'll find yourself in shaft with a floor that begins to lower slowly, then will drop all of a sudden. After that first sudden drop, look for the coin in a secret alcove along the right wall.

Alternate Route This Ghost House contains a secret exit that leads to a cannon on the world map, which will blast you to World 6. Here's how to find it: When you reach the room with the rope running along the ceiling, follow the rope so you're just above the left-most position of the first moving platform (that is, where it's positioned when it's moved all the way left). Now wait for it to move away and drop off the rope--don't worry! You'll hand in a hidden area below, containing a door. Now just follow the rest of the level to the secret flag pole.
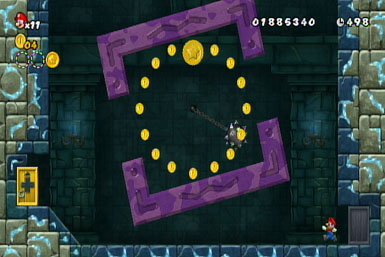
World 3: Mid Castle
Coin 1 (before checkpoint)
When you reach the large spinning square (with an item box in the center), leap from its right ledge when it's at its highest point into a hidden alcove containing a door. Inside, you'll find the coin inside another rotating structure--leap from one of the high sides to reach it (just watch out for the ball and chain!)
Coin 2 (after checkpoint)
The second coin is also the seemingly trickiest to get--you'll find it at the top of the tall elevator shaft. So here's the deal: it's blocked in by some bricks, which can only be destroyed by the rolling balls that'll join you on your ride. However, during the ride you'll encounter two Pow blocks, which can and will destroy the spiked balls if they're activated, whether you throw it or the spiked-balls roll into it. As such, you need to make sure those Pow blocks don't go off when the spiked balls are rolling around. For the first one, just activate before the balls appear. You'll have to pick up and carry the second one though, being careful not to throw it until after the balls have rolled through the bricks at the top, creating a path you can use to reach the coin.

Coin 3 (after checkpoint)
To reach the final coin, just before the boss door, leap from the top of the blue spinning platform below, then wall-jump off the right wall to the short one on the left, then from there into the space above containing the coin.
World 3: Castle
Coin 1 (before checkpoint)
While riding the moving platform, you'll spot a coin on a high platform--bounce off the rubber balls to reach it.
Coin 2 (before checkpoint)
Use the bob-ombs here to destroy the ice walls blocking the way.
Coin 3 (after checkpoint)
The final coin can easily be leapt to toward the end of the level.
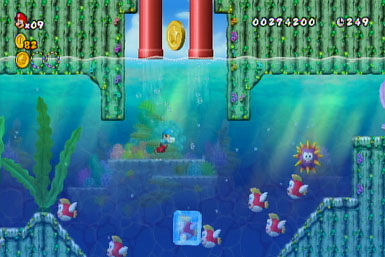
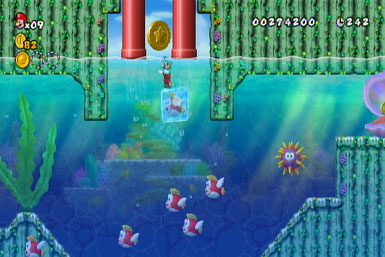
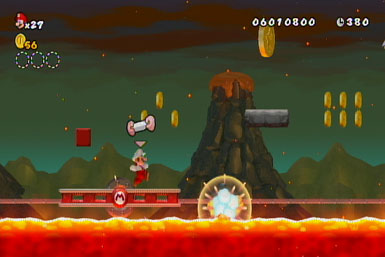
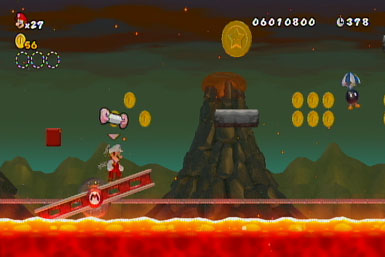
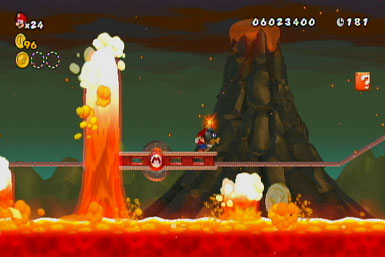
World 4-1
Coin 1 (before checkpoint)
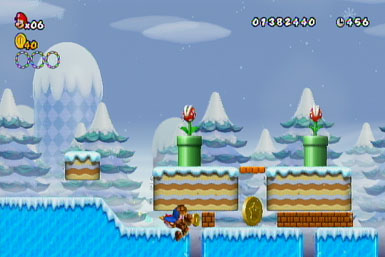
Grab the penguin suit from the box just left of the first coin and freeze the underwater piranha plant, causing it to float to the surface where it can then be used as a platform to reach the coin.
Coin 2 (after checkpoint)
Same deal here--freeze the urchin and quickly use him as a platform to reach the coin before he breaks free.
Coin 3 (after checkpoint)
There are two pipes by the level's exit--check by the higher one for the coin (you can easily reach it by freezing the sea urchin in the water).

World 4-2
Coin 1 (before checkpoint)
Really? Come on, you don't need help with this one!
Coin 2 (after checkpoint)
Simply hang from the ledge to snag this coin.
Coin 3 (after checkpoint)
Wait on the higher platform for it to drop below, then sidle along the edge and pull yourself up onto the platform just below the coin.

World 4-3
Coin 1 (before checkpoint)
Bounce off the enemy onto the block to reach this coin.
Coin 2 (before checkpoint)
There are a couple of ways to grab this coin unharmed. Either use the penguin suit (combined with the star) to slide along the water and leap into it, or use the tiny-mushroom from the box above to jump into it.
Coin 3 (after checkpoint)
Just after the checkpoint, you'll find a tiny horizontal warp pipe just past a couple of vertical ones. If you're not already tiny, you can find a tiny shroom in one of the boxes just above where the second coin was. After warping, you'll find your coin.

World 4-4
Coin 1 (after checkpoint)
After the checkpoint, hit the P-Switch on the ceiling to disable the pipe-streams ahead. Now quickly follow the trail of blue coins into the yellow pipe just ahead, before it starts spewing water again. After warping, grab a Penguin suit from either box and use it to freeze the Cheep Cheep, allowing you to use its frozen body as a platform to reach the coin.

Coin 2 (after checkpoint)
You can't miss the second coin, shortly after the first.
Coin 3 (after checkpoint)
Look for a hidden area inside this wall, just before the level's exit pipe.
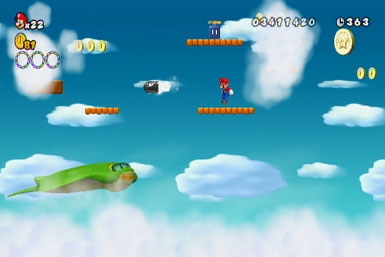
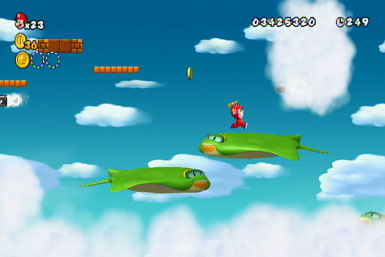
World 4-5
Coin 1 (before checkpoint)
To reach this first coin early on, either hop off Yoshi during a jump, or catch a ride in Lakitu's cloud.
Coin 2 (before checkpoint)
When you reach this column of coins, above the tree, follow it by catching a ride in Lakitu's cloud to find it leads to the second coin. Alternatively, you can also reach it by leaping off of Yoshi after jumping from the second tree left of the checkpoint.

Coin 3 (after checkpoint)
After passing the checkpoint, you'll find this tall tree just past the third pipe. Climb on top of it (either by using Lakitu's cloud, or leaping off of Yoshi) to find a secret pipe you can warp through--inside, catch a ride on one of Lakitu's clouds to reach the coin.
World 4: Ghost House
Coin 1
In the second room, with the platforms that rise and sink, stand on the sixth one until it sinks low enough to reveal a coin.
Coin 2
In the third room, look for a hidden passage for the second coin, just past the final door.
Coin 3
The final coin is located inside a secret, alternate route of the haunted house. You'll find the hidden door at the base of this lowering platform (just below the item box). Once through, you'll spot the coin near the ceiling, which can be reached after the platform just below rises.
Alternate Route The Ghost House conceals an alternate route which will allow you to head straight for the world's final castle, as well as hit-up a Gold Toad House along the way. To do so, head to the ghost house's second room, where you'll find the raising and lowering platforms. When you reach the one just below an item box, wait for it to drop completely, revealing a hidden door. Head on through then proceed through the last door of the area to find the secret flag pole!
World 4: Mid Castle
Coin 1 (before checkpoint)
Leap from the box as it nears the end of the conveyor belt to reach the coin.

Coin 2 (before checkpoint)
Look for a hidden alcove, just below the checkpoint.
Coin 3 (after checkpoint)
You have to grab this coin quick, before it's covered by the boxes--but you also have to be careful of being squished! We suggest waiting for the one on the lowest level to drop, before attempting to climb the stack to the coin.
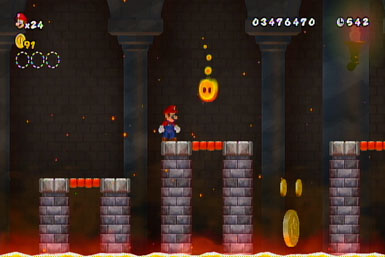
World 4: Castle
Coin 1 (before checkpoint)
You'll find the first coin behind this gate. If you don't already know, you can spin around to the backside of the gate via any of the panels embedded inside them--you'll find one both before and after the coin. After flipping behind, you can then navigate to the coin.
Coin 2 (before checkpoint)
The second coin can be found shortly after the first, positioned dead-center between two spiked shafts. Drop from the lower gate as soon as the shafts retreat and quickly grab the coin before hopping back up to the gate before the shafts extend again!

Coin 3 (after checkpoint)
Take the warp pipe (when safe!) just below the boss door to find the final coin.
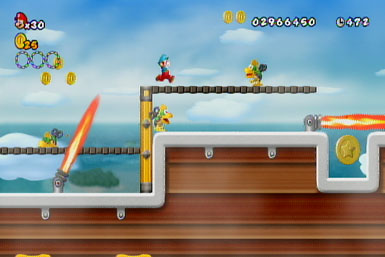
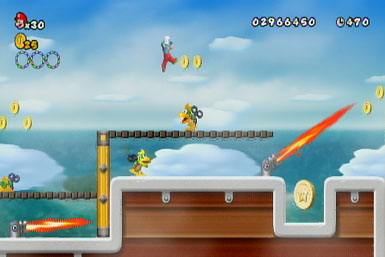
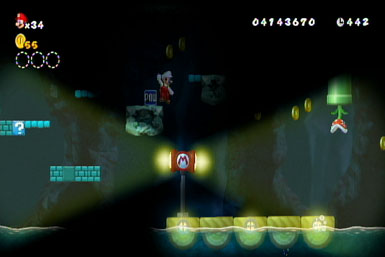
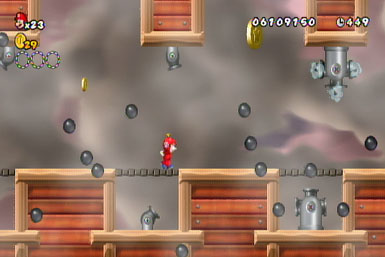
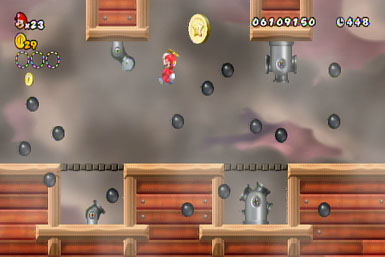
World 4-Airship
Coin 1 (before checkpoint)
Grab the first coin when the flames turn aside.
Coin 2 (after checkpoint)
Butt-stomp through these boxes to reach the warp pipe. After warping, use the screws to reach a coin.
Coin 3 (after checkpoint)
Use a bob-omb from the nearby pipe to blow up the block preventing access to the coin.
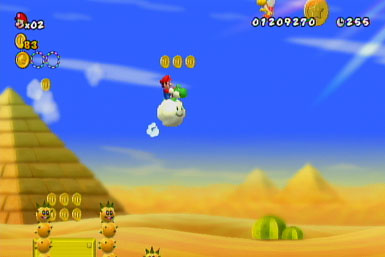
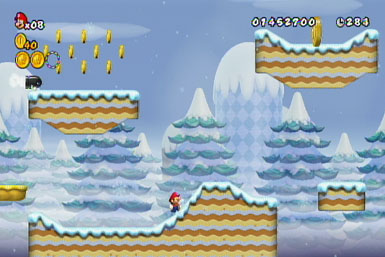
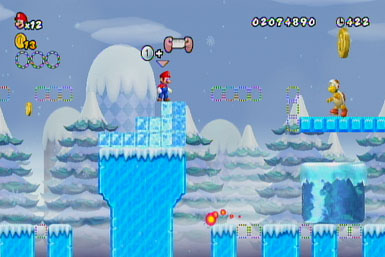
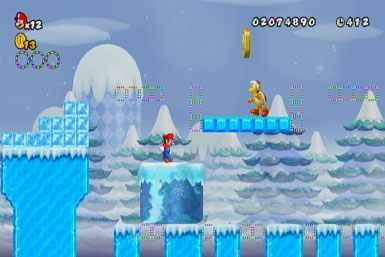
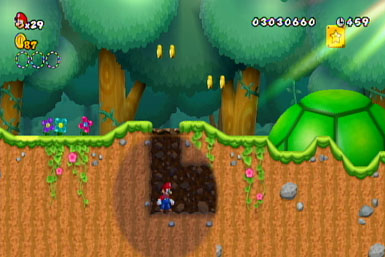
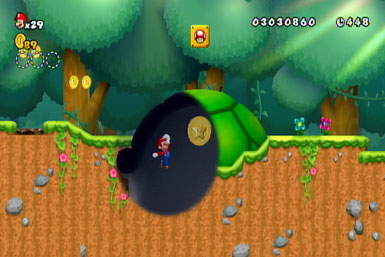
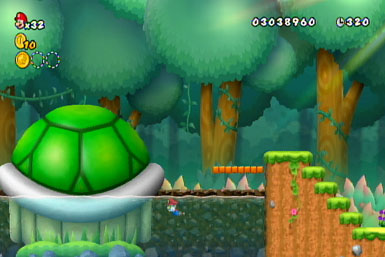
World 5-1
Coin 1 (before checkpoint)
Ground-pound this oddly depressed ground section, just before the spinning item box, to find a secret area containing the first Star Coin (which can be reached with a running jump).
Coin 2 (before checkpoint)
Swim inside the second large Koopa shell for the second Star Coin.
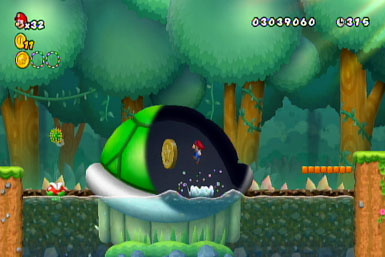
Coin 3 (after checkpoint)
Use the vine just before the ground-floor warp pipe to leap into the large turtle shell, where you'll find a secret pipe. Inside, use the POW block to cause the Star Coin to drop, allowing you to access it with a jump.

World 5-2
Coin 1 (before checkpoint)
The first Star Coin can be found near the end of the first area. You cab grab it by either by bouncing off the nearby Wiggler or using the POW Block in the hidden tunnel in the right wall of the second level just before to drop it to the ground.
Coin 2 (before checkpoint)
Just after heading underground, bounce off one of the large Wigglers as it passes beneath the Star Coin to grab it.
Coin 3 (after checkpoint)
When you reach the long span that you need to ride a Wiggler across, bounce off one at the very end to leap onto the ceiling. Follow it to a secret area where you'll find the third Star Coin, which can be reached using the propeller-blocks.
World 5-3
Coin 1 (before checkpoint)
Bounce off one of the enemies' heads below the Star Coin to reach it.
Coin 2 (after checkpoint)
Just after the checkpoint, you'll find the second Star Coin blocked by some bricks. Use the nearby Koopa Troopa to clear out the blocks, allowing you to grab the coin.
Coin 3 (after checkpoint)
To reach the final coin, drop onto the pair of platforms, then stand on just one of them to drop onto the coin, before quickly hopping back to the other.

World 5-4
Coin 1
You'll find the first coin shortly after catching a ride on the raft. You'll need to bounce off an enemy's head (or leap from a frozen enemy) to reach it--also, you must be at least Super Mario size.
Coin 2
After grabbing the POW block, hold onto it for a few moments until the raft floats right one area, where you'll spot two coins forming a column above--toss the POW block when the raft is beneath them to cause a Star Coin to drop onto the raft.
Coin 3
To nab the final Star Coin by the exit pipe, use a bob-omb to destroy the bricks above the coin, then hop down and grab it as the raft passes by underneath. World 5: Ghost House.
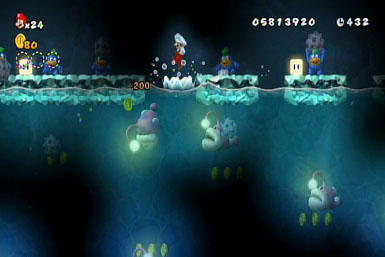
World 5-5
Coin 1 (before checkpoint)
Simply hop to the nearby platforms to grab this first coin.

Coin 2 (after checkpoint)
A short ways after the checkpoint, you'll find this cloud all by itself. Propeller into it for a Star Coin.
Coin 3 (after checkpoint)
Near the end of the level, you'll find a POW block on the back of one of the Manta Rays--grab it and hold onto it for a few moments until you 're just below several coins that forming what appears to be a "W". Use the POW block there to cause the third Star Coin to drop down.
World 5: Ghost House
Coin 1
In the first room, jump the gap and head through the first door. Now head to the back of the second room to find a hidden area in the wall, just below the furthest door, with the first Star Coin.


Coin 2
From the first room again, drop down the first gap, then the second as well and go through the door on the left to wind up in another room full of boney-fish. Head to the other side to find the second Star Coin just past the door.
Coin 3
In the first room again, drop down the first gap, hop the second, then climb the stairs and drop into the gap beyond to find two doors. The one on the left is fake, so take the right one. Here, you'll find two circles comprised of Boos--the Star Coin is inside the second one.
Alternate Route There's a hidden route inside the ghost house that, when taken, allows access to the cannon on the world map that'll blast you to World 8. So here's how you find it: Inside the Ghost House's first room, drop down the first shaft, jump the second, climb the stairs and jump the third. Drop down the shaft at the otherwise dead-end, then drop down the gap just beyond to find a door. Ignore the door and head left through a fake wall to find a second door. Head on through--this will eventually lead to the alternate exit, granting access to the cannon.
World 5: Mid Castle
Coin 1 (before checkpoint)
You'll find the first Star Coin in the third moving section of the shaft, just before the checkpoint. Look for it on the right once the wall recedes enough to reveal it.

Coin 2 (after checkpoint)
Shortly after the checkpoint, the shaft will split into two--jump up the left one quickly to grab the Star Coin while it's exposed from the receding wall.
Coin 3 (after checkpoint)
You'll find the final Star Coin at the very top of the shaft, just right of the boss door. Follow the gap in the moving wall and bust the blocks whenever you get the chance until you can reach the Star Coin.

World 5: Castle
Coin 1 (before checkpoint)
Slide down the wall and wall-jump just after grabbing the coin to avoid landing in the lava.

Coin 2 (before checkpoint)
When you reach the circular grate, just past the first Star Coin, climb up into the left ceiling to find a door inside a hidden area. After going through, you can grab the coin via the gate that rises out of the lava after a few seconds.
Coin 3 (after checkpoint)
Simply use the rising/sinking gates to leap into this coin, shortly after the checkpoint.

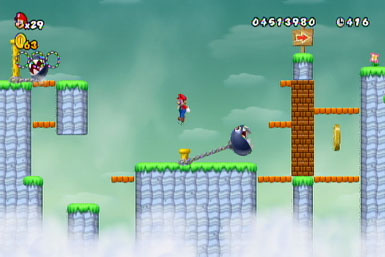
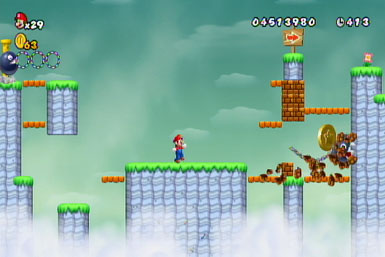
World 6-1
Coin 1 (before checkpoint)
The first Star Coin is located just past the first cave section, above the spike-ball tossing goon. It's easiest to reach with a propeller hat. If you don't have one, you can also try bouncing off a Bullet Bill or freezing one in mid-air and using it as a platform. Barring that, our preferred method is to triple-jump from the platforms to the right onto his, then bounce off the enemy's head to the coin above.
Coin 2 (after checkpoint)
You'll find this Star Coin among the platforms just beyond the checkpoint.
Coin 3 (after checkpoint)
You'll find the third Star Coin just after exiting the last cave, before the flag pole. You need a Propeller Hat to reach it.

World 6-2
Coin 1 (before checkpoint)
Just after the large Piranha Plant you'll spot part of a Star Coin in a concealed area, blocked by a brick. Grab the Spiny just past it (by jumping on him) and toss him into the brick to clear it out of the way, enabling you to access the coin.

Coin 2 (after checkpoint)
The second Star Coin is located just above this green pipe. You can reach it by luring one of the bats just beyond back to the pipe, and bouncing off of him to the coin (to ensure the bat flies high enough, jump as you catch his attention. Oh, and you may want to clear out the Piranha Plants first too.)
Coin 3 (after checkpoint)
When you reach the two adjacent rolling-ground section, wait at the second one until a tunnel is exposed, revealing a pipe you can enter. Inside, hit the P-Switch then work your way up to the Star Coin.
World 6-3
Coin 1
To reach this first Star Coin, kill the Piranha Plant (using the Buzzy Beetle just beyond it) and then leap from the platform it was on when it's fully raised and wall-jump against the wall to reach the coin.
Coin 2
Pretty much the same deal here: Kill the Piranha Plant using a nearby Beetle and then ride its platform to the coin.
Coin 3
When you reach this Piranha Plant infested hallway, you'll find two shafts above that can be wall-jumped up. The one on the left leads to a secret area containing a Fire Flower, which is worth grabbing to clear out the Piranha Plants. The one on the right, which can be leapt up by destroying the first block or two, leads to a secret area containing the second Star Coin.

World 6-4
Coin 1 (before checkpoint)
The line of coins above this Koopa Troopa leads right up to a Star Coin--you can reach it by leaping off of Yoshi from the left platform, or propellering into it.
Coin 2 (after checkpoint)
Use either the propeller hat or Yoshi's flutter jump to reach this hidden pipe, inside the first gap immediately past the checkpoint. After warping, either Yoshi-jump or propeller up to the POW block, which can be used to drop the second Star Coin to ground level.
Coin 3 (after checkpoint)
When you reach the first counter-balance platform inside the final cave, raise the right side as far as it'll go (by standing on the left half for a few moments) then either leap from Yoshi or use the Propeller Suit from the right side to reach a secret tunnel above, which conceals the Star Coin.
World 6-5
Coin 1 (before checkpoint)
The first Star Coin can't be missed! Just make sure to kill that pesky fish first (with fireballs)!

Coin 2 (after checkpoint)
Inside the cave, drop from the lower ledge onto the Star Coin.
Coin 3 (after checkpoint)
The third Star Coin can be found within the alternate route, mentioned below. Basically, there's a hidden block among these four--hit it to cause a bean stalk to appear. After climbing it, use the propeller-block to find the second Star Coin high up in the sky, just after the second winged-block.
Alternate Route There's a hidden route inside this level that will take you to the world's final castle. To find it, look for a hidden block among this group of four that spawns a bean stalk--climb it and continue onward to an alternate flag pole, opening the route!

World 6-6
Coin 1 (before checkpoint)
Look for the first Star Coin just left of this green pipe--you can either leap to it, or use the POW block you found just before to drop it onto the raft.

Coin 2 (after checkpoint)
After the checkpoint, you'll find a spring (the second in the level)--drop it onto the raft and use it to bounce up to a second Star Coin, just ahead.

Coin 3 (after checkpoint)
Grab this propeller-block and get ready to use it just ahead to reach a high ledge containing the final Star Coin.
Alternate Route (after checkpoint) This level contains a secret route that will enable you to reach the cannon on the world map, which can blast you to world 8. Here's how you find it: Just before the second fire brother, you'll spot a red pipe suspended from the ceiling. Warp through it and continue onward to find an alternate flag pole.
World 6: Mid Castle
Coin 1 (before checkpoint)
As you climb the shaft, you'll notice two recessed sections in the left wall. Explore the second one (by dropping into it from the nearby platform) to find the Star Coin.


Coin 2 (after checkpoint)
Look for this Star Coin right by the checkpoint. Wait for the spiked-shafts to recede, then wall-jump off either wall to reach it.

Coin 3 (after checkpoint)
When you reach the section with multiple moving platforms (just before the boss door), stick to the right side to reach the third Star Coin.
World 6: Castle
Coin 1 (before checkpoint)
The first Star Coin is located on top of this high brick walkway. To reach it, leap from the final rocking platform of the first group to the swinging boxes beyond, then to the walkway. If you already dropped to the ground, you can jump to the right-most block when it's at its lowest point.


Coin 2 (before checkpoint)
Shortly after the first Star Coin, you'll find the second above this rocking platform. Simply climb up the two left item boxes to reach it.
Coin 3 (after checkpoint)
Leap from the right edge of the final rocking platform, just before the boss door, when it's at its highest point for this Star Coin.
World 6-Airship
Coin 1 (before checkpoint)
Butt stomp through the stack of boxes to the right of the first Star Coin to access it.

Coin 2 (before checkpoint)
Shortly after the first Star Coin, you'll find this pipe covered by crates--butt stomp through them to warp through. Now carefully cross over the rotating platforms to find the second Star Coin.
Coin 3 (after checkpoint)
You know the deal--butt stomp through the crates covering the hole to drop to the coin.


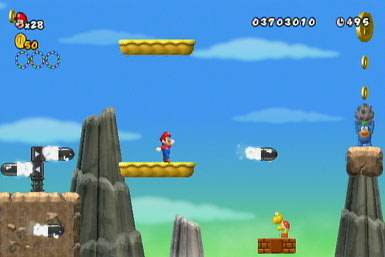
World 7-1
Coin 1 (before checkpoint)
To reach this first Star Coin, run up the purple block when the right side is tilted at its highest point, then wall-jump off the pipe to the coin.
Coin 2 (after checkpoint)
Head down the first yellow pipe after the checkpoint then cross over the platforms to find the second Star Coin just past the exit pipe. You'll notice a green platform that rises and falls in two alternating spots beneath the coin--jump to it when it's on the left, then leap for the coin as it recedes and try to land on it as it rises up on the right.
Coin 3 (after checkpoint)
The final Star Coin is located just before the level's exit pipe. To reach it, ride the purple platform below it and leap from it just before it reaches its apex to nab the coin, then try and land on the yellow block below.
World 7-2
Coin 1 (before checkpoint)
To access this barricaded coin just before the checkpoint, you'll have to release the nearby Chain Chomp while he's facing right, causing him to burrow through the blockade. Simply butt-pounding pole he's chained to three times--just make sure he's facing to the right before you give it the final pound.
Coin 2 (after checkpoint)
Take this green pipe (which may be somewhat obscured by clouds)--inside you'll find the Star Coin above a water bubble.
Coin 3 (after checkpoint)
The third coin can be found between two Chain Chomps, just after the pipe which leads to the second Star Coin (if you already took the warp pipe, head left from the exit). It's easiest to drop onto the coin from the water bubble just above.
World 7-3
Coin 1 (before checkpoint)
Look for the first coin riding along the same track as two fuzzies.

Coin 2 (after checkpoint)
When you reach the section with tracks going all over the place, climb up to the top-left corner to find a hidden block that spawns a bean stalk. Climb it to a secret area. Once there, avoid grabbing the coins before hitting the P-Switch, then quickly clamber up the newly formed platforms to the second Star Coin.
Coin 3 (after checkpoint)
After heading through the expansive multi-track section (where the bean stalk mentioned above was), you'll find the final Star Coin while riding the platform just beyond (shortly before a large Fuzzy).
World 7-4
Coin 1 (before checkpoint)
Bounce off the Banzai Bill at the end of the first section to grab this Star Coin.
Coin 2 (after checkpoint)
You'll find this Star Coin a short ways after the checkpoint. To grab it, leap from the middle platform while it's heading right and try to land on the platform below.
Coin 3 (after checkpoint)
Skip past the seemingly final red pipe (by the sign pointing up to it) to find another pipe high above. To reach it, you'll have to bounce off a Bullet Bill (remember to hold "up" as soon as you bounce off it to ensure you enter the pipe). After warping, head left to find the coin atop a pile of Bullet Bill launchers--just be careful of the bullets themselves! After grabbing it, you can reach the pipe on the right similar to the one before.
World 7-5
Coin 1 (before checkpoint)
The first coin can be found super-early on--just keep it mind that it may be obscured by the second cloud-maker!
Coin 2 (after checkpoint)
You'll eye the second Star Coin just beyond the checkpoint. To grab it, hit the blocks just beyond to reveal a P-Switch, which will turn the coins beneath it into bricks, creating a platform you can step on to reach it.
Coin 3 (after checkpoint)
You'll find a trio of cloud-makers just before the checkpoint--the lowest one conceals a secret tunnel, which leads to the third Star Coin.
World 7-6
Coin 1
The first Star Coin can be grabbed either by repeatedly jumping on the back of the second small para-beetle just beyond it (as soon as it appears on screen), or by riding the first large one past it all the way down to it. Alternatively, this is pretty easy to grab if you have the Propeller Suit.

Coin 2
You'll find the second Star Coin in the clouds near a platform, just above a long row of small Para-Beetles (the timer will be at about 310 by this point). Hop onto one as it intersects the line of coins leading up to the Star Coin.

Coin 3
The final Star Coin is hidden behind some clouds at the bottom of the screen--you'll know it's coming up when you see the 'staircase' of large beetles. You'll have to ride one of them down onto it, but the tricky bit is getting away safely! This is easy to do if you have either the Propeller Hat or Yoshi. Barring those, if you're playing multiplayer, simply have whoever grabbed it 'bubble up' afterward to float to safety.


World 7: Ghost House
Coin 1
Well would you look at that, the coin's right below the start! To get to it, lure the boxing-baddie on the right down the stairs and into the wall, which he'll pummel through, allowing you to grab the coin.

Coin 2
After dropping to the bottom of the long shaft, take the door in the upper-right corner. The large Boo in the next room conceals a coin--lure him aside, then clamber up to the rope and drop from it onto the coin.

Coin 3
Finding the final Star Coin is a multi-step process. First, access the Ghost Houses's hidden route by climbing up the first room, just past the first fake door. You should see a strange wall on the left with a crack in it (just below one of the boxing enemies). Lure the boxing enemy to that wall, which he'll punch his way through, creating an entranceway for you--continue through the door inside. Climb up the subsequent room to the door in the top-left corner to wind up back outside. But wait! Don't head to the flag pole yet, instead head through the ground-floor door, where you'll find the final Star Coin. It can be reached by triggering the nearby P-Switch.
Alternate Route (after checkpoint) This level contains a secret route that will take you right to 7-5, skipping 7-4. Here's how to find it: Inside the first room, climb up just past the first fake door. You should see a strange wall on the left with a crack in it (just below one of the boxing enemies). Lure the boxing enemy to that wall, which he'll punch his way through, creating an entranceway for you--continue through the door inside. Now proceed through the rest of the level to find the secret flag pole.
World 7: Mid Castle
Coin 1 (before checkpoint)
Look for the first coin at the very top of the first elevator section, just below the pipe--tilt the platform right as you approach the top to reach it.
Coin 2 (before checkpoint)
If you can see the second Star Coin, but can't figure out how to reach it, then it's already too late. You can only access is via the first room--ride the elevator to the very top. Once there, tilt it as far left as you can then look for a hidden block. Jump on top of it, then to the ceiling and head right to find a hidden warp pipe which takes you to the second Star Coin, in the next room.
Coin 3 (after checkpoint)
This final coin is also the biggest pain to get. It's located on the far left, just before the boss's door. However, it's blocked by some bricks that can only be destroyed with a bob-omb. The easiest way to deal with it is to simply grab a bomb (after jumping on it to light the fuse) and carrying it to the wall and simply hold onto it while it detonates. Sure, it'll cost you a hit, but it guarantees you'll destroy the wall, instead of trying to kick a bomb into it, which is simply an exercise in frustration (take it from us!).

Alternate Route (after checkpoint) This level contains a secret route that will enable you to not only bypass the castle's boss, but grants access to a special path on the world map leading to World 7-6, then into the world's final castle (taking you right to its boss, skipping most of the level!). You'll find the entrance in the second room, where the checkpoint's located. Ride the elevator there up past the first item box, then start looking for a hidden alcove in the right wall, between one of the extending platforms and below a pair of cannons. It will warp you to an area containing a secret flag pole.
World 7: Castle
Coin 1 (before checkpoint)
You'll find the first Star Coin behind some bricks above, early in the level. You'll have to be at least Super Mario in order to break through the bricks. Once you've created an opening, you can either bounce off the Dry Bones below to reach the coin, or wall-jump off the remaining bricks.
Coin 2 (after checkpoint)
Just after the pair of hammer bros, you might spot a pipe obscured by some clouds beneath a platform. Drop to it from the lower platform on the right and warp inside. After warping, wait a moment to get your bearings--namely, the two spiked shaft in this room, then work your way over to the Star Coin in the upper-right corner, just below the walkway.

Coin 3 (after checkpoint)
When you reach this item box, leap from it into a hidden alcove above and perform a wall-jump for the final Star Coin.
World 8-1
Coin 1 (before checkpoint)
Leap from the right side of this platform when it tilts toward the Star Coin to grab it.
Coin 2 (after checkpoint)
Shortly after the checkpoint, you'll find a POW block. Unleash it on the brick platform just beyond to cause a second Star Coin to drop down.
Coin 3 (after checkpoint)
Continue past the green exit pipe to find a tall brick wall you can leap over via the nearby platform (when the right side tilts up). Beyond it is the final Star Case encased within some blocks. If you're Super Mario, simply bounce off the spring to destroy the bricks and grab it. If not, wait a few moments for the falling debris to create above the coin, then wall-jump off the pipe, right into it!


World 8-2
Coin 1 (before checkpoint)
Climb up the platforms just past the first pair of large goombas to find the first Star Coin.
Coin 2 (after checkpoint)
Look for the second Star Coin in a hidden alcove just behind this pair of pipes.
Coin 3 (after checkpoint)
The final Star Coin is hidden inside a secret tunnel, just below the level's exit pipe.
World 8-3
Coin 1 (before checkpoint)
The first Star Coin is just below the second suspended platform. Wait for a gap in the lava flow before riding it down to it.

Coin 2 (after checkpoint)
To reach the second Star Coin, shortly after the checkpoint, follow a gap in the lava right to left.
Coin 3 (after checkpoint)
Run quick as soon as there's a gap in the lava to grab this final Star Coin!
World 8-4
Coin 1
After taking the warp pipe to the second room, the first Star Coin is actually directly above the ceiling. You'll find a gap you can use to jump onto it just ahead, past the third spike-ball dropping enemy. Head left from there to locate the coin.
Coin 2
In the third room--the one with the lit jellyfish--you'll find a Star Coin encased within some boxes. A P-Switch just above will destroy them, allowing access to the coin.
Coin 3
In the fourth room--the tall, dark shaft full of jellyfish--look for the final Star Coin in an alcove just below the second pipe on the left.
World 8-5
Coin 1 (before checkpoint)
It's easiest to jump to the first Star Coin with the platform tilted toward it.
Coin 2 (after checkpoint)
This second Star Coin can be tricky. To nab it, you'll have to grab and toss the only bob-omb around into it. We suggest positioning the platform in the same position as in the picture below and tossing it from there.
Coin 3 (after checkpoint)
You can either leap from the platform as it drops to the lower track for the third Star Coin or hop off the attacking birds.
World 8-6
Coin 1 (before checkpoint)
When you find the spring on a moving platform, you'll find the coin in an alcove on the left, just above. Either propeller-suit or wall-jump into it.
Coin 2 (before checkpoint)
Propeller-suit up the left shaft here, just before the warp pipe, for the second Star Coin.

Coin 3 (after checkpoint)
Ride the final swinging platform (just before the exit pipe) to a Star Coin on the left side.
World 8-7
Coin 1 (before checkpoint)
While riding the second bone-coaster, wait a moment before jumping to grab this coin as the coaster dips into the lava.
Coin 2 (after checkpoint)
When riding the first coaster after the checkpoint, get ready to grab the Star Coin during the second jump.
Coin 3 (after checkpoint)
Shortly after catching a ride on the second coaster after the checkpoint, another will appear on a track over head. Don't jump to it yet! Instead, wait here to run right into the final Star Coin, then jump to it!
World 8: Mid Castle
Coin 1 (before checkpoint)
Grab this Star Coin as the fire stick spins away.
Coin 2 (before checkpoint)
Jump into a hidden alcove directly below the checkpoint and go through the door there to find the coin in the next room.
Coin 3 (after checkpoint)
When the fire stick spins away, run toward the small gap and duck just before reaching it to slide inside for the final Star Coin.

World 8-Airship
Coin 1 (before checkpoint)
When you reach the first cannonball barrage, use them to bounce up to the Star Coin.
Coin 2 (after checkpoint)
Use the platform just after the checkpoint to reach the second Star Coin. It's easiest if you move it a little ways past it first, on the right, this way the two enemies within are lured against the wall, giving you space to jump in and grab it on the left as the platform passes by underneath.
Coin 3 (after checkpoint)
Drill this last screw to reveal the final Star Coin that lowers from the platform ahead. If you're playing single-player, you need a Propeller Suit to reach it--just jump to it then propeller out to the right. However, if you're playing multiplayer, simply have someone jump at it, then bubble-up immediately afterward to avoid certain death.
World 8: Castle
Coin 1 (before checkpoint)
Ride the platform just about the first Star Coin down to it.
Coin 2 (before checkpoint)
Inside the lava-filled shaft, stick to the right to grab a Star Coin that's revealed.
Coin 3 (after checkpoint)
During the final chase sequence with Bowser, you'll find the final Star Coin just beyond the second item box. As such, try and stick to the upper route, luring Bowser's fireballs there, which should grant easy access to the coin.

World 9-1
Coin 1
To reach the first Star Coin, leap from the yellow platform to the trio of Para-Troopas when they're at their maximum height. However, if you have a Propeller Suit to spare, that's actually far easier.
Coin 2
Bounce off the Para-Troopas from one of the nearby blocks to either side as they turn upward to reach the second Star Coin. Though again, it's easiest to reach with the Propeller Suit
Coin 3
Warp through the pipe with the level's third fire-spitting Piranha Plant, then bounce off the Para-Troopa to reach it.
World 9-2
Coin 1
Ride this platform down to the first coin.
Coin 2
Stand on the platform until it drops just low enough allowing access to the pipe, where you'll find the second Star Coin. If an enemy drops onto the platform and sinks it below the pipe, simply venture off screen a short distance then come back to find it has returned.
Coin 3
The final Star Coin is blocked off by two walls of bricks. You'll have to kick the nearby Koopa Troopas into each wall when the platforms lower, creating a path to the coin.
World 9-3
Coin 1
Look for a warp pipe in the gap just past the second arrow sign. It leads to a large room with the Star Coin below, but it's blocked off by several bricks walls. Hit the P-Switch near the top, turning the bricks into coins, then rush to the coin! The fastest route is to head right (jumping the first gap), then keep heading right to the bottom corner, before heading left to the coin.
Coin 2
Another warp pipe can be found in the clouds above, just past the first one (and just before that one's exit pipe). Two coins below mark its location--bounce off the Bullet Bill to reach it. After warping, hit the P-Switch, then run like the dickens across the newly-formed platforms to reach the far coin.
Coin 3
The final coin can be found in the section with the Banzai Bills (the big ones), just past the fifth platform--above this set of four coins. Do yourself a favor and grab a Propeller Hat before attempting this coin, as it'll make your life much easier. Barring that, the best course of action is to bounce off a Banzai Bill from the second platform past the coin (the one that rises) after it's passed by on the left--this is really the only way to ensure the Bill's high enough to enable you to reach the coin.
World 9-4
Coin 1
You'll find the first coin just past the POW block--wall-jump off the blue pipe when it lowers to reach it.
Coin 2
To grab this second Star Coin, toss a bob-omb (either stunned or frozen) into the coin while running as the platform sinks.
Coin 3
You'll find three pipes at the end of the level's first section: The green one sandwiched between the others leads to the final Star Coin. To enter it, you'll have to freeze the Piranha Plant popping out of the red one below, allowing you to use it as a platform to enter the red one.
World 9-5
Coin 1
Run down the slope when there's a gap between the penguins to grab the coin. Worst case scenario, you may take a hit, but as long as you're at least Super Mario, you'll still be able to grab the coin.
Coin 2
This coin seems tricky, but you can actually wall-jump right up to it! But first, don't hit the ?-Switch on the right until you've grabbed it, otherwise you'll have to avoid penguins too! At any rate, stand directly below the ledge containing the coin, then jump straight up and wall-jump off the left wall--as you begin to fall back down after the wall-jump, hold right to land on the small ice block, from which you can then leap to the coin! Note: Don't run before making the wall-jump, otherwise it'll launch you at a weird angle making it impossible to land on the ice block.
Coin 3
To grab the final coin in the small section on the right, you'll have to freeze the Fuzzy on the track just below then hop from him to the coin. You can freeze him easily by riding the track on the left around, spamming ice balls--once frozen, you'll have just enough time to loop around the track once more, jump to him, then to the coin.
World 9-6
Coin 1
Leap from the platform on the low circular track (which dips into the lava) into the hidden alcove to the right for the first Star Coin.
Coin 2
Wait for the lava spouts to subside before wall-jumping for this coin.
Coin 3
Save yourself the trouble and visit this level with a propeller hat, allowing you to easily reach this final Star Coin. Barring that, you can also try hopping from the small platform (after the lava geyser recedes) and bopping from the flying fire-spitting guy onto the coin, but we don't recommend it.
World 9-7
Coin 1
Simply hop up to this coin before the ice platform just below is melted away!
Coin 2
It's best to let the fire-spitting Piranha Plants below do the work here for you to grab the coin beneath the frozen walkway. We suggest standing on the section of walkway directly above the pipe, just left of the Star Coin. Wait here for the Piranha Plant, right of the coin, to melt the walkway just enough so that you can drop to the platform beneath the coin, allowing you to collect it. Now you must hurry up and get out of there and run across the remainder of the walkway before the other Piranhas melt it away!
Coin 3
The final Star Coin can be found between the two fire bros at the end of the level…and boy is it a doozy. There are a few ways to grab this coin. The absolute easiest way is to play with multiple people--once you reach it, have a fire bro spit a fireball across the icy blocks above the coin, then have one of the other plays drop onto it and bubble-up as soon as they grab it. If you're playing by yourself, you can try wall-jumping up the remainder of the ice shaft after grabbing it, but that can be very difficult. Here's a better method:
The absolute easiest way (if you're playing by yourself) is to get it is to equip both a Propeller Suit and a Star from the world map (also, be sure to save at this point so that if you fail, you can simply return to the title screen then reload the save file to try again, without having to re-acquire the items), then hightail it as fast as you can through the piranha plants while you're invincible. If you time your jumps right, you should be able to get to the long ice-platform just before becoming vulnerable. Now run along it and duck at the last minute to slide underneath the series of five piranha plants in the pipes above. Immediatly after, take to the sky using your propeller suit and drop onto the first fire bro from above. Do the same for the second, but only after he's spit at least one fire ball on the ice above the coin, creating a hole you can drop into. Once both fire bros are out of the picture, drop to the coin and Propeller Suit out of there!
World 9-8
Coin 1
Propeller into the first coin from the boxes below.
Coin 2
The second Star Coin is trailing a train of fuzzies--either propeller or bounce into it.
Coin 3
Wait on the boxes above until the huge Banzai Bill blows through the structure below, allowing you to drop onto the final Star Coin.
Hidden Routes
World 4: Ghost House The Ghost House conceals an alternate route which will allow you to head straight for the world's final castle, as well as hit-up a Gold Toad House along the way. To do so, head to the ghost house's second room, where you'll find the raising and lowering platforms. When you reach the one just below an item box, wait for it to drop completely, revealing a hidden door. Head on through then proceed through the last door of the area to find the secret flag pole!
World 5: Ghost House There's a hidden route inside the ghost house that, when taken, allows access to the cannon on the world map that'll blast you to World 8. So here's how you find it: Inside the Ghost House's first room, drop down the first shaft, jump the second, climb the stairs and jump the third. Drop down the shaft at the otherwise dead-end, then drop down the gap just beyond to find a door. Ignore the door and head left through a fake wall to find a second door. Head on through--this will eventually lead to the alternate exit, granting access to the cannon.
World 6-5 There's a hidden route inside this level that will take you to the world's final castle. To find it, look for a hidden block among this group of four that spawns a bean stalk--climb it and continue onward to an alternate flag pole, opening the route!
World 6-6 This level contains a secret route that will enable you to reach the cannon on the world map, which can blast you to world 8. Here's how you find it: Just before the second fire brother, you'll spot a red pipe suspended from the ceiling. Warp through it and continue onward to find an alternate flag pole.
Secrets
More Powerful Butt-Stomp
When playing with friends, if two or more of you perform a butt-stomp simultaneously, you'll notice a shockwave radiate out of each of you. This powerful butt-stomp can stun nearby enemies.
Extra Coins
Try performing a spin-attack by the flowers in the background--a coin may just pop out!
Hidden Treasure
The trail of Blue Coins that appear after hitting some P-Switches lead directly to a hidden item box--move quick to follow the trail before it disappears!
Jump Higher!
You'll often find that Mario and sometimes just can't jump quite high enough to reach certain treasures. Thankfully, there are several ways to increase the height of their jumps. If you're playing multi-player, try jumping off a teammate's head while they're jumping for additional height. Furthermore, if you're riding Yoshi, try dismounting at the peak of Yoshi's jump (by shaking the Wii Remote) to jump even higher!
Got a news tip or want to contact us directly? Email news@gamespot.com
Join the conversation