inFamous Walkthrough
Whether you're good or evil, energize your game with our inFamous walkthrough.
Being a superhero isn't easy...in fact, it may be the worst customer service job in existence. You have to deal with the fickle whims of the public, all the while facing criticism for your actions regardless of how many lives you've saved. And you're not even getting paid! But you've got our support--with our walkthrough at your side, we'll ensure you make it through your adventure, whether you strive to become infamous or not.
Here's what you'll find in GameSpot's Infamous Game Guide:
- General Tips: Learn how to harness your super powers.
- Walkthrough: Stuck? Check out our step-by-step walkthrough for each of the story missions.
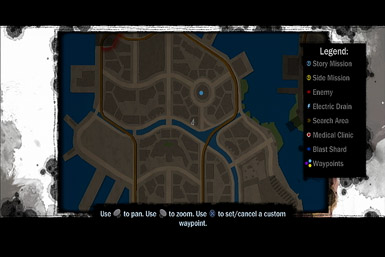
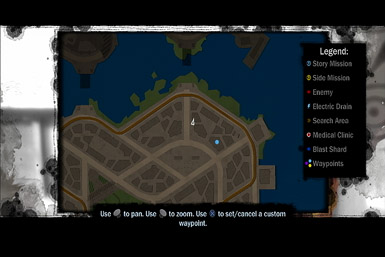
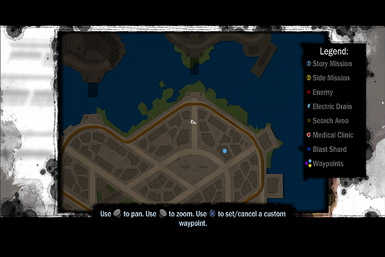
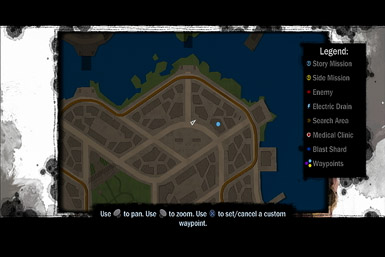
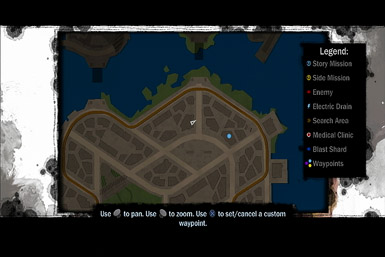
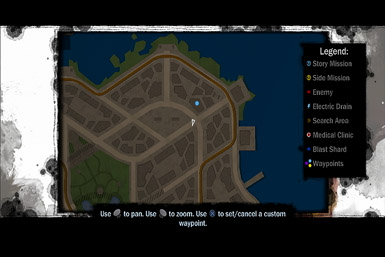
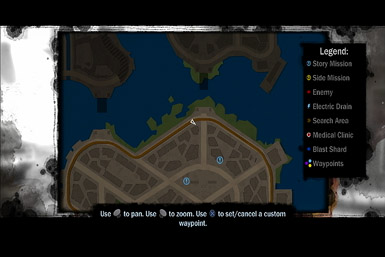
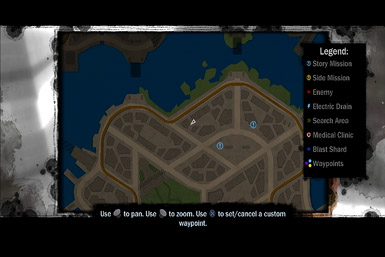
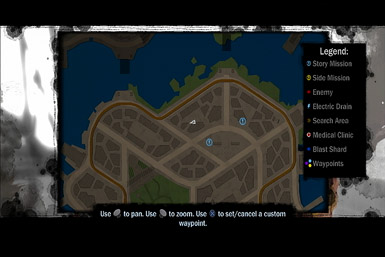
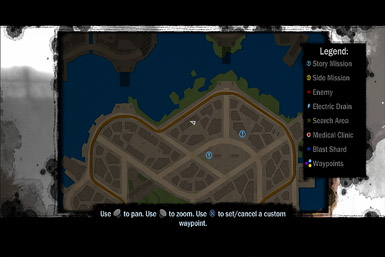
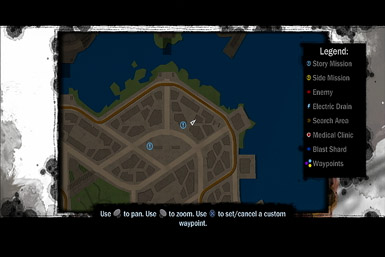
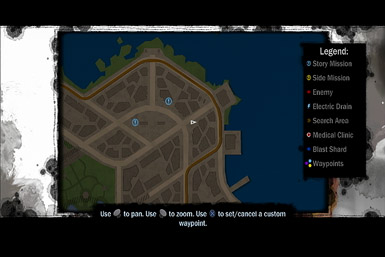
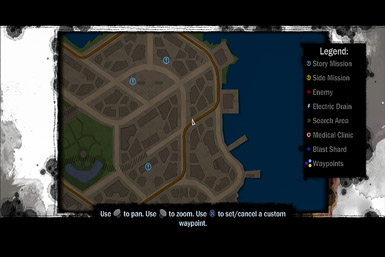
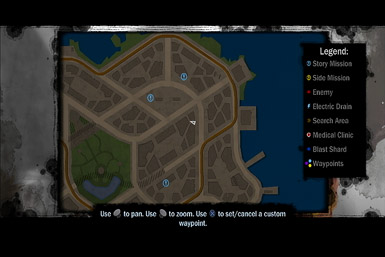
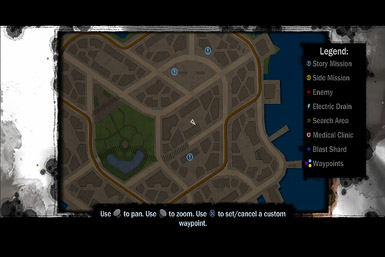
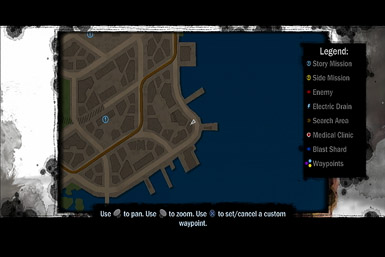
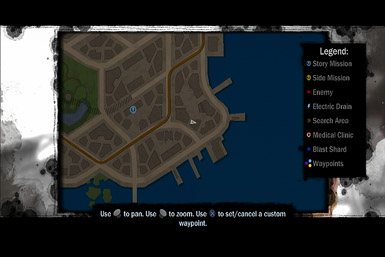
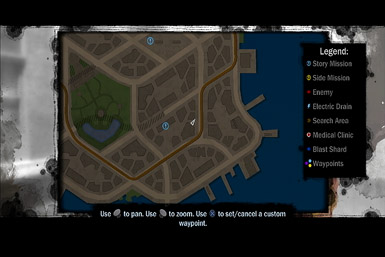
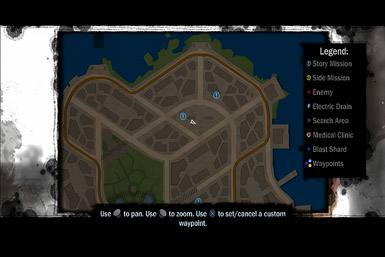
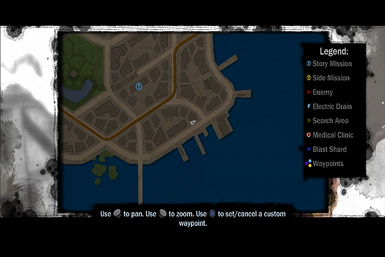
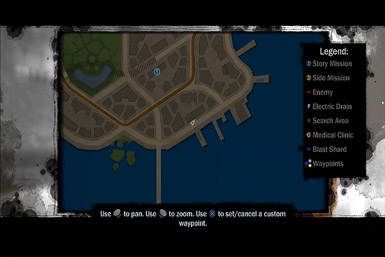
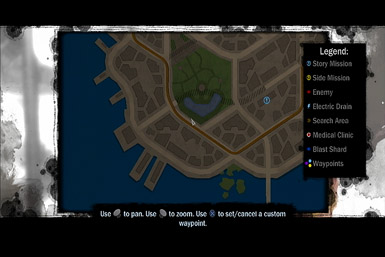
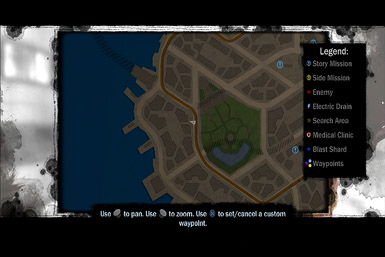
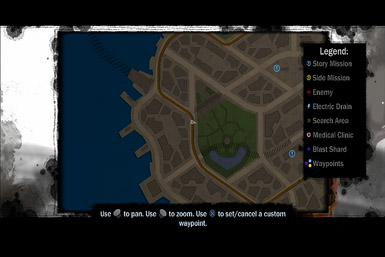
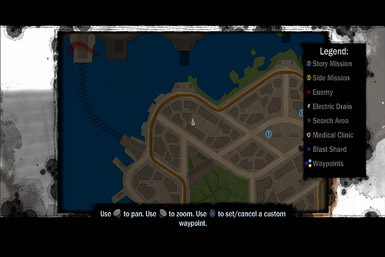
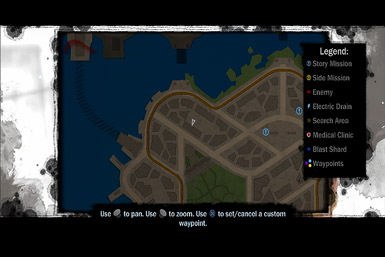
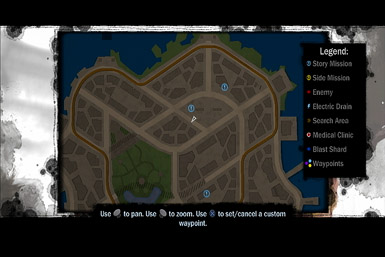
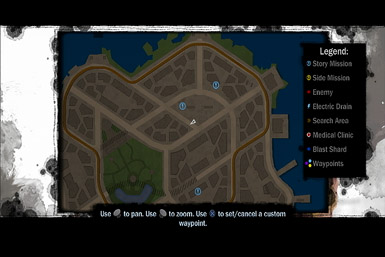
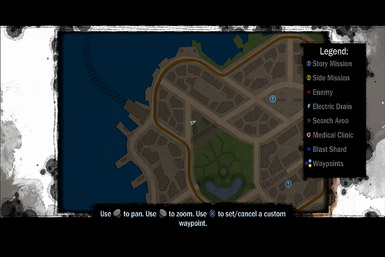
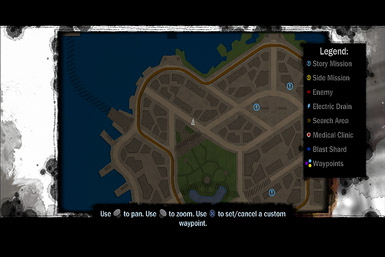
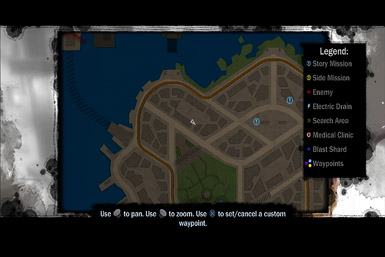
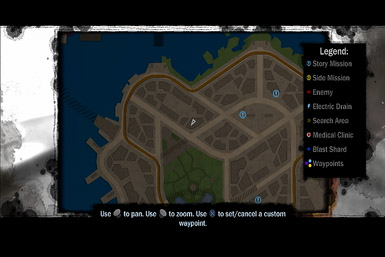
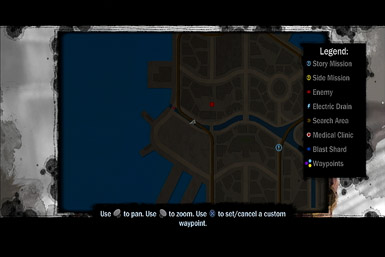
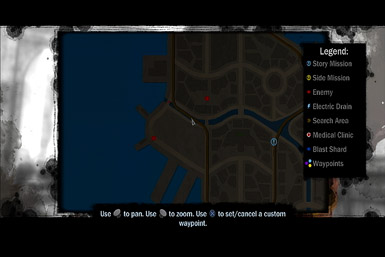
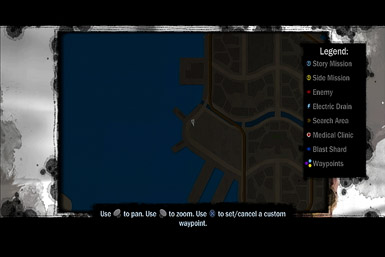
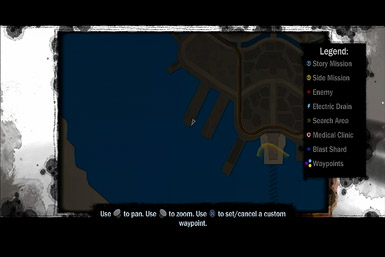
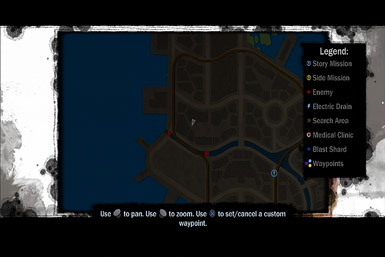
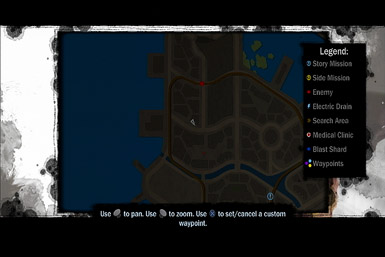
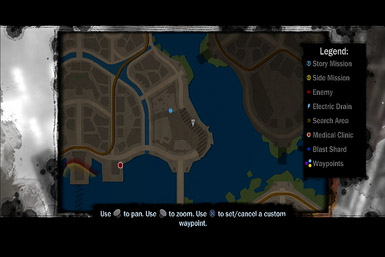
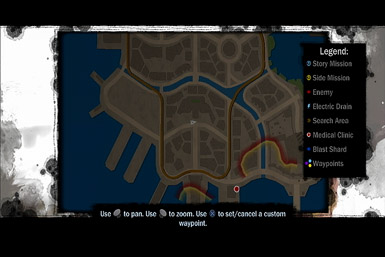
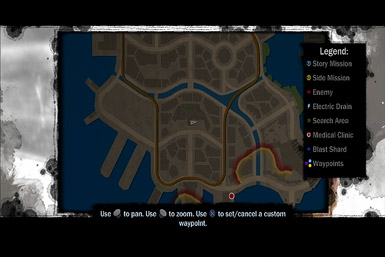
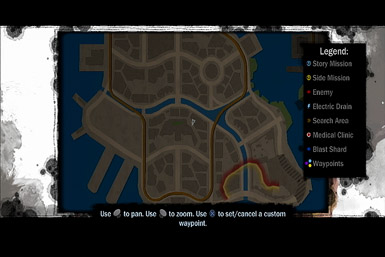
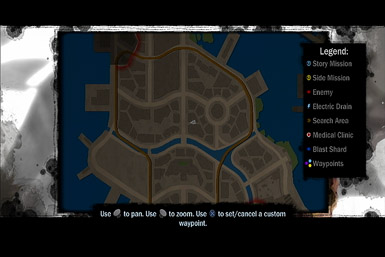
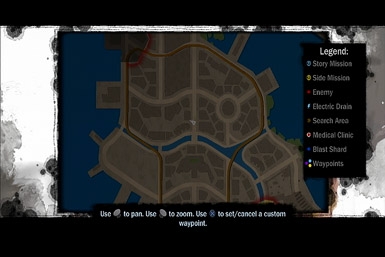
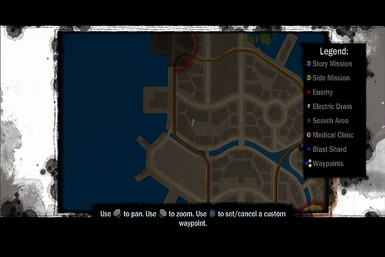
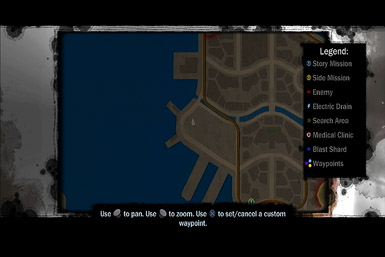
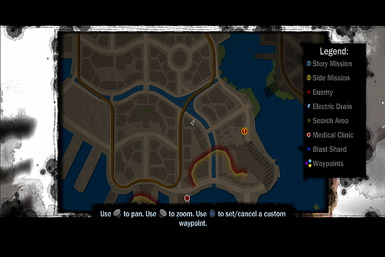
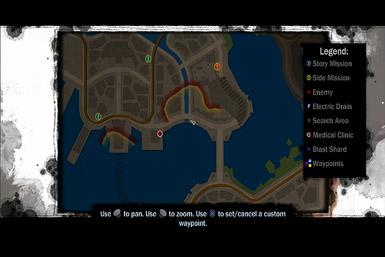
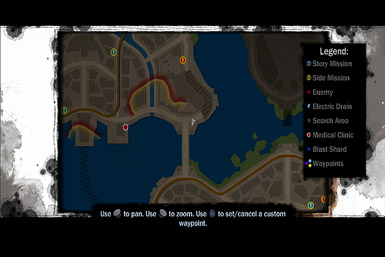
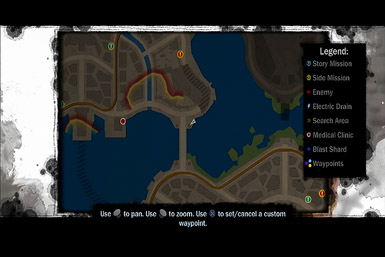
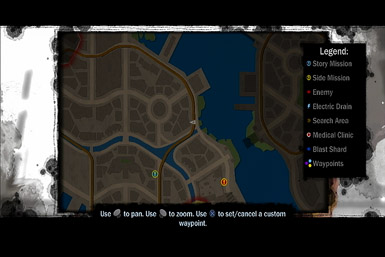
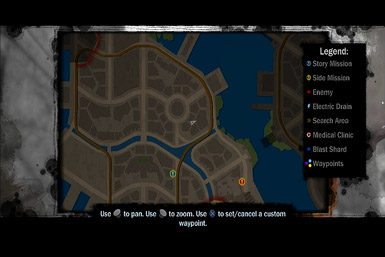
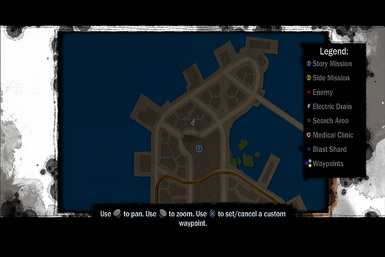
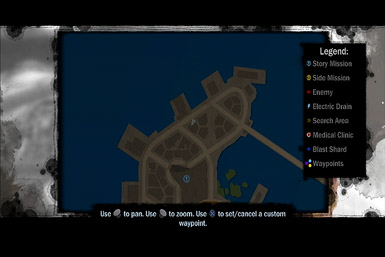
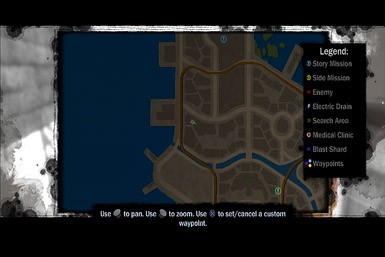
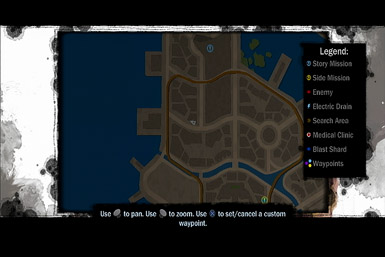
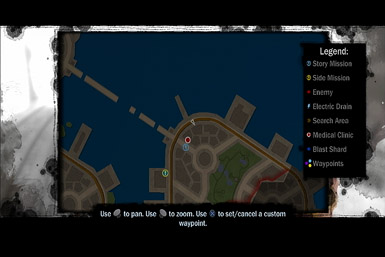
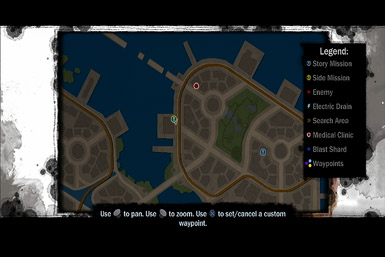
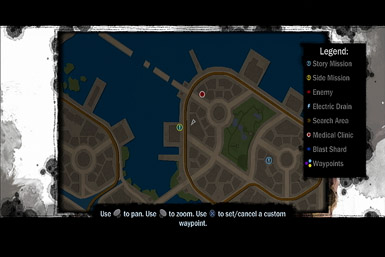
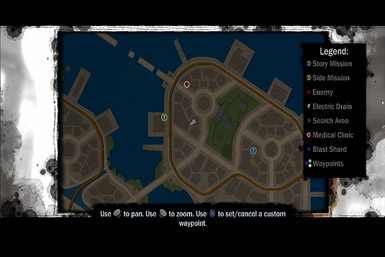
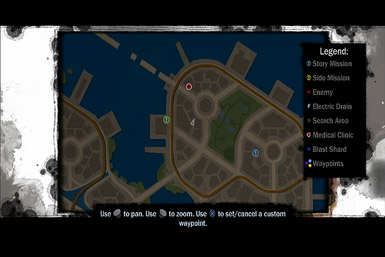
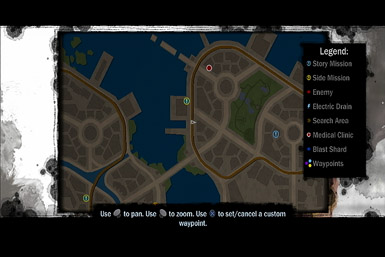
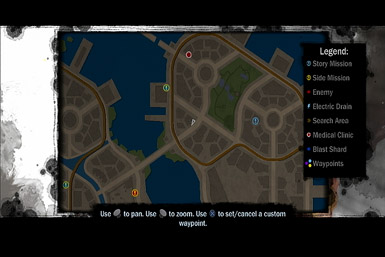
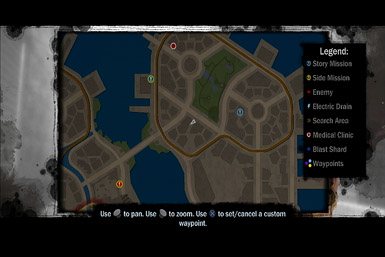
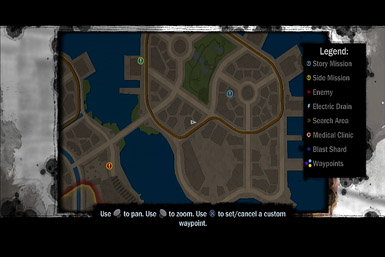
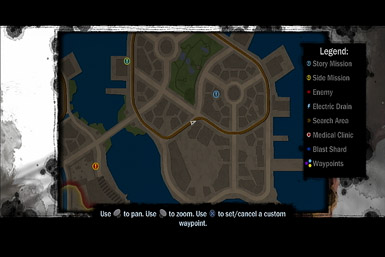
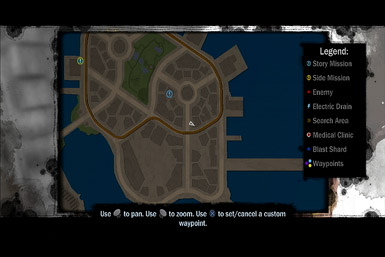
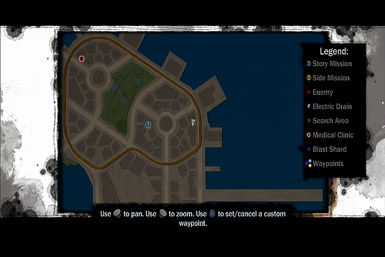
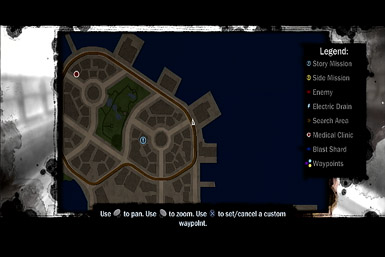
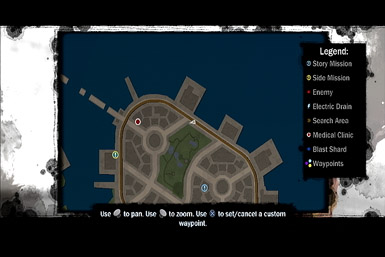
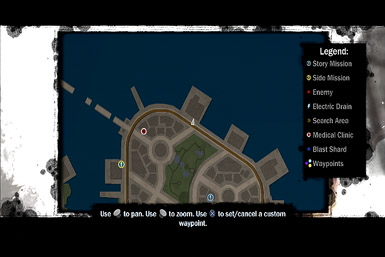
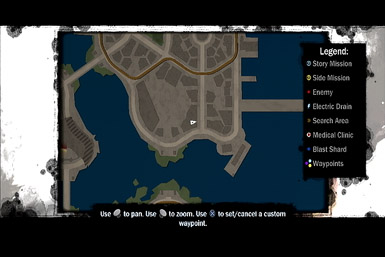
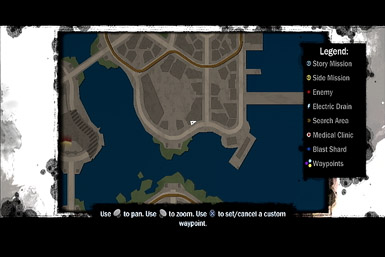
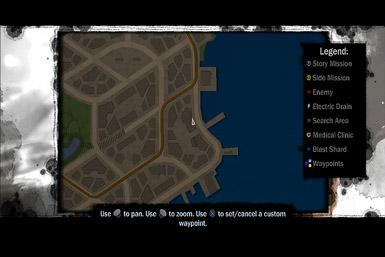
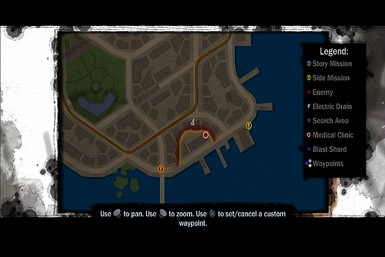
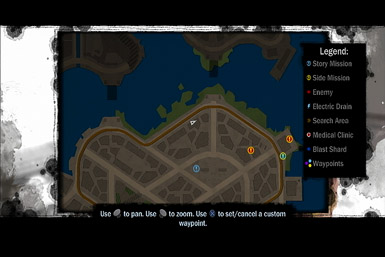
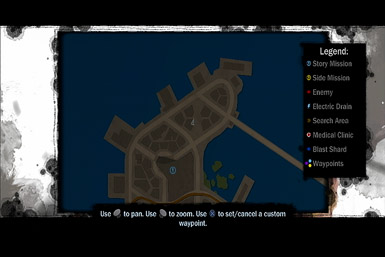
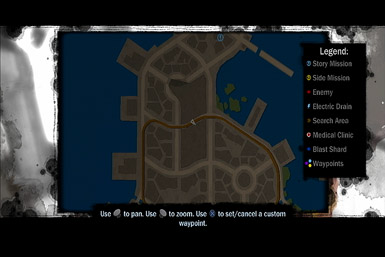
- Blast Shards: Can't find those Blast Shards? Let our maps and pictures guide you!
- Dead Drops: Track down those pesky Dead Drops here!
- Trophies: You want trophies? We've got your trophies!
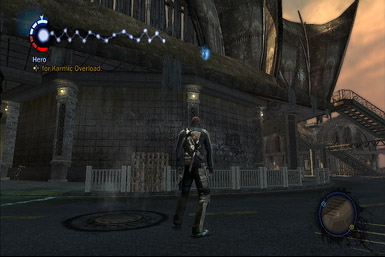
General Tips
Beyond Good and Evil
Alright, so although you've been bestowed with strange new powers, it's up to you whether to use them for good or evil. As you play through the game's missions, you'll often be confronted with a "Karma Choice"--that is, you'll be presented with a problem that has two solutions: One good, the other evil. The choice is always up to you.
So what are the benefits to being good versus evil, or visa-versa? Well, the most obvious difference is in your appearance. If you're good, Cole will generally look friendlier has uses blue electricity. But if you're evil, he'll take on a more sinister appearance. In addition, the general public will also treat you differently. Depending on how good you are, they'll either praise you, or at the least, treat you with indifference. However, if you're evil, they'll often throw things at you, turning every citizen into an enemy, making your life all the harder.
Perhaps the greatest difference is in what powers you can acquire. Depending on whether you're good or evil, or even how good or evil you are, you can upgrade your powers in different ways. In general, the evil powers are more destructive, whereas the good powers focus a bit more on the defensive.
Experience Points & Power Upgrades
Earning experience points allows you to upgrade your powers, which is practically required if you want to stand a fighting chance in this city. You can earn experience points in one of three ways: completing missions, performing stunts, and engaging in combat. These experience points can then be cashed in to gain or upgrade your powers. However, as we noted earlier, some upgrades are dependent on achieving a certain karmic ranking (such as being either good or evil) or completing a certain amount of side missions.
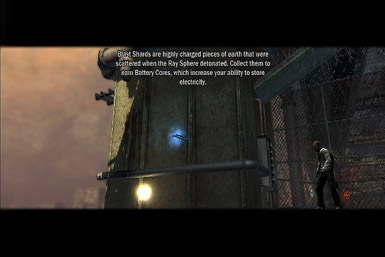
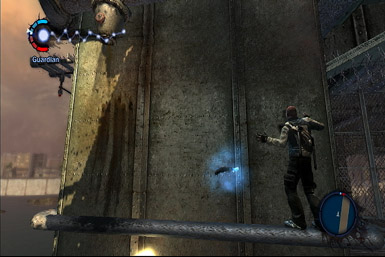
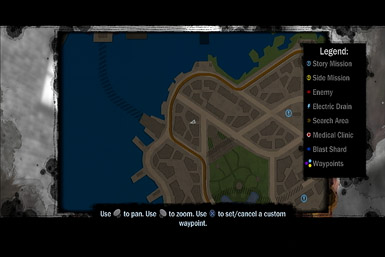
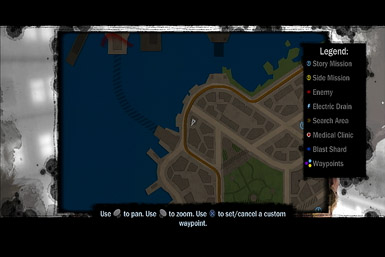
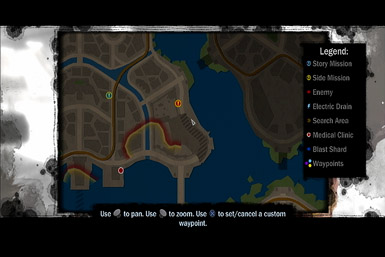
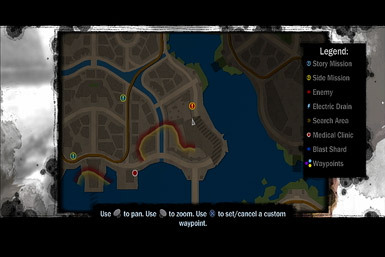
Blast Shards
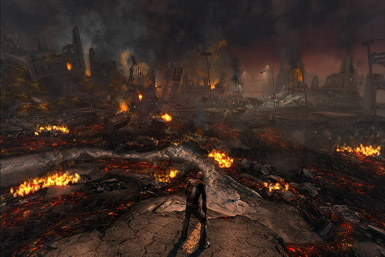
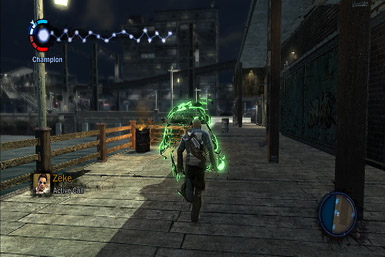
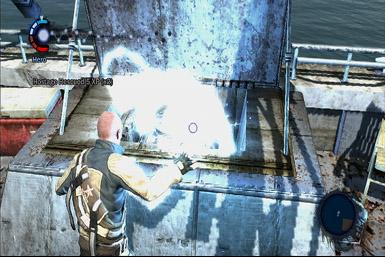
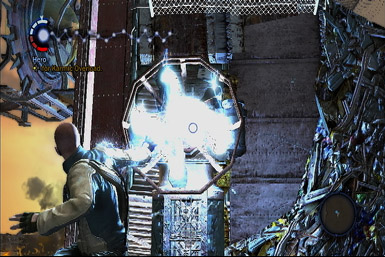
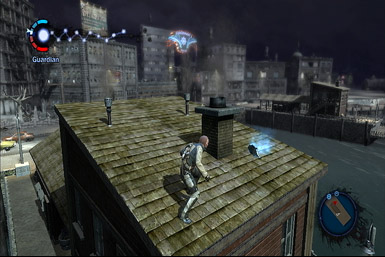
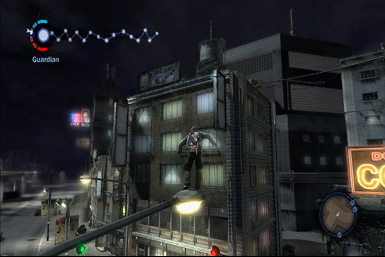
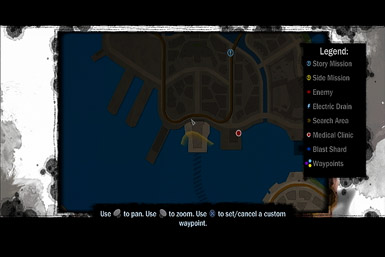
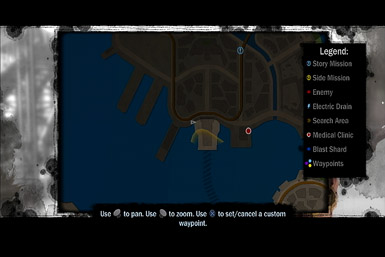
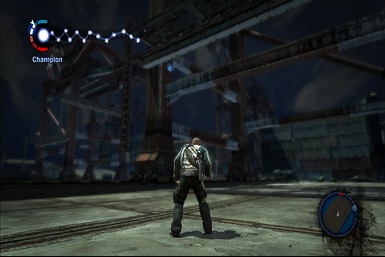
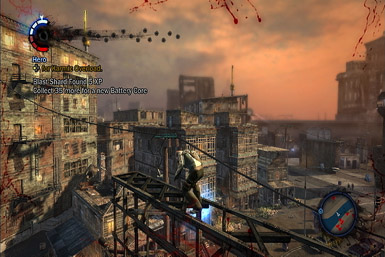
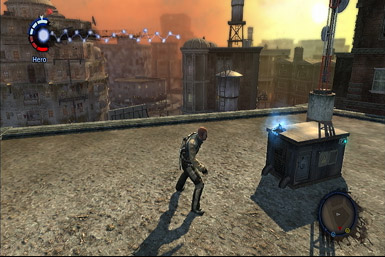
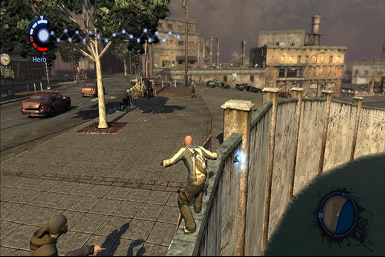
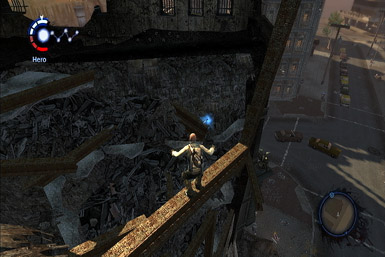
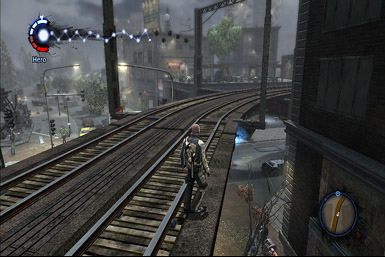
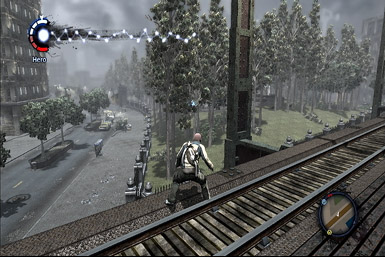
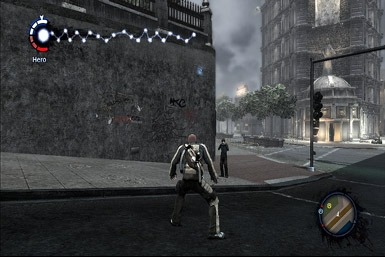
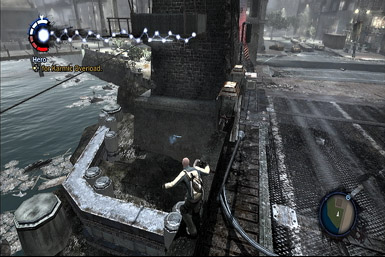
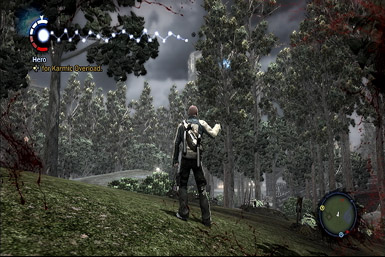
As a result of the blast, 350 "Blast Shards" have been scattered around the city. It's important you track them down, as finding enough of them slowly increases the amount of electricity you can hold at set intervals! They can be found everywhere, whether it's embedded in buildings, buried in the train tracks, or stuck in a power line--they're everywhere! Thankfully, the game provides a handy feature to help track them down. Bu clicking the left-stick (L3), Cole will emit a signal, forcing any nearby Shards to light up as blue dots on your radar briefly. Try clicking it often to find new shards!
For help tracking them down, consult out "Blast Shards" section for a complete list.
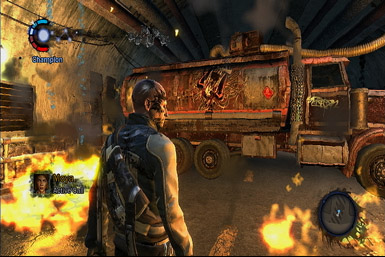
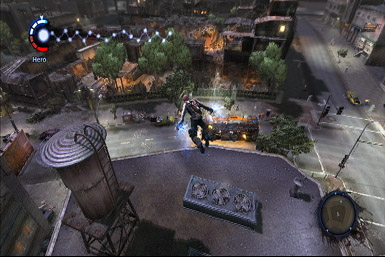
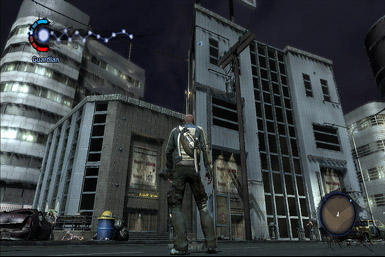
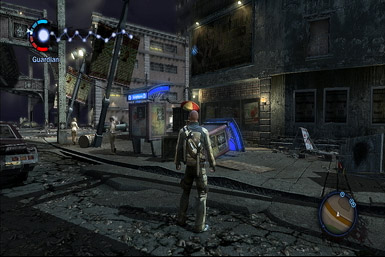
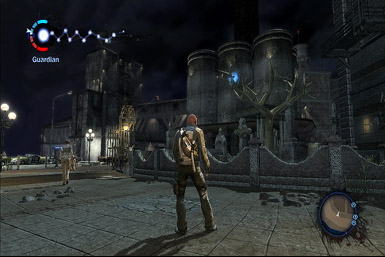
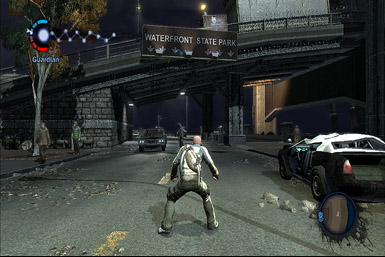
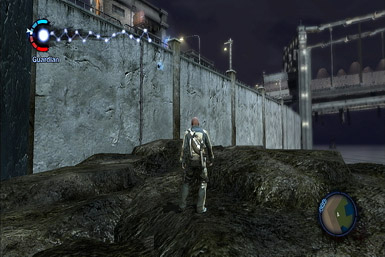
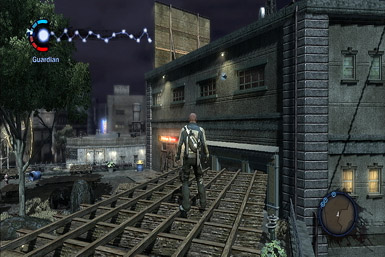
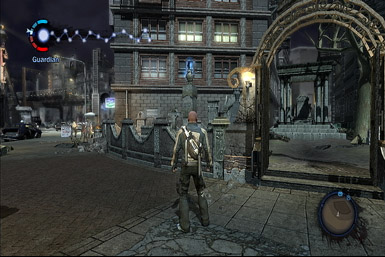
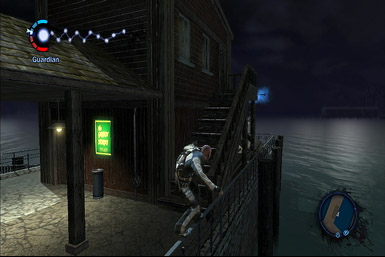
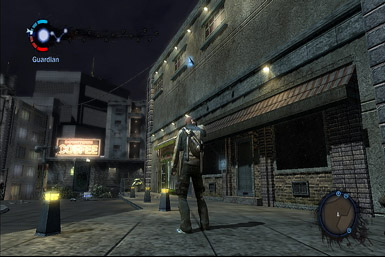
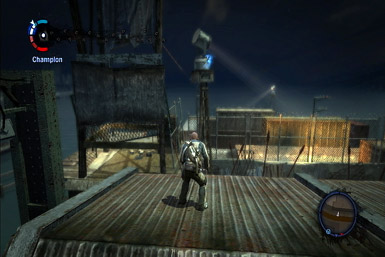
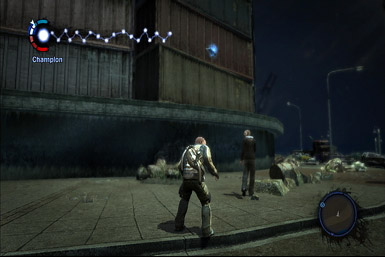
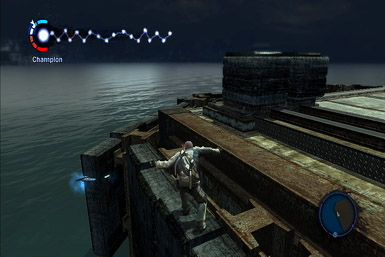
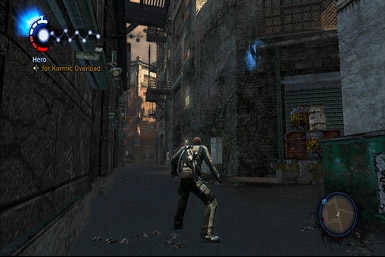
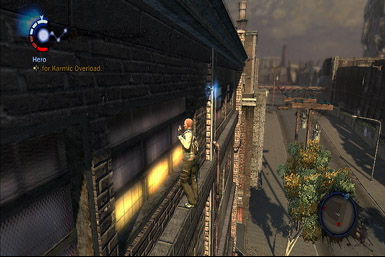
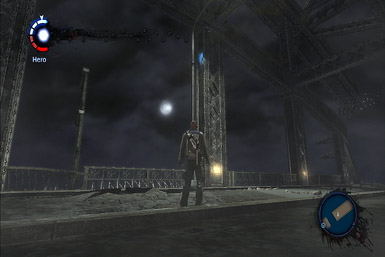
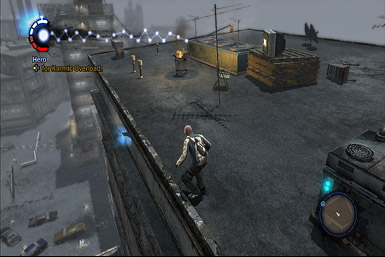
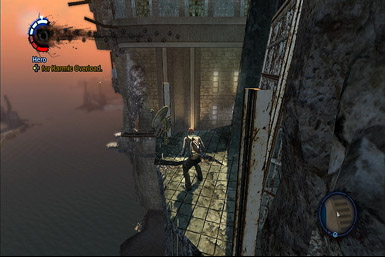
First Glimpse
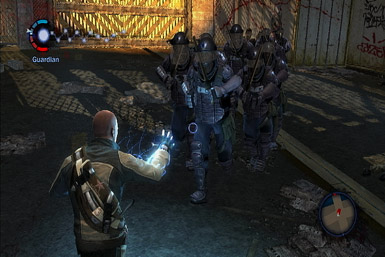
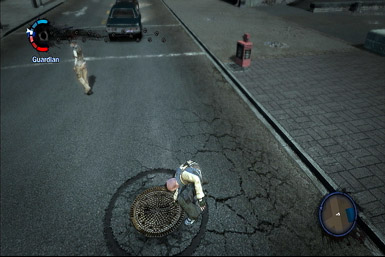
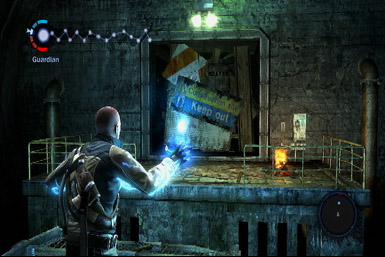
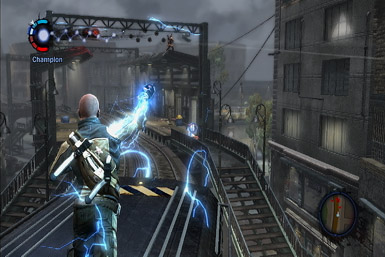
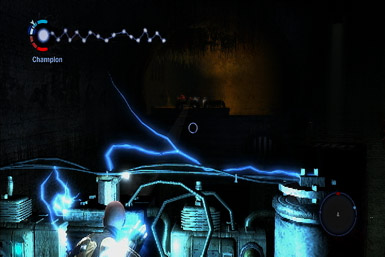
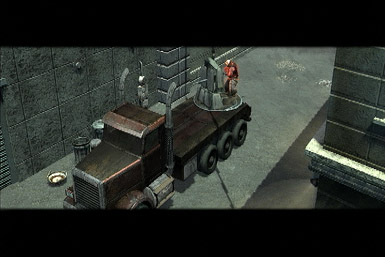
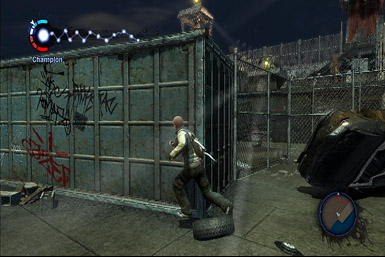
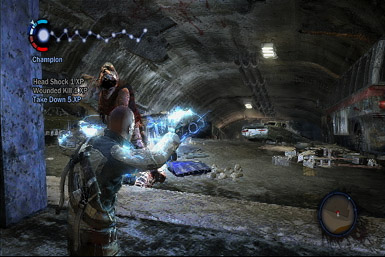
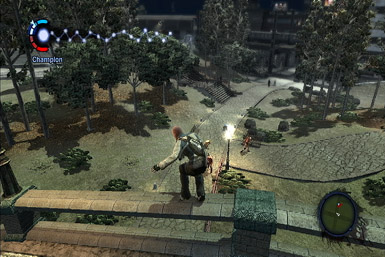
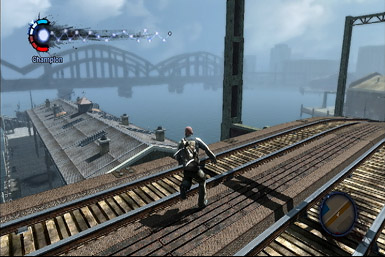
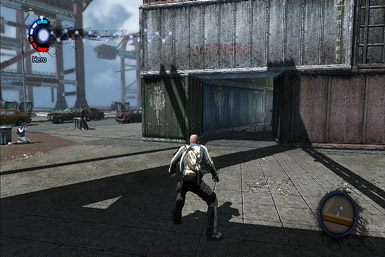
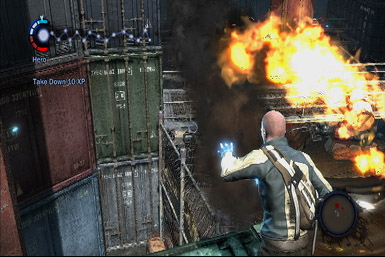
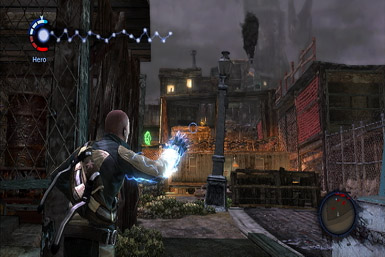
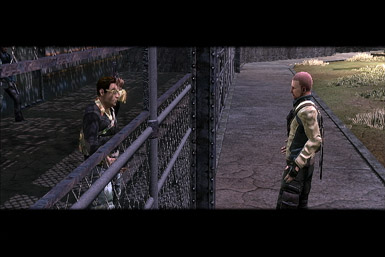
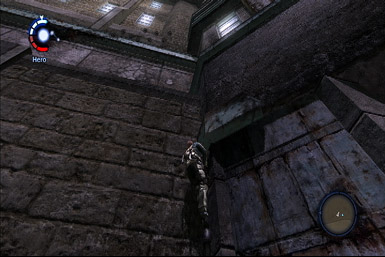
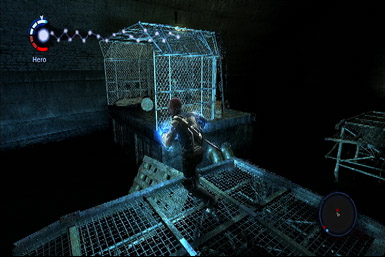
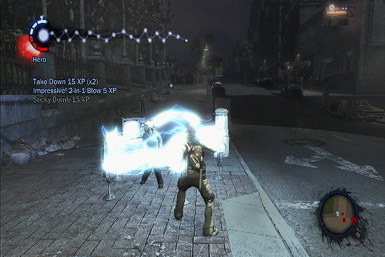
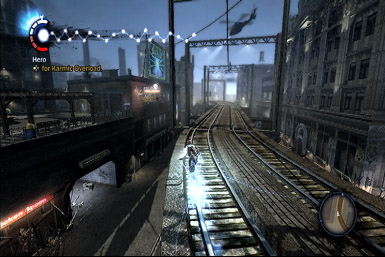
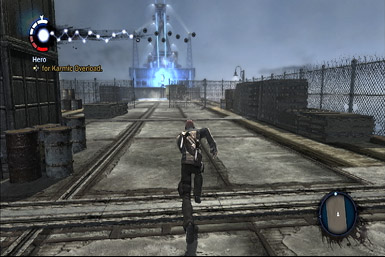
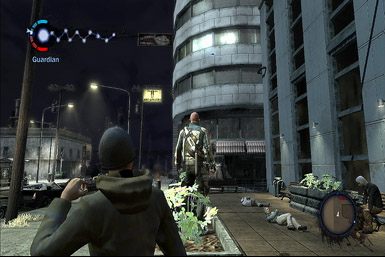
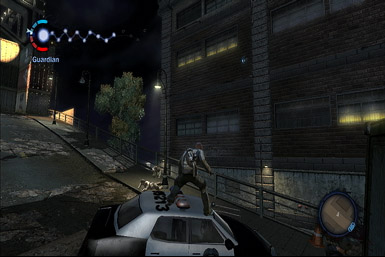
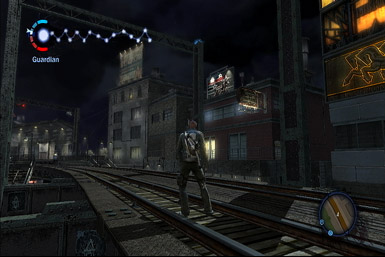
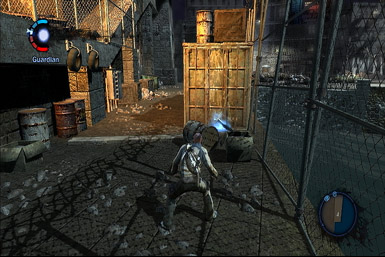
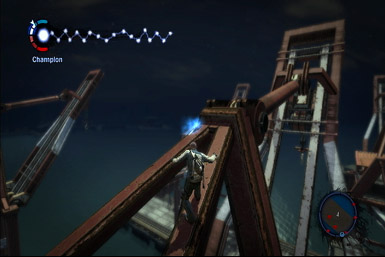
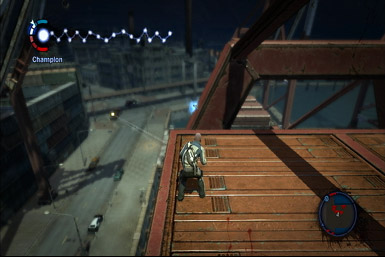
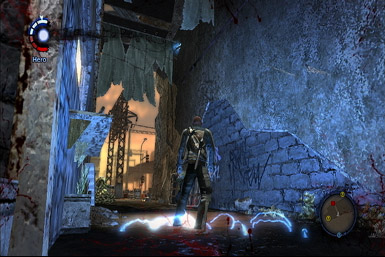
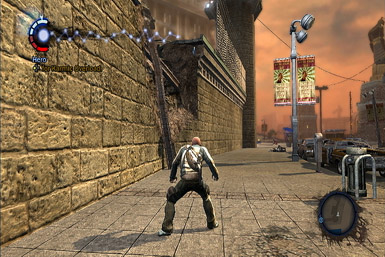
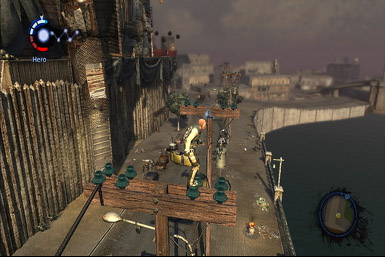
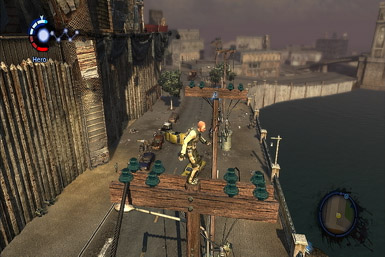
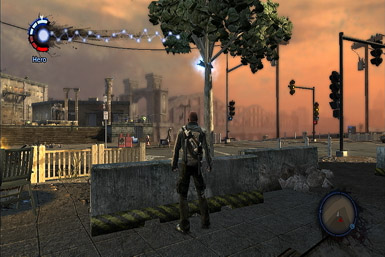
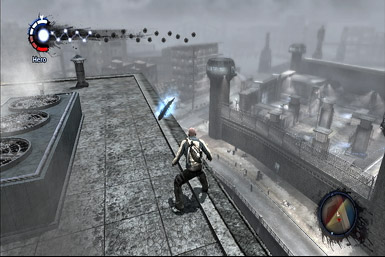
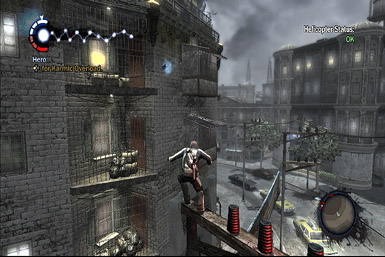
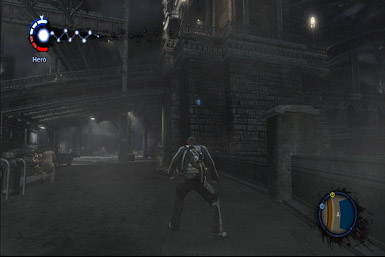
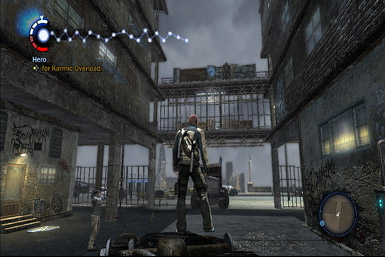
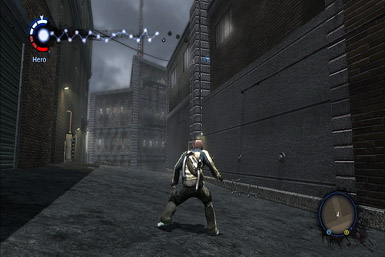
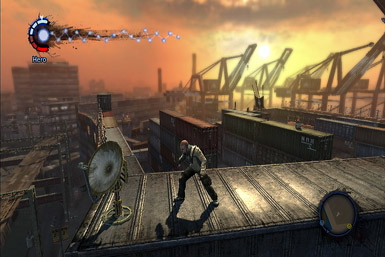
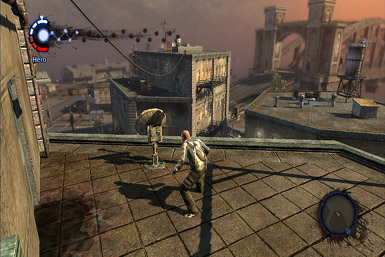
Whoa, that was a big explosion--at least it got you out of the joint! Run along the path and up the hill, then jump over to the bus, and off the far side. Proceed up the ramp, into the parking garage. Don't worry about avoiding all the falling debris, as it won't hurt you. Once you reach the end of the garage, look for a large pipe you can jump to, and jump the gap to the second half, leading to the other half of the parking garage. As you stumble along, you'll be energized by some stray electricity. Afterward, you'll watch as a a platform collapses, creating a ramp to the street below. Run up the street to the police activity ahead, where you'll spot your friend waving at you. Cross over the bridge to watch some stuff go down.
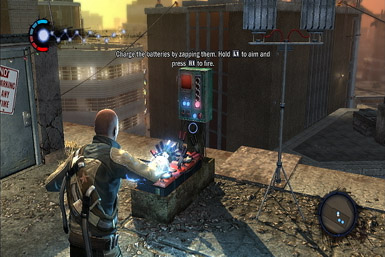
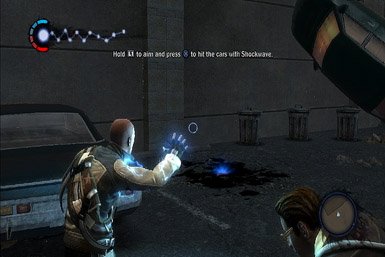
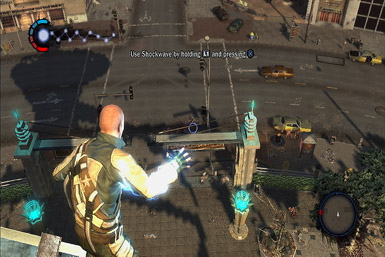
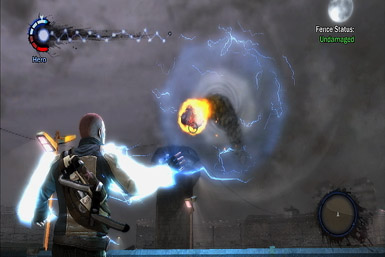
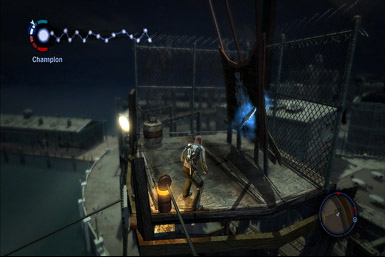
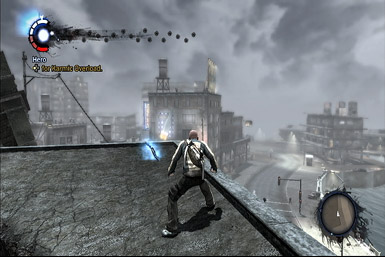
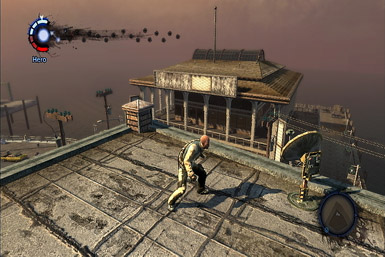
Alright, so there are three batteries scattered about the rooftop, and you'll need to energize all three by zapping electricity at them (Hold L1 to aim, then press R1 to fire). The first can be found just right of the count, along the rooftop's edge. Look for the second on the opposite side, by the fence. The third can be found just on the other side of the fence, along the same edge. With the three batteries energized, try zapping the two mannequins on the left side to appease your friend, then watch as a low-flying plane soars by overhead and wait for your friend to finish talking.

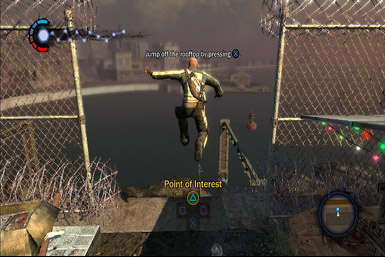
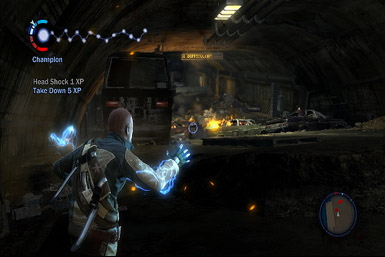
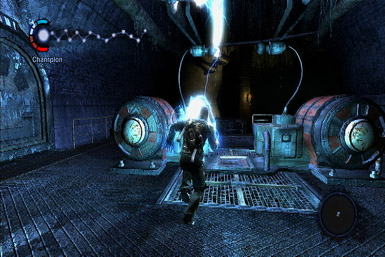
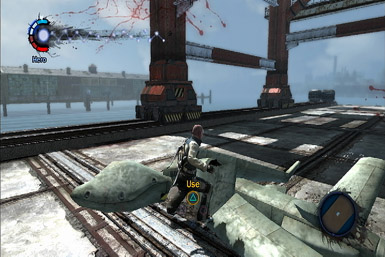
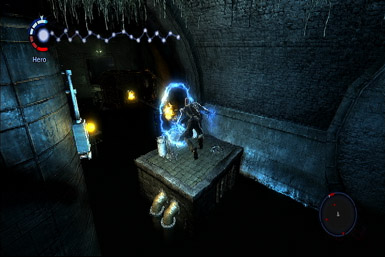
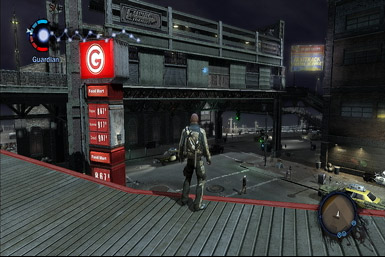
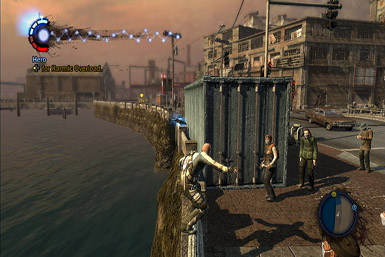
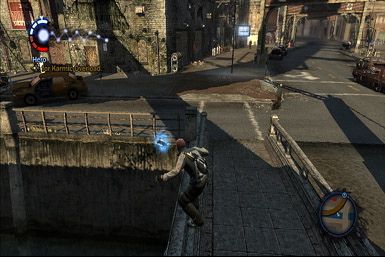
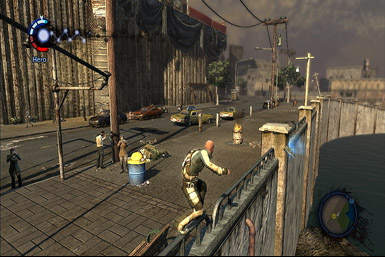
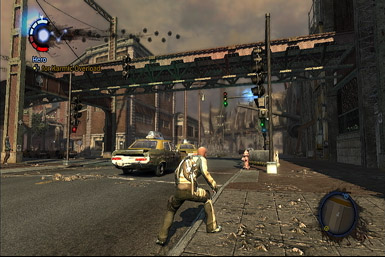
After your buddy's done talking, take a flying leap off the rooftop by leaping off the unfenced in area, by the mannequins, where you'll regroup with your friend. Follow him through town, to some parked cars. Once there, use your shockwave attack (R1 + X) to flip over the far right car, revealing a gun that your friend will grab. Unfortunately, your little outburst left you feeling drained. Thankfully, you can refill your energy (and restore your health) by draining electricity from any nearby electrical devices. Click the left-stick to reveal all nearby sources--you'll notice the generator along the wall shimmer blue, revealing it to be an electrical source. Walk up to it and holy L2 when nearby to suckle its energy, restoring yours.
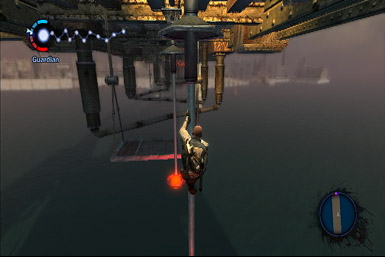
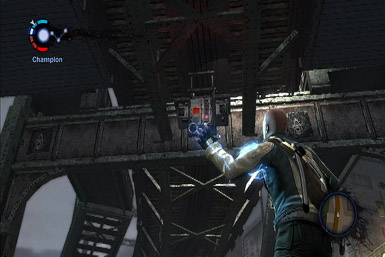
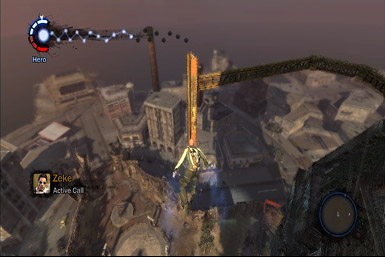
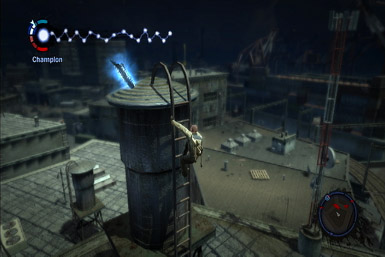
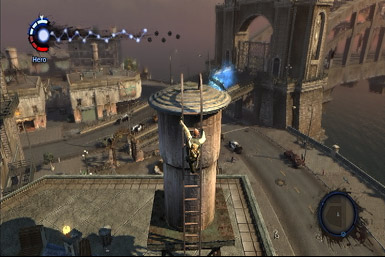
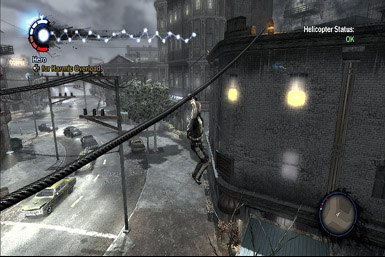
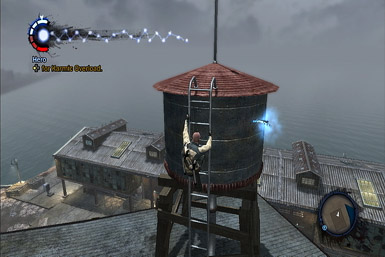
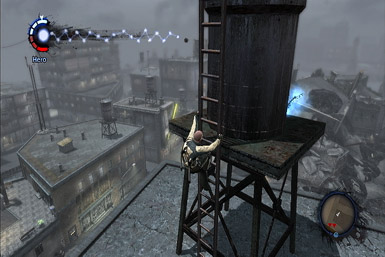
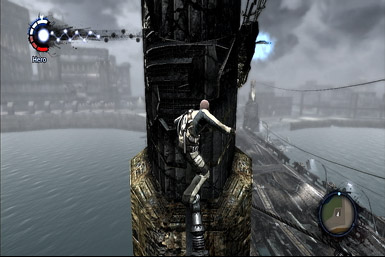
With your energy restored, follow your friend through town to the town center. Once there, you'll have to climb up the tower in order to release the food supplies hung up on the structure. Grab one of the poles ahead and jump from the top to the tower's balcony. Now look for an odd-looking cable in the corner that you can climb to a quasi-walkway--jump the gaps and follow the thin ridge to a suspension cable you can destroy with a blast of electricity, dropping the food supplies to the ground.
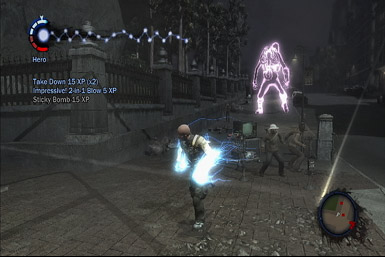
With the food supplies dropped, some enemies will appear below. While the game instructs you to jump to the ground below and take them on from ground-level, it's actually much easier (but slower) to shoot at them from your current position. Simply check over the edges of the platform (don't worry, you can't fall off unless you jump) and look for the enemies directly below. Once you've taken down a few, a small horde will attack from the left (assuming you're facing away from the tower).
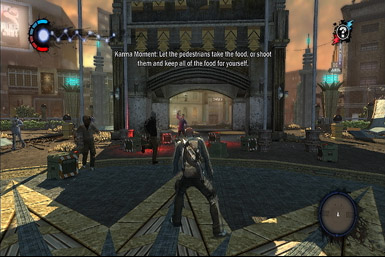
Karma Moment: Let the pedestrians take the food, or shoot them and keep all the food for yourself
With the enemies down, you'll be presented with a choice: Let the pedestrians take the food, or kill a few to scare them away and keep it for yourself. The choice is yours.
With the mission complete, an icon will soon appear on your map showing the location of the next mission.
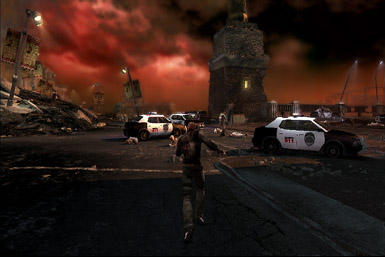
The Escape
Follow your friend to a protest happening just up the street.
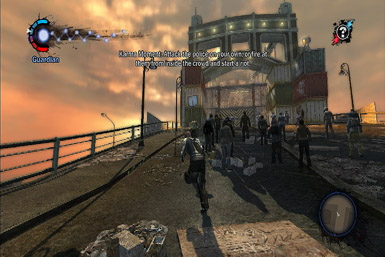
Karma Moment: Attack the police on your own, or fire at them from inside and crowed and start a riot.
Okay, so you have a couple of choices--attack the police from within the crowd to conceal who started the attack, causing an all-out riot, or go after the police directly without involving the crowed.
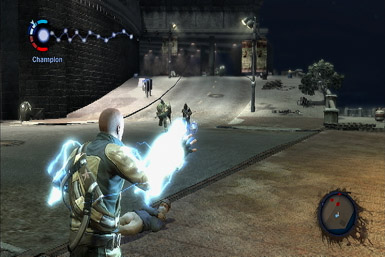
Good Action: Run right up to the police (without attacking) to take the "good action" path. After "Good Action" message appears, the police will attack. Luckily they're slow, and are armed with only clubs, so just back away and unleash a Shock Wave attack, stunning them, allowing you to go in and melee them to death with ease.
Bad Action: Attack the police from within the crowd.
With the cops down, look for a blinking LED just left of the gate--energize it with a few lightning bolts to open the way. Don't head through the gate yet--instead, stick by the wall on the left for cover and peek around the corner to lightning bolt two armed cops inside. Once they're down, you'll find a machine gunner's fire blocking the right path. Avoid that route and climb up the far left box, allowing you to target him from the side. Afterward, drop down and scurry up to the barricade ahead and take cover by pressing "O." Now peek over it by aiming and target a few attacking cops.
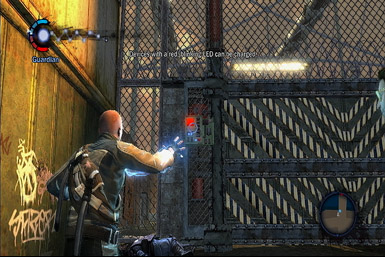
Now the boxes ahead are flanked on either side by machine gunners, so it's best to take the top route--jump on top of the boxes and target the machine gunners from here, including those who replace them (you can also fire a few shots at a generator on the right to detonate it, for an easy kill or two). Once clear, drop down and power-up the gate ahead, like before, and continue onward.
Quickly target an officer on the top-right box, then jump and grab the edge of the box ahead (but don't climb up!). The box will shield you from the enemies ahead, allowing you to target the two top ones while hanging. Afterward, climb up and target the remaining enemies below, including a machine gunner in the far-left corner. Now there's another machine gunner in the far-right corner; climb the pair of blue boxes on the right to target him. Subsequently, drop down and run around the box stack ahead, where you'll spot a flare on the ground. Head right around it to target a machine-gunner on top of the left box from ground-level. With him down, backtrack to the flare and climb up the box on the opposite wall to target a second machine-gunner directly on the opposite side. Once clear, charge up the red light by the gate ahead to complete this portion of the mission.
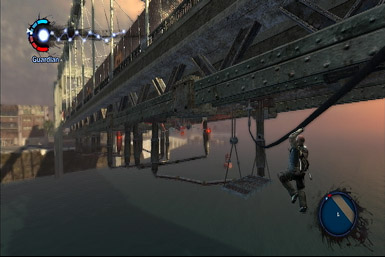
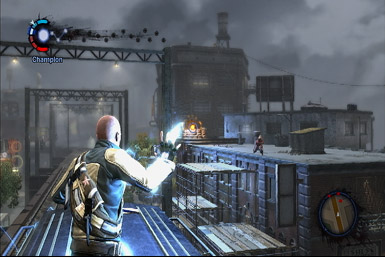
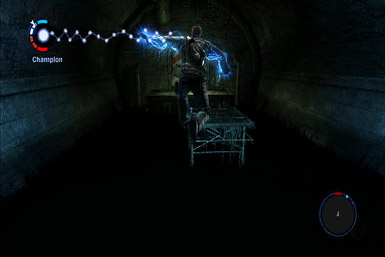
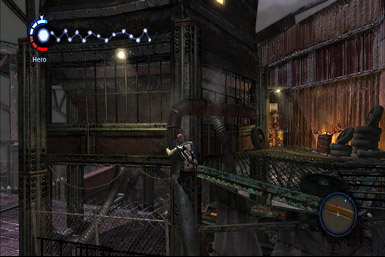
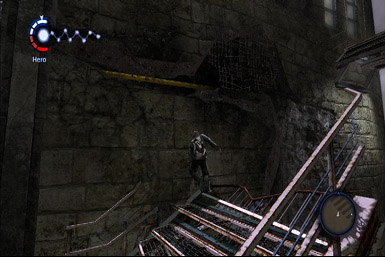
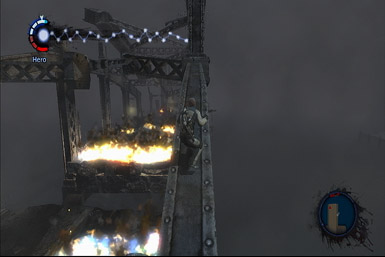
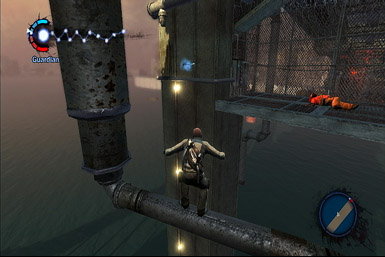
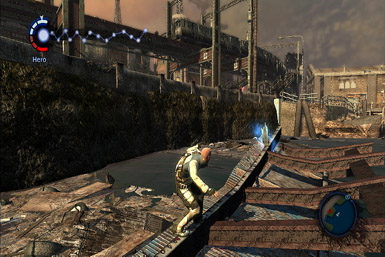
You'll wind up on a steel platform, beneath the bridge. Restore your energy via the panel on the left, then zap a couple of suspended pipes overhead to cause them to hang down, allowing you to use them as poles to cross the gap to the platform ahead. Once there, continue your trek by leaping to the pipes, using them as walkways (the jumps may seem far, but they're surprisingly easy to make). As you close in on the far side, take a moment to blast two enemies waiting for you.
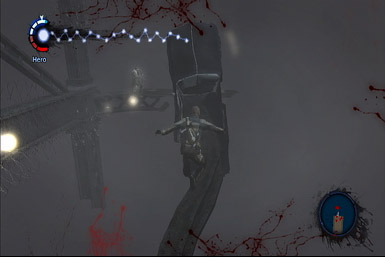
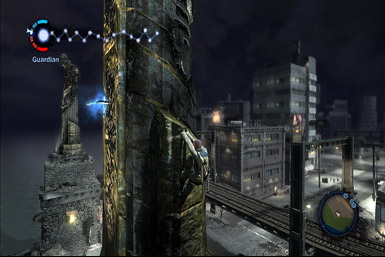
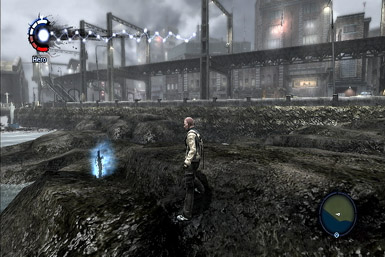
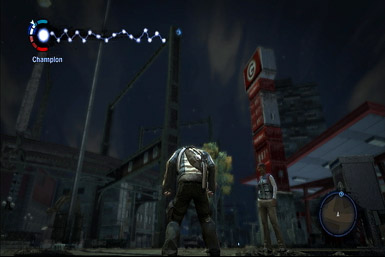
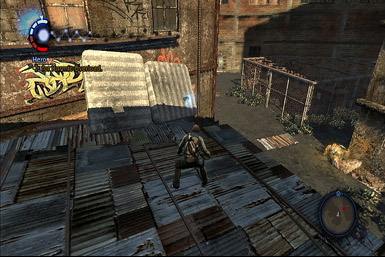
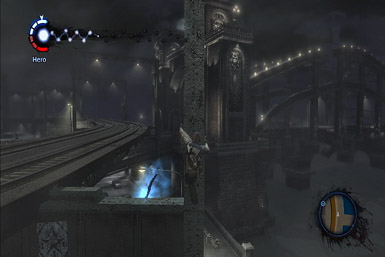
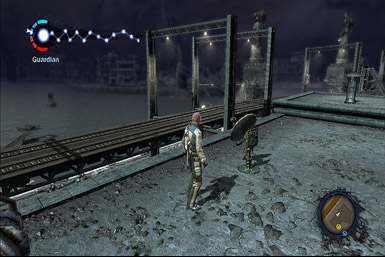
Having crossed to the far side, the game will point out something called a Blast Shard embedded in the nearby wall. Hop onto the pipe and follow it around the wall to collect your first shard.
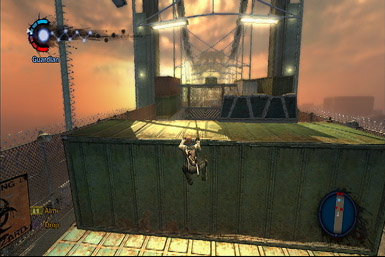
After collecting the Blast Shard, leap to the suspended cable and climb along it down to the platform. Like before, you'll have to cross the span by hopping from pipe to pipe--but move fast, as some of the pipes will collapse upon landing on them! Toward the end, target a couple of foes waiting for you, and zap a couple of pipes overhead to use them as poles to complete your trek. As soon as you touch solid ground, you'll complete the mission.

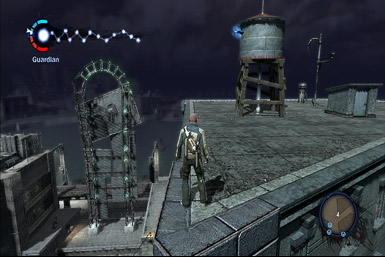
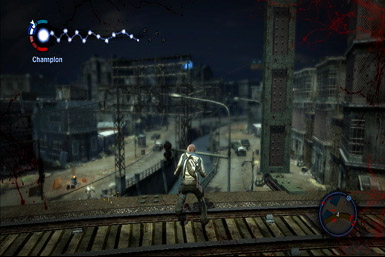
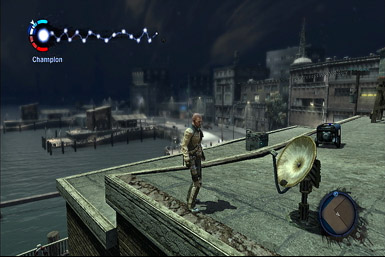
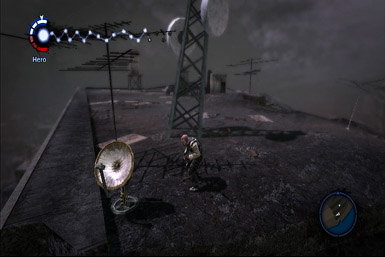
Mysterious Signals
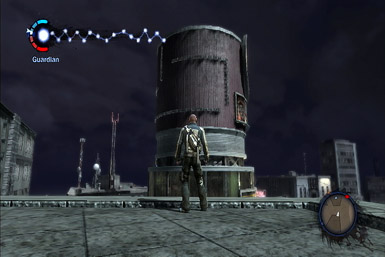
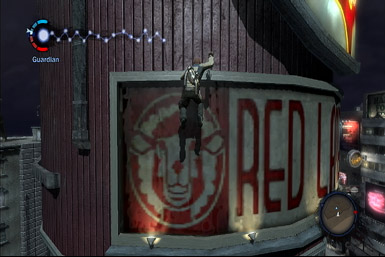
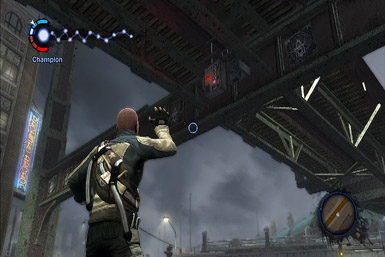
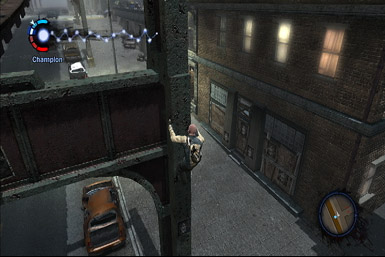
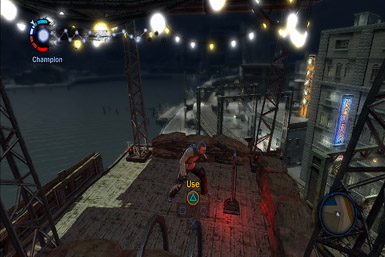
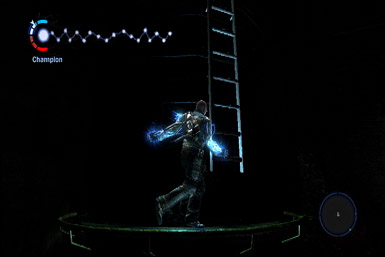
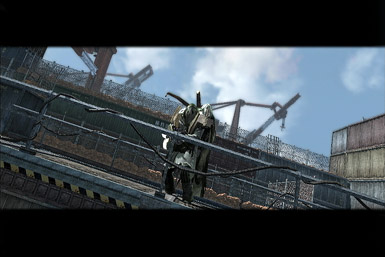
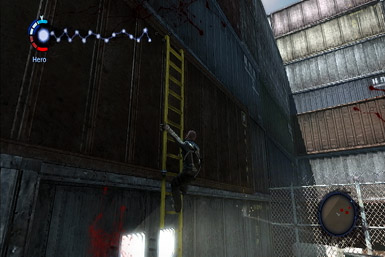
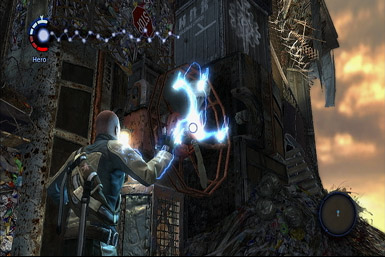
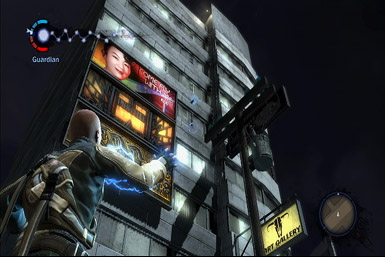
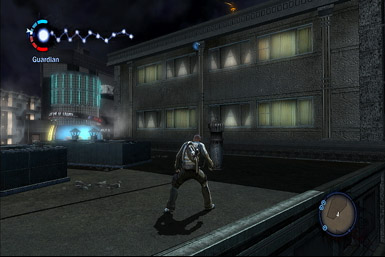
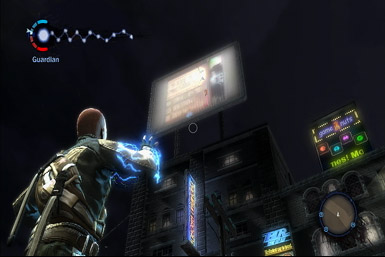
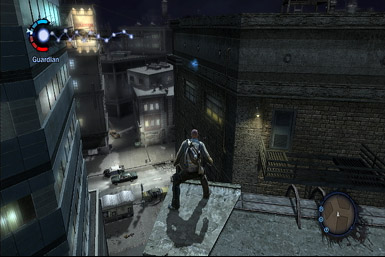
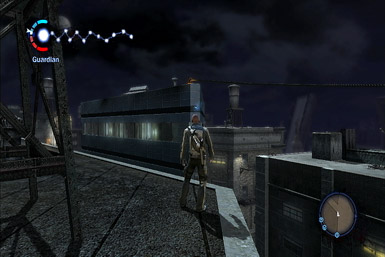
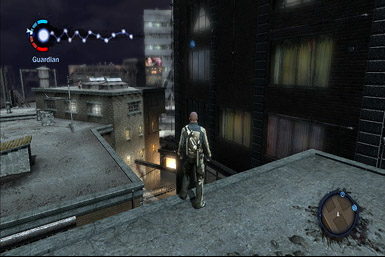
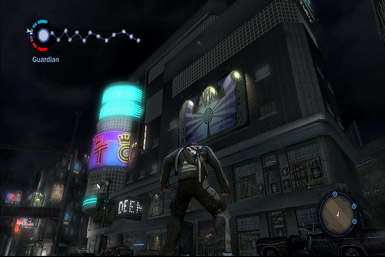
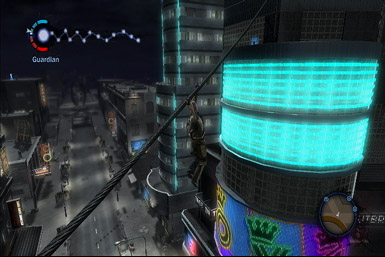
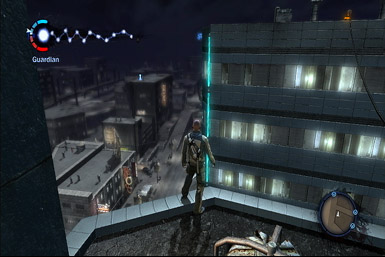
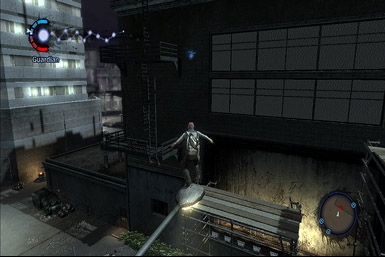
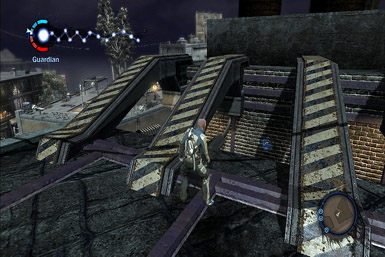
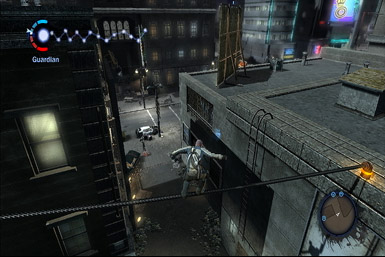
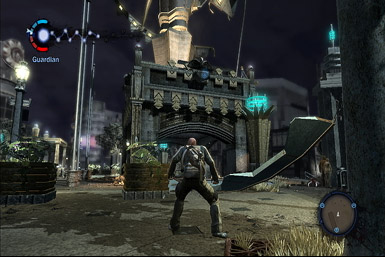
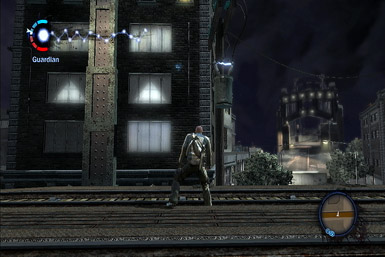
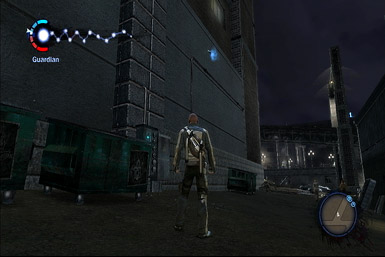
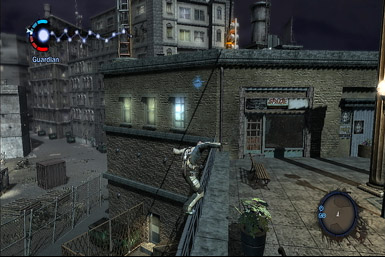
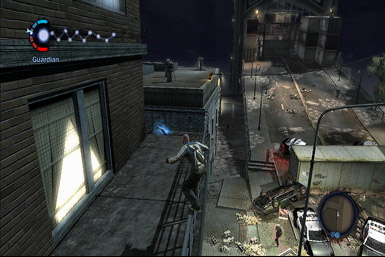
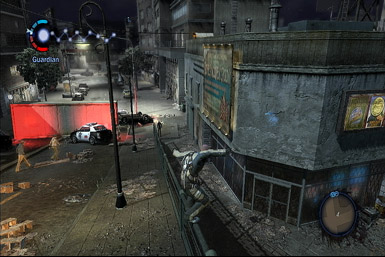
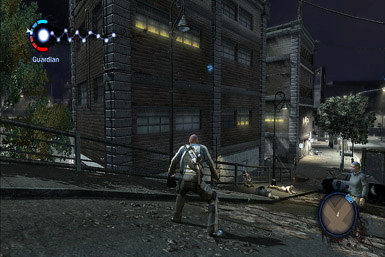
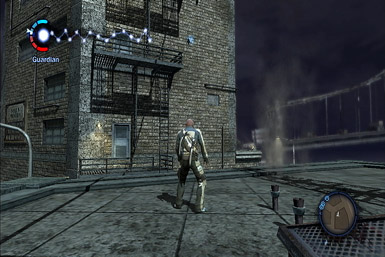
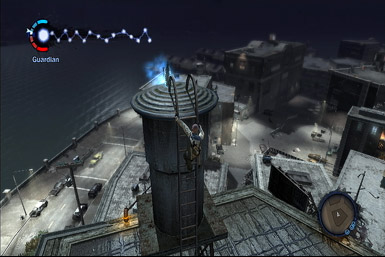
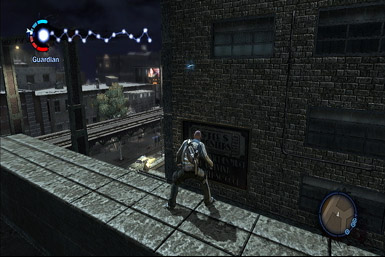
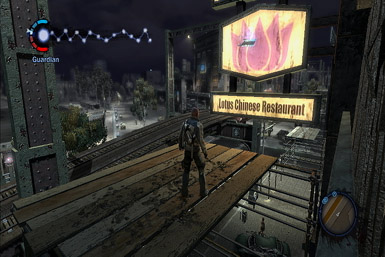
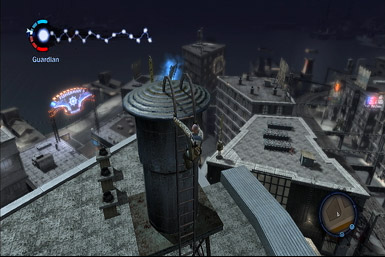
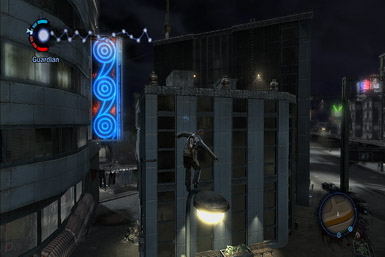
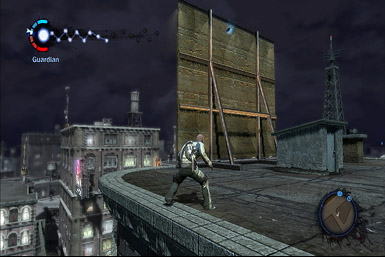
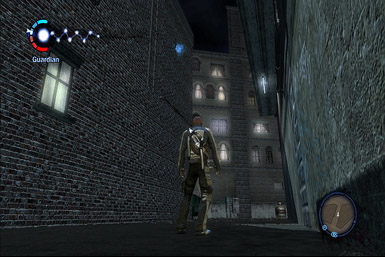
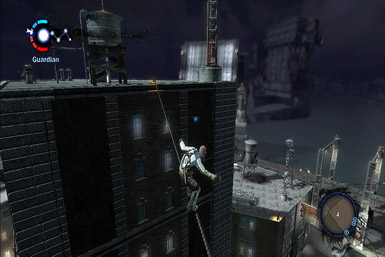
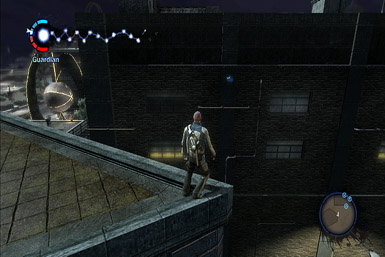
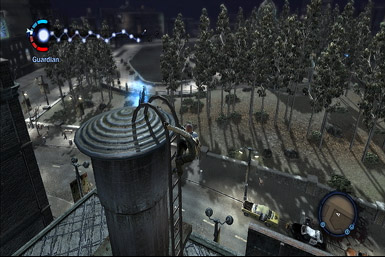
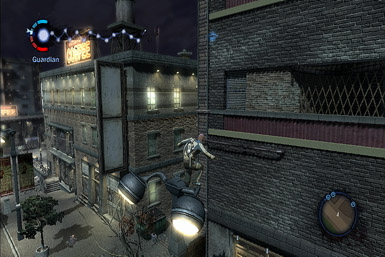
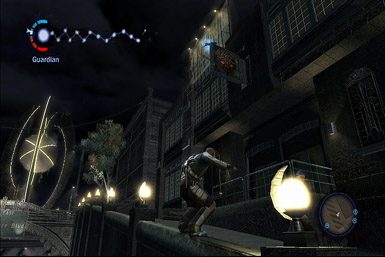
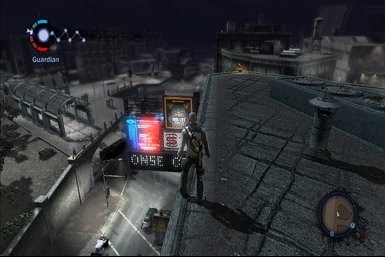
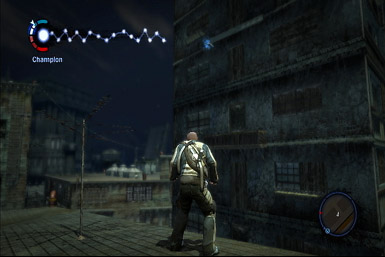
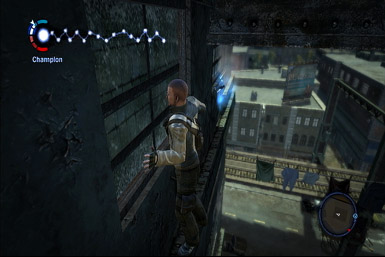
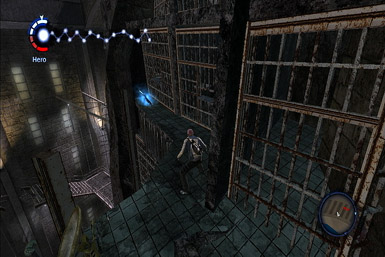
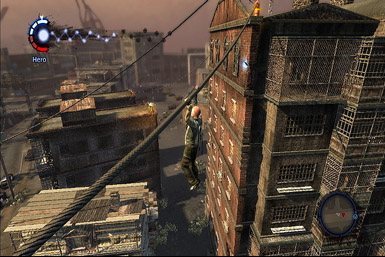
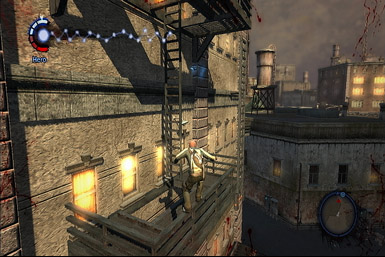
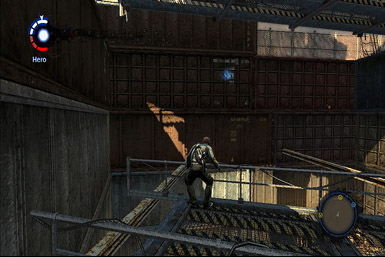
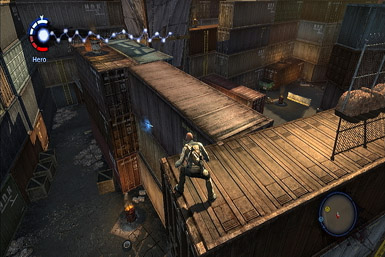
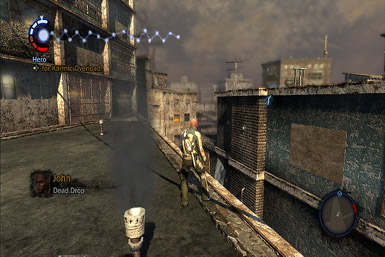
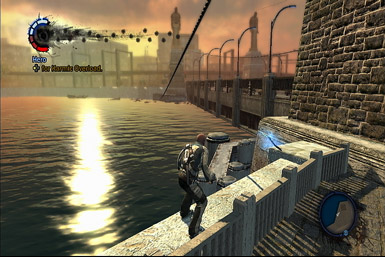
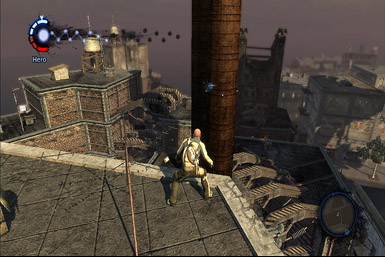
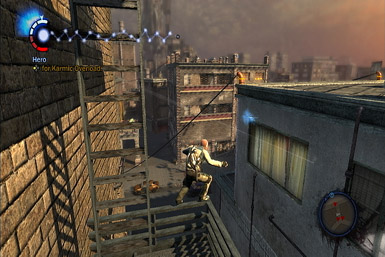
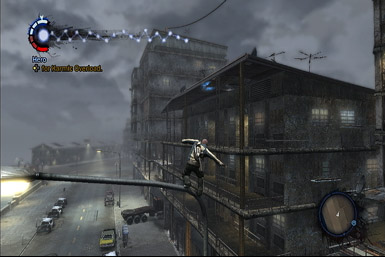
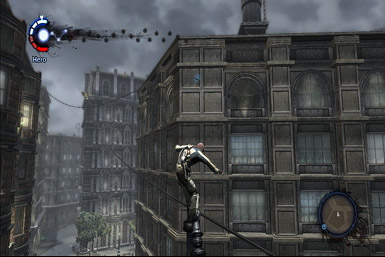
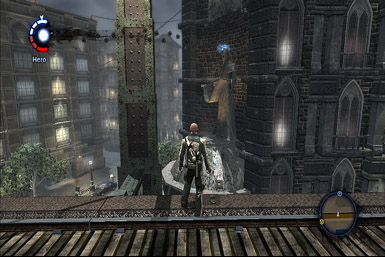
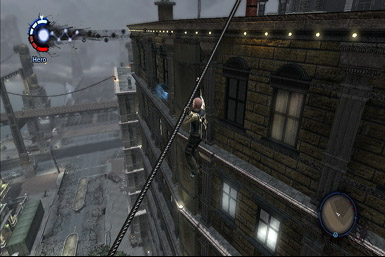
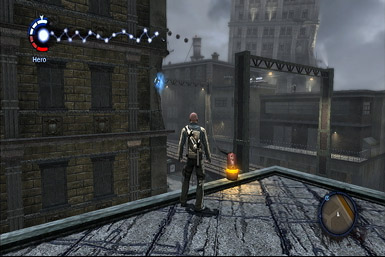
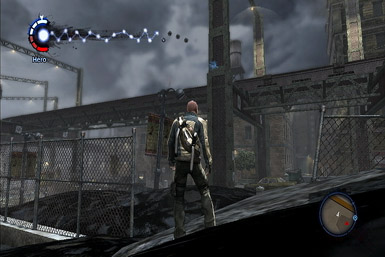
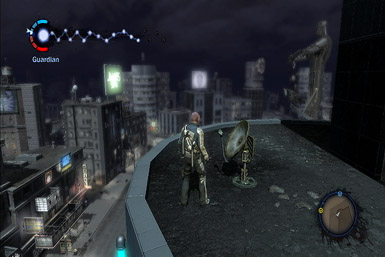
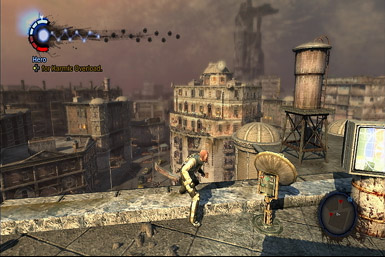
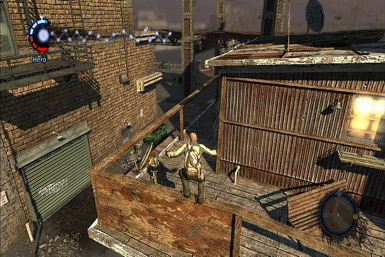
A signal emanating from the nearby rooftop is where you'll have to go first; thankfully, it's super-close! The blue-dot on your radar marks its location, which is just on-top of the red, circular tower just a few meters south. Climb up it by grabbing the ledge, heading right a bit to find a few higher up you can reach, and clamber up using the billboard and pipes.
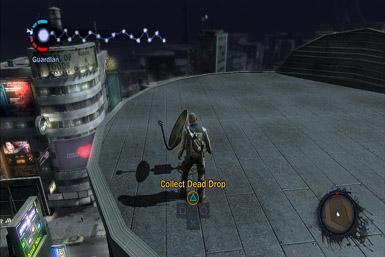
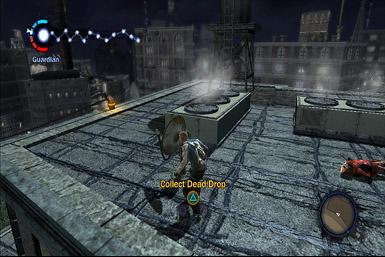
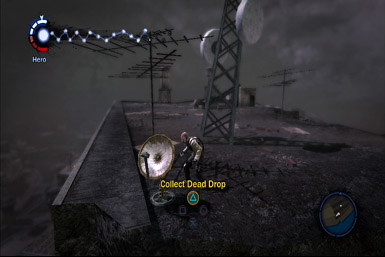
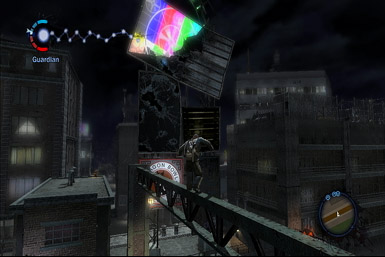
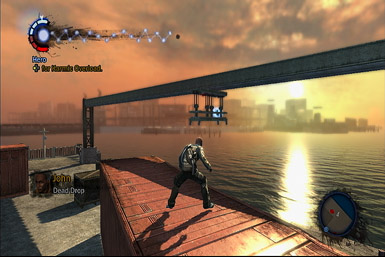
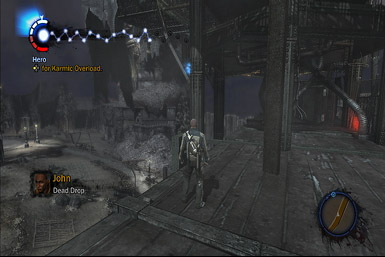
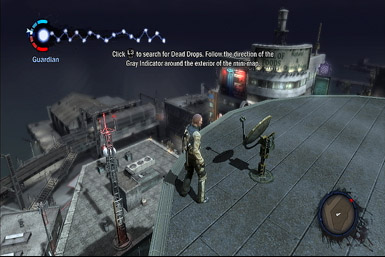
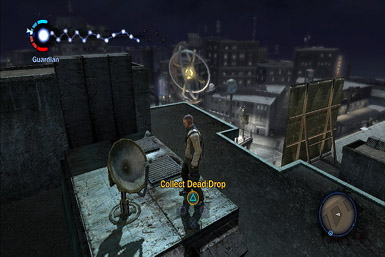
Once on the roof, interact with the Satellite Dish to listen to the signal known as "Dead Drop." Good, one down, two more to go! To find the next signal, click the left-stick--a flashing gray bar will briefly appear on your radar, showing the next Dead Drop location. It's just a few buildings to the south (you'll know your close when the gray bar on the radar moves closer to the center). Collect the Dead Drop from the rooftop.
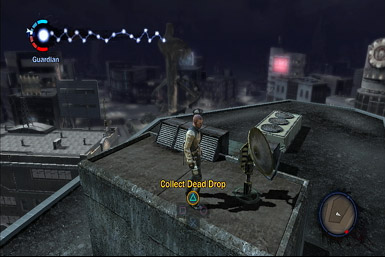
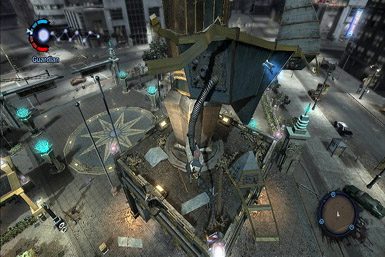
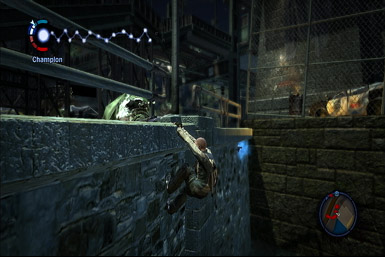
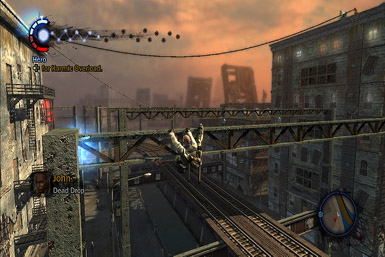
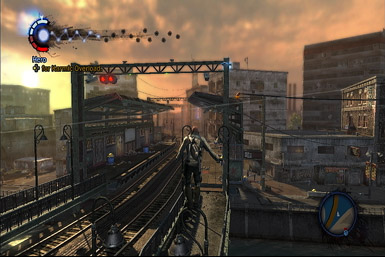
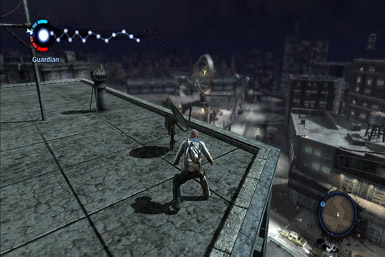
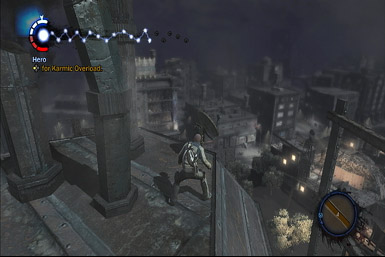
The final Dead Drop is on a building to the east. Use the nearby tightrope cable to cross over, where a cutscene will play showing some Reapers guarding the satellite dish, some of whom are equipped with shields. While you might be able to target a few of the unshielded enemies from here, they'll quickly target you in return. Instead, hop down to the rooftop just below theirs, then clamber up to their level, hanging from the rooftop's ledge (that is, don't climb up--just hang on from the roof's edge). From here, you can target the shielded enemies using the Shockwave to destroy their shields, allowing you to finish them off with Electric Bolts. After clearing the area, grab the final signal from the satellite dish.

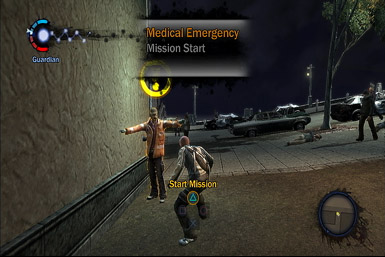
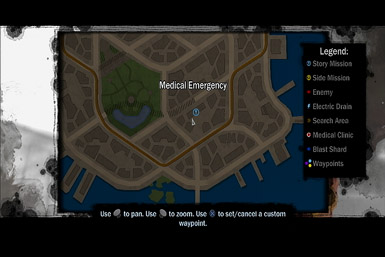
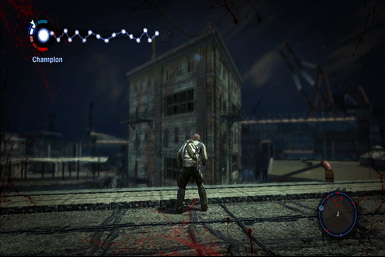
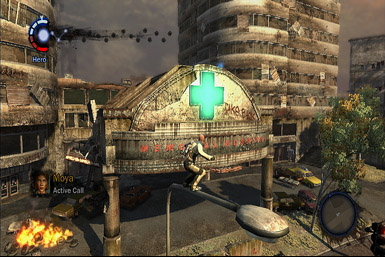
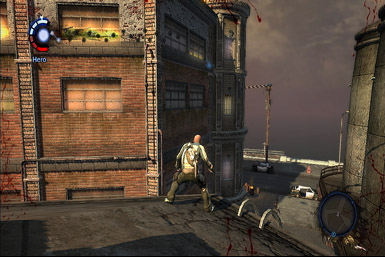
Medical Emergence
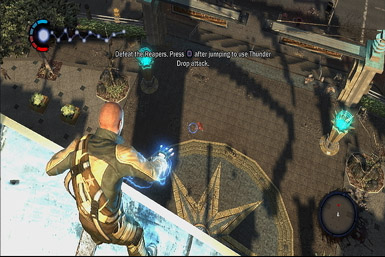
In order to start the mission proper, you'll have to track down the medical worker--look for him in an alley to the southeast, as marked on your map. He'll inform you that the medical station, just up the street, is under attack! As you head toward it, several Reapers will head your way--lightning bolt them as you see them. If you need to take cover, duck into the alcoves on the left. A couple more Reapers are waiting for you on the clinic's rooftop--grab hold of the roof's ledge and blast them while hanging, then climb up to finish the last few who might be otherwise difficult to target. Once the Reapers are down, you'll complete the mission.
Blood Trail
Head to the nearby alley, to the north, to look for Moya's contact . Although you won't find him, you will discover a dead girl on the ground. Investigate her body to see what happened to her.
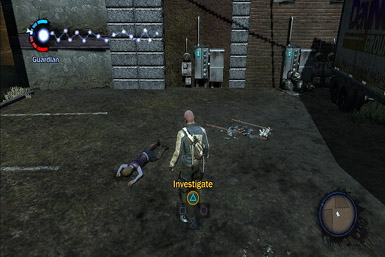
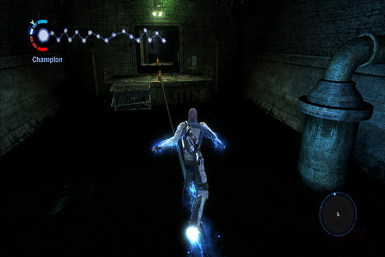
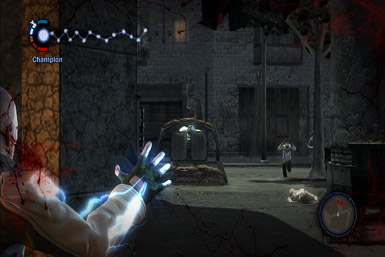
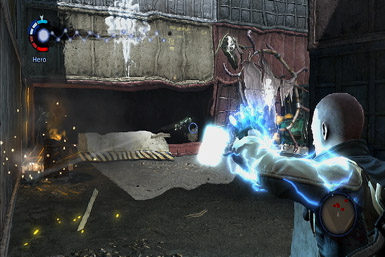
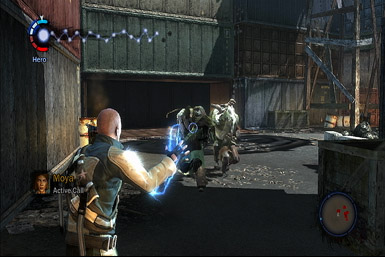
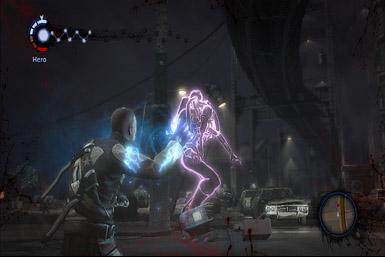
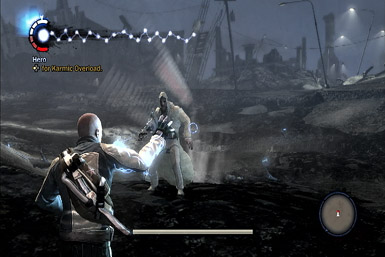
At this point, Cole discovers that he can see "echoes" of what has happened in the past--press L3 to see the echo (which is also displayed on your radar) and follow it through the streets and alleys. Along the way, you'll be stopped by a powerful white Reaper, who launches ground-based electrical attacks--dodge these with a Combat Roll by tapping "O," or take cover in an alcove. After dodging an attack, follow-up with your own--shockwaves are quite effective. Once he's down, resume following the echo, by tapping L3 again. More enemies will soon intervene--target them from the alley for some protection, then chase after the echo again.

That darn echo will lead you to some factory, where more enemies await. Use the generators near the entrance for cover (just be careful not to shoot them, as they will explode) as you target the Reapers on the ground, as well as the walkways ahead. Push forward to the back of the facility and kill the remaining reapers by liberally targetting the nearby generators for a few quick explosions. As you reach the rear, one of those white Reapers will blow the whole place up--the nerve!
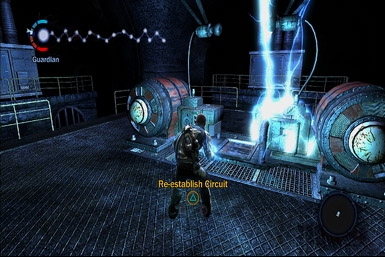
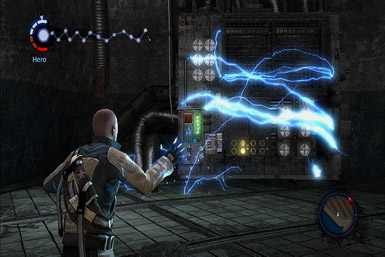
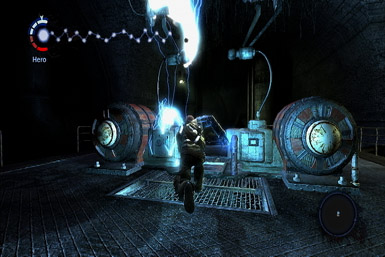
After coming to, Cole will be drained off all his electricity. Don't sweat it--follow the echo again to a manhole just ahead that you can use to drop into the sewers below. Avoid touching the water by using the central pillars as platforms to cross to the other side. Once there, interact with the sparking machine to re-establish the circuit, which will grant you several new powers.
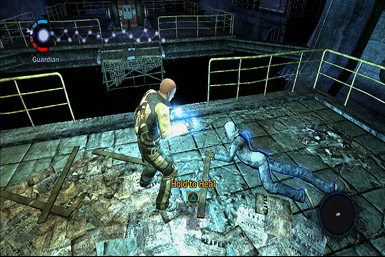
Try it out on the injured person nearby, whom you can jump to. Lock-on to him and press "Triangle" to instantly heal him! You can use this move with any injured citizen you come across as well. To thank you, the citizen will open the gate, allowing you to continue on. Cross the gap to find several injured enemies and citizens, allowing you to try out your new powers. Try healing the injured city folk for some good karma, while using Arc Restraint or Bio Leech on the reapers.
Once done, grab hold of the overhead pipe on the opposite side and follow it to a tunnel opening. You'll soon spot some Reapers just up ahead--try targeting them before jumping to the pillar to kill them before they spot you. Proceed through the sewers until you come across some dude named Brandon who refuses to open the gate.
Karma Moment: Tell Brando his wife is dead, or shoot him
Good Action: Walk up to Brandon and interact with him to reveal the truth of his wife.
Bad Action: Zap Brandon to kill him, thereby also opening the gate.
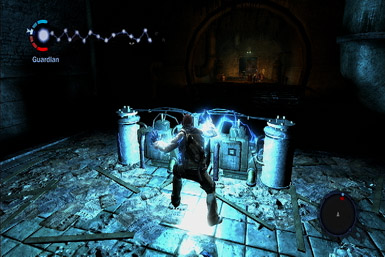
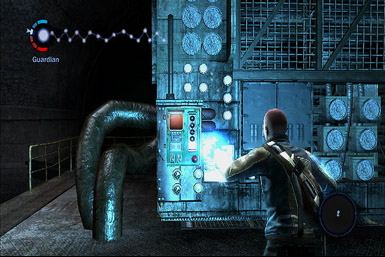
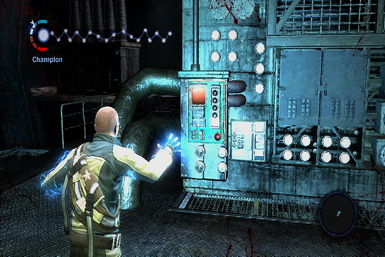
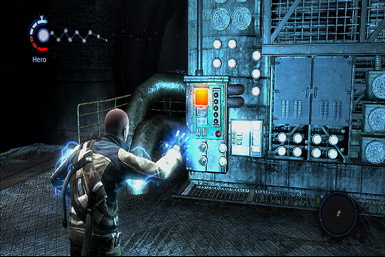
With the gate opened, continue onward to a machine just ahead, which needs to be energized. Shock the panel on the left a few times with your bolts to restore power to the city, completing the mission.
High Ground
An antenna on the nearby building to the west is where you'll have to head next. The easiest way there is to drop onto the cable to your right and follow it up to the roof. Once there, energize the antenna by firing bolts at the panel along its base. However, charging the tower will leave you electrically drained, but luckily there's a generator nearby on the building just to the south, as marked on your map. Follow the cable to it to re-energize yourself. Now head west toward a manhole, as marked on your Map.

As you head toward the manhole, try to stick to the rooftops for the first portion to evade enemy fire. However, as you close in on the train tracks, you'll spot a machine gun aiming for you from the back of a truck, atop the tracks. It's best to avoid it entirely by dropping to the ground a short distance away, and running under the tracks. Once at the manhole, drop underground to the sewers.
You know what to do--work through the sewers up to the electrical generator, which you can interact with to re-establish the circuit. This time, it'll bestow you with the Shock Grenade technique--a handy (but electrically costly!) move that allows you to launch explosive electrical grenades at your enemies. Try it out by lobbing a grenade at the blocked exit, in the back of the room. Just make sure not to stand too close as it goes off, as they can kill you too!
With the way clear, continue onward! The first jump to the support column is tricky, so make sure to leap from the guardrail for some extra distance. Stop when you reach the platform with the small, electrical generator, as there's a trio of enemies just ahead--try lobbing a grenade from here for an easy triple-kill! Continue onward into the next section where you'll soon reach two more small generators, which are flanked by gunners dead-ahead and to either side. Take cover behind the closest machine (which you can also use to regain health and electricity) and lob a grenade in each of the three directions to take them all down, before continuing into the next area.
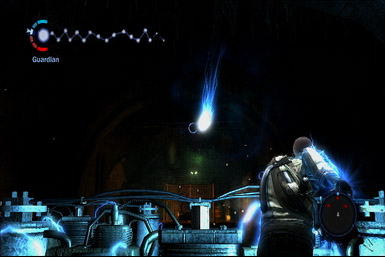
As you follow the walkway, a new enemy will appear: the kamakaze. These guys are armed with explosives and will attempt to take you down by running into you before they detonate. Stop them by zapping them at a distance, killing them (and maybe even other nearby enemies) in the explosion. You'll face one more just before the machine you need to energize, via the panel at its base.
Mind Games
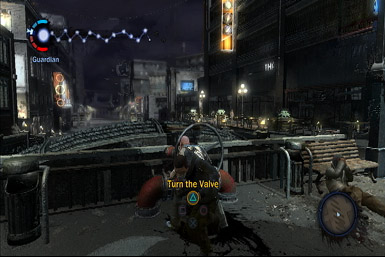
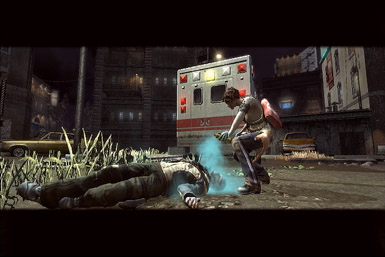
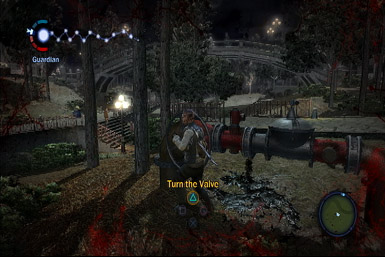
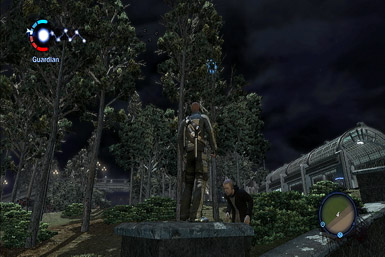
Head to the fountain to the northeast and speak with your girlfriend just behind it to learn a few details. Now turn the nearby valve to stop the sludge from polluting the water further...although Cole will take a healthy blast of it to the face. Thankfully, the girlfriend's willing to help--simply follow her to the ambulance in the alley to get fixed right up. Oh, and ignore the ghostly images that appear along the way, as they won't harm you.
With Cole healed, head west to find two more waterlines, as marked on your map. After turning the first valve, Cole will once again be blinded and helpless--quickly back away and seek cover to avoid incoming Reaper fire. Once the sludge's effects have dissipated, stick to the perimeter of the park and target the reapers from a safe distance (you may want to stay near electrical sources for a quick health refill). With the enemies down, head toward the last valve, where you'll be faced with a choice:
Karma Moment: Close the valve yourself, or hurt the pedestrian until he closes it for you
Good Action: Turn the wheel yourself, like before.
Bad Action: Intimidate the citizen into turning the value for you by roughing him up a bit.
With the valves closed, head southwest to find the source of the polluted water inside a tunnel, as marked on your map. Before entering, take cover by the concrete barrier and target the enemies beyond with either bolts or grenades. Now push forward and use the cars for cover, while you lob grenades at the enemies beyond--don't forget you can blow up the cars for some wide-reaching explosions. If you take damage, suckle energy from those same vehicles for a quick pick-me-up.
As you head deeper into the tunnel, you'll begin seeing visions of enemies--they can very much damage you, but thankfully a single bolt sent their way will make them vanish. Upon reaching the semi-truck parked at the end, fire some bolts or grenades to destroy it, putting a stop to the poisoned water.
The Good Stuff
Yup, back in the sewers! Thankfully, the electrical machine that needs repair is just ahead! This try, it'll grant you the Induction Grind power, allowing you to zip along rails, cables, and train tracks--it's pretty sweet! You got it just in time to, as this whole area requires that power to cross the long gaps. The path is very straight-forward, so you shouldn't need any guidance. Just keep in mind that you should target the enemies as soon as you see them, and if you come across any in the water, a bolt anywhere nearby will electrocute them. Like the times before, energize the machine at the end to restore power to the city, completing the mission.

The Rescue
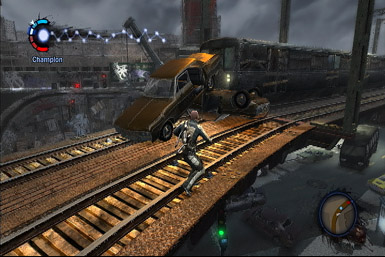
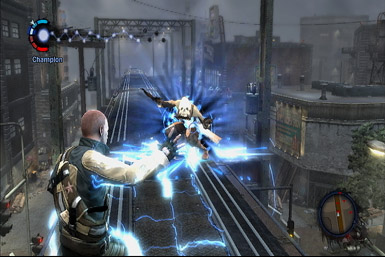
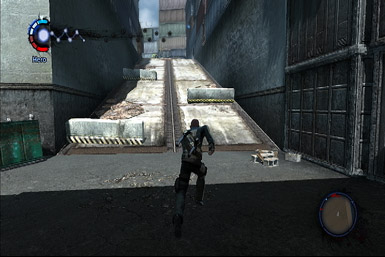
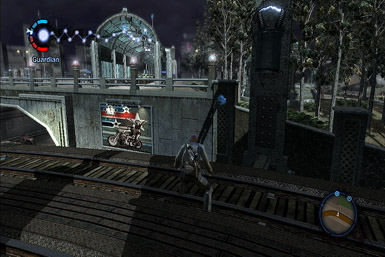
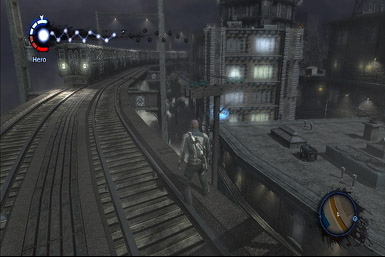
Looks like you need to take the train across town. Hop down to the tracks below and kill a couple of Reapers as you work your way to the front of the train. Use your Shockwave attack to clear the cars blocking the train's path, then climb on top of the front car to get this baby moving. It'll soon come to a stop, thanks to some mischievous Reapers disabling a circuit-box beneath the tracks. Hop off the train and look for it directly underneath the train (that is, on a beam along the ceiling)--fire a few bolts to energize it, then hop back on the train to continue your journey.
The train's about to make another pit stop at the next station--target the Reapers as you pull in, and remain on the train as you target the remainders (look for them both on the tracks, as well as the station's rooftops). With the coast clear, energize the circuit-box directly beneath the first train again.
Soon thereafter, the game will show a rocket-launcher taking aim at you--quickly target him to take him down before he launches the rocket (which you can also evade by moving out of its path). Don't sweat the other nearby enemies, as you'll soon leave them in your dust. When the train comes to a rest for a third time, remain on top and get ready for a white reaper to appear behind you--take him down first. Now focus your efforts on the enemies below, using bolts and grenades to easily take them down. If you take damage, heal yourself at any of the many power lines that border the track. Once clear, hop down and energize the circuit box, just below the front train car again, then hop back aboard to resume the trip.
The next time the train stops, target a pair of enemies on the roofs to the right (an explosive on the lower level can deal some major damage), then one more on the street below. Now here's the tricky bit: a horde of enemies (including some kamikaze!) will appear from the alley left of the train (assuming you're facing the direction the train's facing) as soon as you touch ground, and they can quickly overwhelm you. As such, it's easier to tackle them from atop the train, but you're going to have to coax them out first. Try grabbing onto a nearby power line and climbing it down, close to ground-level--as soon as you see (or hear) the enemies appear, climb back up to the train and target them from here, using bolts or grenades. Once they're dead, drop down and energize the circuit box, just beneath the first car (this time it's on the opposite side of the beam though), then resume your train ride.
Begin targeting the enemies ahead as you pull into the next stop and use grenades to flush out those hiding amongst the cars. Oh, and be prepared for a white Reaper to attack as well. Once you've cleared out the enemies, use the shockwave to clear the cars from the tracks, then energize the circuit box in the usual place and continue your ride. Thankfully, this is pretty much the end of the line; just be ready to tackle a couple more enemies on the roofs: two on the right (both are near explosives you can target) and one on the left.
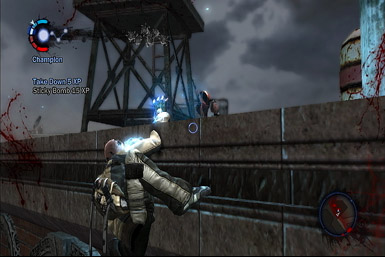
Nemesis Revealed
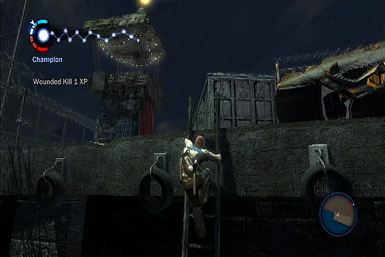
It seems the Reapers are polluting the water via kegs attached to the water towers, and it's up to you to destroy them. The first water tower is on a nearby building, as marked on your radar. Now there are several Reapers guarding it, so climb up to the rooftop's edge and hang from it, lobbing grenades at the poor fools. You can also climb up and use the small shack for cover, if you wish. Once clear, you need to get right next to the pump in order to deactivate it, so climb the ladder to the top of the water tower.
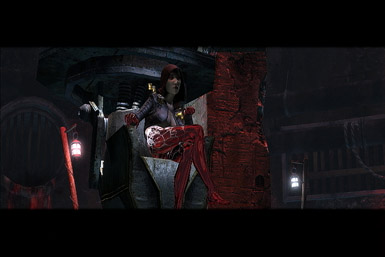
Karma Moment: Force the tar keg's pump to implode by overcharging it, or destroy the tar keg with Shockwave.
Good Action: Use a Shockwave to blow the keg clean off the water tower, resulting in you being sprayed with goop for a few seconds.
Bad Action: Energize the keg using electric bolts. This won't get goop all over you, but it will backfire, releasing even more poison in the water!
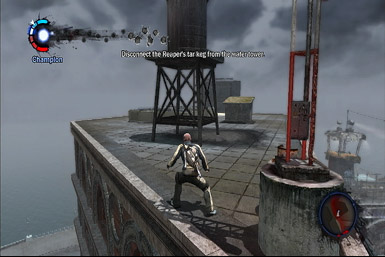
With the first keg done, head for the next water tower, on the building just west. There you'll have to make the same choice: Energize (bad) or Shockwave (good). Now the enemies will begin shooting you from a rooftop to the east, which is where the next keg is. Use the chimneys for cover as you target them, then climb up and deactivate the keg in whichever manner you prefer.
The next keg is on a roof to the southwest. This one can be difficult to approach via the rooftops, as you're vulnerable to enemy fire. So drop to street-level instead and approach the building from the base, then climb up to the roof's lip and lob grenades at them while hanging. Once clear, do your keg thing. The final keg is located to the southeast--use the same tactics as before: hang from the roof's ledge, kill the attackers, disengage the keg.
No Protection
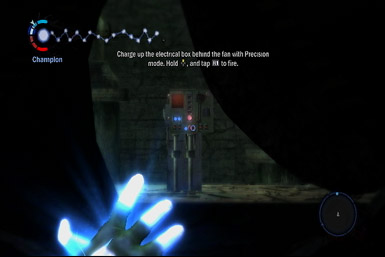
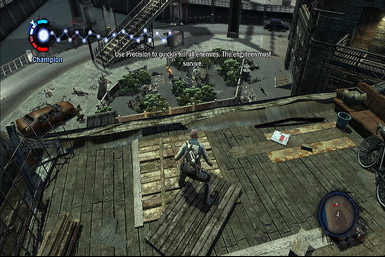
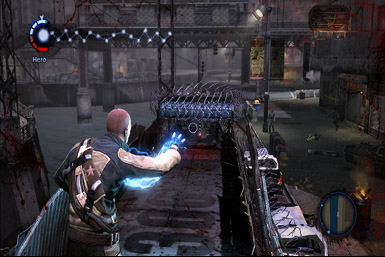
Work through the sewer up to an electrical box you can energize with a few bolts, causing some piece of machinery to swing to and fro. Leap to it from the small, broken piece of walkway and continue onward to the generator ahead, which will grant a new power: Precision Mode. With it, you can hold "up" on the control pad to slow-down time and zoom in, allowing you to fire bolts with much greater accuracy. Try it out on the electrical box behind the spinning fan--with the blades slowed, fire a few bolts to energize it. Thing will cause another mechanical arm to swing around--leap to it from the pipes as it swing by and continue deeper into the sewer.
When you reach the next generator, take cover behind it, as you'll draw fire from several enemies. Use precision (while behind cover) to target their noggins from behind their shields/gunning positions! Once they're down, proceed down the path behind you to the next electrical box, where you'll have to tackle a few more enemies using precision. Afterward, use precision once again to target an electrical box behind a fan to the lower-right--once charged, another mechanical arm will swing close--it may look for, but you can reach it with a jump! From there, leap to the small platform and target another electrical box below using precision to get a second arm moving. Leap to it it stops close, then continue through the sewer to a generator at the end that needs energizing.
Trish Reaches Out
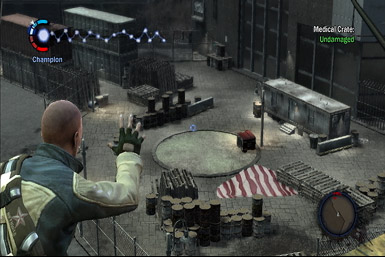
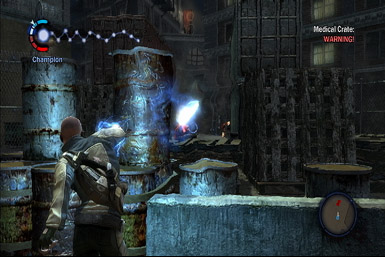
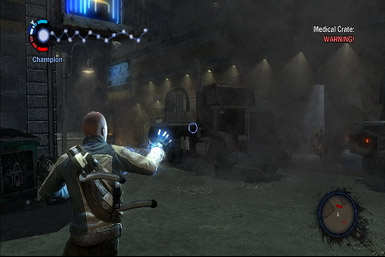
A supple crate has been dropped nearby, but it's already under attack from those darn Reapers. The status of the supply crate is displayed in the top-right corner: If it reaches the "warning" level, you're in trouble.
The easiest way to deal with the Reapers it to drop to ground-level and stay near the crate at all times. Keep a close eye on your radar at all times to spot where they're coming from, then unleash a torrent of bolts in their direction as soon as you spot them. Make sure to target the kamikaze once first, as they'll inflict the most damage. You should also lob grenades whenever they bunch together--just keep them away from their that crate! Since the Reapers come in waves, you'll have some downtime after each batch, allowing you to replenish your electricity at any of the nearby power sources--remember, click L3 to discover nearby electrical sources.
After the initial wave of Reapers are down, a couple will attempt to snipe you from the rooftops. As soon as the cutscene displays the sniping reaper ends, enter Precision Mode and take him down! Now prepare for more ground-based enemies, and watch for another sniper who may show up soon.
Shortly after Zeke calls you, a trio of semi-trucks will roll in, one after another, each with a machine-gunner mounted on the back. Peep your radar the moment you hear a truck's horn to identify what direction its coming from. Now the gunner's not playing around, and can take you down within seconds. As such, it's crucial you seek cover from his fire (such as by the buildings that line the alley its coming down), then focus on lighting the truck up using electric bolts or grenades, causing it to explode, taking the gunner down with it. Be ready for two more trucks soon after, and take them down in the same way. If you're having trouble destroying the trucks, try waiting for the gunner to turn his attention to the box, allowing you to precision snipe him dead.
Dinner with Sasha
Drop to the street below and open the locked gate by energizing the panel to its left. Prepare to take down an exploding Reaper as soon as you open it, though. Continue up the path to the ladder--target a couple of Reapers above before climbing up.
After climbing the ladder, immediately seek cover behind the shipping container to the right, as a pair of machine-gunners and snipers in the towers can quickly take you down. Thankfully, this shipping crate offers decent protection, while allowing you to target the enemies. First up: The snipers. Because they're higher up than the machine-gunners, back away from the box just enough so you can see the towers, but not the machine gunners. Quickly use Precision Mode to target both snipers. Once they're dealt with, re-energize yourself at one of the nearby electrical sources (such as the box behind you), then peek around the box to take down the two machine-gunners--aim for their heads.
With the enemies down, climb up a ramp just right of where the machine-gunners were and climb the ladder up to the first tower. Now drop down to the path leading up to the second tower, where you'll find a lever you can pull, which opens the way into a tunnel below. Drop down and kill the enemies that escaped before entering.
Work your way through the tunnel, using the vehicles for cover (the bus is ideal). Grenades should be your go-to move here, as not only do they have a wide blast-radius, but also can destroy the nearby cars, resulting in a massive wave of death that your enemies can't avoid. A short ways into the tunnel, you'll come across a machine-gunner--use precision to target his noggin before moving on.
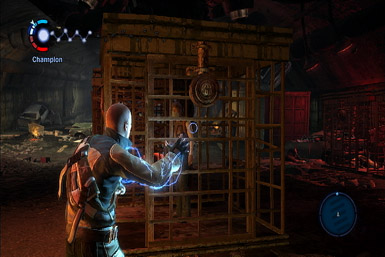
Kick open the closed gate and free the prisoners within (by zapping the locks) for some easy experience points. Now continue onward to a pit you can drop down, leading into the boss's lair.
As soon as you enter the boss's lair, she'll grab you! But don't worry, as this is really just practice for a mechanic you'll have to repeat a few more times. Anyway, now that you're in her grasp, the game will instruct you to point the control stick toward the on-screen circle, and hammer on the "X" button--doing so will cause Cole to rip something from her body, causing damage. If nothing seems to be happening, that means you're not pushing the stick in the right direction.
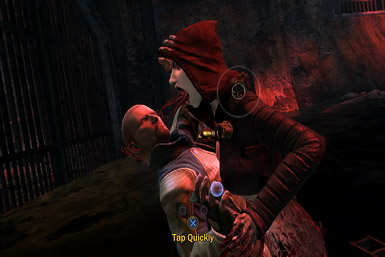
Okay, now you've pushed the boss off you, it's time to fight her proper. Thankfully, the battle's pretty basic: Avoid landing in the sludge by hopping from island to island and Lightning Bolt the boss whenever she appears in the middle--after enough zaps, she'll fall to the ground with a bubble of energy surrounding her. This is your chance! Just run up to her to engage her in the same mini-game thing when she first grabbed you, allowing you to rip something from her body. Repeat this a few more times and she'll be done for.
Of course, there is a little bit more to the battle. The boss will often be joined by ghostly-reapers, but a single lightning bolt will make them vanish. As such, target them first, then hone in on the boss herself. Oh, the boss will also sometimes launch a fireball attack at you--a simple jump just before it connects is all it takes to evade it.
Stranded
Yup, another sewer. Work your way through to the usual machine, which will grant you the awesome Static Thrusters power. This super-cool move allows you to glide through the air after jumping by holding R1--and it uses no electricity! Try it out by hopping ontsquirrelo the pipes ahead, and gliding to the platforms on the left. Just be sure to lob a grenade at the blocked exit before floating over, so you avoid the explosion.
With the door cleared, numerous enemies will open fire. Pick them up with your Bolts (or Precision), and electrocute the fools in the water. When clear, work your way through the sewer, using your new power to cross the gaps, including a long chasm coming up. After crossing a couple of swinging mechanical arms, you'll land on a central pillar with seemingly nowhere to go--try climbing up the ladder on its back side, then gliding to a second pillar nearby. You'll soon reach another machine that requires energizing via the panel on its bottom-left side--fire a few bolts at it to complete the mission.
An Old Friend
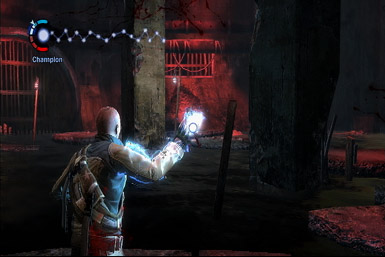
A worker down below has been taken hostage by two-armed guards. To free him, you're going to have to kill both enemies, one right after the other--if either guide notices they're being attacked, they'll kill the hostage. As such, Precision Mode is key. Wait for both guards to get close to each other, then enter Precision Mode and target one, then the other (try to use headshots, if you can). Make sure the first guard is dead before targeting the second; it takes about two shots each, and you can confirm their deaths by ensuring their marker disappears from the radar.
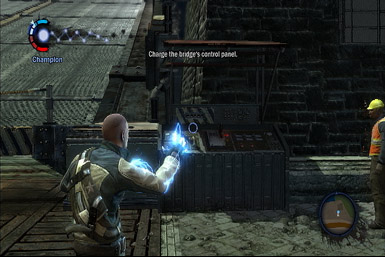
Once they're dead, hop down and talk to the freed hostage. Now take him to the raised bridge to the southeast, as marked on your radar (he should follow you without issue, though we did experience a glitch where he simply ran off, forcing us to restart the mission). Once at the bridge, you'll have to defend him from the attacking reapers while he attempts to lower it. The first group with attack from the right, while the second from the left. Try to stay near an electrical source for a quick recharge and open fire with some Lightning Bolts as soon as you spot them--save your grenades for when they bunch together or get close, then do the same for the second wave who'll attack soon after from the opposite side. The nearby cars can also be detonated for some easy kills, but be careful you don't hurt any citizens (unless that's what you're into...sicko).
With the enemies down, the engineer will finally lower the bridge...partly. It seems a part has malfunctioned, and you'll need to get a hold of a second engineer back on the first island in order to fix it! Cross over the bridge and head toward the park, as marked on your radar, to find him. Like before, he's being guarded by two Reapers, and they'll kill him if they begin taking fire. As such, use Precision from a distance to pick them off. With the hostage freed, lead him back to the bridge, where he'll work on repairing the second control panel. Of course, he'll be attacked by more Reapers--first from the right, then from the left. Like last time, stay near an electrical source and pick them off from a distance with bolts first, switching to grenades if they bunch together or get close.
Soon after, you'll be summoned back to the other side of the bridge, as the other engineer is coming under attack. Look for some enemies hanging out on a billboard directly opposite the bridge, then check your radar to find those on street level. You'll be bounced back and forth a couple more times, but thankfully, the same techniques work each time. Once you've finally killed the last enemy, you'll have to energize a panel on either side of the bridge to finally lower the darn thing, thereby completing your mission.
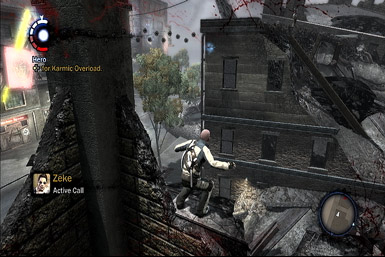
Zeke's Request
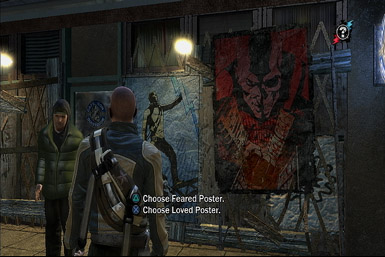
Examine the nearby dead body to spot an echo--chase after it! As you do, you'll meet up with some dude who's made a couple of posters of you, and wants your opinion on which to post around the city.
Karma Moment: Good poster or bad poster?
Good Action: Choose the "Loved" poster to be viewed in a good light.
Bad Action: Select the "Feared" poster if you want people to be afraid of you.
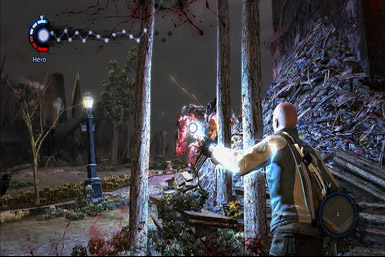
After selecting a poster, continue to chase after the echo down an alley where you'll be introduced to a new crab-like enemy. Try bolting them from a distance, forcing the survivors to scatter. But keep an eye on your radar as they'll try to attack from different directions. Afterward, you'll encounter some more enemies, including a machine-gunner, around a corner just ahead. Stay close to the building for cover, but peek out just far enough to pick off the gunner with Precision.
Once clear, continue to follow the echo, battling the few enemies along the way. Eventually, it'll lead you to the killer himself, in the flesh. He has two main attacks: rockets and launching crabs. Keep your distance and fire bolts and lob grenades, while stepping side to side to avoid his rockets. As for the grabs: ignore them, as he'll just create more.
Playing Hero
Back to the sewers to learn a new power! This time, it's the Megawatt Hammer ability, which is essentially a rocket. Try it out on the enemies in the tunnels ahead to see just how effective it really is. Of course, this awesome power comes at a cost, so make sure to recharge yourself whenever you come across an electrical source in the tunnel. That aside, as long as you take down the enemies as you see them, and use the pillars for cover when able, you shouldn't have any trouble reaching the machinery at the end, which needs some energizing.
Standard Protocol
There are three ships docked around the island, all of which you'll have to prevent from leaving by destroying their engines. All three are marked on your map, and the first one is close by, docked just to the South. However, the alley that leads to it is heavily guarded, including a pair of machine gunners on ground-level, and some enemies on the roof. As such, avoid the machine gun's line-of-sight by using the building for cover, and focus on taking down the enemies roaming about first. Once clear, peek around the corner just enough to use Precision Mode to pick off both gunners, then focus on the rooftop-based foes. When you reach the boat, free the captives by shooting the locks on the gate, then look for the engine in a box to the rear--fire a few bolts to put it out of commission. With the first boat down, head for the second, to the west.
As you approach the pier leading to the second boat, use Precision Mode to pick off the enemies on the rooftop, then take down the few remaining ground-based enemies. Once past, the ship itself should be unguarded, so hop aboard, free the captives, and disable the engine in the back before heading for the third ship, to the northeast.
The third ship's a ways off, so it's fastest to grind the train tracks, due east. In fact, the train rtacks are crucial to our strategy for tackling that third ship, as it provides a continuous supply of energy. As you close in on the dock, come to a stop (but remain on the tracks) and use Precision Mode to pick off the distant enemies, including a pair of gunners on top of a building on the dock. There's quite a few enemies on the nearby rooftops as well, so look for them too. Now Precision Mode eats through your electricity fast, but you can get a quick recharge instantly by simply grinding the train track for a moment or two, which also restores your health. With the enemy clear, head to the boat--you know what to do.
Wait! It seems that's not the last boat, as one more remains to the southwest. It's best to combat the enemies there from street-level using Precision, as far away as you can. The constant supply of cars should provide you with an unlimited amount of energy, so recharge often to keep your health up. Once clear, do your thing on the final boat to complete the mission.
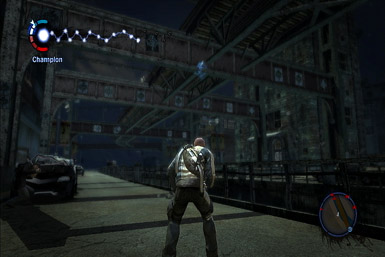
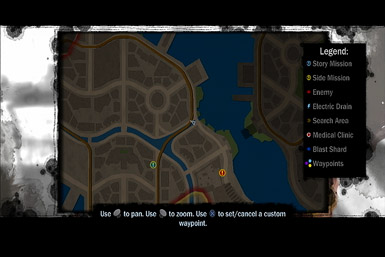
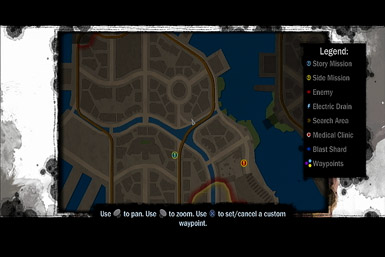
Spy Drones
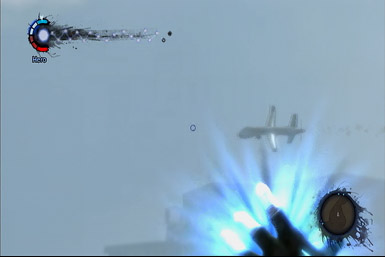
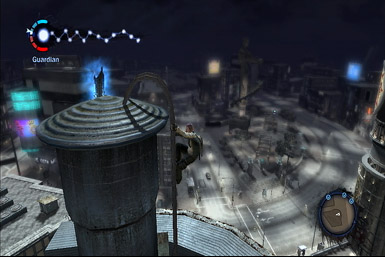
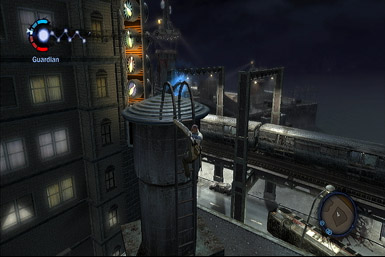
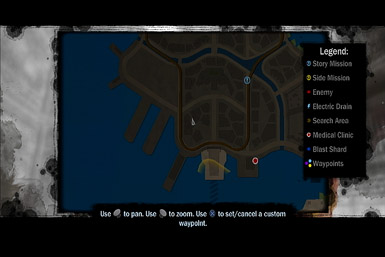
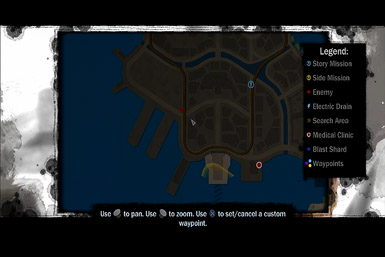
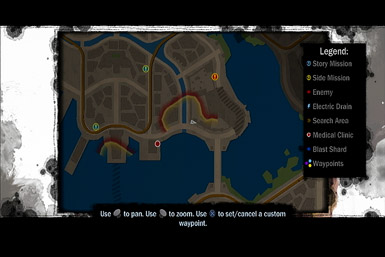
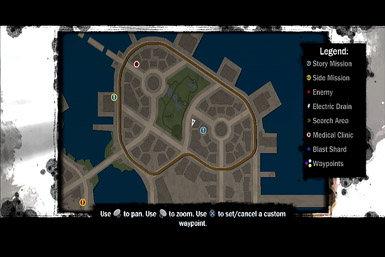
Look for the UAV's wreckage on the nearby dock and interact with it to send the information it contains to Moya. Turns out there's four more roaming around, and you're going to have to shoot them all down in order to retrieve the information they contain! Although they roam all over the island, you can target all four easily from any of the rooftop's near the city's center. Once there, use your radar to help locate the UAVs and use Precision Mode to zoom in and fire a few shots their way, taking them down. Once you see an explosion, you know you've inflicted enough damage. And helpfully, the UAVs have a tendency to crash nearby, allowing you to easily retrieve the information they contain (the wreckage is also marked on your radar).
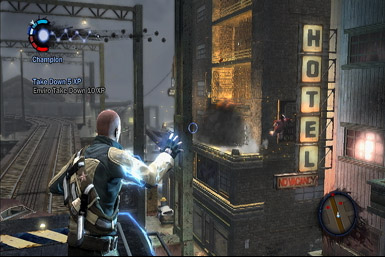
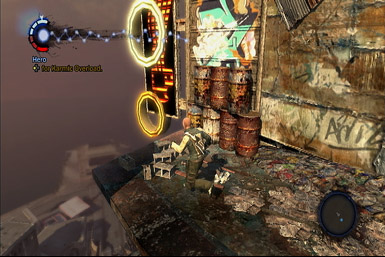
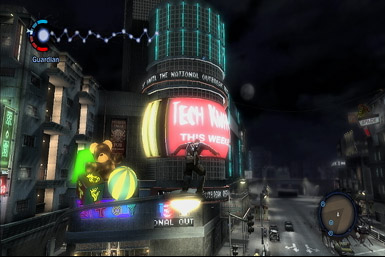
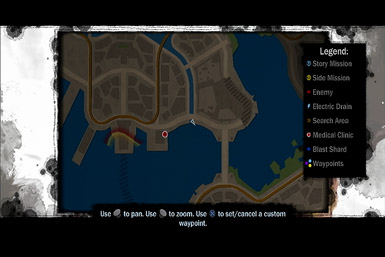
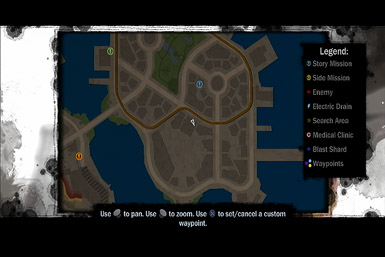
Once you've destroyed all four, you'll have to use a satellite uplink on the marked rooftop in order to send the information to Moya. Of course, the rooftop is heavily guarded, both up high and down low. The easiest way to get there is to clamber up onto a nearby rooftop, use a small structure for cover, and target the enemies using Precision from there. We found the rooftop marked on the map in the picture below worked well for us, but surely others nearby should be fine too. Don't bother targeting the enemies on ground-level from here, just those directly on the roof and nearby balconies. You'll know it's safe to cross over to that rooftop once you've stopped drawing fire--interact with the satellite there to complete the mission.
Alden Strikes
Zeke's been taken captive; what good is he good for again? Anyway, you can enter the facility where he's being held through a nearby opening, on street-level. Just ahead are seveal enemie--take cover behind the barrier and use the Megawatt Hammer to take them down easily.
Just around the corner is a ladder, but it's blocked by some poisonous gas. Turning the valve along the right wall will cause the gas to emit higher up, but it still prevents you from climbing the ladder. Instead, turn a second valve just ahead to turn the gas off completely--but only for a couple of seconds! Quickly climb the ladder before the before the gas turns back on and leap to a cable on the right, and follow it to the other side, allowing you to hop over the gate.
As you continue forward, the game will show a rocket-launcher on a high ledge ahead--immediately use Precision to pick him off, they get out of the rockets way. Around the corner, you'll find several more enemies--Megawatt Hammer 'em. Just beyond them though await several more, including a machiner-guuner. Use the shipping crate for cover and peek around the corner to precision snipe him--a lamp to the left can restore your electricity afterward.
Soon after, your path will be blocked by a slamming gate, which also prevents you from attacking the enemies on the other side. No sweat--just climb the ladder on the left and hover over the gate. Use the alcove for cover as you tackle the enemies beyond, before hiking up the ramp on the far side.
As you continue through the opening between the boxes, another gate will slam in front of you. Oh well, take the high road instead! Just back out and jump on top, and take down the enemies by peering over the ledge before hopping down.
After hopping down, use the corner for cover and pick off the enemies ahead. Push forward to a ladder and leap from the top to glide over the left wall. Now just around the next corner is a machine-gunner behind a gate, meaning you can't shoot him. Even worse, his gun fire is guarding a ladder just around that corner. As such, you need to run to that ladder and climb it as fast as you can, to minimize the amount of damage you take, then jump off and glide to the roof above him.
Drop off the other side, take down the gunner below, and climb the nearby ladder. Pick off the nearby enemies, then climb up the box to the left for a good vantage point of the remaining foes, including a gunner on the right. Once clear, drop down and climb the lowest ladder to the top, then glide to a second one on the left, allowing you to reach the boxes above, where you'll spot Zeke hanging out in a distant cage.
So here's the deal: If you fall or get blown off the boxes, they'll shoot Zeke and you'll lose the mission, so you have to be careful as you maneuver about. Start off by heading left and jump the gaps to get closer to Zeke. You'll soon spot numerous enemies in the distance--we found it best to just run up to them and tackle them from close-range, usually when a few melee attacks or a Shockwave. If you need to take cover, try pressing up against one of the boxes and wait for your health to restore itself. Once clear, look for a pair of ladders you can climb near Zeke's cage, leading up to a control panel which will lower his cage to the ground. Hop down to him to complete the mission.
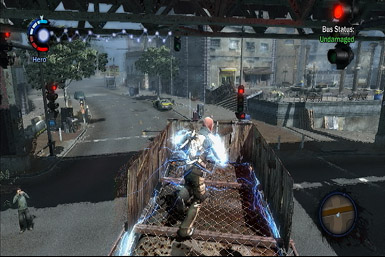
Anything for Trish
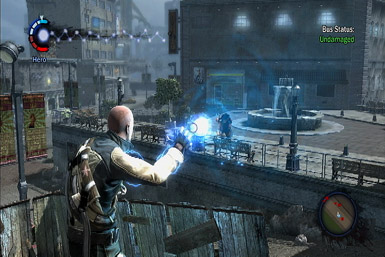
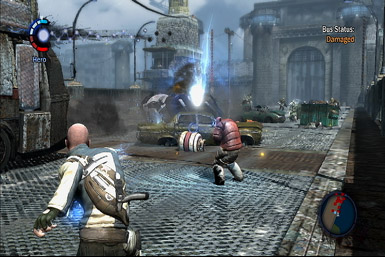
Alright, Trish needs to take the bus to the hospital, and it's up to you to protect it. Hop on top to get that baby moving--keep in mind that it only moves while you're on it, stopping whenever you get off. This is actually very helpful, as the enemies mostly target you, instead of the bus directly. As such, it's best to jump off the bus the moment you spot an enemy (to stop the bus from moving further) and tackle them from ground-level, using Bolts, Shockwaves, and Megawatt Hammers. However, you also want to stay somewhat close to the bus, as it provides a convenient source of unlimited electricity, allowing you to refresh yourself whenever necessary. Now the enemies that launch rockets and grenades post the biggest danger, so it's important that when you engage them, you do so at an angle where their projectiles will not connect with the bus, so keep this in mind. Also, make use of the numerous cars scattered around to cause massive chain-explosions.
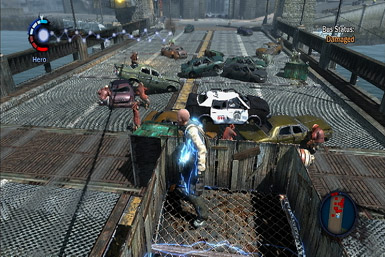
When you close-in on the bridge, stop attacking the enemies, as they'll also stop attacking you. Wait for them to group together by the cars in the center of the bridge, then launch a few Megawatt Hammers to take them down quickly. From here, you're just a few short streets away from the hospital.
Upon reaching the hospital, your girl will be taken to the roof as a hostage, and is guarded by a small army of Reapers. The best way to tackle them is to fight them all from a distance, from the very street you're on now. There are tons of electrical sources nearby, providing more energy than you'll need. As such, use your radar to pinpoint the enemy locations and use Precision Mode to pick them off. Once things have quieted down, climb up the hospital's right side to the roof and kill the dude holding Trish hostage to complete the misison.
The Arrest
Look for a corpse to the northeast, as marked on your radar, and follow its echo through town. You'll soon come across some poor sap strung from a lamppost.
Karma Moment: Free the man by shooting him down, or do nothing and walk away.
Good Action: Fire a bolt at the rope to free him.
Bad Action: Walk away and you're done.
Now follow the echo to some rundown complex, riddled with enemies. Stay near the entrance at first and take down the enemies visible within, before working your way through the complex, using the corners and objects for cover. There will be a couple times when the echo leads you to a seemingly dead-end, but rest assured, there's a pipe nearby you can climb to continue your journey.
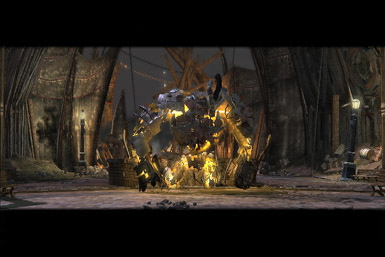
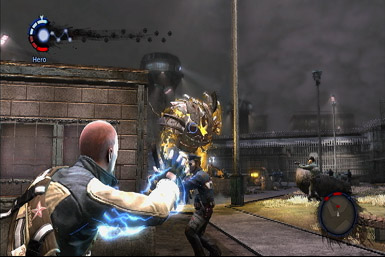
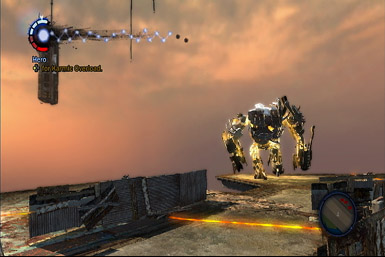
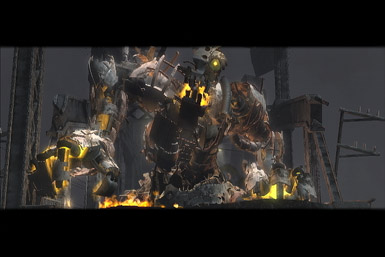
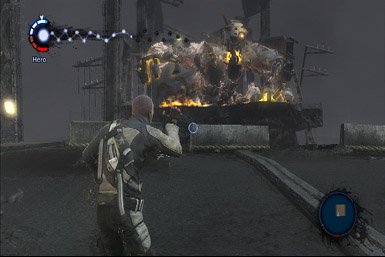
Before long, you'll come face-to-face with a huge metallic creature, known as a Conduit. Armed with machines guns and rockets, he's a formidable foe. The easiest way to deal with him is to back down the hill you just came from and take cover behind a pile of trash and some trees on the right (assuming you're facing the monster), which should protect you from his attacks. We suggest switching to your left-hand for aiming (by clicking R-3), and fire an endless torrent of Bolts and Megawatt Hammers--he should go down in no time.
Terrorized Streets
There are four buses roaming around the city mowing down poor citizens with their array of machine guns. So of course, it's up to you to put them out of commission. To do so, you'll have to get on top of each bus and overcharge its engine by firing a few bolts its way (fire them into the compartment on the back of the roof). Of course, trying to approach them from ground-level is a suicide mission, so take to the rooftops and glide down to them--use your radar to help track them down and intercept them! You shouldn't face too much resistance on the roofs, and the few enemies you do see can be easily ignore (or dealt with via a quick shockwave). Just make sure you're high enough to avoid drawing the bus's gunfire.
After landing on a bus, fire some bolts into the compartment toward the rear to destroy it. Then do the same for the remaining three buses. There's not much more to it than that.
Alden in Chains
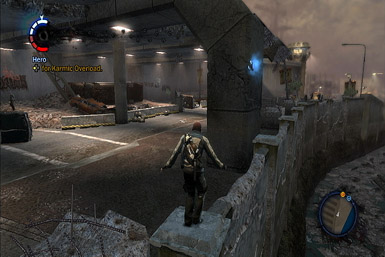
Head through the prison entrance and scale the left wall into the prison yard. Walk up to the chain-link fence, as marked on your radar, to meet with Zeke, who'll inform you of an electrified walkway just above. Climb up to it via the pole and get ready to defend them from some inbound mortars by deflecting them with your Shockwave. Because the electrified walkway keeps you juiced, its easiest to simply keep launching shockwave after shockwave while strafing left and right as the mortars are inbound (if there's a lull, return to the center of the walkway so you're ready for the next one).
Once you've deflected the mortars, the enemies will blow two holes in the wall ahead. Continue to exploit your unlimited electricity by using Precision Mode constantly to easily pick off most of the attackers--remember to keep an eye on both holes. After a while, the enemies will eventually destroy the walkway, forcing you to the ground. Soon after, another large Conduit will appear--it's best to seek cover behind the building left of the walkway and fire Megawatt Hammers and Bolts at it.
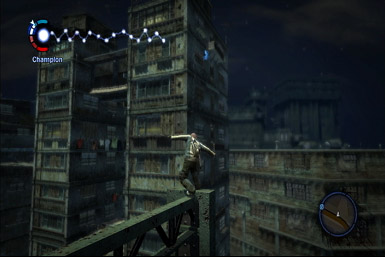
With the conduit taken care of, you'll have to scale the prison up to a control panel, as marked on your radar. Look for a pipe near the marker to begin your ascent. Battle the enemies at the top, then look for the partially destroyed stairwell. It's too far to make a straight-jump to the walkway above, but try performing a few wall-jumps off the nearby wall to clear the gap. From here, you'll have to cross over several beams, girders, and collapsing walkways, but it's nothing you can't handle--there's also a ton of Blast Shards along the way.
Upon reaching the rooftop, drop off the side closest to the blue marker on your radar to find a control panel just below--fire a few bolts at it to energize it. At this point, Zeke will inform you that they're under attack in the courtyard and needs your help. Climb back up to the roof, via the pipe to the right, and begin dropping level-to-level, down to the courtyard.
Once in the courtyard, step onto the electrified platform, as marked on your radar, and use Precision Mode in conjunction with your radar to pick off the enemies attacking from dead-ahead. Remember, you have unlimited electricity as long as that platform stays intact. Soon after, two more Conduits will appear--hold your ground for as long as you can (until they destroy the platform) and blast them with Bolts and Megawatt Hammers. If they destroy your platform, look for another to the left and do the same thing there. If you wind up taking heavy fire, take a moment to absorb some electricity by holding L2 for a health boost. Now if they destroy the second electrified platform, circle the base of any of the nearby guard towers for cover as you blast the Conduits.

Light in the Tunnel
Work your way through the tunnel to the generator, which will bestow you with the a new ability: Polarity Wall. This move puts up a force-field in front of you (as long as you're not moving) that guards against enemy attacks, and even better, it uses no electricity! You got the power just in time too, as it's practically required to make it through the rest of the sewer.
Work your way up to the next electrical generator and use it for cover as you kill the enemies beyond. However, a gunner in a cage to the right can't be touched from the front--as such, clear out the rest of the room, then dart ahead with your shield out and get behind him for the kill.
Continue your journey using your shield for protection and using the generators for cover whenever you come across a machine gunner. Remember: take down the nearby foes first, before trying to kill the gunner from behind. Like usual, energize the machine at the end to complete the mission.
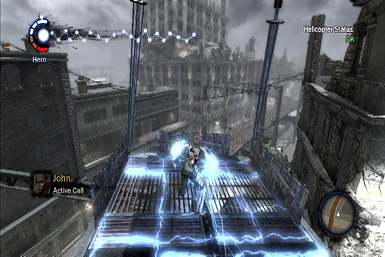
Secrets Revealed
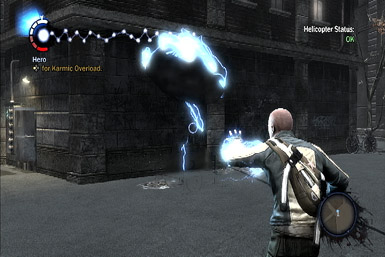
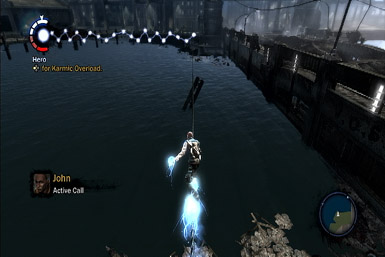
Follow that chopper! If you fall too far behind, you'll fail the mission. Although Cole's pretty quick on his feet, even he's not fast enough to keep up with the chopper from ground-level, so take to the rooftops instead and ride the cables around town, keeping the chopper in your vision (use your radar if you lose sight of it). The chopper will eventually settle down on the northern tip of the island, but it will take an awfully convoluted path to get there, meaning you won't be able to try and beat it there (otherwise you'll fail the mission, for being too far away from the chopper).
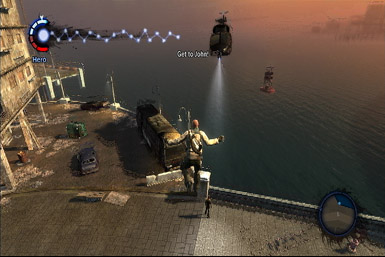
Once the chopper reaches its destination, hurry over to it meet John before he's captured. Once there, a Conduit will appear and blow the chopper out of the sky, leaving you with a choice:
Karma Moment: Shoot the floating gas tank or don't.
Good Action: Don't shoot the gas tank and let it hit you. Although it will likely kill you, you'll restart at that exact same point, no worse for the wear.
Bad Action: Shoot the gas tank, destroying the Conduit's arm, but also killing the injured citizens nearby.
Either way, you still have a Conduit to take down! Stay back a little ways and strafe left and right to evade his attacks, using shockwaves to deflect his ball flames. Launch a barrage of Megawatt Hammers at him, using the nearby vehicles to restore your electricity. If you run low, Lightning Bolts will work in a pinch.
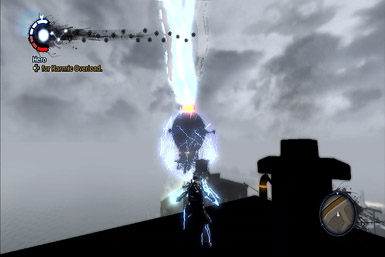
The Ray Sphere
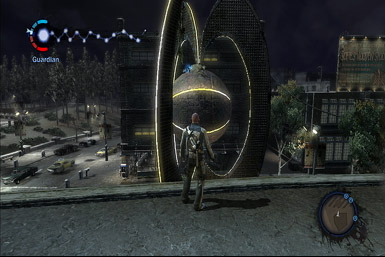
The Race Sphere's at the top of the tower, and you're going to have to climb up to it. Along the way, you'll have to help Zeke up too, by energizing four elevators along the way. Start off by clambering up the pipes ahead to the ledge above. Now fire a few Bolts at the propeller thing to the right to raise the first elevator with Zeke.
With the lift raised, follow the walkway up to the next elevator. Scale the center of the wall (starting just below the "Club Bar" neon sign") by leaping from the objects jutting from the wall, such as various signs. Once you've gone as high as you can, glide over to the suspended bus, then to a nearby girder. From here, take a flying leap toward the distant orange girder--you should just make it. Now glide over to the tall neon sign (with the three circles), then glide to a second yellow girder ahead, and leap from its top to the platform, where you'll find a second propeller you can energize, bringing Zeke to your level.
Follow the walkway around the corner, and scale the tall wall by using the signs, girders, and whatever else you can grab hold of. When you reach the yellow girder, climb to its highest point, then take a flying leap toward another far off in the distance, to the left. Now glide to another further ahead, then leap from the center of that one toward another (leap from the point closest to it). Continue to hop from one to the next until you reach another wall that can be climbed via various signs and poles.
Once at the top, energize the third elevator to reunite with Zeke, then climb up the sign around the corner (with the three circles), then glide from the top to a distance girder. Now jump/glide across a few more to reach a platform where the final elevator awaits. Once you've energized it and Zeke joins you, the dude holding the Ray Sphere will appear. Don't even try to attack him directly, as he can't be harmed. Instead, take down the numerous enemies that appear like you know how.
The far sides of the platform (such as by the elevator) can be used for protection, and to funnel the enemies your way. Even better, the entire platform is energized, restoring your electricity constantly, so feel free to go nuts with your powers. A Conduit will soon appear--we suggest tackling him initially from the elevator side (and if you're lucky, he'll get hung up on the center wall, making him an easy target), using your Megawatt Hammer as your primary attack.
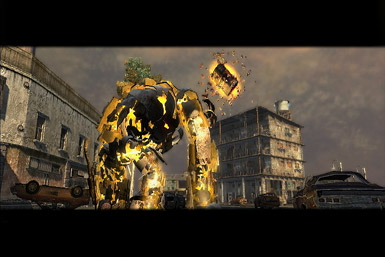
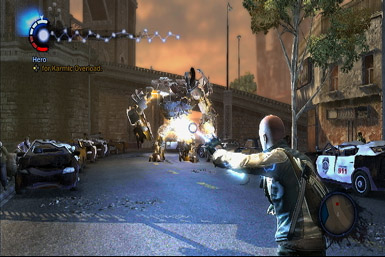
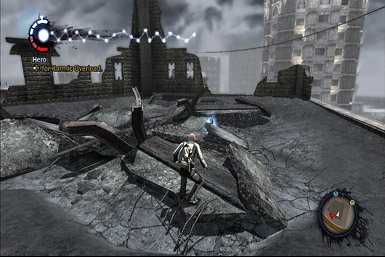
Alden's Rampage
Alden's wreaking havoc across the city, and you need to stop him. Unfortunately, that involves crossing the nearby bridge, which Alden is in the process of destroying. Thankfully, the support beams and railings are left nearly untouched, providing you with a path across the bridge.
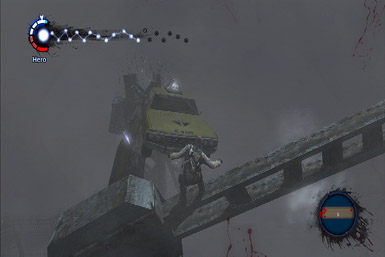
Start off by hopping onto either the far left or right railing and continue up it to a series of girders and support beams. Get ready to pick off a few distance enemies, then hop and glide from beam to beam. You'll soon reach a section with a couple of gunners below, enemies dead-ahead, and a vertical car at the end of one of the beams. Stay back by a girder for cover and carefully pick off the distance enemies ahead (it can be difficult to spot them through the fog--look for the slightly lighter spots and target those). Once they're down, ignore the gunners below, and hurry over to the car, which you'll have to jump on top of, then glide over to the freeway sign, where you'll have to take on Alden.
Alright, so Alden's beast-ride thing puts up a pretty good fight. Not only is it capable of launching chunks of metal and fireballs (both of which are best evaded with a roll), but he'll also take a moment every few attacks to spray some bullets your way. The best way to protect yourself is to stand still and use your Polarity Wall to shield yourself from the gunfire (and if you've upgraded it, the bullets you absorb will even restore your electricity!) As for taking him down, the Megawatt Hammer is the most effective tool--launch as many shots as you can at him during lulls in the action (such as just after he tosses a projectile your way). His arms seem to be a good and easy weak point, so target those until the monster is stunned, allowing you to target Alden, via the creature's mouth. If you run low on electricity (and haven't upgraded your Polarity Wall), there are four lights, one in each corner, that can provide a quick recharge. Although they will run out of power, they slowly regain it, providing you with an unlimited source of energy,
The Price
Head south to the drawbridge and fire a few bolts at the control panel to lower it. At this point, one of the enemies will become super-sized and start chasing you around. Thankfully, its slow, and its attacks are all close-range. As such, just keep your distance, using the roll to get away if it gets close, and use Lightning Bolts to take it down--it shouldn't take much.

With the creature down, the bad guy will phone you, informing you of a bomb planted nearby which will detonate shortly. Thankfully, it's marked on your radar before he even gets to his point, so head there immediately for a head-start. Although it's surrounded by enemies, your priority should be on disabling the bomb, which can be done by suckling its energy with L2 (which, of course, will also restore your health.) With the bomb disarmed, kill the nearby enemies, some of which may become super-sized. There's a ton of electrical sources nearby though, so this shouldn't be a problem.
Once the enemies are down, you'll be alerted of a second bomb nearby. Head there and do the same, then get ready for a third bomb. Once you've deactivated all three, you'll be presented with a choice:
Karma Moment: You can only save one: Trish or the Doctors.
Good Action: Save the doctors by climbing their tower, leaving Trish to die.
Bad Action: Save Trish by climbing up to her, at the doctors' expense.
Vengeance
Ugh, another sewer. Well, at least that means you're getting a new power! Work your way through the sewers to the sparking machine, which grants the Lightning Storm power. Sadly, you're going to have to wait until you're outside to use it. Continue through the sewers, zapping the enemies as you find them, including some pesky ones chilling in the water. Remember that the numerous electrical machines along the way can restore your health if you need it. When you reach the room with four platforms, and enemies on each, take them down from a distance, then head left, where you'll soon find a ladder that leads outside.
Hey, you're outside! That means you get to test out your sweet new power, and there just so happens to be a truck dead-ahead that's about to be your first victim! To activate your power, simply hold "down" on the D-Pad, then tilt the controller left or right to steer the massive wave of destruction. Soon after, two more trucks will roll in--take 'em down the same way.
With the trucks destroyed, you'll have to venture through town to three substations, one after another, energize them, then defend them as they power-up. Thankfully, this is super easy. After energizing a station (via the panel on the front), jump on-top for a continuous supply of energy and unleash a Lightning Storm whenever you spot a wave of enemies. Remember to keep an eye on your radar to easily tell where they're coming from. And again, don't worry about running out of juice, because you can't, so unleash as many lightning storms as necessary to take down the invading troops. Once a station has fully charged, use your radar to find the next.
Against the World
Uh-oh, there are several balloons floating around the city spreading their toxic gas, and of course only Cole can put a stop to them. To complicate things, the toxic gas is causing the citizens to attack you (including the police!), meaning ground-level is the last place you want to be. As such, use the rooftops and powerlines your method of travel to avoid the citizen's wrath. In the case of the first, third, and fourth balloons, they're also patrolled by a UAV, so make sure to use precision to take them down from a nearby rooftop before trying to tackle the balloon.
As for the balloons, they're protected by an energy shield that must first be deactivated before you can board. Unfortunately, they roam around the city slowly, making it difficult to track them. Watch them carefully to watch where they're headed, then use the power lines to reach a nearby rooftop before it does. Once you have it in your sight, use Lightning Storm on it to deactivate its shield temporarily. Once it's deactivated, leap and glide for the walkway surrounding the balloon--there's also a few ladders surrounding it that can be leapt to. Once on the balloon, head around to the three latches between the gaps in the walkway and deactivate them by pressing "Triangle." Once you've disconnected all three, the balloon will be dismantled, at which point the next one will appear on your radar. Head to it and do the same thing!
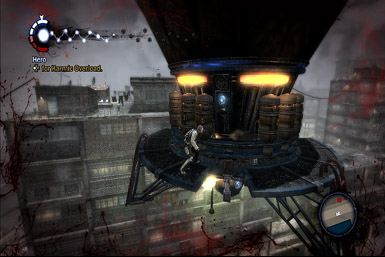
Hunt for the Ray Sphere
Hop aboard the platform suspended from the copter, which will take you through a tour of the city as it drops you off at the three jammer locations. Of course, there are a ton of enemies gunning for you from the passing rooftops. Thankfully, the platform you're riding on provides an unlimited supply of energy, allowing you to use Precision to pick off the distant enemies--use your radar to help track them down.
When the chopper comes to a rest at a rooftop, pick off as many enemies as you can from the platform before disembarking to find the jammer. Now the jammer is using cloaking technology to become nearly invisible, but its precise location is handily marked on your radar. Try to stick to the rooftops as you work your way there, and make sure to clear the surrounding area of enemies before dropping down (you can always return to the copter if you need an energy boost). When you get close to the jammer, look for its faint outline, then use Lightning Storm to destroy it (stand back though, to avoid the resulting explosion). Now return to the chopper to ride to the next two locations where you'll do the exact same thing.
In the case of the third jammer, it's actually located a few levels down inside a parking garage. You'll face heavy resistance, so make sure to clear the floors below by targeting the foes through the holes in the floor before dropping to the lower levels.
End of the Road
There are three anti-aircraft turrets on the nearby buildings which need to be destroyed, and all three are marked on your radar. While they won't target you themselves (thank God), they are heavily defended by a small army of enemies on the bordering rooftops. As such, you're going to have to clear them out before moving in. Position yourself on a distant rooftop, such that all of the enemies are in front of you--make sure you've got a wall or structure nearby for cover. Now use your powers to start thinning the enemy ranks: Bolts are great for the nearby foes, while Precision or Megawatt Hammers should be saved for those further away. Oh, and if you spot a flying droid, take them down first, as they're the most dangerous of the foes. Once you've clear the area around a turret, climb up to it and blow it away with Lightning Storm, then do the same for the other two.

Once you've destroyed all three, head to the safe-point on a nearby rooftop, as marked on your radar, then get ready to chase a helicopter across town. In order to keep up, you're going to have to use the power lines as your main mode of transportation. Thankfully, most of the power lines you need to grind are close to one another, but keep an eye on your radar and try to track which direction the chopper is heading so you don't take the wrong path.
After meeting the chopper at the bridge, you're going to have to work your way up it to the Ray Sphere on the far side. Of course, you'll face heavy resistance here too. Take your time as you maneuver around (or on top of) the boxes, and make sure to target the flying droids first. Several turrets along the way also pose a threat--try to attack them from the sides by climbing the nearby boxes and tossing grenades behind them for a quick kill.

Reaching the Ray Sphere at the end provides you with a karma choice:
Karma Moment: Ray Sphere's fate:
Good Action: Destroy the Ray Sphere.
Bad Action: Activate the Ray Sphere.
The Truth
This is it: the final battle. Kessler will lay into you with all he's got, but as long as you're quick with the evasive maneuvers, he's actually not that difficult to defeat. The hardest part is actually retaining enough energy to combat his attacks.
It's important that you keep Kessler in your line-of-sight as much as possible, so you can tell what what he's attacking with. Most of his advances can be dodged with a quick roll or two in any direction, however, be sure to jump over the wave of destruction he occassionally sends your way--jump just before it reaches you. He'll also summon several large, ghost-like versions of himself--keep back and use your Electric Bolts to deal with them.
As for how to tackle Kessler, it's best to use a mixture of Bolts and Megawatt Hammers. Although the Bolts don't inflict much damage, they're quick (and free!), so blast him with them whenever you're not dodging an attack. However, you'll also have a few opportunities to unleash Megawatt Hammers. The best chance is when Kessler approaches with a series of quick dashes--roll out of the way of the last one, then immediately counter with a barrage of Megawatt Hammers, inflicting massive damage.
Regardless of how good you are at dodging his attacks, you'll likely wind up taking some damage--or at the least, running low on electricity due to the Megawatt Hammers. Thankfully, there are little antenna-like objects sticking out of the ground all over the field, meaning you're almost never more than a second away from a quick recharge. As such, it's easiest to simply tap L2 as you run around the field to periodically restore your health and electricity before things get dire.
Every so often, Kessler will toss you into the arena's center and attempt to grapple you--counter this like the first boss you faced by masking "X" while pointing the control stick toward the on-screen circle. Doing this successfully will also inflict a good amount of pain.

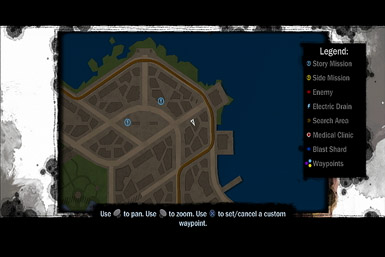
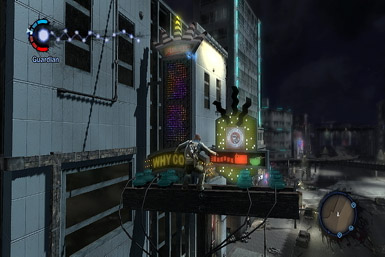
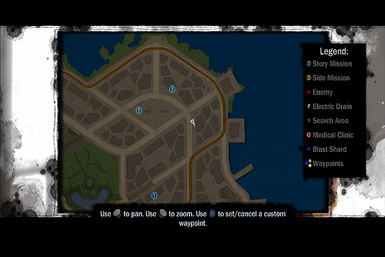
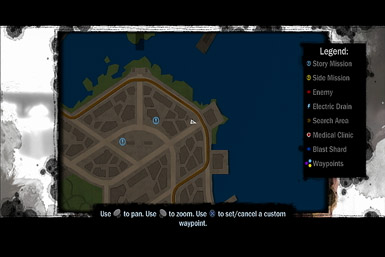
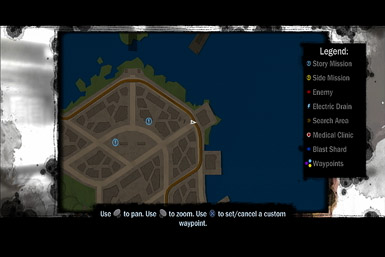
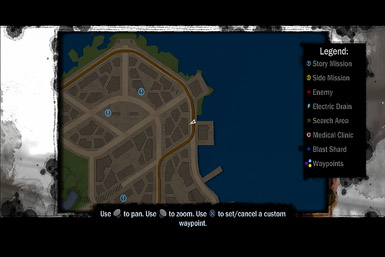
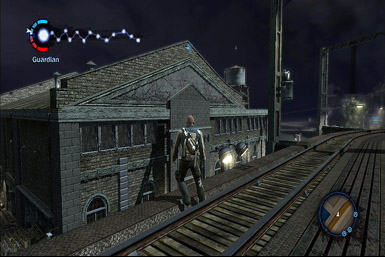
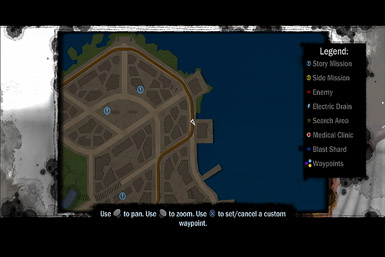
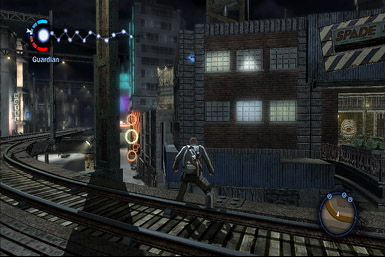
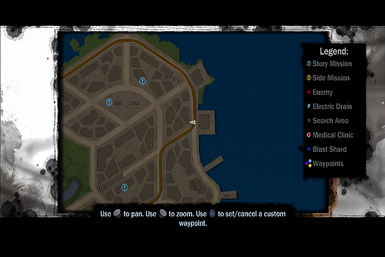
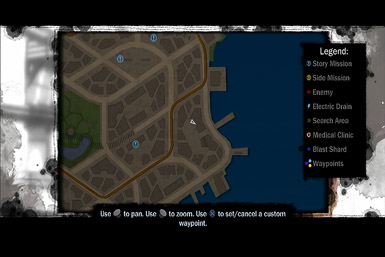
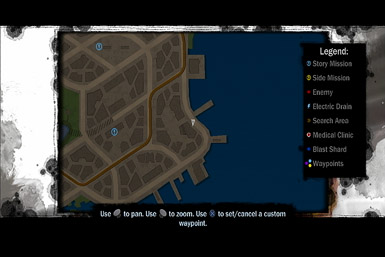
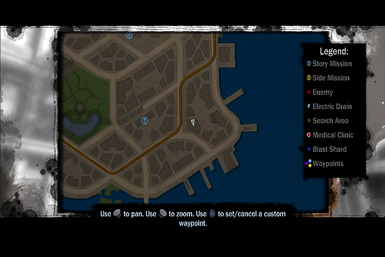
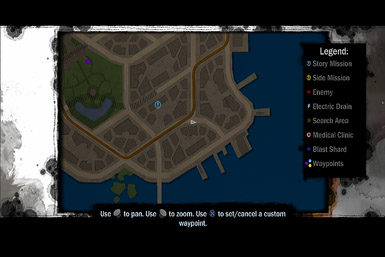
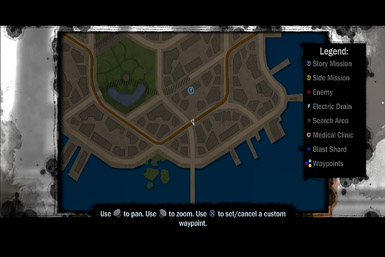
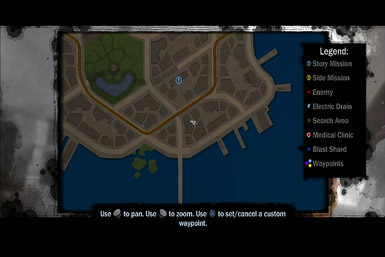
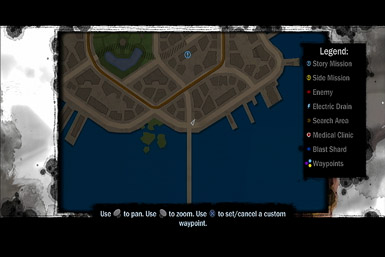
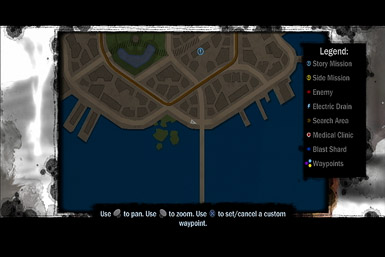
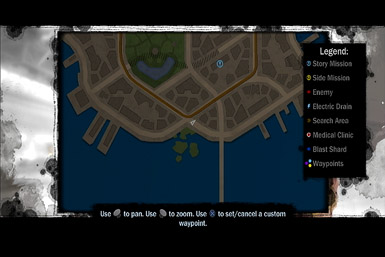
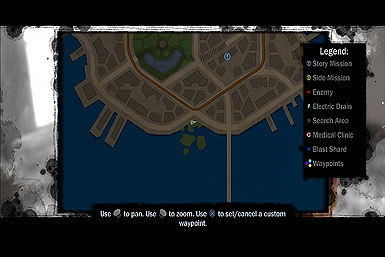
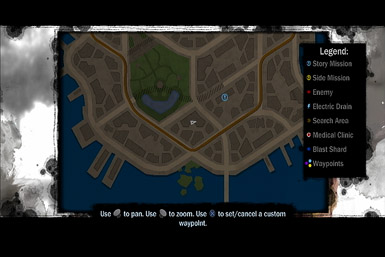
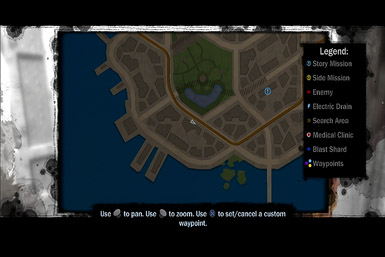
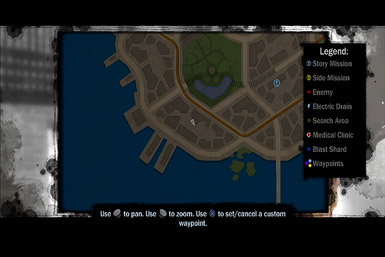
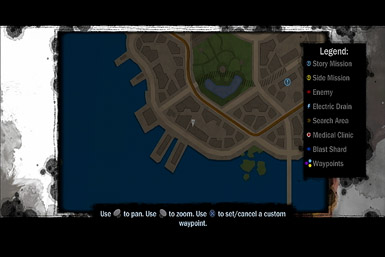
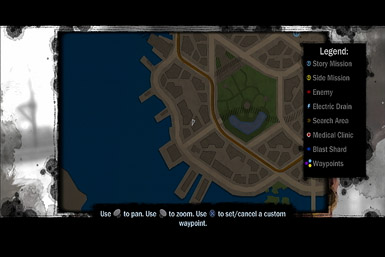
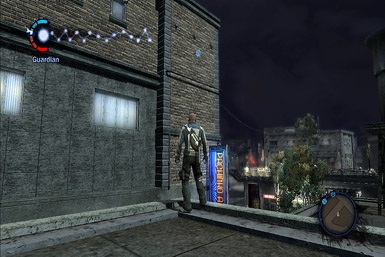
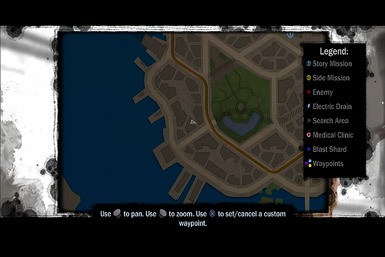
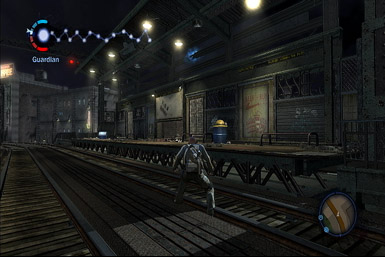
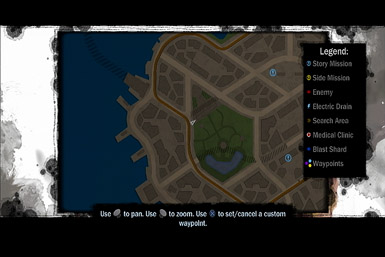
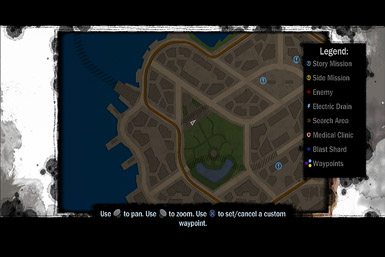
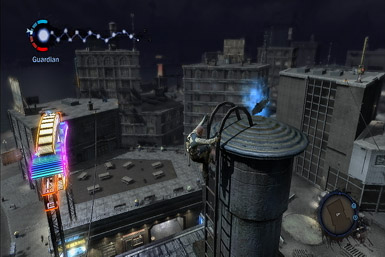
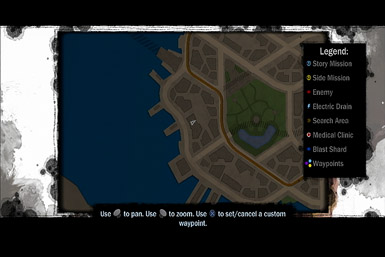
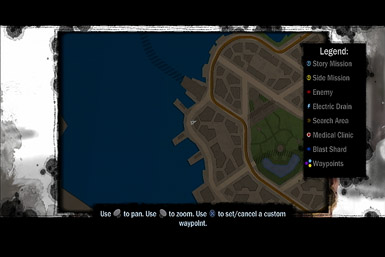
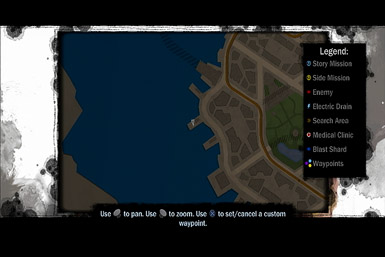
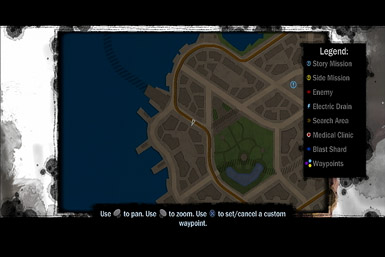
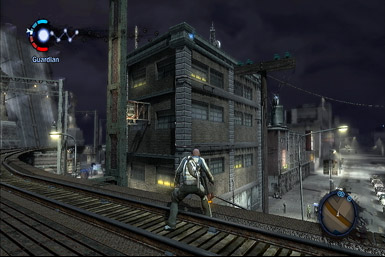
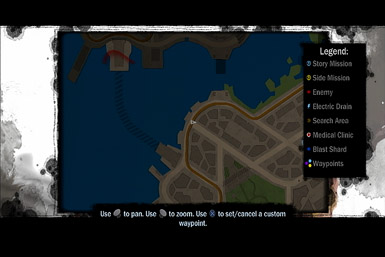
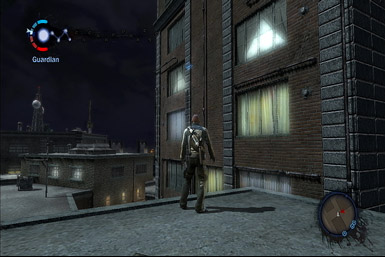
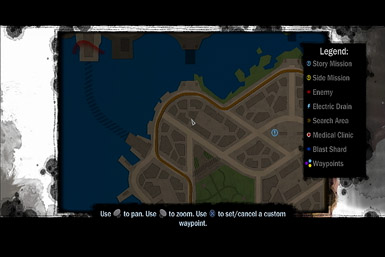
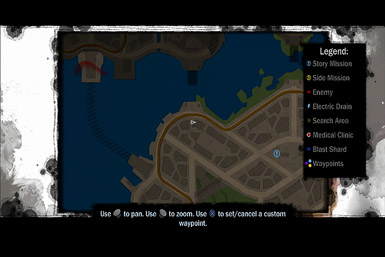
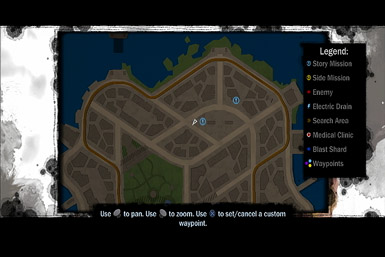
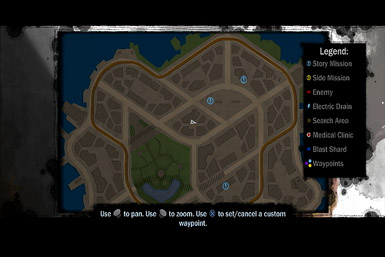
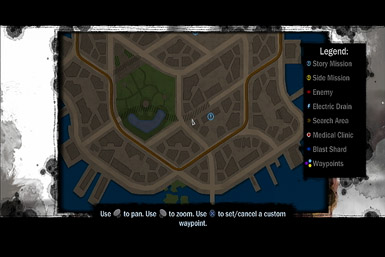
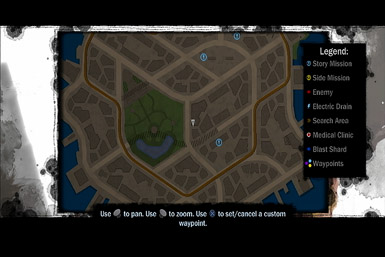
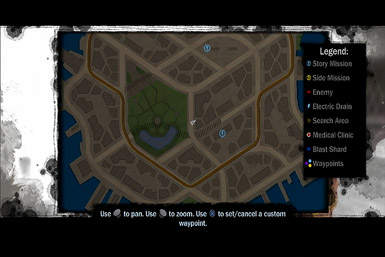
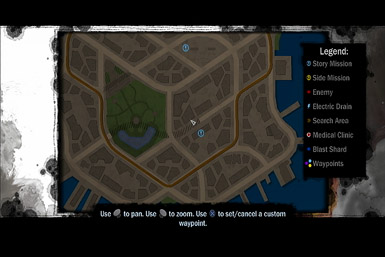
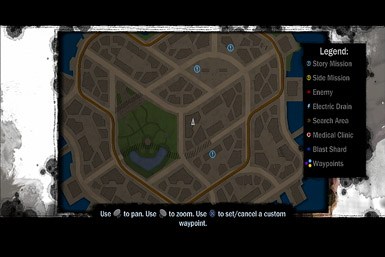
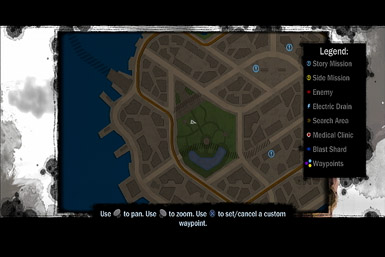
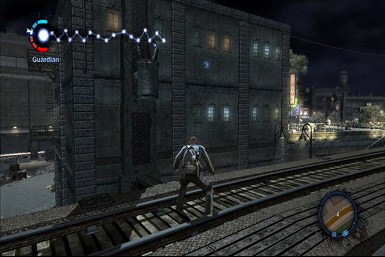
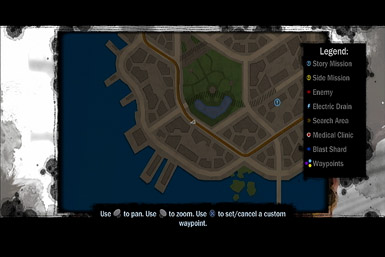
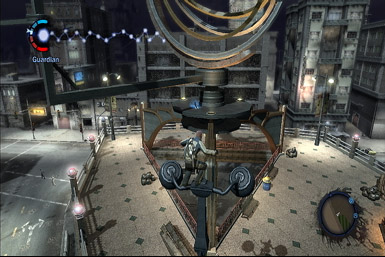
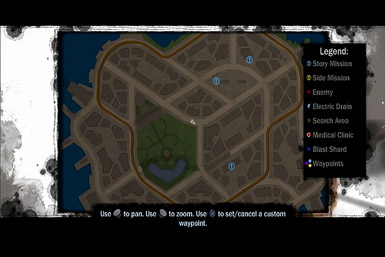
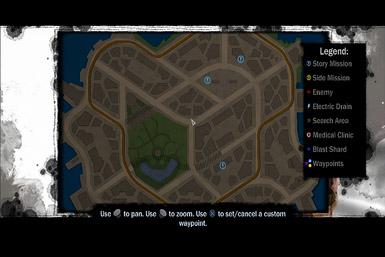
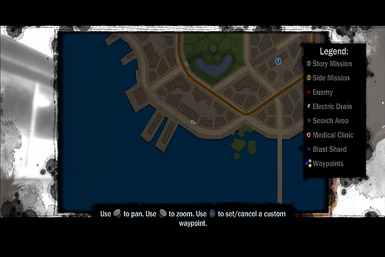
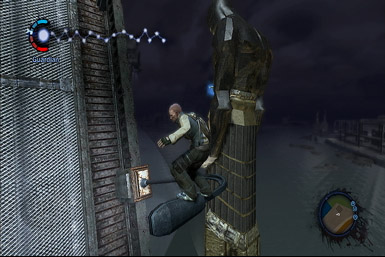
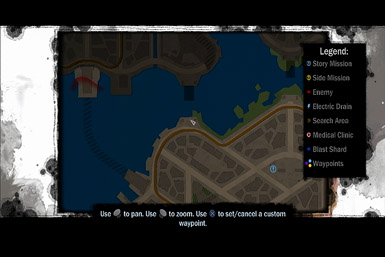
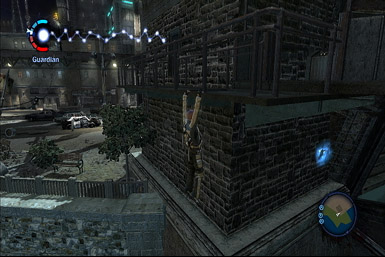
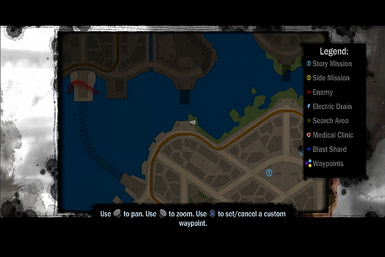
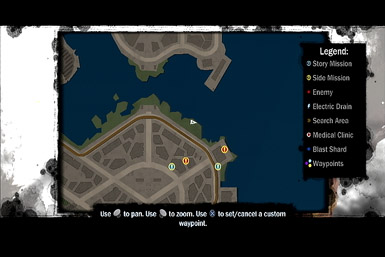
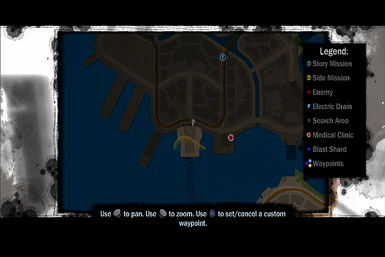
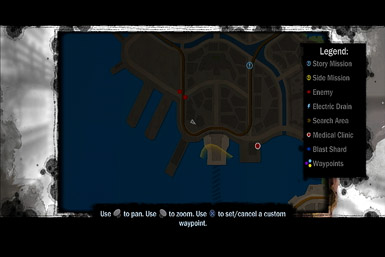
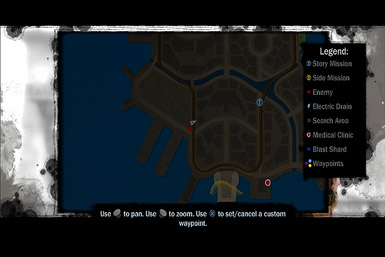
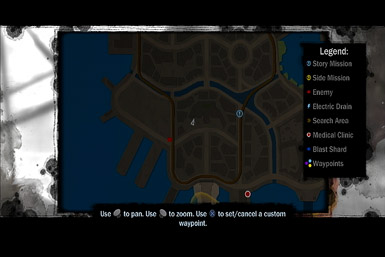
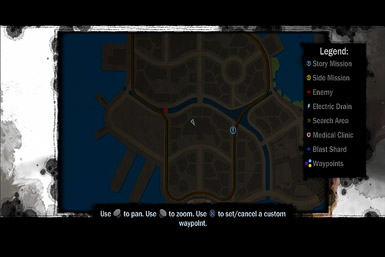
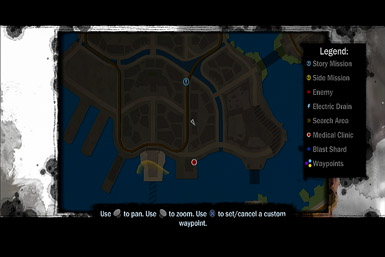
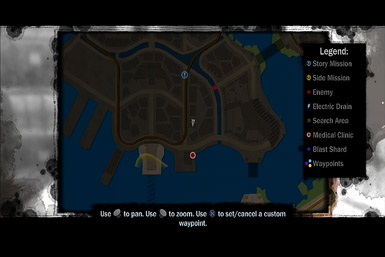
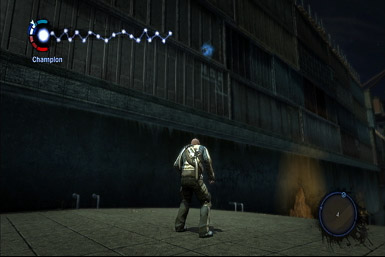
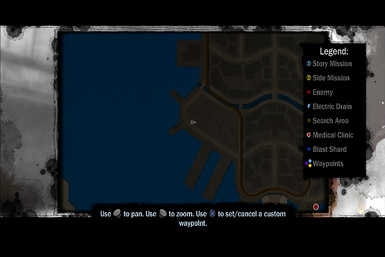
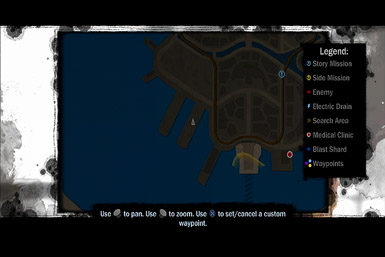
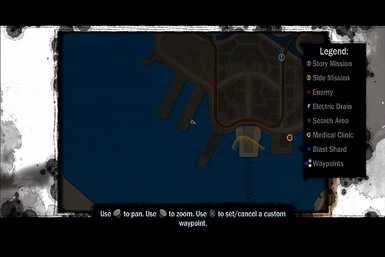
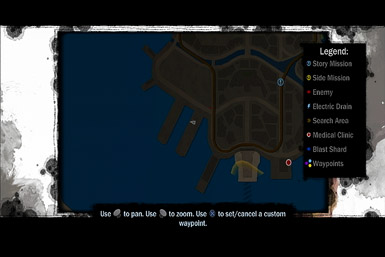
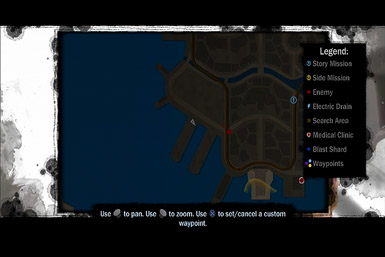
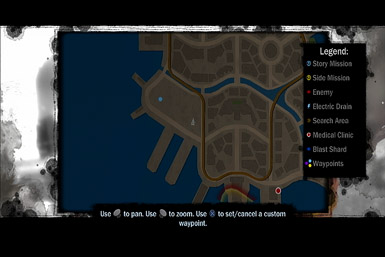
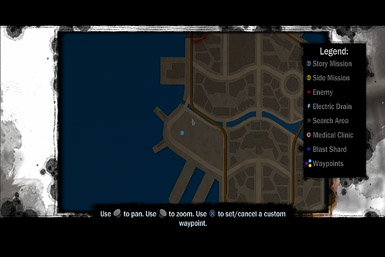
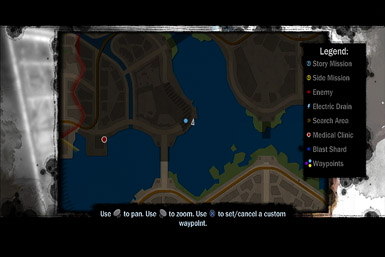
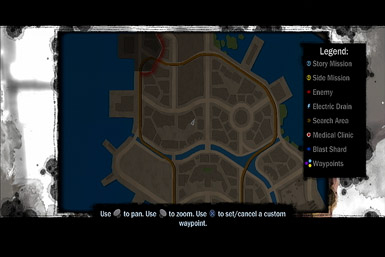
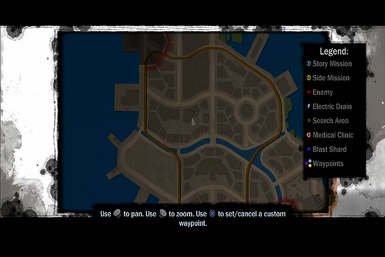
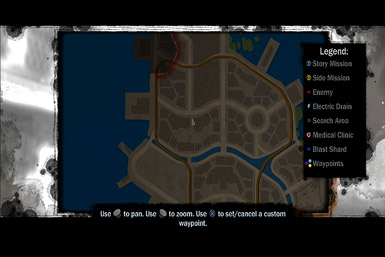
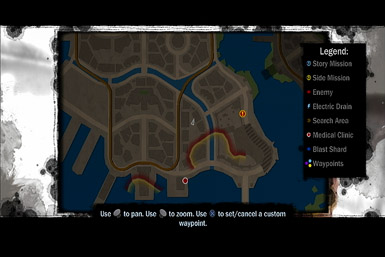
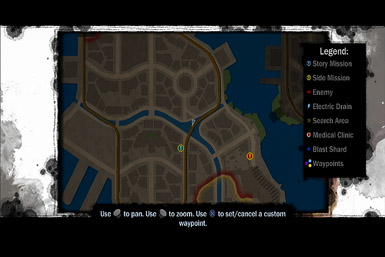
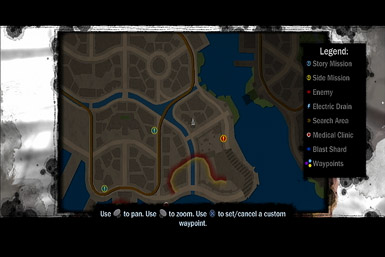
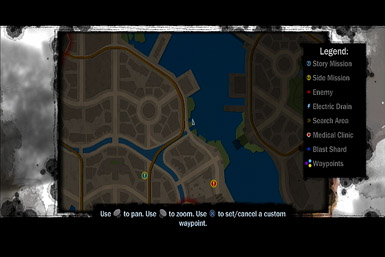
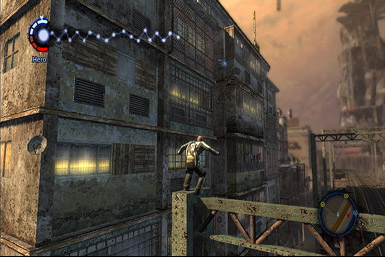
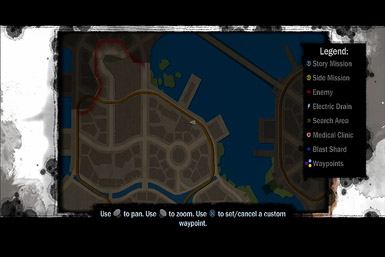
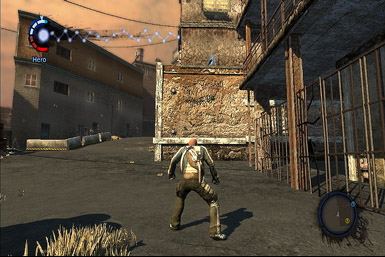
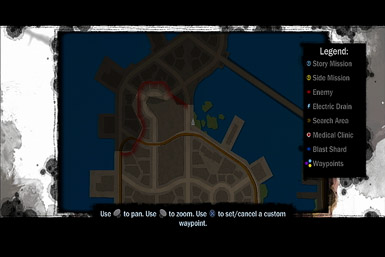
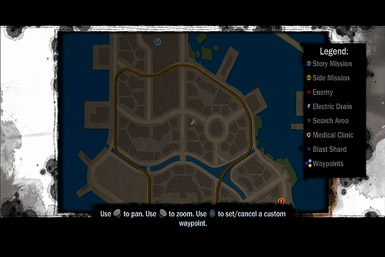
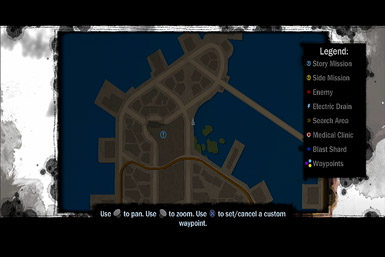
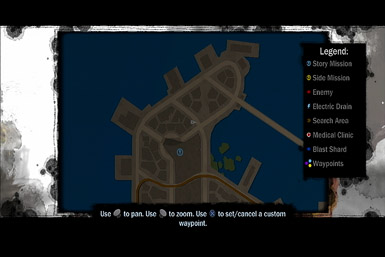
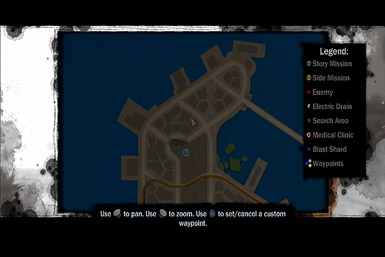
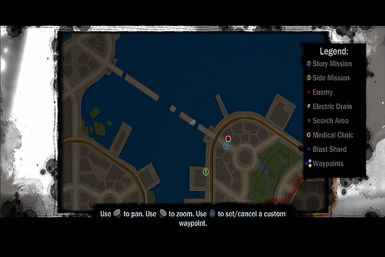
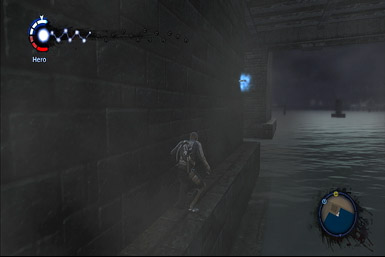
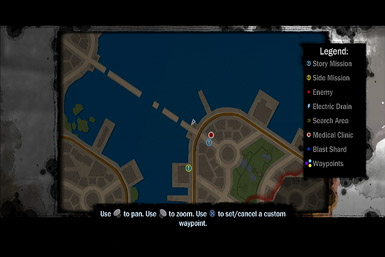
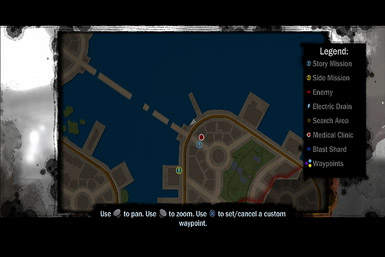
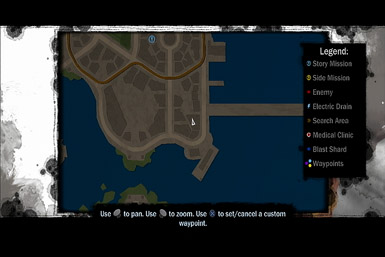
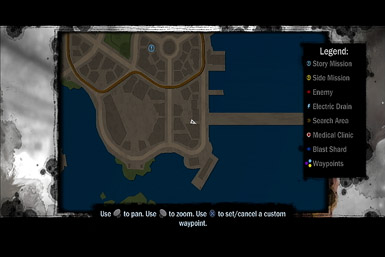
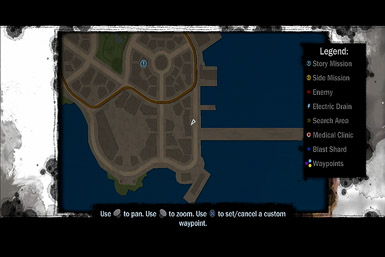
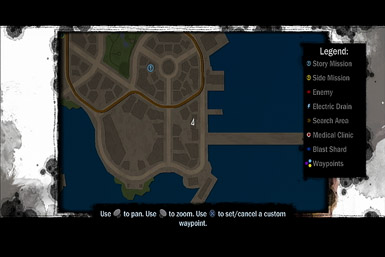
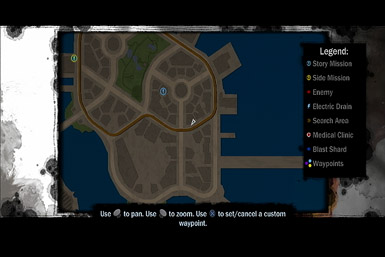
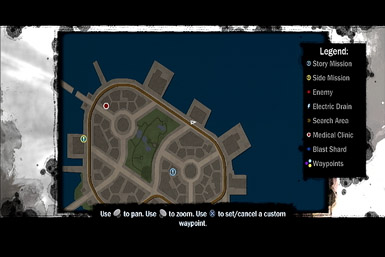
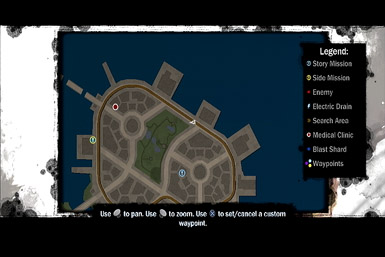
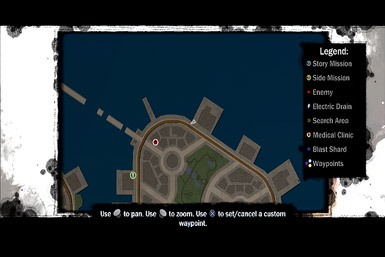
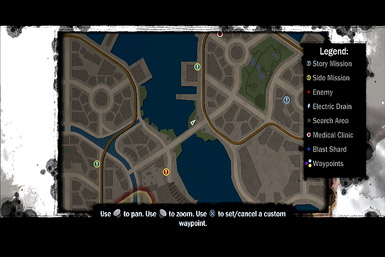
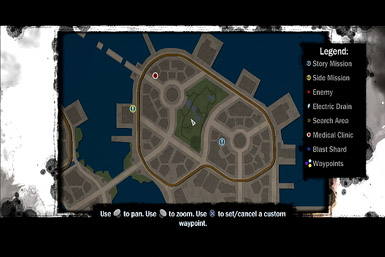
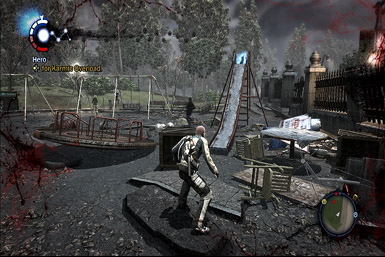
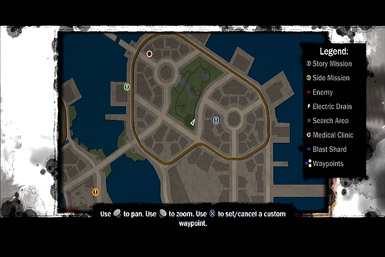
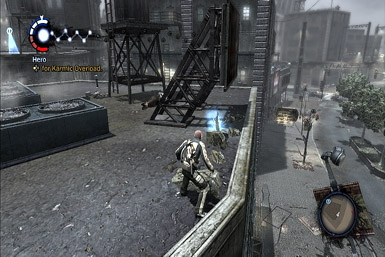
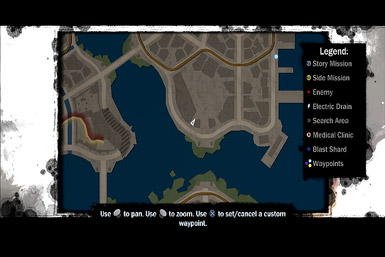
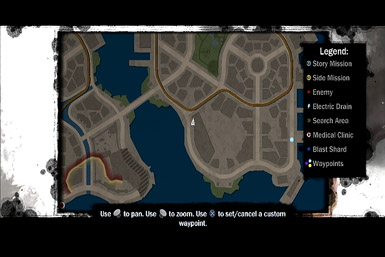
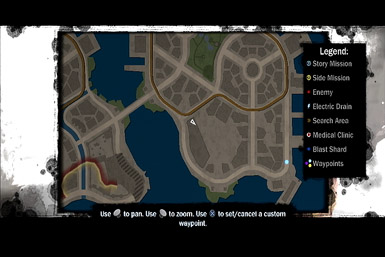
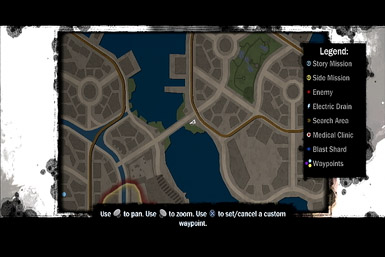
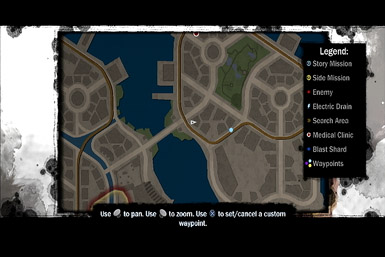
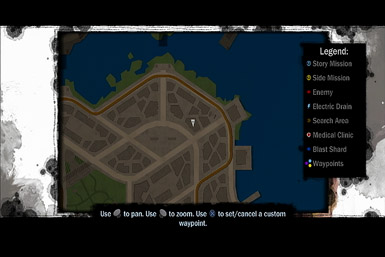
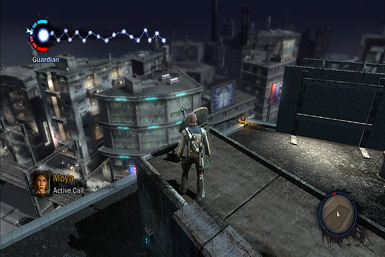
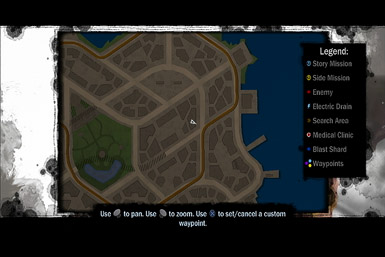
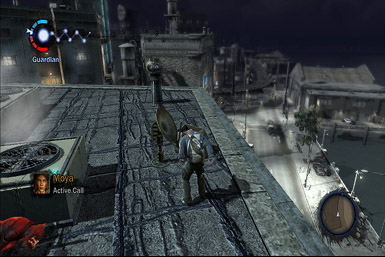
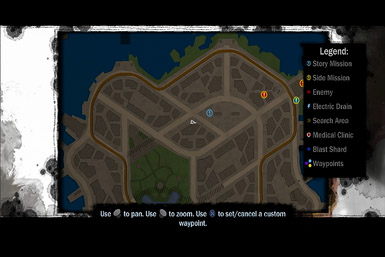
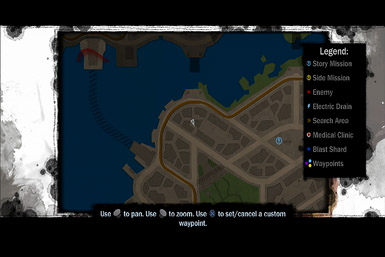
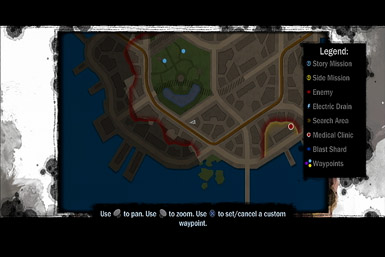
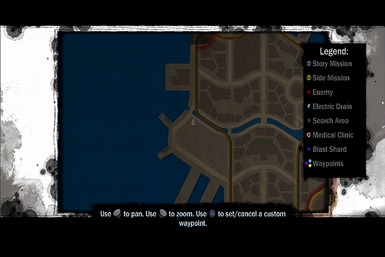
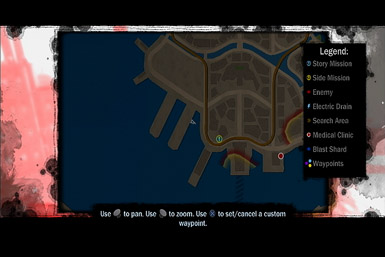
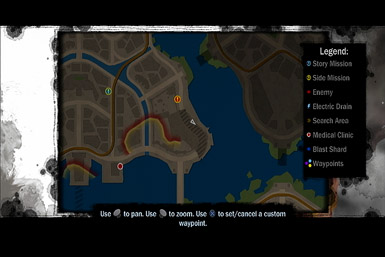
Blast Shards - Neon District (#1-25)
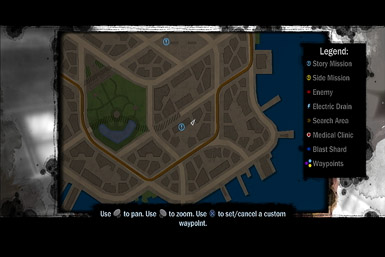
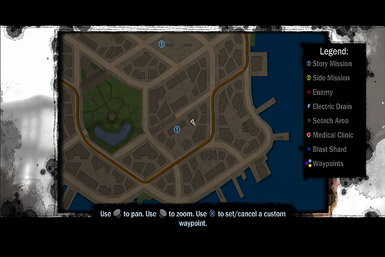
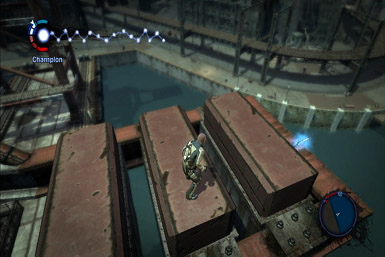
The image on the left shows the shard's physical location, while the map on the right shows exactly where in the city it's located (look for the white arrow).

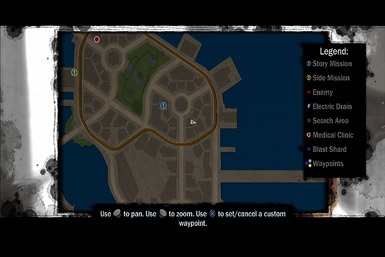
Blast Shards - Neon District (#26-50)
The image on the left shows the shard's physical location, while the map on the right shows exactly where in the city it's located (look for the white arrow).


Blast Shards - Neon District (#51-75)
The image on the left shows the shard's physical location, while the map on the right shows exactly where in the city it's located (look for the white arrow).


Blast Shards - Neon District (#76-100)
The image on the left shows the shard's physical location, while the map on the right shows exactly where in the city it's located (look for the white arrow).


Blast Shards - Neon District (#101-125)
The image on the left shows the shard's physical location, while the map on the right shows exactly where in the city it's located (look for the white arrow).


Blast Shards - Neon District (#126-150)
The image on the left shows the shard's physical location, while the map on the right shows exactly where in the city it's located (look for the white arrow).
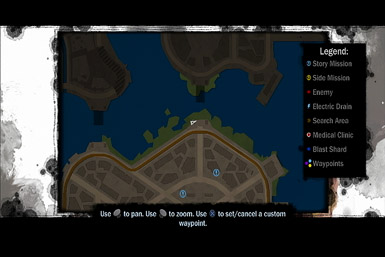
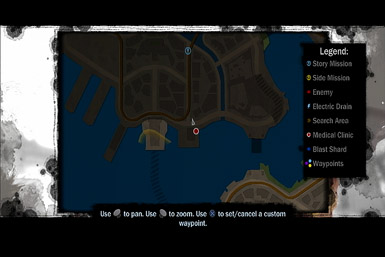
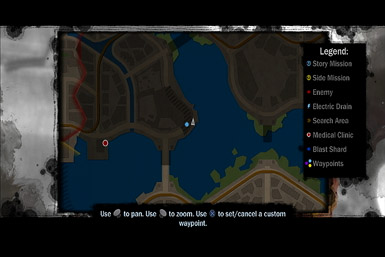
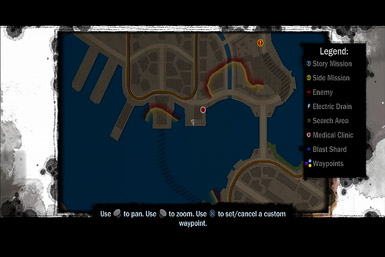
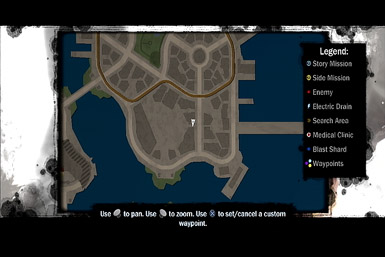
Blast Shards - Warren District (#1-25)
The image on the left shows the shard's physical location, while the map on the right shows exactly where in the city it's located (look for the white arrow).


Blast Shards - Warren District (#26-50)
The image on the left shows the shard's physical location, while the map on the right shows exactly where in the city it's located (look for the white arrow).


Blast Shards - Warren District (#51-75)
The image on the left shows the shard's physical location, while the map on the right shows exactly where in the city it's located (look for the white arrow).


Blast Shards - Warren District (#76-100)
The image on the left shows the shard's physical location, while the map on the right shows exactly where in the city it's located (look for the white arrow).


Blast Shards - Warren District (#101-125)
The image on the left shows the shard's physical location, while the map on the right shows exactly where in the city it's located (look for the white arrow).
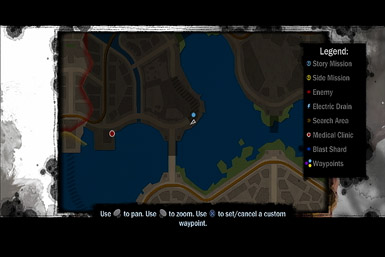
Blast Shards - Historic District (#1-25)
The image on the left shows the shard's physical location, while the map on the right shows exactly where in the city it's located (look for the white arrow).


Blast Shards - Historic District (#26-50)
The image on the left shows the shard's physical location, while the map on the right shows exactly where in the city it's located (look for the white arrow).


Blast Shards - Historic District (#51-75)
The image on the left shows the shard's physical location, while the map on the right shows exactly where in the city it's located (look for the white arrow).


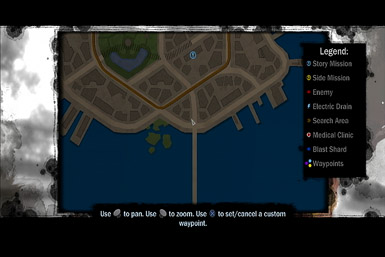
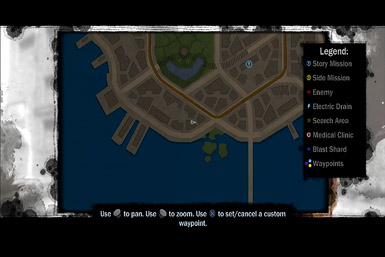
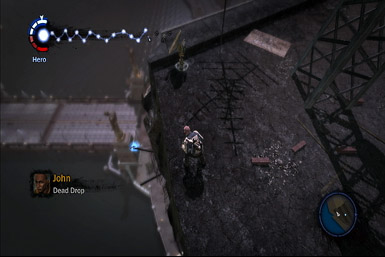
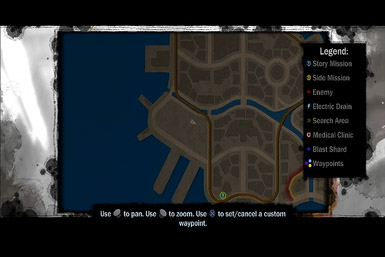
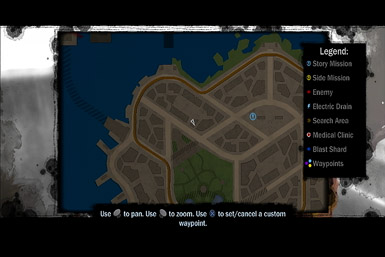
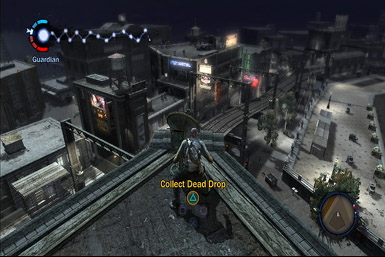
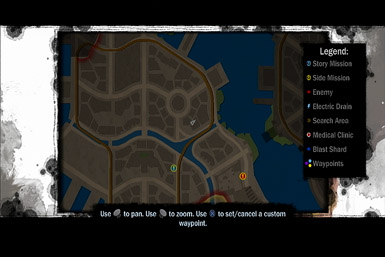
Dead Drops - Neon District
The image on the left shows the Dead Drop's physical location, while the map on the right shows exactly where in the city it's located (look for the white arrow).


Dead Drops - Warren District
The image on the left shows the Dead Drop's physical location, while the map on the right shows exactly where in the city it's located (look for the white arrow).


Dead Drops - Historic District
The image on the left shows the Dead Drop's physical location, while the map on the right shows exactly where in the city it's located (look for the white arrow).
PlayStation 3 Trophies
Note that there are Spoilers on this list.
| Trophy Name | How To Earn | Reward |
|---|---|---|
| InFamous Platinum | Collect all trophies. | Platinum |
| Hard Finish | Finish story mode on Hard, without changing the difficulty setting. | Gold |
| Good Finish | Beat the game as a Hero. | Silver |
| Evil Finish | Beat the game while Infamous. | Silver |
| Community Organizer | Take over all territory in the Neon District. | Silver |
| Civic Leader | Take over all territory in the Warren. | Silver |
| Urban Designer | Take over all territory in the Historic District. | Silver |
| Evil to the Core | BBB | Silver |
| True Hero | Purchase every negative Karma upgrade for each power. | Silver |
| Goody Two Shoes | Reach full positive Karma. | Silver |
| Truly Infamous | Reach full negative Karma. | Silver |
| Stunt Master | Complete all of the stunts on the stunt list. | Silver |
| Just Scratched the Surface | Collect all Dead Drops in the Neon District. | Bronze |
| Further Down the Rabbit Hole | Collect all Dead Drops in the Warren. | Bronze |
| You're so Sly | Collect all Dead Drops in the Historic District. | Bronze |
| Junior Geologist | Find 25% of the Shards. | Bronze |
| Member of the Mineral Club | Find 50% of the Shards. | Bronze |
| Rockhound | Find 100% of the Shards. | Bronze |
| Frequent Flyer | Travel 5 kilometers using Static Thrusters. | Bronze |
| Hotfoot | Travel 25 kilometers while riding the rails. | Bronze |
| Electric Hobo | Ride the train for 2 kilometers. | Bronze |
| Casey Jones | Take down 25 enemies while riding on a moving train. | Bronze |
| Road Kill | Take down 25 enemies while riding on the roof of a moving vehicle. | Bronze |
| Drop Everything | Thunder Drop for a total distance of at least 500 meters. | Bronze |
| AC/DC | Drain 750 megawatts of power from Empire City. | Bronze |
| Get Off My Cloud | Get 100 High Fall take downs. | Bronze |
| Red Baron | Take down 100 enemies while they are airborne. | Bronze |
| Fish in a Barrel | Kill 50 enemies by using water. | Bronze |
| True Potential | Purchase every upgrade for a single power. | Bronze |
| Oh, You've Done This Before | Take down 50 enemies by sticking them with a grenade. | Bronze |
| The Hunger | Bio Leech 100 enemies. | Bronze |
| Doctor Cole | Heal 250 pedestrians. | Bronze |
| Good Eats | Good guys feed the needy. | Bronze |
| Evil Eats | Bad guys never share their food. | Bronze |
| Good Riot | Good guys stand up and take the heat. | Bronze |
| Evil Riot | Bad guys love starting riots. | Bronze |
| Good Train | Good guys proactively facilitate transportation solutions. | Bronze |
| Evil Train | Bad guys make it clear who the boss is. | Bronze |
| Good Exposure | Good guys are heroes to others. | Bronze |
| Evil Exposure | Bad guys love to be seen. | Bronze |
| Good Sphere | Good guys put a stop to the madness. | Bronze |
| Evil Sphere | Bad guys always want more power. | Bronze |
| Good Intentions | Good guys work for the greater good. | Bronze |
| Evil Intentions | Bad guys can't say goodbye. | Bronze |
| Stunt Man | Complete any one stunt from the stunt list. | Bronze |
| Stunt Coordinator | Complete 10 of the stunts on the stunt list. | Bronze |
Got a news tip or want to contact us directly? Email news@gamespot.com
Join the conversation