If you've played your share of Ubisoft open world games, you know the deal: revealing the secrets and collectibles of a given area, outpost, or district takes a bit of effort. It's a more layered form of infiltration in Watch Dogs. Hacking ctOS centers isn't enough; you also need to hack the various ctOS towers within each part of Chicago. The challenge is in gaining access to these fenced-in towers. These spatial puzzles are some of the best brain teasers in Watch Dogs, but if you do find yourself stumped, here's a walkthough video to guide you to each tower, along with a listing of where in the video to find each one.
Remnant 2 - The Forgotten Kingdom | DLC Launch Trailer Stellar Blade - Official "The Journey: Part 2" Behind The Scenes Trailer | PS5 Games Fortnite Festival - Official Billie Eilish Cinematic Season 3 Trailer Dead by Daylight | Tome 19: Splendor | Reveal Trailer Destiny 2: The Final Shape | Journey into The Traveler Trailer 2XKO - Official Illaoi Champion Gameplay Reveal Trailer Marvel Rivals - Official Loki Character Reveal Trailer | The King of Yggsgard Starship Troopers: Extermination - Official "The New Vanguard" Update 0.7.0 Trailer Solo Leveling: Arise - Character Gameplay Teaser #15: Seo Jiwoo Genshin Impact - Character Demo - "Arlecchino: Lullaby" Goddess Of Victory: Nikke | Last Kingdom Full Animated Cinematic Trailer Metaphor: ReFantazio The King’s Trial Trailer
Please enter your date of birth to view this video
By clicking 'enter', you agree to GameSpot's
Terms of Use and Privacy Policy
Mad Mile, Northwest: 0:39
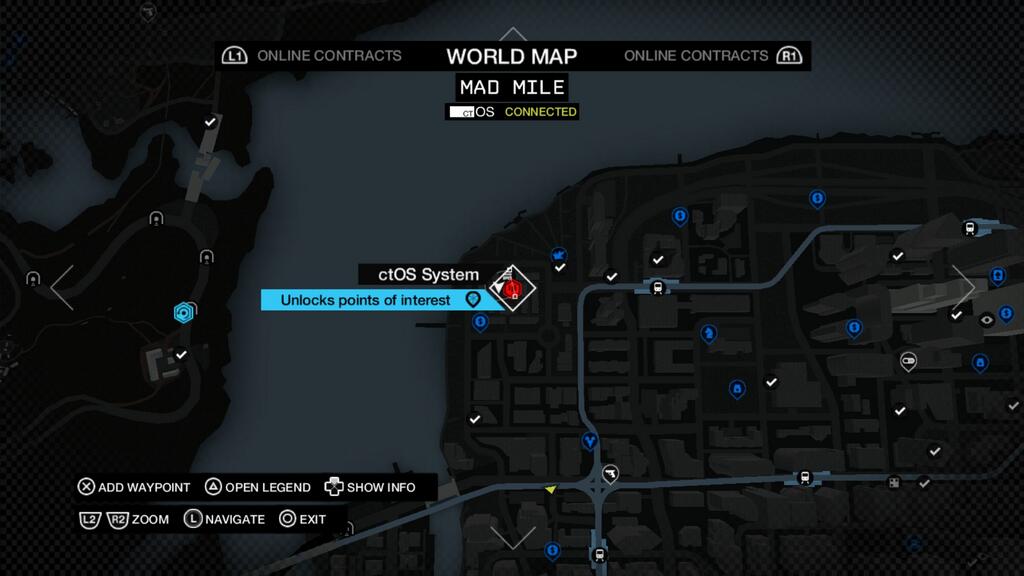
This ctOS tower is based within a block of multilevel apartments, so it's not surprising that you'll need to traverse a few rooftops to get to the console. Approaching from the north, head down a wide alley leading to the courtyard. While still on the ground level, look for an unlock panel. After hacking the panel, head further down the alley, and use the lift to your right. Climb until you reach the roof, then look for a small glass bridge. Cross it, but before you hop the fence, make a 180-degree turn to find another unlock panel. Now hop the fence, go through the ctOS gate, and make a right. Cross the glass bridge, walk across the roof, and hop over the railing to reach the tower.
Parker Square, East: 1:14
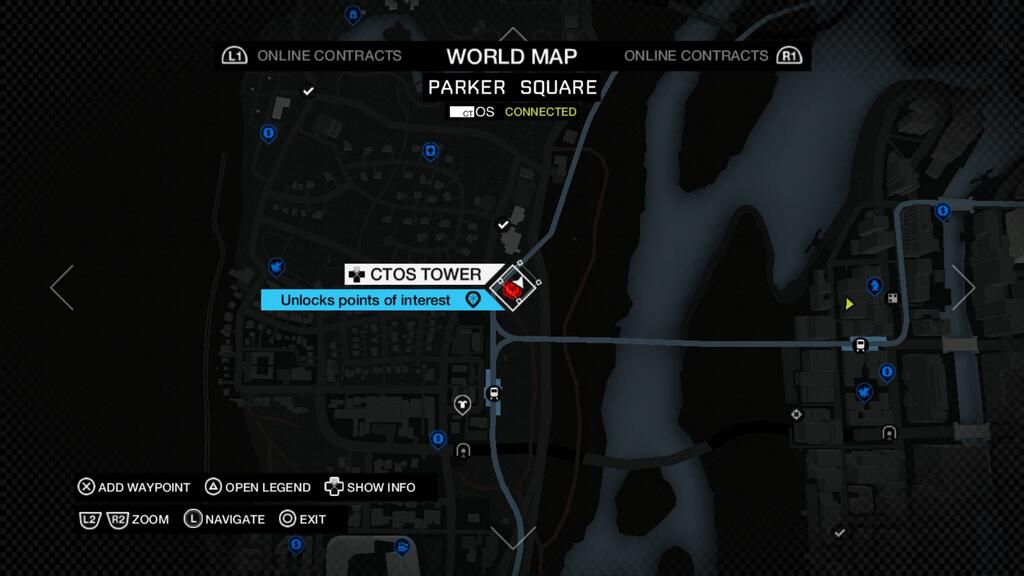
This tower puzzle serves as a reminder that forklifts and other movable objects occasionally hide cameras from view. When you're within the fence of this facility, hack into the first available camera. Then hack the forklift to reveal another camera. This camera will give you a view of the unlock panel for you to hack. Walk back to the facility entrance and pass through the ctOS gate. Climb up the ladder, then drop down to the area with the forklift to access the tower.
Parker Square, South: 1:43
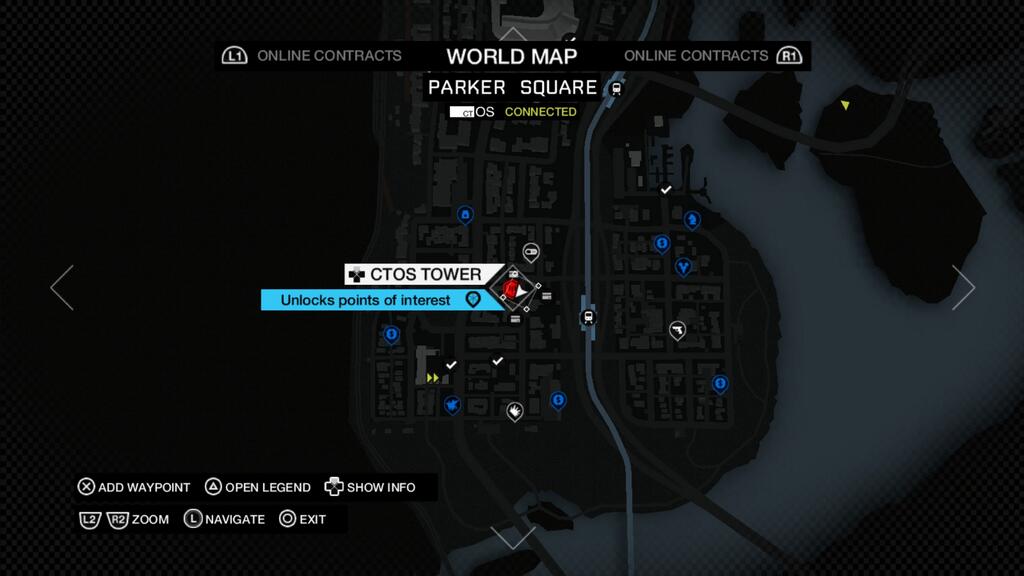
Using the Public Furniture sign as a starting point, head south, and make a right into the first alley. Head into the small parking lot with the barbed wire-enforced wall and climb up using the forklift. Keep climbing until you reach the catwalk on the right and use another lift as a bridge to reach another part of the building. Then climb up the two-tier generator, then the balcony, and finally, the ladder. Hack the camera next to the ctOS tower and look to the right. Hack the unlock panel to gain access to the tower.
The Wards, West: 2:14
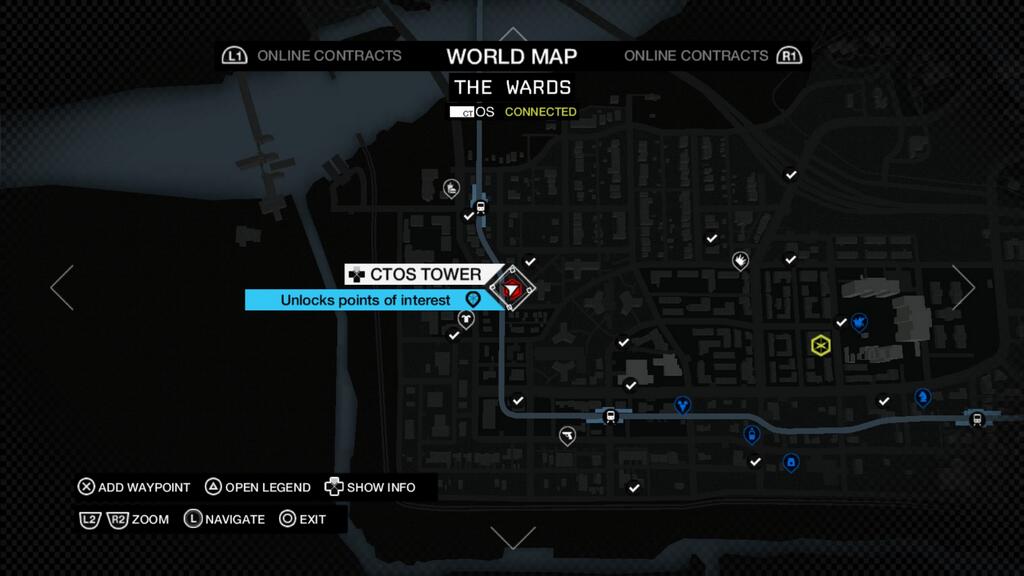
This is the ctOS tower closest to The L train tracks and yes, you'll need to cross the track in order to reach the tower. Starting at ground level, look for the stairs surrounded by a chainlink fence, slightly northwest of the tower. Climb up the stairs and the nearby ladder to reach tracks. Cross the tracks to reach the ctOS tower. Hack the camera and look left to access another camera. Now look left and down to find a junction box. Hack the box to create an explosion that will destroy the nearby pallets. It turns out the pallets obscured the unlock panel!
The Wards, East: 2:50
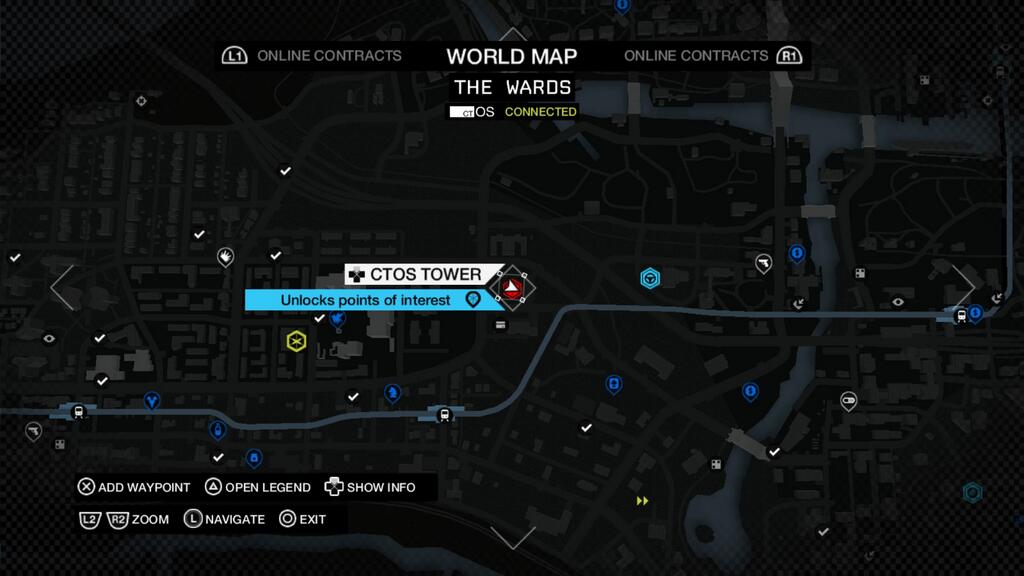
Start by hacking the camera next to the billboard west of the tower. Then access the camera in the middle of the facility. Look right and hack the next camera, which will give you a view of the first unlock panel. After hacking the panel, hop on the nearby lift and raise it to reach the facility. Climb up a couple boxes to reach the ctOS tower entrance. After passing the gate, make a right and climb up the large generator. From there, you have a good view of the next unlock panel to hack. Return to the chainlink entrance and make a right. Progress along the side of the building until you reach a ladder. Climb up the ladder and move forward until you see another ctOS chainlink gate. Go through that to reach the tower.
Brandon Docks, West: 3:34
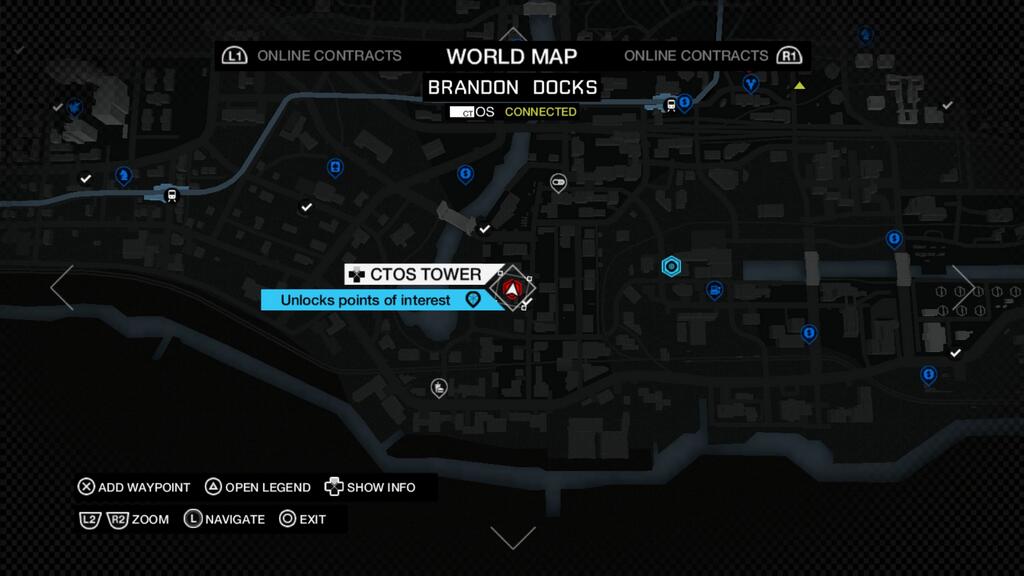
Our video starts on the west side of the facility. Hack the camera at the center of the building then look slightly up and to the left to hack another camera. Now you have a good view of the unlock panel. Hack that and then go through the door with the yellow sign with the black hand. Exit the room through the other door, hop the fence to your left, and then use the lift. Follow the only available path to reach the tower.
Brandon Docks, East: 4:01
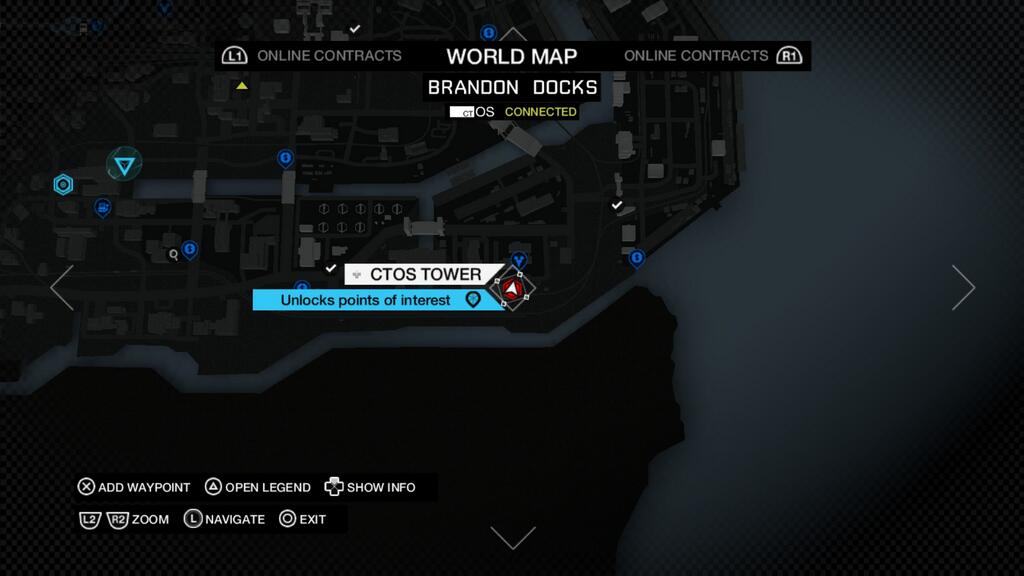
Starting at the entrance of the facility, look left to find a small single story building and the unlock panel around the corner. You might think that the large warehouse nearby is your next destination, but it's not. In fact, the interior of the warehouse has nothing to do with this puzzle. If you're stumped, it could be because you found the carrier too far for a successful roof jump. So what else can fit in one of those carriers? Simply use the nearby car to help you jump far enough to reach the roof with the tower.
Brandon Docks, Central: 4:22

Start by heading east from the tower, toward a lift. Ride the lift, climb the ladder on the right, and make another right to cross the catwalk. While facing the fenced gate, hack the one visible camera. This will give you a view of the unlock panel which you should hack. Pass through the gate and look for the door with the yellow sign with the black hand. While facing the door, turn right 90 degrees and hack the camera. Look to the right and hack the camera inside the warehouse office. This will give you a good view of the next unlock panel. Hack it to gain access to the tower.
The Loop, South: 5:00
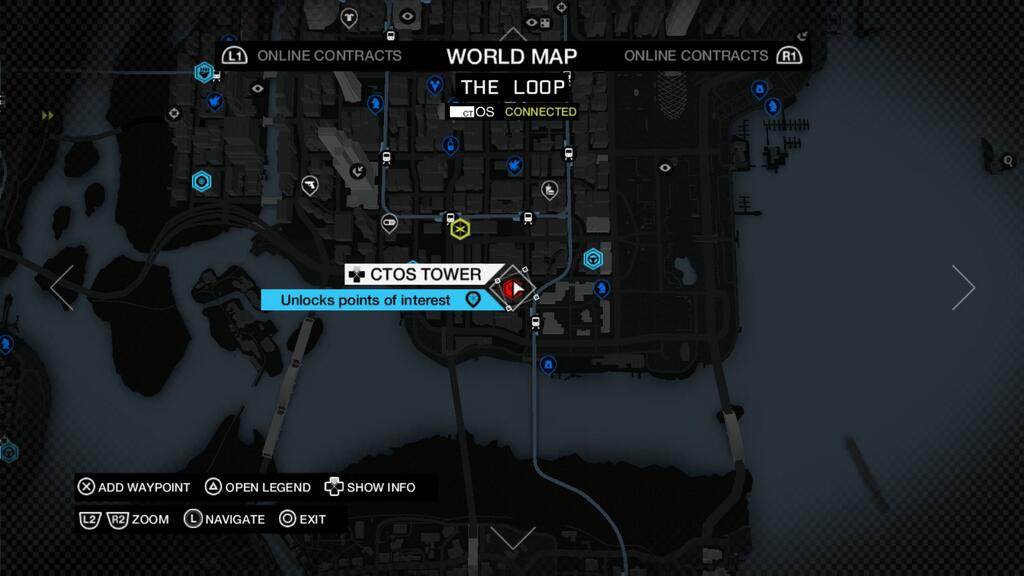
Using the red tower icon in the minimap as a reference point, go into the middle of the block where the four alleys meet. Use the nearby camera to jump to a second camera closer to the tower--this should give you a good view of the unlock panel. Now look to the left for another camera to hack, which will give you a clear view of a second unlock panel. Now climb on the nearby lift and raise it. Then climb up the generator and over the adjacent railing. Run up the two sets of steps and make a left to climb up another level. Pass through the ctOS gate and make another left to climb to an even higher level. When you get to the top, look left to find the tower.
The Loop, North: 5:41
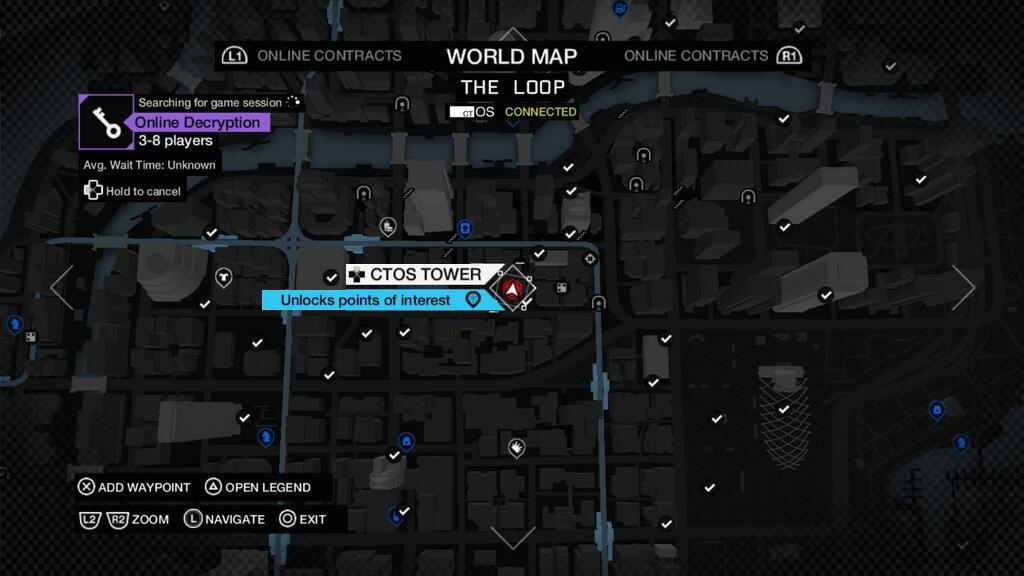
This tower puzzle is another reminder that if there's a scissor lift nearby, you'll most likely need to use it. When the lift has fully risen, move straight ahead toward the climbable ledges. Keep climbing until you reach the ctOS gate. Ignore the camera at the corner of one of the fences and instead hack the camera that's further in the distance. Look to the right for the unlock panel. Hack it, then swing the camera around so that two cameras are in view. Hack the higher camera to get a view of the second unlock Panel. Hack the panel, pass through the unlocked ctOS gate, and make a right. After passing through the second gate, veer right, and climb up the generators to reach the tower.
The Loop, Northeast: 6:22
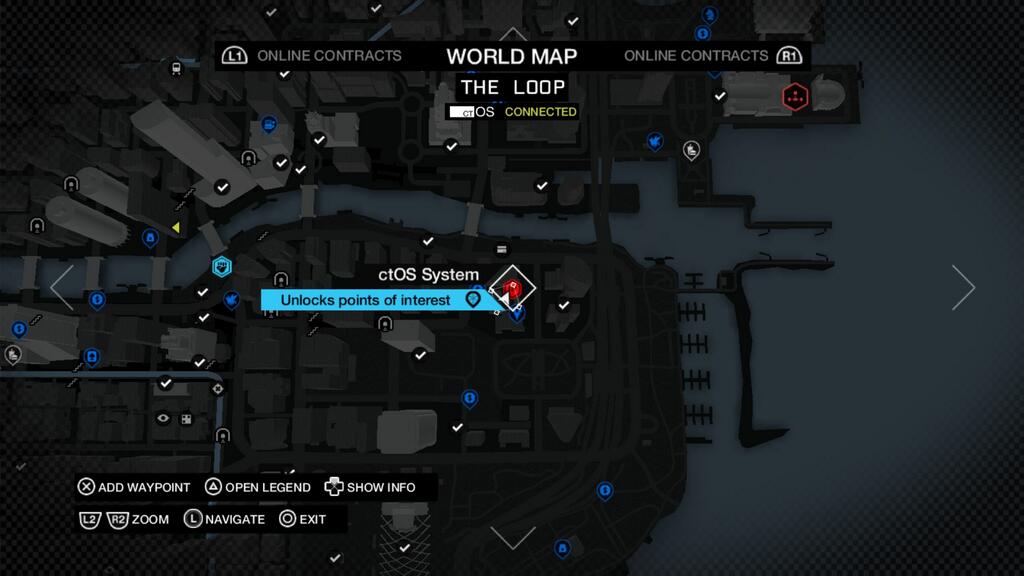
Begin by heading into the alley south of the red ctOS tower marker. Once you've gotten a good glimpse of the tower, look for a catwalk and the camera that's nearly above the catwalk. Hack it, then hack the second camera that's within the first camera's view (slightly up and to the right). You'll now be able to spot the unlock panel, which you should hack. While you're in that view, look straight ahead and hack the lift in the distance. Walk over to the lift and ride it all the way to the top. Run through the two ctOS gates and drop down one level to reach the tower.
Mad Mile, Northeast: 6:54
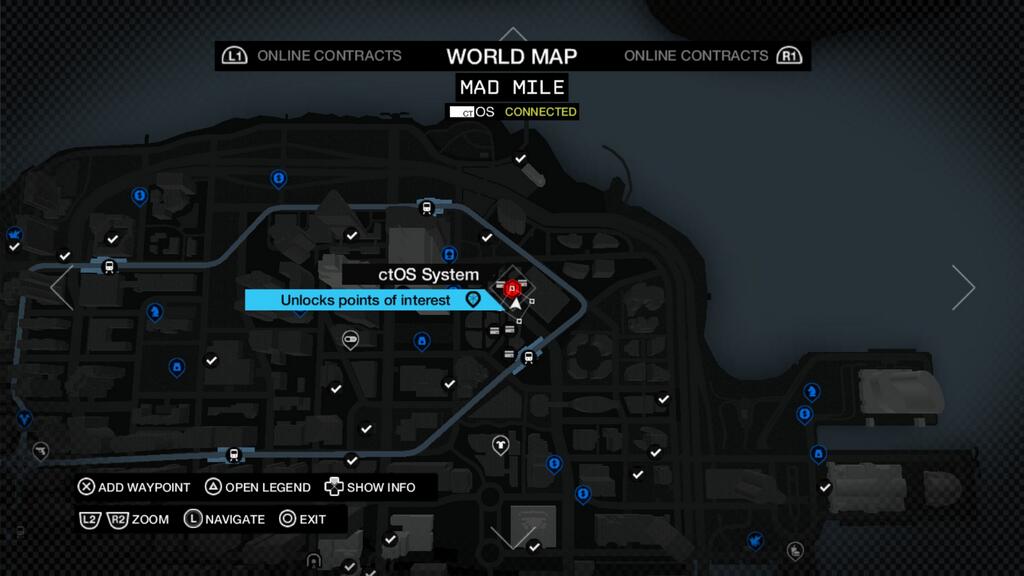
A good starting point is a block west of the red ctOS tower icon on the minimap. Look for a set of abstract steps where each step is slightly taller than Aiden Pierce. Climb those steps and continue running forward, past the generators and over the railing. Use the metal awning to cross to the next building. Climb up two generators to reach another rooftop. Continue moving forward and cross the two large adjoining metal awnings. Look for the ventilation ducts and even more generators. Climb those objects to reach the ctOS gate. Head north, dropping down one level and move along the edge of the building until you reach another set of vents and generators. Climb up and hop over the nearby plants. Advance several paces to (finally) reach the first unlock panel. Did you notice the Intrusion panel after reaching the ctOS gate? Go back to that panel and hack it. Using two interior cameras will reveal the last unlock panel, giving you access to the tower.
Mad Mile, Island: 7:57
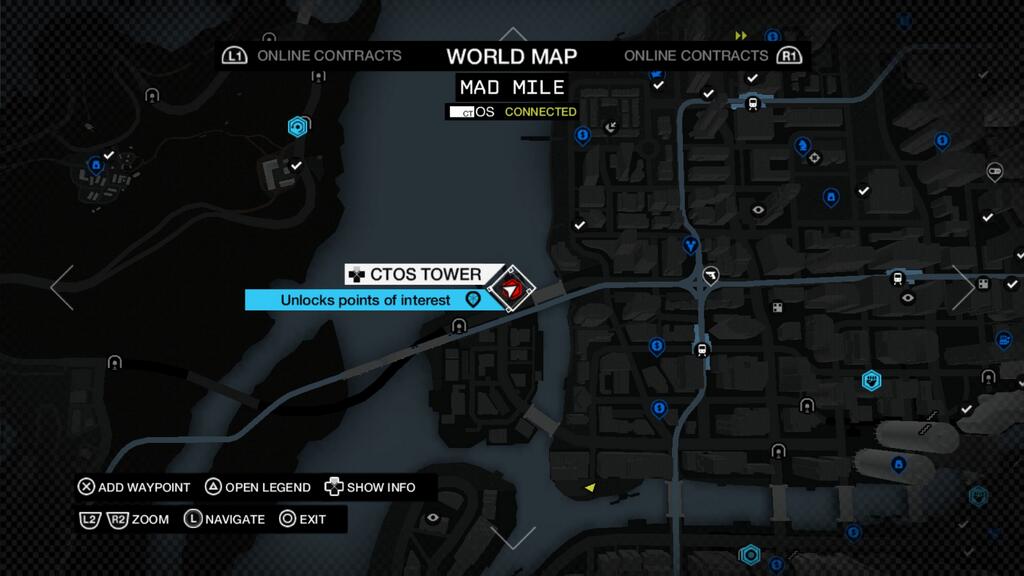
It's best to start this puzzle on the small pier next to the red tower icon. While facing the ctOS logo, look up and slightly to the left to find and hack the first camera. For the next camera, you should also look up and to the left. Now you have a view of the unlock panel. Run toward the ctOS facility and go up the stairs. While facing the water, make a left and continue moving along the side of the building until you reach the ladder. Climb the ladder and look for another unlock panel. Hack it to pass the ctOS gate in front of you. Proceed forward to reach the tower.