Killzone 3 Walkthrough
Take the final charge against the Helghast. Our Killzone 3 guide provides information about multiplayer classes, a full walkthrough, and trophies.
Take the final charge against the Helghast. Our Killzone 3 guide provides information about multiplayer classes, a full walkthrough, and trophies.
- Multiplayer: Learn about the different classes and upgrades
- Walkthrough: A walkthrough of the Campaign mode
- PlayStation 3 Trophies: Gain new Trophies for your collection
Multiplayer Classes
Engineer
- Primary Ability: Repair Tool
- Secondary Ability: Sentry Turret
- Primary Weapon: M224-1A LMG, STA11 SMG, STA3 LMG
- Secondary Weapon: STA18 Pistol, VC8 Shotgun Pistol, STA2 Battle Pistol
Repair Tool can be used to fix up damaged dispensers, turrets, mounted guns and even exoskeletons. Upgrades enable faster speeds and even allows hacking enemy turrets. The sentry turret will automatically target enemies that come in range; at higher upgrades it can even fire deadly rockets. Keep in mind however that upgraded Infiltrators can bypass placed turrets with their disguises.
Marksman
- Primary Ability: Cloak Suit
- Secondary Ability: Scramble
- Primary Weapon: STA14 Rifle, STA52 Assault Rifle, VC32 Sniper Rifle
- Secondary Weapon: STA18 Pistol, VC8 Shotgun Pistol, M66 Machine Pistol
Cloak Suit will allow you to remain invisible for a short time. At the basic level it will disable when shooting or moving, however when fully upgraded it can be used indefinitely while standing still and shooting. At the maxed level it will only disable after killing a foe. Scramble can be used to remove allies from the enemy's radar or shut down radars altogether at maxed level. At level two upgrade they even stop a Tactician from making use of Recon.
Tactician
- Primary Ability: Tactics
- Secondary Ability: Recon
- Primary Weapon: STA11SE SMG, LS13 Shotgun, M82 Assault Rifle
- Secondary Weapon: STA18 Pistol, M4 Revolver, VC9 Missile Launcher
Tactics allow the capture of Tactical Spawns. Theses spawns can give your team items such as jetpacks or mortars, depending on the level. Recon can be used to reveal enemies within thirty meters of your current position. When upgraded, you can release a Sentry Drone that will attack enemies that come within its vicinity. However, much like an Engineer's turrets, your Sentry will be unable to see through Infiltrators that have an upgraded disguise.
Infiltrator
- Primary Ability: Disguise
- Secondary Ability: Survivalist
- Primary Weapon: LS13 Shotgun, STA11 SMG, STA52SE Assault Rifle
- Secondary Weapon: STA18 Pistol, STA2 Battle Pistol, VC9 Missile Launcher
Disguise can be used to appear as one of the enemy, allowing for stealth kills. Enemies can see through your disguise by pointing their reticles while being close enough. At higher levels of upgrades the enemy will have a harder time seeing through your disguise and sentries will no longer fire on you. Survivalist increases stamina, allowing for longer sprints, and even unlimited sprinting at higher levels. They can also place and disarm explosives faster than other classes via Survivalist.
Field Medic
- Primary Ability: Revive
- Secondary Ability: Triage
- Primary Weapon: LS 57 SMG, M224-1A LMG, M82SE Assault Rifle
- Secondary Weapon: STA18 Pistol, M4 Revolver, M66 Machine Pistol
The Field Medic can use Revive allies that have fallen but not dead yet; at higher upgrades of revive the fallen ally will gain more health and ammo upon revival. Triage will allow you to heal nearby allies and deploy a Medi-Droid that will provide cover fire. Additionally, with maxed Triage the Medic can choose to revive himself once per life after falling for the first time. Enemy players should be extra careful to kill fallen medics to avoid them getting back up.
All Class Upgrades
- Skills: Armor, Silent Footsteps, Extra Ammo, Extra Primary Weapon
- Explosives: M194 Frag Grenade, Proximity Mine
Unlike other upgrades, Skills and Explosives are unlocked by ranking up rather than spending points. You can only one skill and one explosive at a time, so pick carefully. You'll start with grenade unlocked automatically, however mines are an over excellent upgrade to them. Armor is helpful with classes that will be actively rushing the front lines, such as Engineer and Field Medic. Silent Footsteps are better suited for sneaky classes such as Marksman and Infiltrator. Extra ammo is always nice, especially for active shooters such as Marksman. Extra Primary Weapon will allow you to arm a second primary in place of your side arm. This is great for giving a Marksman both a Sniper and Assault Rifle, or allowing a Tactician both a Shotgun and SMG.
Evacuation Orders
A New Beginning
Senua's Saga: Hellblade II Everything To Know The Rogue Prince of Persia - Official New Release Date Gameplay Trailer Genshin Impact - Cutscene Animation "Arataki & Flying Lavender Melon's Rockin' for Life Duet" MultiVersus – Official The Joker Gameplay Reveal Trailer | “Send in the Clowns!” 15 MORE Things You STILL Didn't Know In Zelda Tears Of The Kingdom Firearms Expert Reacts to Ghost Recon Breakpoint's Guns Xbox Studio Closures Are Confusing | Spot On Gray Zone Warfare | Community Briefing Trailer #1 Squirrel With A Gun - Official Announcement Gameplay Trailer Night Slashers: Remake || Official Christopher Smith Character Gameplay Trailer Senua's Saga: Hellblade II - Senua's Psychosis Feature Trailer Street Fighter 6 - 8 Minutes of Akuma Gameplay (High-Level CPU)
Please enter your date of birth to view this video
By clicking 'enter', you agree to GameSpot's
Terms of Use and Privacy Policy
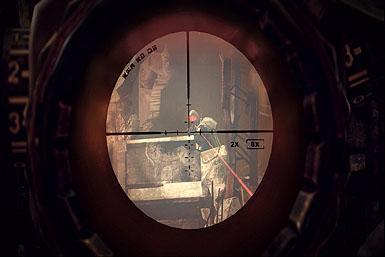
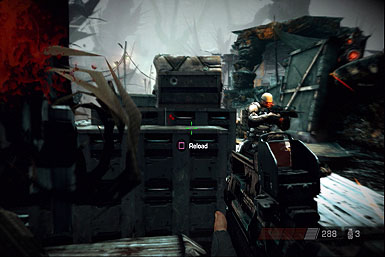
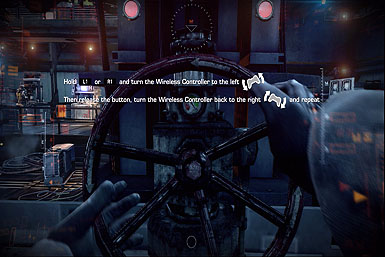
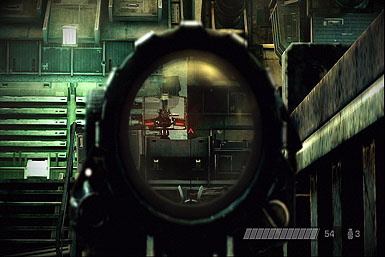
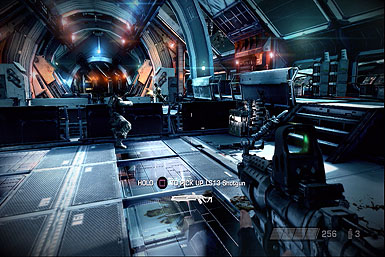
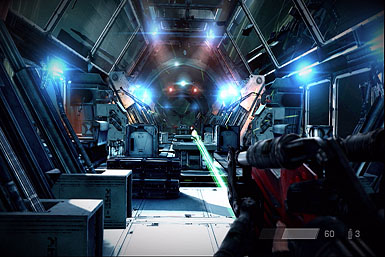
You'll start off with a short tutorial to get used to the controls. Listen to the Helghast officer and as he instructs. You'll learn the basics of taking cover, using side arms and sights. Take out the enemies and follow your partner to the execution room.

Evacuation Orders
Senua's Saga: Hellblade II Everything To Know The Rogue Prince of Persia - Official New Release Date Gameplay Trailer Genshin Impact - Cutscene Animation "Arataki & Flying Lavender Melon's Rockin' for Life Duet" MultiVersus – Official The Joker Gameplay Reveal Trailer | “Send in the Clowns!” 15 MORE Things You STILL Didn't Know In Zelda Tears Of The Kingdom Firearms Expert Reacts to Ghost Recon Breakpoint's Guns Xbox Studio Closures Are Confusing | Spot On Gray Zone Warfare | Community Briefing Trailer #1 Squirrel With A Gun - Official Announcement Gameplay Trailer Night Slashers: Remake || Official Christopher Smith Character Gameplay Trailer Senua's Saga: Hellblade II - Senua's Psychosis Feature Trailer Street Fighter 6 - 8 Minutes of Akuma Gameplay (High-Level CPU)
Please enter your date of birth to view this video
By clicking 'enter', you agree to GameSpot's
Terms of Use and Privacy Policy
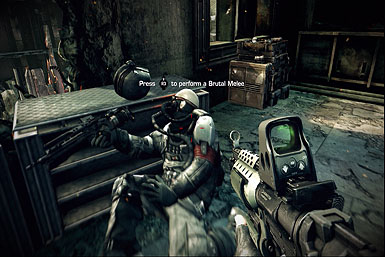
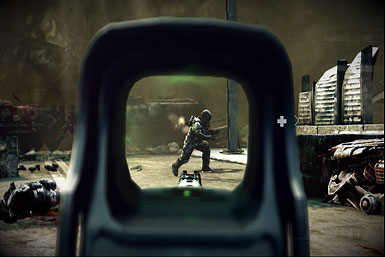
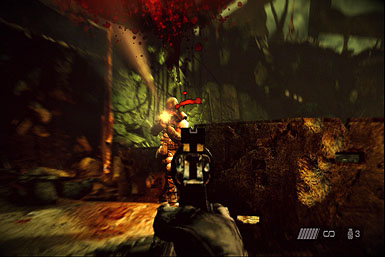
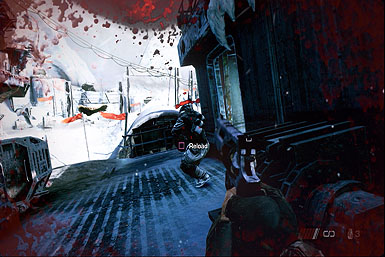
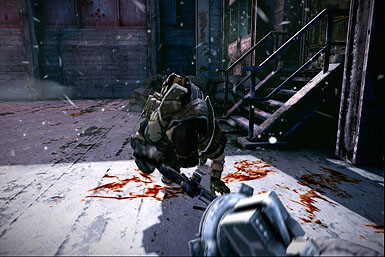
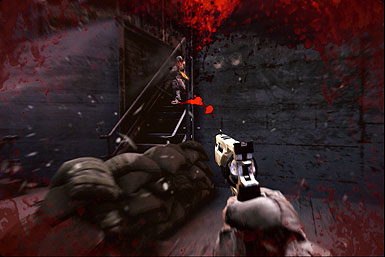
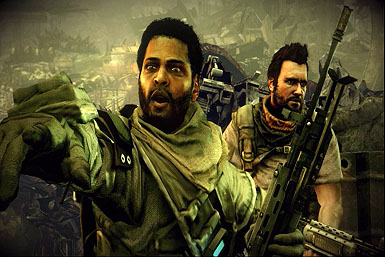
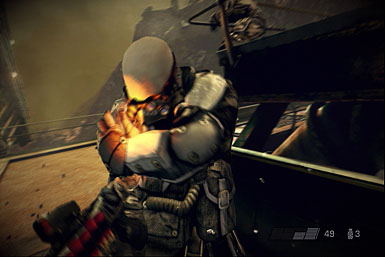
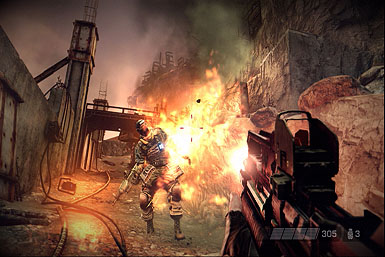
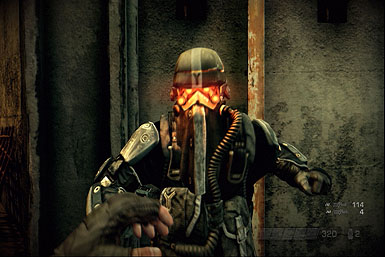
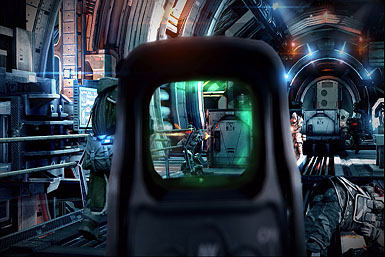
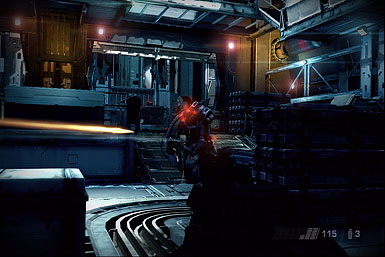
After a brief scene, the story will return to shortly after the conclusion to Killzone 2. You'll once again be taking command of Sergeant Sev and will have Rico by your side. Do as your buddy instructs and kill off the unsuspecting Helghast ahead with a stealth melee attack.


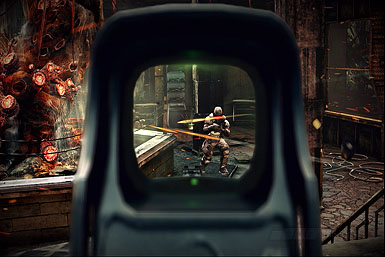
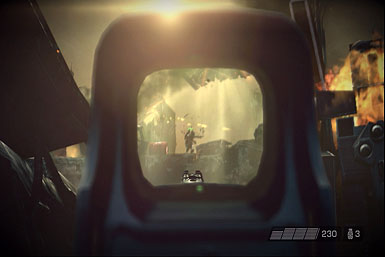
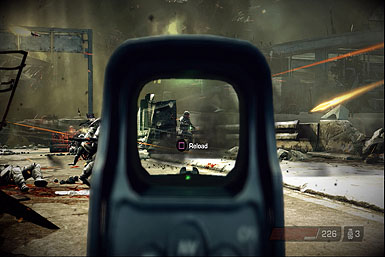
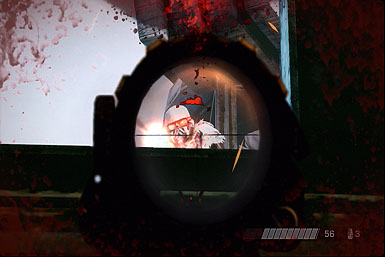
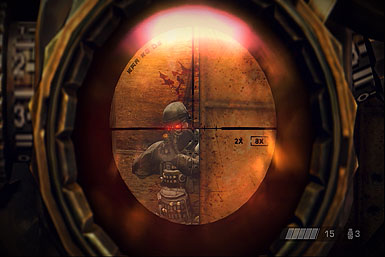
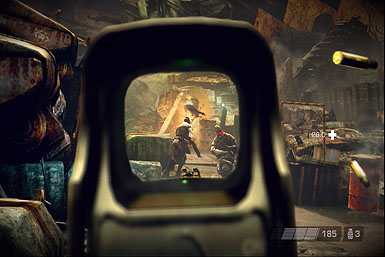
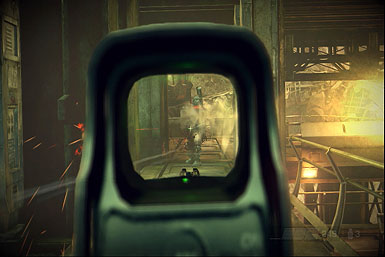
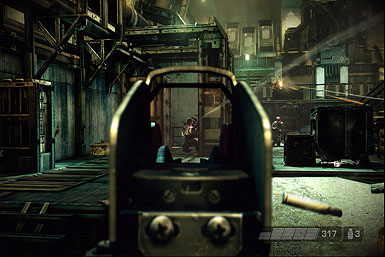
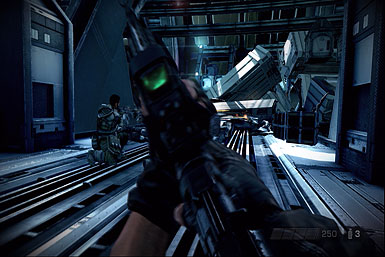
You'll soon meet with the rest of the ISA, who are pinned down in a fire fight. Run up the stairs on the right and take cover. Pop out and use your iron sights to hit each enemy Helghast in the head. Rico and the rest of the soldiers will be able to provide cover fire and take out a good chunk the foes.
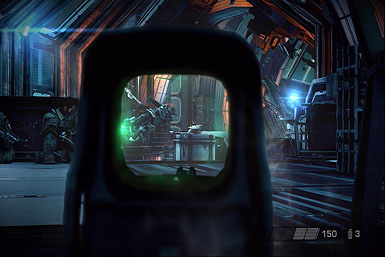
You'll arrive at another lone enemy that won't notice your presence. Brutal melee him and move on to the next area. You'll come to a room with a fountain in the middle and guards on all sides. Take out the enemies on the left and take cover behind the fountain. Slowly take down the rest while Rico distracts the rest of the enemies.
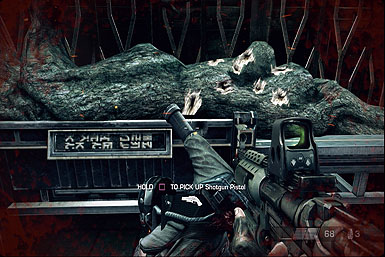
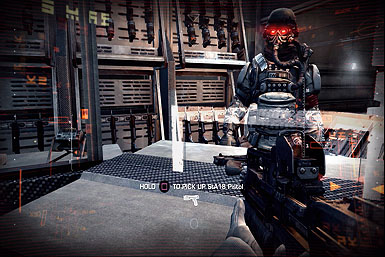
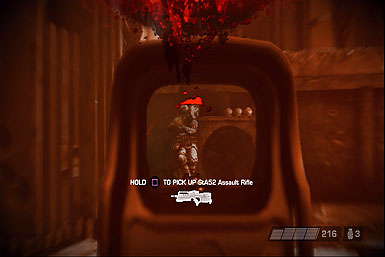
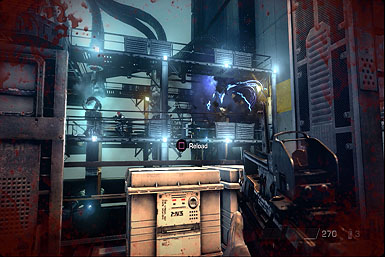
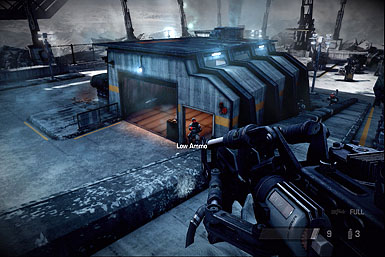
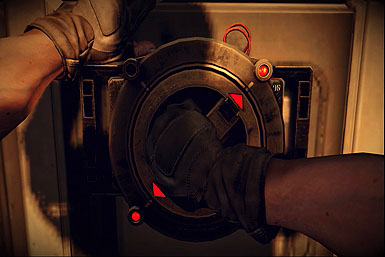
In the next area you'll see that there is a valve that needs to be turned in order to open the gate. Take cover on the far right and headshot the Helghast in your way. climb up the stairs and take out the remaining forces at close range. One of them will be carrying a shotgun pistol, which is superior to your current side arm. Switch out for this weapon and move to the valve.

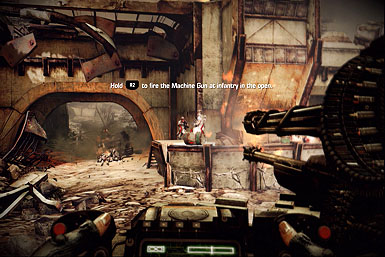
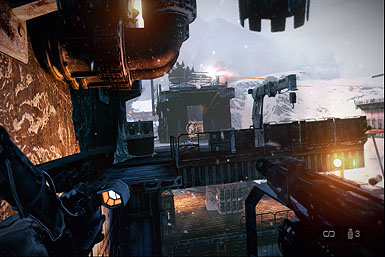
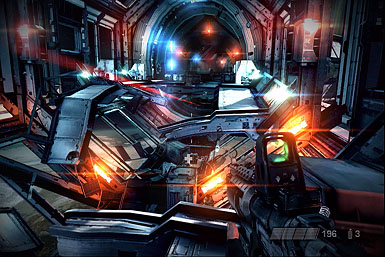
Use the Sixaxis or Move to rotate the valve and open the gate and move on. There will be a turret nearby that is great for mowing down the enemy. Heavy weapons while mounted, such as this gatling gun, will have infinite ammo. If you choose to dismount them they will have a limited amount of ammunition.
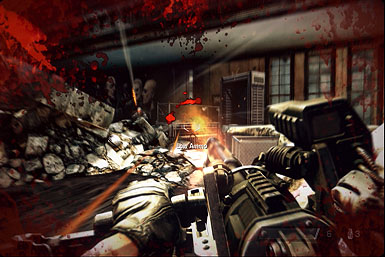
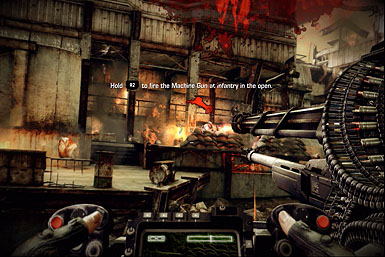
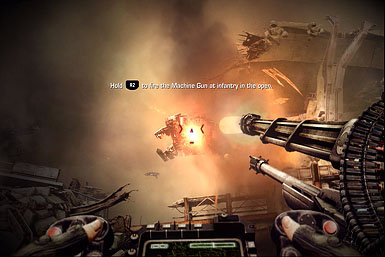
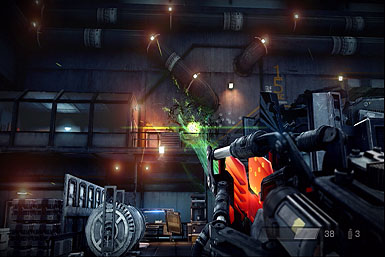
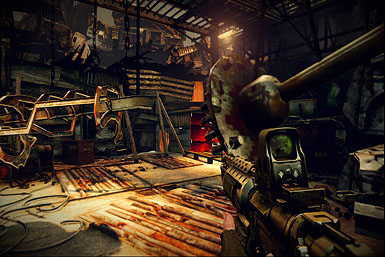
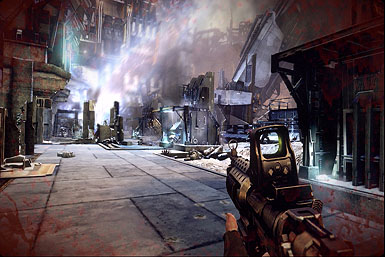
Take the gatling gun with you and enter the warehouse ahead. The power and speed of the gatling gun is enough to turn the Helghast into soft butter. If you happen to run out of gatling ammo, switch back to your assault rifle and clean up the rest of the goo. Don't worry about your rifle clip, as there will be plenty to restock on in the next room.
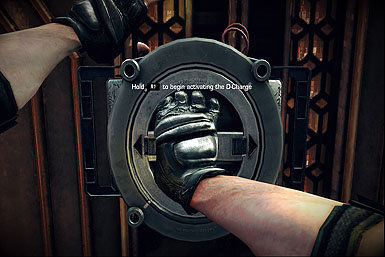
Support Rico in taking out the next wave of bad guys and plant a bomb to blast open the door. Much like the valve from before, turning on bombs requires the use of the Sixaxis or Move motion. More enemies will appear, including some that will try and rush you. Take them down to conclude the first act.
Pyrrhus Evac
Senua's Saga: Hellblade II Everything To Know The Rogue Prince of Persia - Official New Release Date Gameplay Trailer Genshin Impact - Cutscene Animation "Arataki & Flying Lavender Melon's Rockin' for Life Duet" MultiVersus – Official The Joker Gameplay Reveal Trailer | “Send in the Clowns!” 15 MORE Things You STILL Didn't Know In Zelda Tears Of The Kingdom Firearms Expert Reacts to Ghost Recon Breakpoint's Guns Xbox Studio Closures Are Confusing | Spot On Gray Zone Warfare | Community Briefing Trailer #1 Squirrel With A Gun - Official Announcement Gameplay Trailer Night Slashers: Remake || Official Christopher Smith Character Gameplay Trailer Senua's Saga: Hellblade II - Senua's Psychosis Feature Trailer Street Fighter 6 - 8 Minutes of Akuma Gameplay (High-Level CPU)
Please enter your date of birth to view this video
By clicking 'enter', you agree to GameSpot's
Terms of Use and Privacy Policy
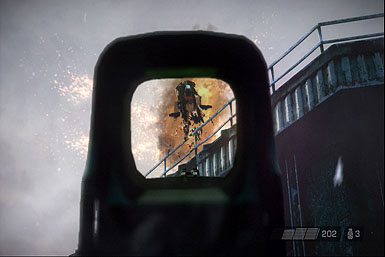
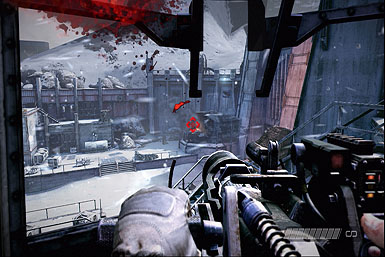
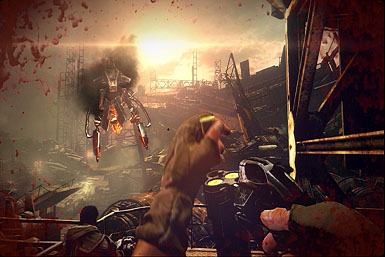
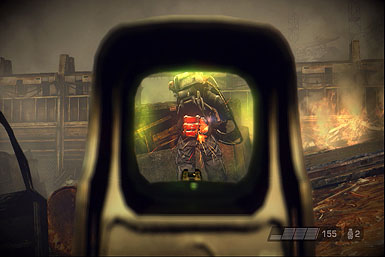
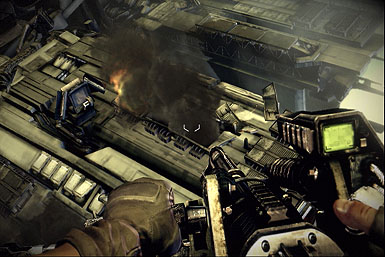
You'll meet up with the rest of the ISA barricade. Two mechs, one ISA and one Helghast, will be fighting amongst each other, so let the heavies take care of themselves. Use your rifle to take down the support shooters standing on top of the buildings. After the Exoskeletons have destroyed one another, move on to the next area. Take cover and use your rifle's iron sights to blast the Helghast.
Rico may get hurt in the cross fire, and revive him right away can expose your position. Try to kill off as many enemies as you can before risking your neck for your buddy. Afterwards you'll be in the gunner's seat of an ISA tank. The driver will lead you where you need to go, so just worry about shooting.
Soldiers will appear on all sides, but can be easily dealt with the tank's machineguns. You'll want to save area of effect rockets for enemies that have armor piercing rockets and tough drop ships.
You'll eventually do battle with several Helghast assault ships and armored tanks. Concentrate on the enemies that are firing on you, as Rico can take care of his own targets. As with before, use rockets as your main form of attack, switching to machineguns only when your main weapon is cooling down.
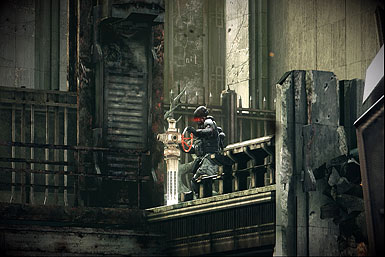
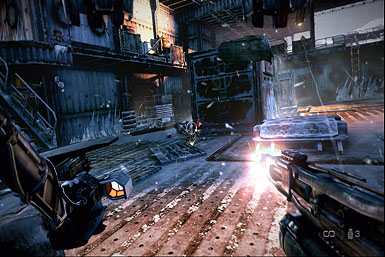
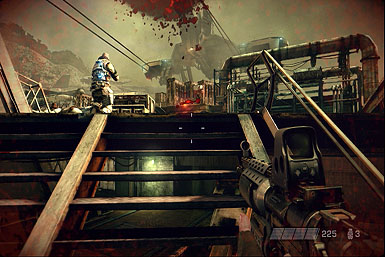
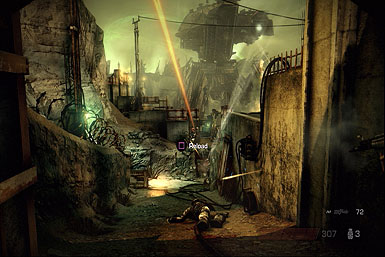
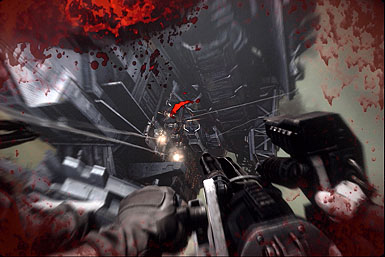
You'll soon be back on foot and will be separated from Rico and the rest of the squad. The ISA will take the low ground while you provide support from the buildings. There will be a Helghast at a nearby turret that will be blasting your ISA friends. He's oblivious to your presence, so take him down with a brutal melee. Use the turret to help out Rico and the rest of the ISA below.
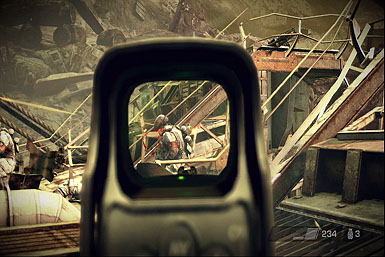
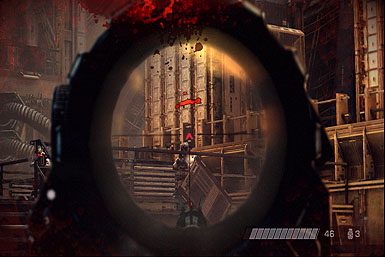
After the initial fight you'll meet up with several enemy snipers. They are slow at taking headshots at you, so you can easily kill them before they counter attack. Arm yourself with their dropped rifles and pick off the helpless foot soldiers. You'll come to another roof top where you will need to help out Rico and the ISA. You can take out the ground troops that Rico is fighting, but it isn't really needed. Instead, focus on the snipers in the other buildings. There are two in the building across the chasm, one to the right, and two more on the left building.

After a brief scene you'll meet up with Rico and mount up in a few Exoskeletons. The suit's heavy weapons and durability are excellent for tearing down the building ahead. Rico himself will be able to clear out most of the enemies hiding about. When ready, take the road to the left and destroy any heavy craft before finishing off the ground troops.
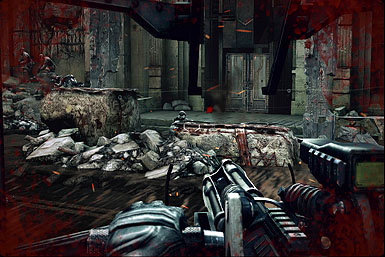
You'll soon be back on the ground and will only have normal ISA troops helping you. Unlike Rico, these tikes can die permanently, making a long fought battle much more dangerous. The pile of debris in the middle of the ditch is a great place to take cover, but be sure to watch each side for sneaky foes. The Helghast will at first use standard troops, but the next few waves of enemies will include melee troops that can be deadly with their knife slashes. Use your shotgun pistol to deal with close range enemies and prevent them from doing real harm.
Six Months Later
Senua's Saga: Hellblade II Everything To Know The Rogue Prince of Persia - Official New Release Date Gameplay Trailer Genshin Impact - Cutscene Animation "Arataki & Flying Lavender Melon's Rockin' for Life Duet" MultiVersus – Official The Joker Gameplay Reveal Trailer | “Send in the Clowns!” 15 MORE Things You STILL Didn't Know In Zelda Tears Of The Kingdom Firearms Expert Reacts to Ghost Recon Breakpoint's Guns Xbox Studio Closures Are Confusing | Spot On Gray Zone Warfare | Community Briefing Trailer #1 Squirrel With A Gun - Official Announcement Gameplay Trailer Night Slashers: Remake || Official Christopher Smith Character Gameplay Trailer Senua's Saga: Hellblade II - Senua's Psychosis Feature Trailer Street Fighter 6 - 8 Minutes of Akuma Gameplay (High-Level CPU)
Please enter your date of birth to view this video
By clicking 'enter', you agree to GameSpot's
Terms of Use and Privacy Policy
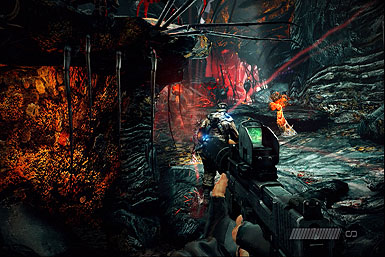
You'll be teamed up with Kowalski for this mission. Be wary of the plant life in the jungles as most will actively try and attack you. Others such as the spores Kowalski shoots will explode on impact. Sneak through the shadowy caves of the levels to avoid detection from the Helghast patrols. Your gun can instantly kill enemies with a lone headshot, but the target will have to be perfect dead center. If you mess up and an enemy survives they will call for reinforcements and a normal battle will start.
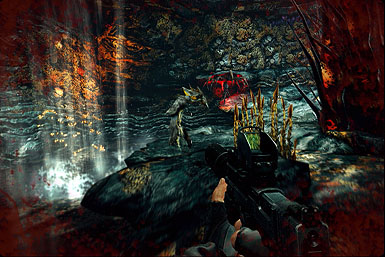
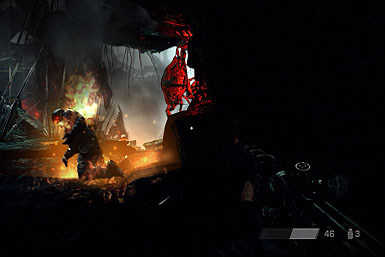
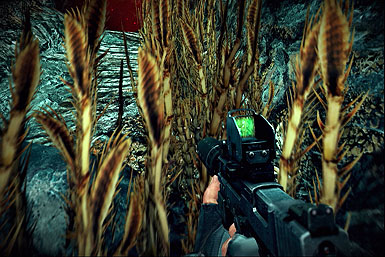
In most cases, try and kill close by enemies and use the exploding planet life to easily kill groups of foes. If you really get tired of the stealth bit, one of the enemies killed will drop a flame thrower. This deadly weapon will continue to burn Helghast even after the first shot, leaving them crispy critters after only a bit of ammo use. You'll soon be without the caves to protect you from enemy sights and will instead need to duck and move through the bushes. You'll soon come to a Helghast encampment and several of their Exoskeletons.

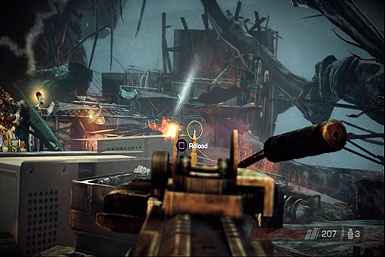
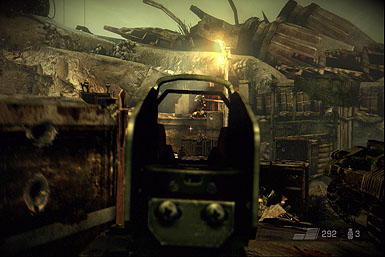
Restock on ammo and pick up a machinegun. Your initial starting area provides little cover, so swing around to the right and into the small curved passageway. Take down the nearby foot soldiers before aiming for the Exoskeleton bosses. They tend to fire grenades in several bursts, so move in and out of cover to avoid being blown up. When it seems clear, hit the Exo suits hard with machineguns or rockets.
Afterwards, you'll need to high tail it back to the ISA base. You'll be backtracking through the Kaznan. This time the enemies are aware of your location, so there is no need to be sneaky. Still, your main weapon's instant kill headshots are the best means of dealing with the advancing guards. If you really need an extra punch, there is a rocket launcher near the sequences start and several enemies will drop flame throwers.

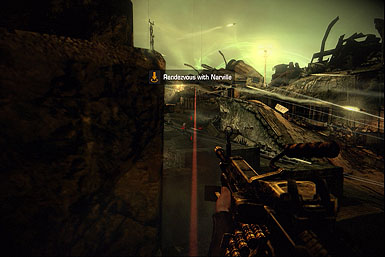
For the last section of the level you will need to hold the ISA camp. Your priority is to take down the Exosuits, missilers and snipers. The enemy will pound the buildings and turrets, making them unreliable cover. Helghast will continue to spawn from either side, making it unwise to focus on those areas. Narville is your main target to protect, as he is one of the few revivers who cannot permanently die during this battle. If you really find yourself in a jam, hid in the hole on the left side of the map and only take on the few enemies that approach. After a few minutes of getting battered, the mission will end with a scene.
Icy Incursion
Senua's Saga: Hellblade II Everything To Know The Rogue Prince of Persia - Official New Release Date Gameplay Trailer Genshin Impact - Cutscene Animation "Arataki & Flying Lavender Melon's Rockin' for Life Duet" MultiVersus – Official The Joker Gameplay Reveal Trailer | “Send in the Clowns!” 15 MORE Things You STILL Didn't Know In Zelda Tears Of The Kingdom Firearms Expert Reacts to Ghost Recon Breakpoint's Guns Xbox Studio Closures Are Confusing | Spot On Gray Zone Warfare | Community Briefing Trailer #1 Squirrel With A Gun - Official Announcement Gameplay Trailer Night Slashers: Remake || Official Christopher Smith Character Gameplay Trailer Senua's Saga: Hellblade II - Senua's Psychosis Feature Trailer Street Fighter 6 - 8 Minutes of Akuma Gameplay (High-Level CPU)
Please enter your date of birth to view this video
By clicking 'enter', you agree to GameSpot's
Terms of Use and Privacy Policy
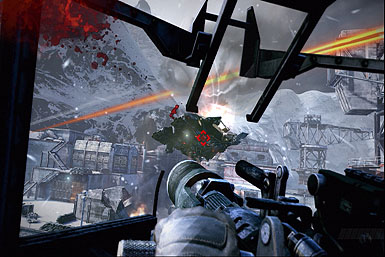
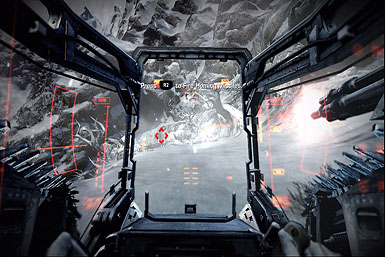
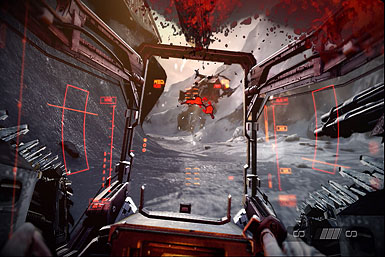
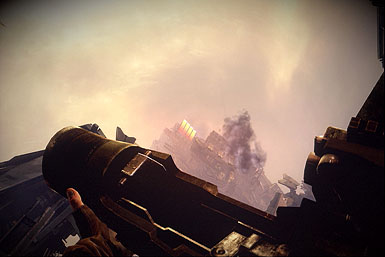
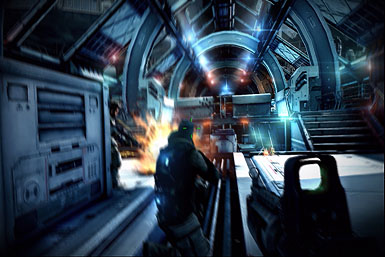
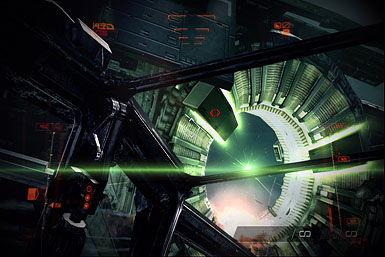
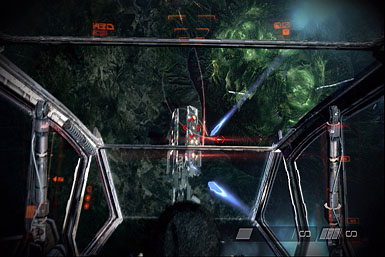
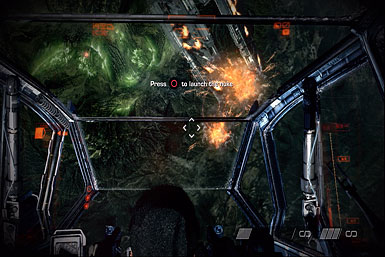
You'll start off the chapter by being reunited with Rico and his Raiders. The first part of the battle is an on rails flight against the Helghast forces. The rest of the Raiders will be good at taking out the fodder, so concentrate your own attacks against the main targets: enemy turrets and anti-air troops.

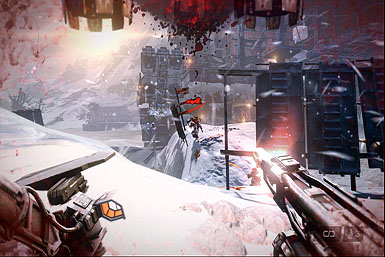
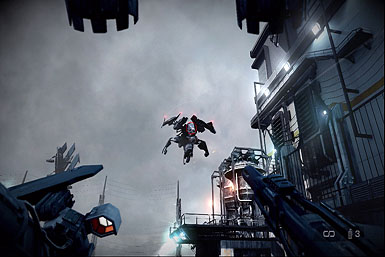
After circling around the building a few times, you and Rico will get shot down. You'll land on a frozen beached tanker and will need to cautiously patrol ahead. Rico will provide good suppressant fire, but you'll have to be the one to take down the bulk of the foes. One of the new enemies are Helghast with jetpacks. Their high flight antics can make targeting them annoying, but thankfully they aren't any more durable than the rest of their allies.
Mount up with one of the stolen jetpacks and head to the rig. You'll want to make use of the jetpack's thrusters to leap across the broken bits of the rig. The jetpack has unlimited machinegun ammo along with missiles that have a cool down. Move to the far right of the building and take down the huddled group of soldiers. Next move inside the small shack and cleanse the remaining Helghast from their world.
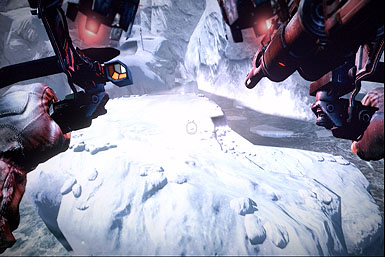
Move to the rig's long plank and dive down to the ice pads below. You'll once again need to thrust up and forward to platform across the snowy land masses. Gun down the Helghast patrols ahead and enter into the second ice rig.

You'll be moving and jumping across broken catwalks. At every turn there will be more enemies to block your advance. Take the time to lovingly murder each one of them with special care. You'll need to strap in two bombs via the Sixaxis or Move. If you have trouble finding where to plant the bomb, use the objective marker button to point you to the correct hubs.
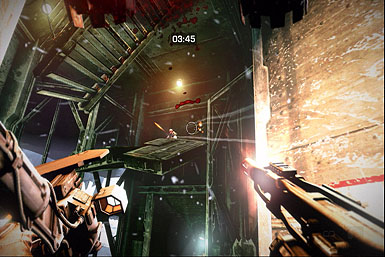
After arming the bombs, you'll have four minutes to escape the rig. Take out the jetpack Helghast that emerges from the gates and fly up the broken stairwell. You'll need to be swift about turning, as the enemy will appear behind you as you ascend the shaft. After reaching the top, quickly bolt to the objective marker to make it off the rig.

After another scene you'll be back on Rico's turf. Quickly sprint forward to avoid being blown up by the enemy cannons. You'll come to a stairwell along with a rifle. Rico will act as a meat shield while you peck at the enemy troop's meaty heads.
Move to the roofs and man the mounted cannon. Like all mounted weapons, this canon has infinite ammo while locked down. Use the missile barrage to take down the ships that appear. Several waves appear, so you may want to take cover while the cannon cools off. After taking down the heavy ships, dismount the heavy weapon and head back below.
Rush across the snow to the other end of the field. Even with the heavy gun in your hands you can switch out to smaller weapons. Conserve your rocket ammo and take down the Helghast guards with your sidearm. Head to the top of the building and blow up the tank in the distance. Use the remaining heavy ammo to kill off remaining guards and continue on to the next section.
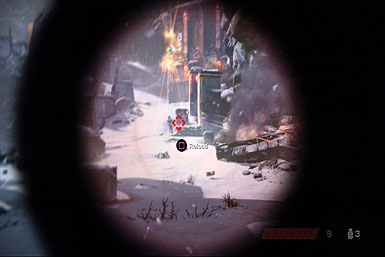

After meeting with Jammer you'll be able to stock up on extra weapons. Grab a sniper rifle and a rocket launcher. Try to avoid using all of your ammo on small groups. Instead fire out of iron sights to use only one missile at a time. Slowly climb up the mountain face, sniping each guard that comes through.

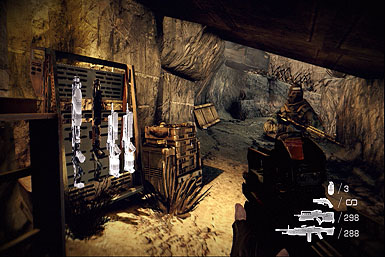
At the top, there will be a shack on the right that contains an ammo dispenser. There is a lone Helghast inside, so be quick about killing him with your sidearm. Quickly grab an assault rifle and take cover. Pop out from cover and kill the guards in the opposite buildings. With luck, Rico will take the left side and provide good cover fire. After the fight head into the building to find the tram, which is one its way to Narville's prison.
Stahl Arms Infiltration
Senua's Saga: Hellblade II Everything To Know The Rogue Prince of Persia - Official New Release Date Gameplay Trailer Genshin Impact - Cutscene Animation "Arataki & Flying Lavender Melon's Rockin' for Life Duet" MultiVersus – Official The Joker Gameplay Reveal Trailer | “Send in the Clowns!” 15 MORE Things You STILL Didn't Know In Zelda Tears Of The Kingdom Firearms Expert Reacts to Ghost Recon Breakpoint's Guns Xbox Studio Closures Are Confusing | Spot On Gray Zone Warfare | Community Briefing Trailer #1 Squirrel With A Gun - Official Announcement Gameplay Trailer Night Slashers: Remake || Official Christopher Smith Character Gameplay Trailer Senua's Saga: Hellblade II - Senua's Psychosis Feature Trailer Street Fighter 6 - 8 Minutes of Akuma Gameplay (High-Level CPU)
Please enter your date of birth to view this video
By clicking 'enter', you agree to GameSpot's
Terms of Use and Privacy Policy
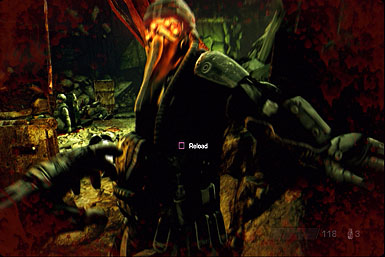
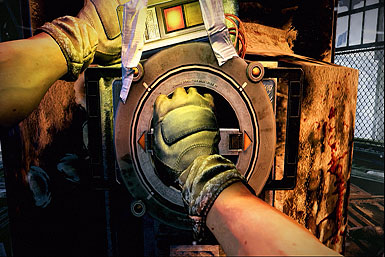
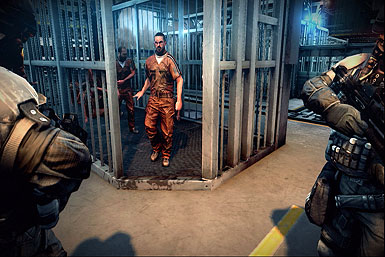
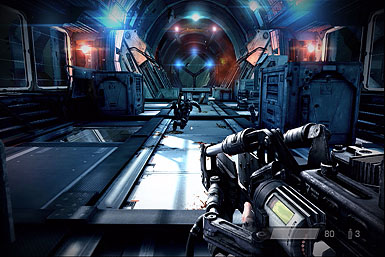
You'll be back at the scene from the start of the game. Don't worry, you won't have to do the silly tutorial again. You will also hear instructions from Rico instead the silence of a fellow Helghast teammate. The first hurdle you'll come to is distracting the guards. Locate a valve on the left and use the Sixaxis to release the pressure. This will give you time to slip by and enter the next area.
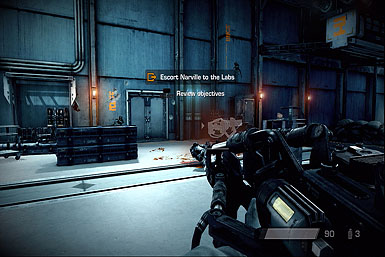
You'll be armed with an experimental Helghast weapon--the Arc Cannon. It's very powerful and can kill any normal enemy in two shots. You'll still need to be a little careful as it can only fire about ten times before you'll need to find a dispenser. Enter the first room and take the far left hall. Rico and Narville may have trouble with the other forces, but don't risk your own neck to revive them. Often times you'll want to kill the large amount of forces before helping your allies. However, the Arc Cannon can take care of most of these guards.
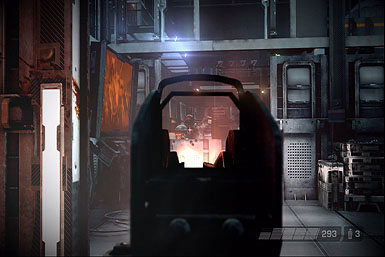
Narville will separate to find other prisoners, so it will be back to just you and Rico. Conserve some Arc ammo by switching to a Helghast rifle. Clear out the enemies on the lower level of this floor and then take cover behind the terminals on the other end. More enemies will appear from the doors you entered from, but there is a dispenser nearby. Let loose with the Arc Cannon and restock at the dispenser when needed.
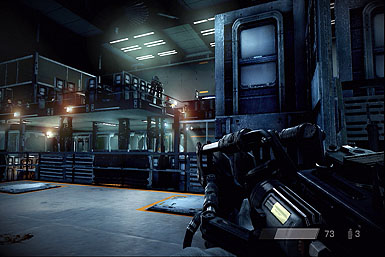
In the next room you'll be attacked by jetpack soldiers. If you reloaded the Arc Cannon feel free to go nuts and kill each enemy in two shots. Ascend up the stairs on the right and continue to abuse the Arc Cannon's fire power. An elevator to the far right will soon arrive with more soldiers, however once again blast with the Cannon.
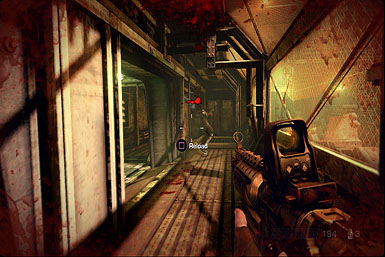
There will be another long corridor, so take cover and pop out to use the Arc Cannon's charge to safely take out the Helghast herds. You'll reunite with Narville and the freed prisoners. Restock on ammo and take out the last of the guards before making your escape.
Once outside you won't be able to abuse the Arc Cannon due to a lack of dispensers. Use whatever shots you can and then jack a Helghast jetpack. You'll need to leap to avoid enemy fire and can use the building in the center to take cover. The final enemy is a flying craft that is loaded with rockets. Take cover and pop out only to fire your own jetpack missiles. After dozens of shots the craft will finally fall.
For the last stretch of the chapter you'll be in the ice saw. It automatically moves forward, but you can slightly steer its direct and aim. It's armed with both a machinegun and rockets, both with infinite ammo. Quickly blast the Helghan ice crafts and avoid bombs in the ground. As long as you are able to destroy the enemy vehicles you'll gain enough time to heal between encounters. Killing the enemy is more about self-survival, as the chapter will automatically end when you reach the finish line.
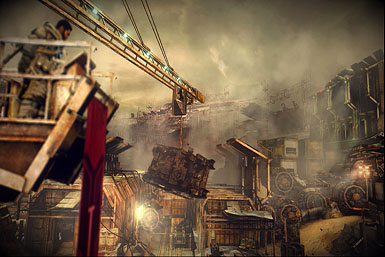
Scrapyard Shortcut
Senua's Saga: Hellblade II Everything To Know The Rogue Prince of Persia - Official New Release Date Gameplay Trailer Genshin Impact - Cutscene Animation "Arataki & Flying Lavender Melon's Rockin' for Life Duet" MultiVersus – Official The Joker Gameplay Reveal Trailer | “Send in the Clowns!” 15 MORE Things You STILL Didn't Know In Zelda Tears Of The Kingdom Firearms Expert Reacts to Ghost Recon Breakpoint's Guns Xbox Studio Closures Are Confusing | Spot On Gray Zone Warfare | Community Briefing Trailer #1 Squirrel With A Gun - Official Announcement Gameplay Trailer Night Slashers: Remake || Official Christopher Smith Character Gameplay Trailer Senua's Saga: Hellblade II - Senua's Psychosis Feature Trailer Street Fighter 6 - 8 Minutes of Akuma Gameplay (High-Level CPU)
Please enter your date of birth to view this video
By clicking 'enter', you agree to GameSpot's
Terms of Use and Privacy Policy
You'll begin the chapter in the middle of a garbage heap. Follow Rico and do as he instructs: Shoot the explosive barrel to clear a path to Narville and the rest of the ISA.
Rico will split up, leaving you with only paper thin ISA soldiers guarding your back. Grab a rifle and snipe the enemies off in the distance, particularly those with sniper rifles and rocket launchers. Soon a platoon of ISA tanks will arrive and roll over the remaining Helghast.

You'll meet back up with Rico and will have to guard a control tower at the far end. Use your rifle to clear auto the first wave of guards and then switch to a closer range weapon. Drones will start coming in, so be ready to hit them hard with a shot gun or assault rifle. As long as you stay on top of the tower, the enemy will tend to take the ladders up to your level. Use this time to shoot them while they climb and help out Rico as needed.
After about three different waves of enemies and drop ship delivery, Rico will have enough workspace to start up the crane. He'll swing over a pile of garbage that you may detonate to move through the next gate.
Here you will do battle with a gatling gun boss and several respawning cronies. Take out the lesser enemies first while Rico distracts the boss. The big foe's pathing is rather shoddy, and will often get caught on the terrain. Use this flaw to pelt him with rifle fire to the head. Eventually the boss will hunch over, giving you a free shot to blow up the tank on his backside.

Enter the building and you will find some really poor cover. Even while hiding behind this the enemy above can quickly turn your brain into Swiss cheese. Instead dash to the hallway on the right and charge through the Helghast that try to block you. Swing around the room counter clock-wise and take down each enemy in the way. Rendezvous with Rico and take out the lone roof enemy before pressing on.
Many of the Helghast are armed with rocket launchers, but aren't quick enough on the draw to be much of an issue. Stun them with rapid fire from your rifle and move in for a brutal melee

You'll group up with a troop of ISA soldiers that are storming the bridge. Head to the right side of the stairs and help support your allies against the advancing enemies. It's a little risky to go straight to the mounted weapons. Instead, knock off a few enemies first before heading to the heavy weapons.
You'll want to take out the last few enemies at the bottom of the stairwell. There isn't much cover on your end, but the Helghast will pop out one at a time. Head to the bridge and arm up a bomb. Let the ISA troop with you tank the brunt of the forces, while you take down the remains from afar.
The Reckoning
Senua's Saga: Hellblade II Everything To Know The Rogue Prince of Persia - Official New Release Date Gameplay Trailer Genshin Impact - Cutscene Animation "Arataki & Flying Lavender Melon's Rockin' for Life Duet" MultiVersus – Official The Joker Gameplay Reveal Trailer | “Send in the Clowns!” 15 MORE Things You STILL Didn't Know In Zelda Tears Of The Kingdom Firearms Expert Reacts to Ghost Recon Breakpoint's Guns Xbox Studio Closures Are Confusing | Spot On Gray Zone Warfare | Community Briefing Trailer #1 Squirrel With A Gun - Official Announcement Gameplay Trailer Night Slashers: Remake || Official Christopher Smith Character Gameplay Trailer Senua's Saga: Hellblade II - Senua's Psychosis Feature Trailer Street Fighter 6 - 8 Minutes of Akuma Gameplay (High-Level CPU)
Please enter your date of birth to view this video
By clicking 'enter', you agree to GameSpot's
Terms of Use and Privacy Policy
You'll start this mission with a machinegun, but will be up against snipers and other long range targets. Take the time to move to the right and grab a rifle with iron sights from the fallen ISA troops. This will make it a lot easier in taking down the Helghast that have a decent range advantage.
Continue ahead and meet up with Narville. After a short scene you'll be buddied up with two random ISA troops. Arm yourself with both an assault and combat rifle; a shotgun pistol will also be nice.
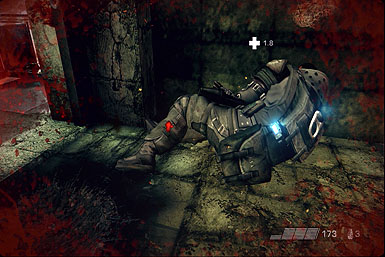
You can't really rely on the assistance of the ISA, as the Helghast will ambush with flame throwers. Let your allies act as bait and kill off the flame troops with your rifle. However, the enemy will be in the upper level above the trenches, making it unlikely that you'll be able to grab the flame throwers for yourself. Instead arm yourself with a close range weapon, such as a shotgun and continue to march forward. A prone Helghast will be just around the corner, but a good shotgun hit or brutal melee will make quick work of him.
You'll now go toe to toe with the MAWLER, the huge beast of a machine from back in Chapter 3. Head into the shack and grab a mortar launcher. Remember, just like in Icy Incursion you'll want to attack out of sights to conserve ammo. Start by killing the Helghast gunner stationed in the MAWLER's knee caps. Immediately afterwards take refugee behind the giant battery stations. Be warned, if these batteries are damaged too much they will let off a deadly electric shock.
After the MAWLER uses its main gun it will need to cool off its generators. Use this time to target its weak points and take down a brunt of its defenses. Eventually the MAWLER will ignore the Raiders and go straight for you. Avoid sitting in the shacks as the enemy will specifically target that area. Instead stick by the batteries and only move when they let off too much of a charge.
Helghast drop ships will appear to unload ground troops and the ISA will have little in the way of resistance. Kill off only the enemies that come your way and stock up on more rockets. As soon as the MAWLER use its main weapon and cools down, drop everything and target its exposed weak point to take it down.
Watch yet another scene and the MAWLER will start back up. For now you'll be moving under the beast and taking on more Helghast ground troops. Your ISA allies won't be much help here, as the enemies are packing powerful weapons and are using mounted turrets with shields. Use what little distraction the ISA provides and score some headshots with your rifle. You'll want to focus on the turrets as they are the most deadly obstacle on the field. After clearing those out, cautiously move up the stairs and shotgun the remaining Helghast on the lift.
You'll be picked up by the Raiders and will once again be a gunner on one of their crafts. Concentrate on taking down the MAWLER's anti-air guns at all cost. You won't have the luxury of cover, so your only means of protect is a swift offense. Even when your goal switches to taking down the MAWLER's power core shoot out the remaining AA guns first. After its offenses are finally gone, put the final bullet to end the MAWLER and this chapter.
Interception
Senua's Saga: Hellblade II Everything To Know The Rogue Prince of Persia - Official New Release Date Gameplay Trailer Genshin Impact - Cutscene Animation "Arataki & Flying Lavender Melon's Rockin' for Life Duet" MultiVersus – Official The Joker Gameplay Reveal Trailer | “Send in the Clowns!” 15 MORE Things You STILL Didn't Know In Zelda Tears Of The Kingdom Firearms Expert Reacts to Ghost Recon Breakpoint's Guns Xbox Studio Closures Are Confusing | Spot On Gray Zone Warfare | Community Briefing Trailer #1 Squirrel With A Gun - Official Announcement Gameplay Trailer Night Slashers: Remake || Official Christopher Smith Character Gameplay Trailer Senua's Saga: Hellblade II - Senua's Psychosis Feature Trailer Street Fighter 6 - 8 Minutes of Akuma Gameplay (High-Level CPU)
Please enter your date of birth to view this video
By clicking 'enter', you agree to GameSpot's
Terms of Use and Privacy Policy
This is the final stretch of the game and it's time to let out all the stops. You'll have both Rico and Narville by your side for this chapter, but that doesn't mean it's an easy ride. Mainly it will seem that you'll need to play baby sitter while reviving your fallen comrades.
Start by holding back and destroying the Helghast bug robots that crawl your way. It takes only a single clean shot to detonate these critters. Next up Helghast guards will appear. Let Rico and Narville lay down suppressant fire while you take the high ground and eliminate the troops.

You'll next come to a curved hall that lacks decent cover. Let Rico or Narville take the helm and act as bait. As enemies come forward to slaughter your allies, snipe each of the baddies from a distance. One or both your allies might collapse when this happens, so wait on reviving them until the coast is clear.

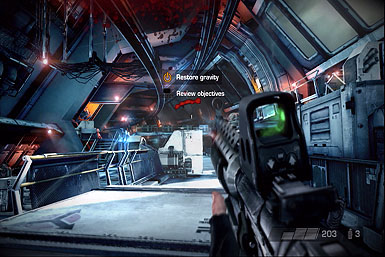
At the next weapon station switch out for a rapid burst weapon and clean up the next wave of Helghast. You'll soon come to an area where the gravity has been turned off. In this environment jumping will be hazardous for both you and the enemy. Enemy drones will also appear from afar. Be careful when destroying these enemy's, as the gravity can still cause their destroyed wreckage to explode in your face.

When the Helghast are dead, turn the gravity back on and arm yourself with some new weapons. You'll come to a set of elevators that will first deploy normal troops, followed by drones and finally a gatling gun boss. As with the previous gatling gunners, fire at their heads until they hunch over; when the enemy is on their knees, instead focus on the tank on his rear.
you'll face off with more robot bugs, so be quick about shooting them before they can come in close and ruin your day. Additional Helghast troops will also appear from the right passage, but can be quickly executed with a little help from Rico and Narville.

After another brief scene you'll arrive at a wrecked section of the space elevator. The enemies are up top but both of your allies will dash to the lower level. Provide them with cover fire before moving down to the bottom yourself. One or both of your allies will most likely be wounded in the crossfire, so be quick on reviving them.
In the next corridor both Rico and Narville will go for the limited cover on the left. This will put you at a disadvantage as any other cover is too far back to get a clean shot. Instead, let your allies provide the cover fire and charge right at the Helghast. If you curve to the right you'll find a weapon cache with a powerful Arc Cannon. Use this beast of a weapon to clear out any remaining enemies and make your way to the docks.
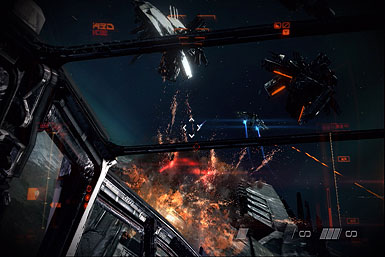
you'll take the gunner's set as Rico pilots a high-jacked Helghast fighter. Target the enemy fighters in your sights with missiles and laser fire. Jammer can take care of herself, but the rest of the Raiders will likely not survive the battle. Worry about your own life and concentrate fire on the fighters in Rico's way. If they attempt to fire missiles, quickly switch focus on these projectiles.
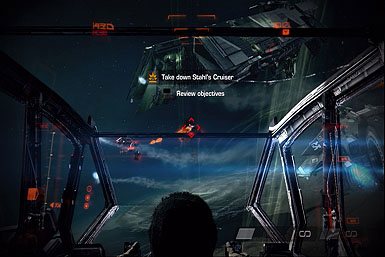
you'll now be up against Stahl's main cruiser. Quickly destroy the two Helghast fighters that bolt towards you. Remember to fully destroy them, as the partially wreckage can still collide into your own ship. Let Rico pass under the cruiser's docking clamps and quickly destroy the docked fighters. As Rico swoops back up, concentrate on the cruiser's cannons and any rogue fighters. Next you'll arrive at the power core. Target each of the generators one at a time to take the cruiser down to half power. Rico will come around for a second pass and a loop for the same rotation: cruiser defenses, Helghast fighters, and finally a gun down of the second power core.
After a brief scene it's the final showdown with Stahl's cruiser. You'll want to ignore the ship itself and instead attack the missiles it launches. While Your own missiles are powerful enough to take out the cruiser's attacks with one shot, it is far too slow to take care of the whole barrage. Instead switch it up with laser cannons while your missile pods recharge. This will give you enough speed to take down every missile that slams into your ship. After Rico has gotten close enough to the ship, quickly press the on screen commands to conclude Killzone 3.
PlayStation 3 Trophies
| Trophy Name | How To Earn | Reward |
|---|---|---|
| Read for Battle - Complete weapons training | Completed weapons training in Prologue | Bronze |
| In Your Face - First Brutal Melee | Performed first Brutal Melee move | Bronze |
| No Witnesses - Destroy all dropships on the Highway | Destroy all dropships on the Highway | Bronze |
| Mopping Up - Kill 40 Helghast foot soldiers | Killed 40 or more Helghast foot soldiers on the beach | Bronze |
| Sawn Off - Destroy all chasing APC's | Destroyed all chasing SawBlade APC's in the Senlin Beach section | Bronze |
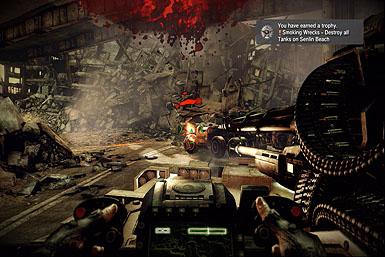
| Smoking Wrecks - Destroy all Tanks on Senlin Beach | Destroyed all the Helghast Tanks in the Senlin Beach section | Bronze |
| Turn The Tables - Melee Kill a Capture Trooper | Killed a Capture Trooper using melee | Bronze |
| Spiky Personality - Kill a Helghast using a Burster | Killed a Helghast by shooting a Burster plant | Bronze |
| Minigunned - Destroy all targets | Destroyed everything while using the Minigun on the Intruder | Bronze |
| Quick Exit - Escape the Oil Rig quickly | Got off the 2nd rig within 2 minutes. | Bronze |
| Shattered - Destroy all glass in the labs | Destroy all glass panes in the Stahl Arms South laboratories | Bronze |
| Pinpoint - Kill the Heavy with an StA-14 | Killed the Heavy using the StA-14 rifle | Bronze |
| Evening The Odds - Kill 500 Helghast | Kill 500 Helghast | Bronze |
| Cagefighter - Killed 10 Helaghast using Brutal Melee | Killed 10 Helaghast using Brutal Melee | Bronze |
| Frag Out - Killed 3 Helghast using 1 fragmentation grenade | Killed 3 Helghast using 1 fragmentation grenade | Bronze |
| One Each - Kill 3 Helghast with Shotgun Pistol, no reloads | Shot and killed 3 Helghast using the Shotgun Pistol without reloading or switching weapons | Bronze |
| Eagle Eye - Every Sniper Rifle bullet is a kill | Shot and killed 6 Helghast using the Sniper Rifle without reloading or switching weapons | Bronze |
| Power Spike - Nail a Helghast to an exploding object | Used the Boltgun to nail a Helghast to an exploding object | Bronze |
| Up Close & Personal - Brutal Melee another player | Used the Brutal Melee move against another player | Bronze |
| Team Player - Play a match as part of a squad | Joined and completed a match as part of a squad | Bronze |
| Medic! - Revive another player | Revived a friendly player for the first time | Bronze |
| Handy Man - Repair an object | Repaired an object for the first time | Bronze |
| Now You See Me - Kill using Cloak | Killed another player while cloaked | Bronze |
| Spy Game - Kill using Disguise | Killed another player while disguised | Bronze |
| Turf War - Capture a Tactical Spawn Point | Captured a Tactical Spawn Point for the first time | Bronze |
| Time For A Dip - Reach the River | Reached the Corinth River with the convoy | Bronze |
| Save The Intruders - Arc APCs destroyed | Successfully assisted with defeating the Arc APCs | Bronze |
| Never There - Sneak past Helghast | Sneaked past all Helghast in the Jungle without alerting any of them | Bronze |
| ISA TV - Establish communications | Made contact with Earth | Bronze |
| Aerial Superiority - Kill 5 Helghast while in the air | Killed 5 Helghast while airborne using the Jetpack | Bronze |
| Into The Lair - Reach the cable car | Reached the cable car and gained access to Stahl Arms South | Bronze |
| Jail Break - Liberate Narville | Liberated Narville from Stahl Arms South | Bronze |
| Go Down and Stay Down - Destroy the ATAC | Defeated the ATAC outside the Stahl Arms facility | Bronze |
| Iced - Destroy all Ice-Saws and Dropships | Destroyed all 4 Helghast Ice-Saws and all 6 Dropships | Bronze |
| You Drive - Drive the Mobile Factory | Took over the controls of the Mobile Factory | Bronze |
| Bring It Down - Defeat the MAWLER | Defeated the MAWLR defending the Space Elevator | Bronze |
| Completest - Destroy everything on the MAWLER | Destroyed every destructible weapon on the MAWLR while on foot and on the Intruder | Bronze |
| Frazzle Dazzle - Kill 3 Helghast with one shot from the StA5X Arc Cannon | Used the StA5X Arc Cannon to kill 3 Helghast with one shot | Bronze |
| Excessive Force - Kill a lone Helghast with the WASP secondary fire | Used the secondary fire function of the WASP launcher to kill a single Helghast | Bronze |
| Spread The Love - Kill 5 Helghast at once using the WASP's secondary fire | Killed 5 Helghast at once using the secondary fire mode of the WASP launcher | Bronze |
| Double Trouble - Reach the river in Co-op | Made it to the Corinth River in Co-op mode | Bronze |
| Stranded Together - Reach the Extraction Point in Co-op | Made it to the Extraction Point in Co-op mode | Bronze |
| Pilot's Wings - Mid-air kill | Got a mid-air kill using the Jet Pack in any multiplayer mode | Bronze |
| Iron Man - Get a kill with the Exo | Killed a player using the Exo in any multiplayer mode | Bronze |
| Now It's Personal - Kill 1000 Helghast | Killed 1000 Helghast | Silver |
| Fight To The Last - Killed 1500 Helghast | Killed 1500 Helghast | Silver |
| Close Quarters Killer - Kill 25 Helghast using Brutal Melee | Killed 25 Helghast using Brutal Melee | Silver |
| Hand To Hand Master - Killed 50 Helghast using Brutal Melee | Kill 50 Helghast using Brutal Melee | Silver |
| Victory - Complete the Campaign on Elite | Completed every mission on Elite difficulty | Gold |
| Grand Slam - Win a match in 3 multiplayer modes | Won a match in Operations, Warzone & Guerrilla Warfare modes | Gold |
| Let's Go Home - Destroy Stahl's Cruiser | Destroyed Stahl's Cruiser and left the planet on any difficulty | Gold |
| Platinum | Collect all Killzone 3 trophies | Platinum |
Got a news tip or want to contact us directly? Email news@gamespot.com
Join the conversation