Elden Ring Caelid Guide: Important Locations, Bosses, Dangers, and Secrets
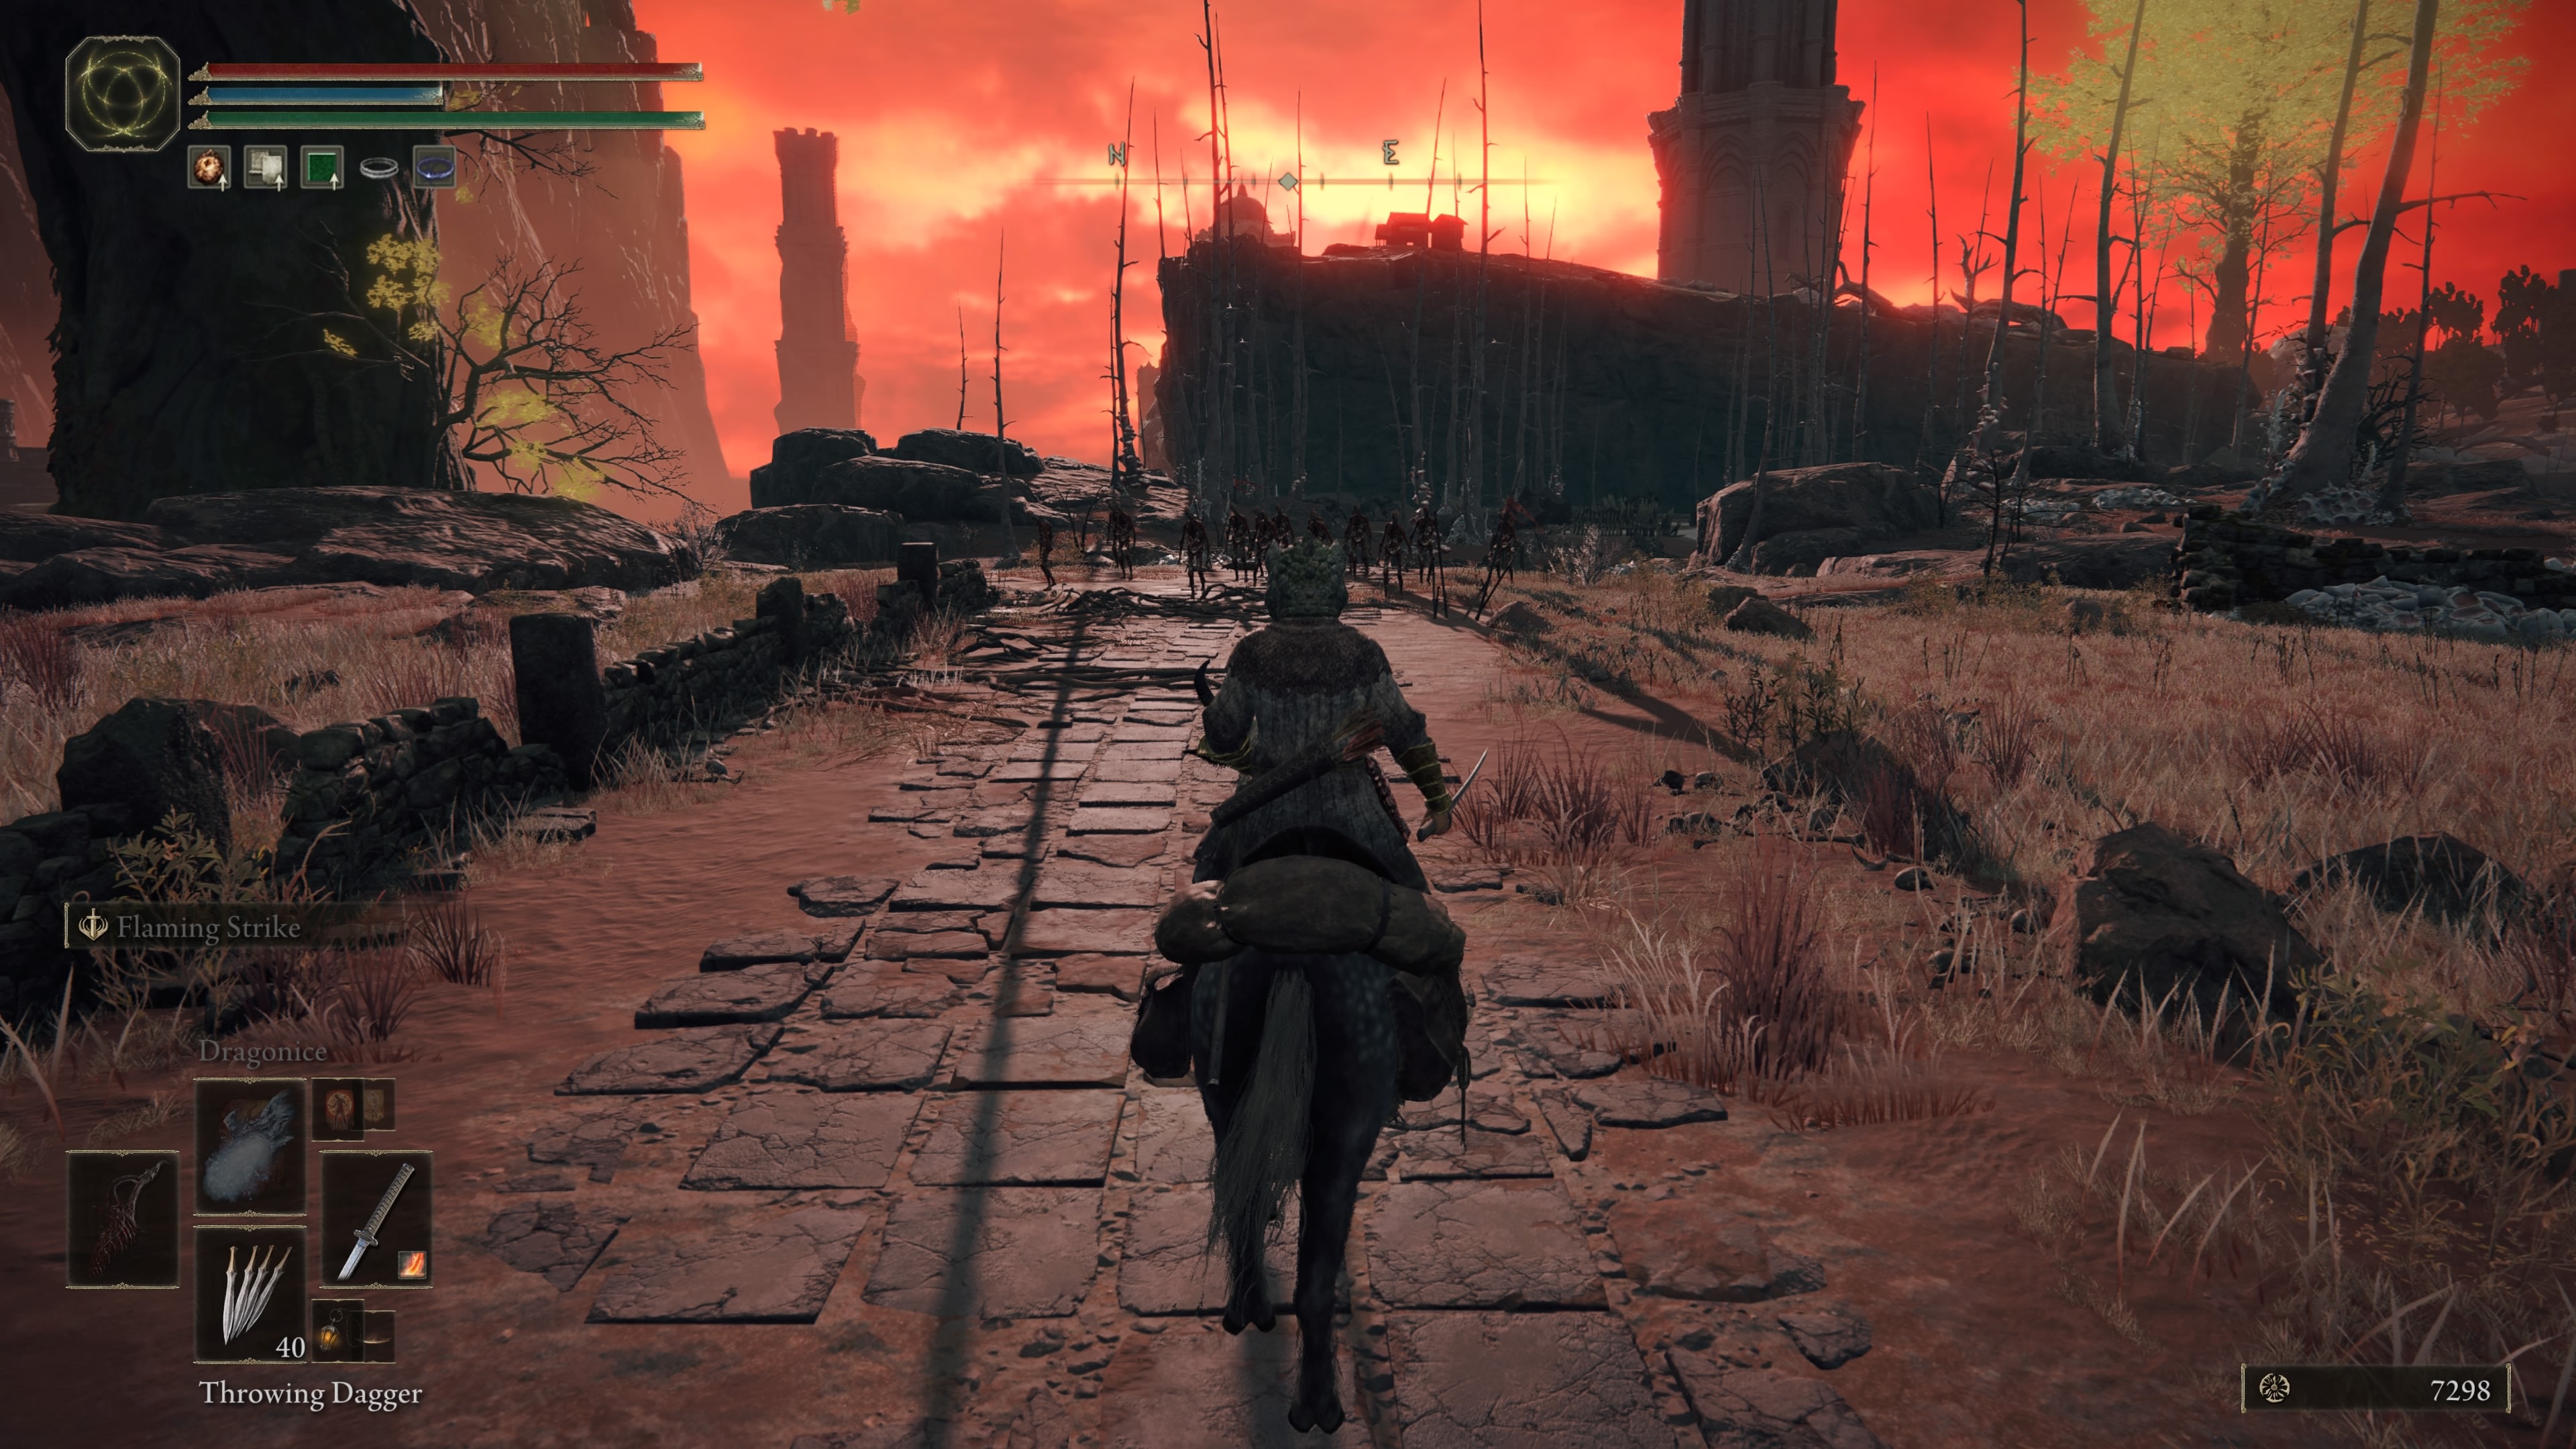
Exploring the blighted lands of Caelid is both arduous and rewarding.
Located east of Limgrave, Caelid is one of Elden Ring's most dangerous regions. It takes quite a bit of effort to tackle at a low level, because it's designed to be visited during the middle of your adventure. That being said, if you arrive by mistake, be prepared for some pushback. Scarlet rot plague and myriad horrifying enemies await, as well as one of the game's most difficult bosses.
Even so, Caelid is actually an optional zone, meaning that you don’t need to visit it, explore it, or defeat the challenging boss Starscourge Radahn at Redmane Castle if you don’t care to. However, you do need to beat at least two shardbearers to progress to the end of the game, so Radahn is one option. And you must defeat him if you wish to get your hands on the Mimic Tear. If you decide to take a shot at Caelid, it's best to fully explore it after completing the Academy of Raya Lucaria and getting some levels and gear under your belt.
Arriving in Caelid
Caelid is located directly east of Limgrave, but it’s reasonably cordoned off from the main path if you’ve been steadily heading north through the Stormveil Castle region toward Godrick the Grafted. Even though it’s nearby where you began Elden Ring, don’t feel like you absolutely need to clear your way through Caelid before you’re ready.
There are a handful of ways to arrive in Caelid, but there are three main pathways into Caelid that you’ll find useful if you’re determined to uncover Caelid’s secrets.
Dragon-Burnt Ruins to Sellia Crystal Tunnel

Located immediately east of The First Step grace point, sunken into the Agheel Lake, is a set of ruins called the Dragon-Burnt Ruins. Fight through the swarm of undead grunts, then descend into the first staircase you find out in the open. Underneath these ruins is a teleporter trapped-chest which sends you to a cavern in Caelid, the Sellia Crystal Tunnel, which is full of diggers and prawn miners.
Don’t worry if you can’t fight these enemies yet; simply turn right from the shack you spawn into, head down the ramp and through the cave until you come to a ladder. Jump down and you’ll be at a Site of Grace, and the entrance to the Sellia Crystal Tunnel, which leads out into the Aeonia swamp in the heart of Caelid.
Smoldering Church

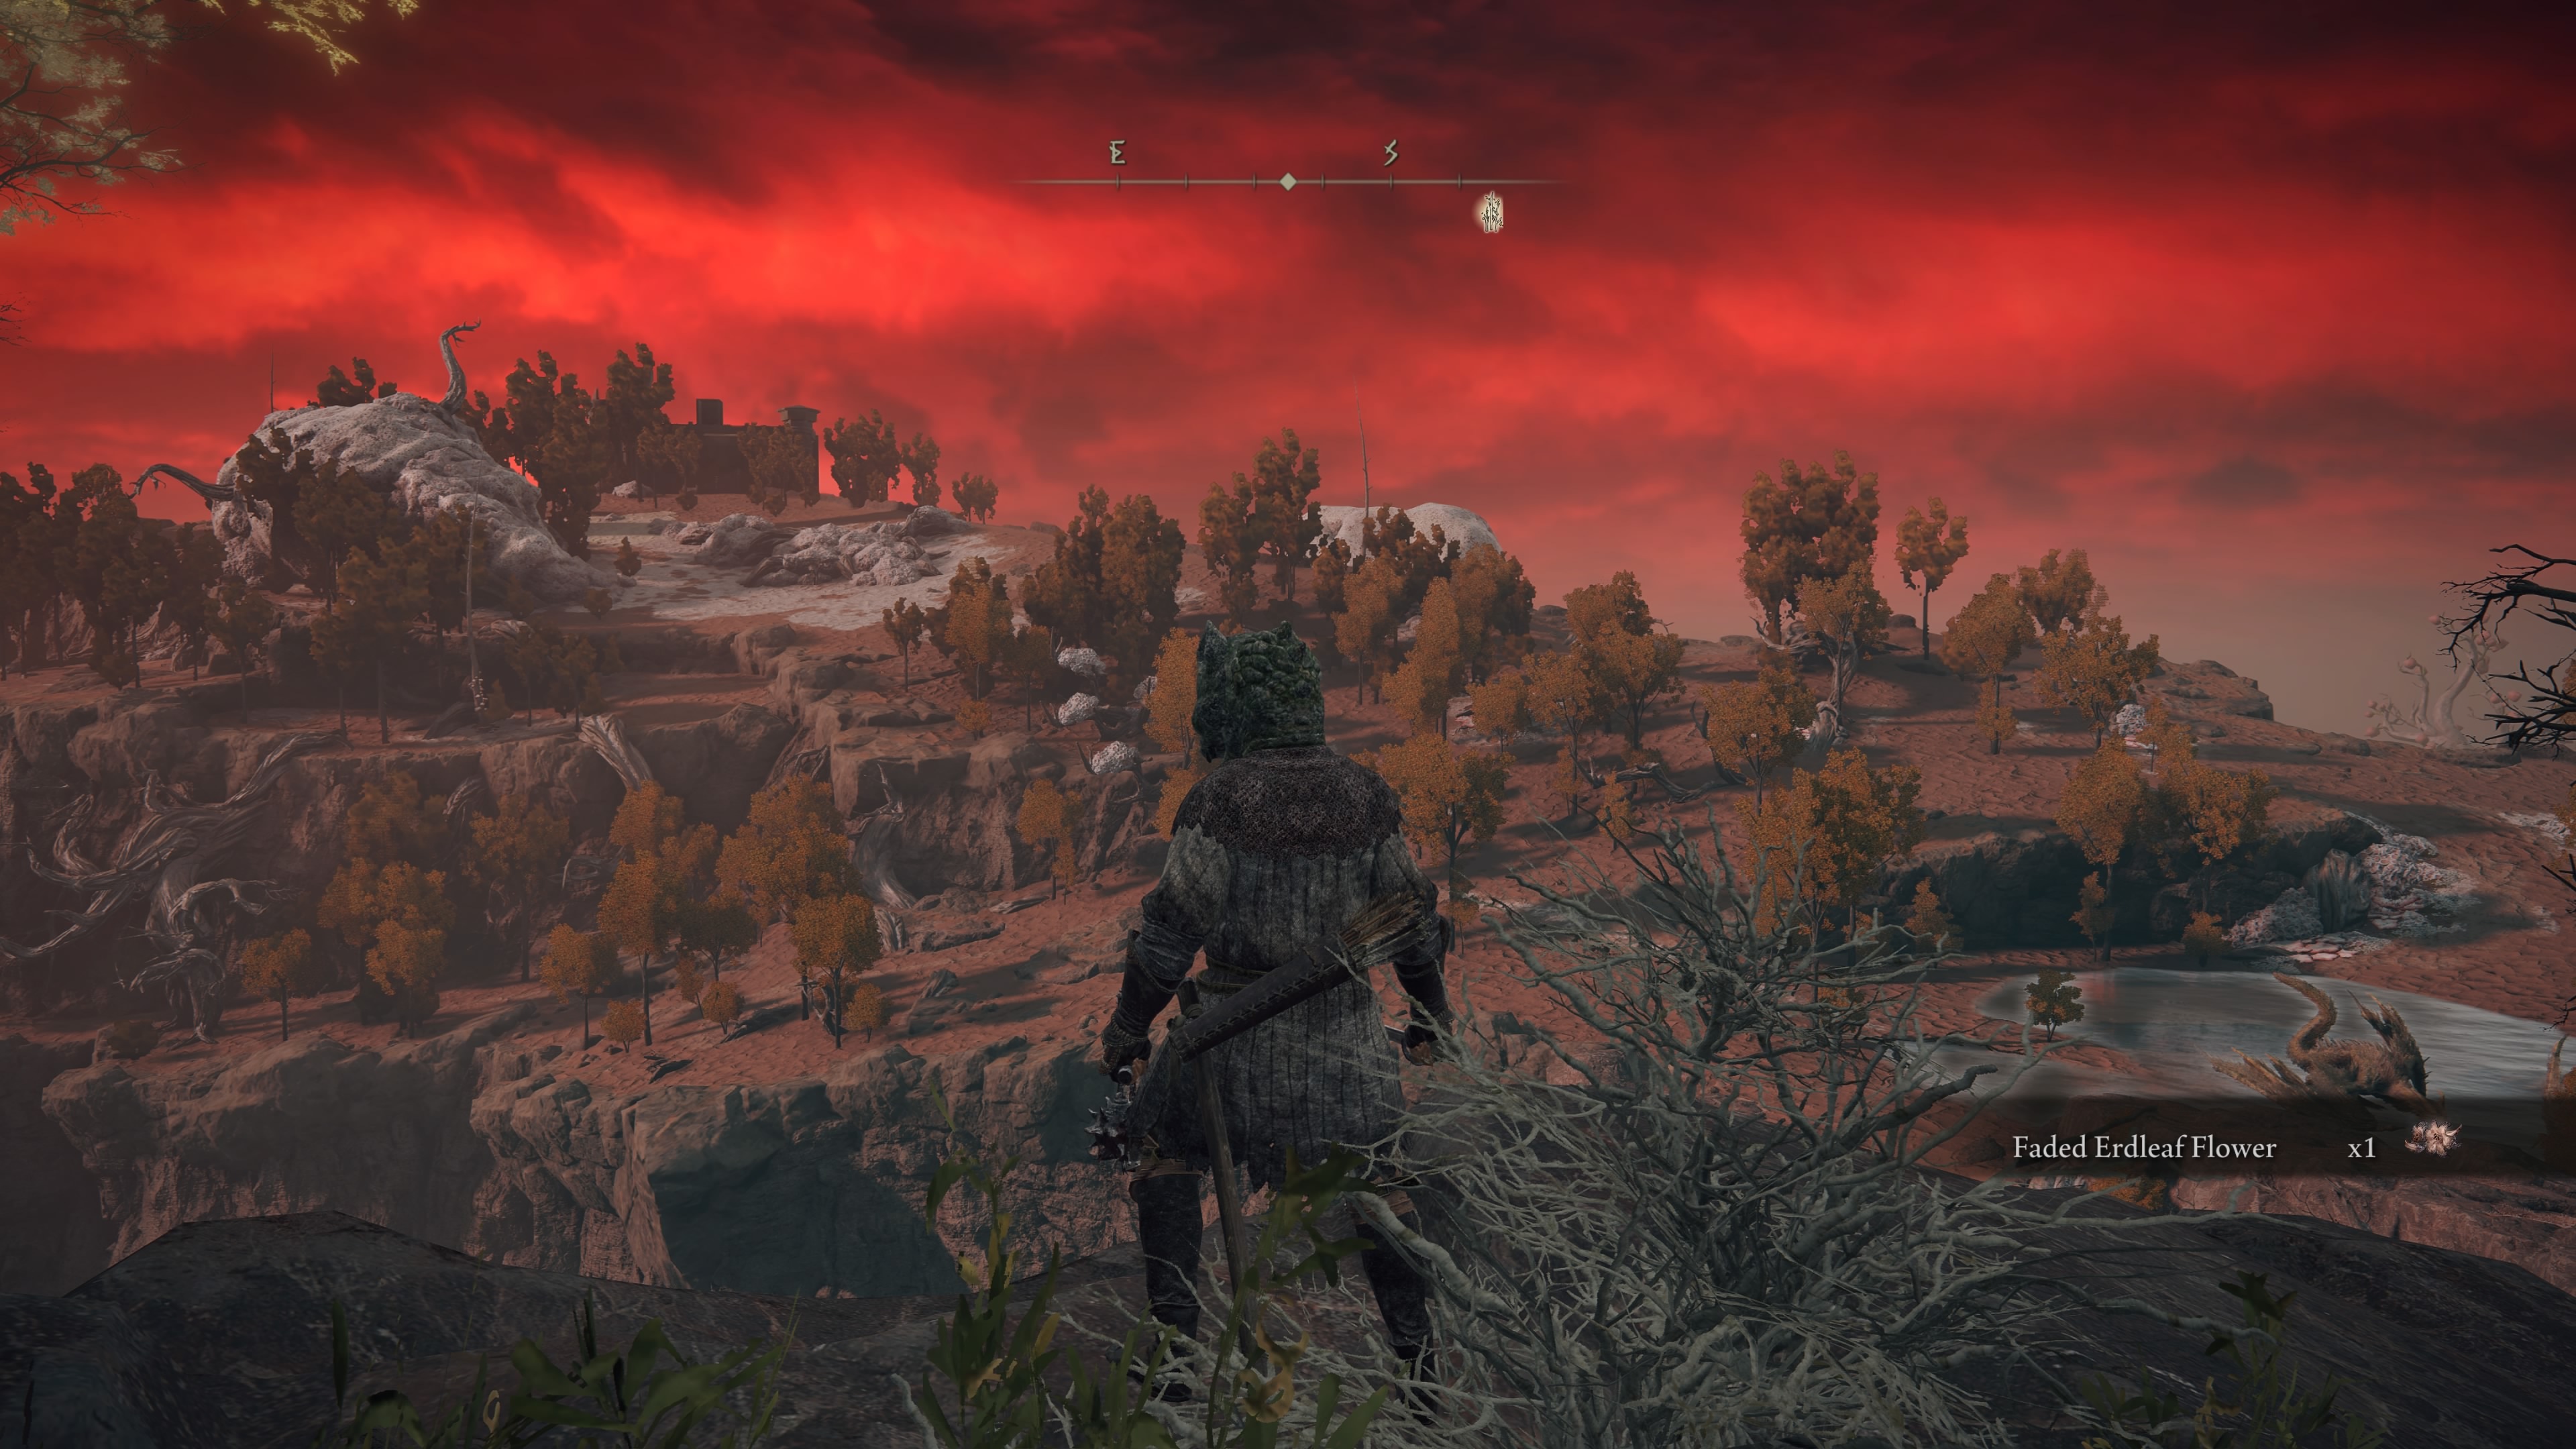
Cross through the Saintsbridge/Summonwater Village areas of Limgrave and then keep heading northeast, ascending upward, until you come across an area called the Smoldering Church. You’ll get invaded by an NPC at this point, but if you can beat them, you’ll get the ability to travel further east toward Rotview Balcony, which is where you get your first real taste of the desolation that underscores the “Caelid experience,” as some online have put it. Another way to reach the Smoldering Church is by visiting the Third Church of Marika, then by riding the wind currents up the cliffs while riding Torrent.
Hidden Bestial Sanctum Teleporter
Behind the Third Church of Marika in Limgrave is a small creek. If you search through the foliage nearby, you’ll uncover a teleporter nestled into the base of the cliff. Activating the teleporter sends you all the way to the Bestial Sanctum, which is a valuable hunting ground to get a lot of runes very quickly with little chance of losing them all and having to start over. Grab the nearby grace point; from here, you can head south down the road (if you’re comfortable passing one or two bosses that can one-shot you, plus a few dragons) and descend into Caelid from the Dragonbarrow subregion that you teleported into.
Major Caelid areas
Caelid is brimming with secrets. We won’t spoil them all, in fact, we very likely haven’t found all of them yet ourselves! That said, it’s good to note which major areas to make a point of visiting while you’re on your quest to dethrone Radahn (and get as much loot as you can while doing it, because why not?)
Fort Gael and surroundings

Fort Gael and Rotview Balcony share the western side of Caelid that’s characterized by lots of Lordsworn soldiers and giant rotting animals contesting for dominance over the blighted land. As you head south, you’ll witness more and more of the carnage. Fort Gael is more or less insulated from this, surrounded by elite guard troops and sitting on a cliffside, upon which it solemnly faces west toward Limgrave. If you manage to enter Fort Gael, you can fight a lion guardian which drops the Ash of War: Lion’s Claw, but be wary, since this fight takes place in an enclosure that the lion guardian likes to thrash around in, and it can be difficult to kill early on.
Aeonia Swamp

Aeonia Swamp sits in the center of Caelid, and it features the highest concentration of scarlet rot that you will come across. Points of interest are sparse, and you certainly don’t want to rest in one spot too long--scarlet rot can slowly build up, and if it reaches a certain threshold, it’ll begin draining your health. The Street of Sages Ruins on the west side of the Aeonia Swamp area houses the powerful Meteorite Staff that can be highly useful to Astrologer builds. The east side of Aeonia features a boss battle with Commander O’Neil, who is incredibly difficult to beat alone at low levels but is necessary to defeat in order to progress the Millicent questline.
Sellia
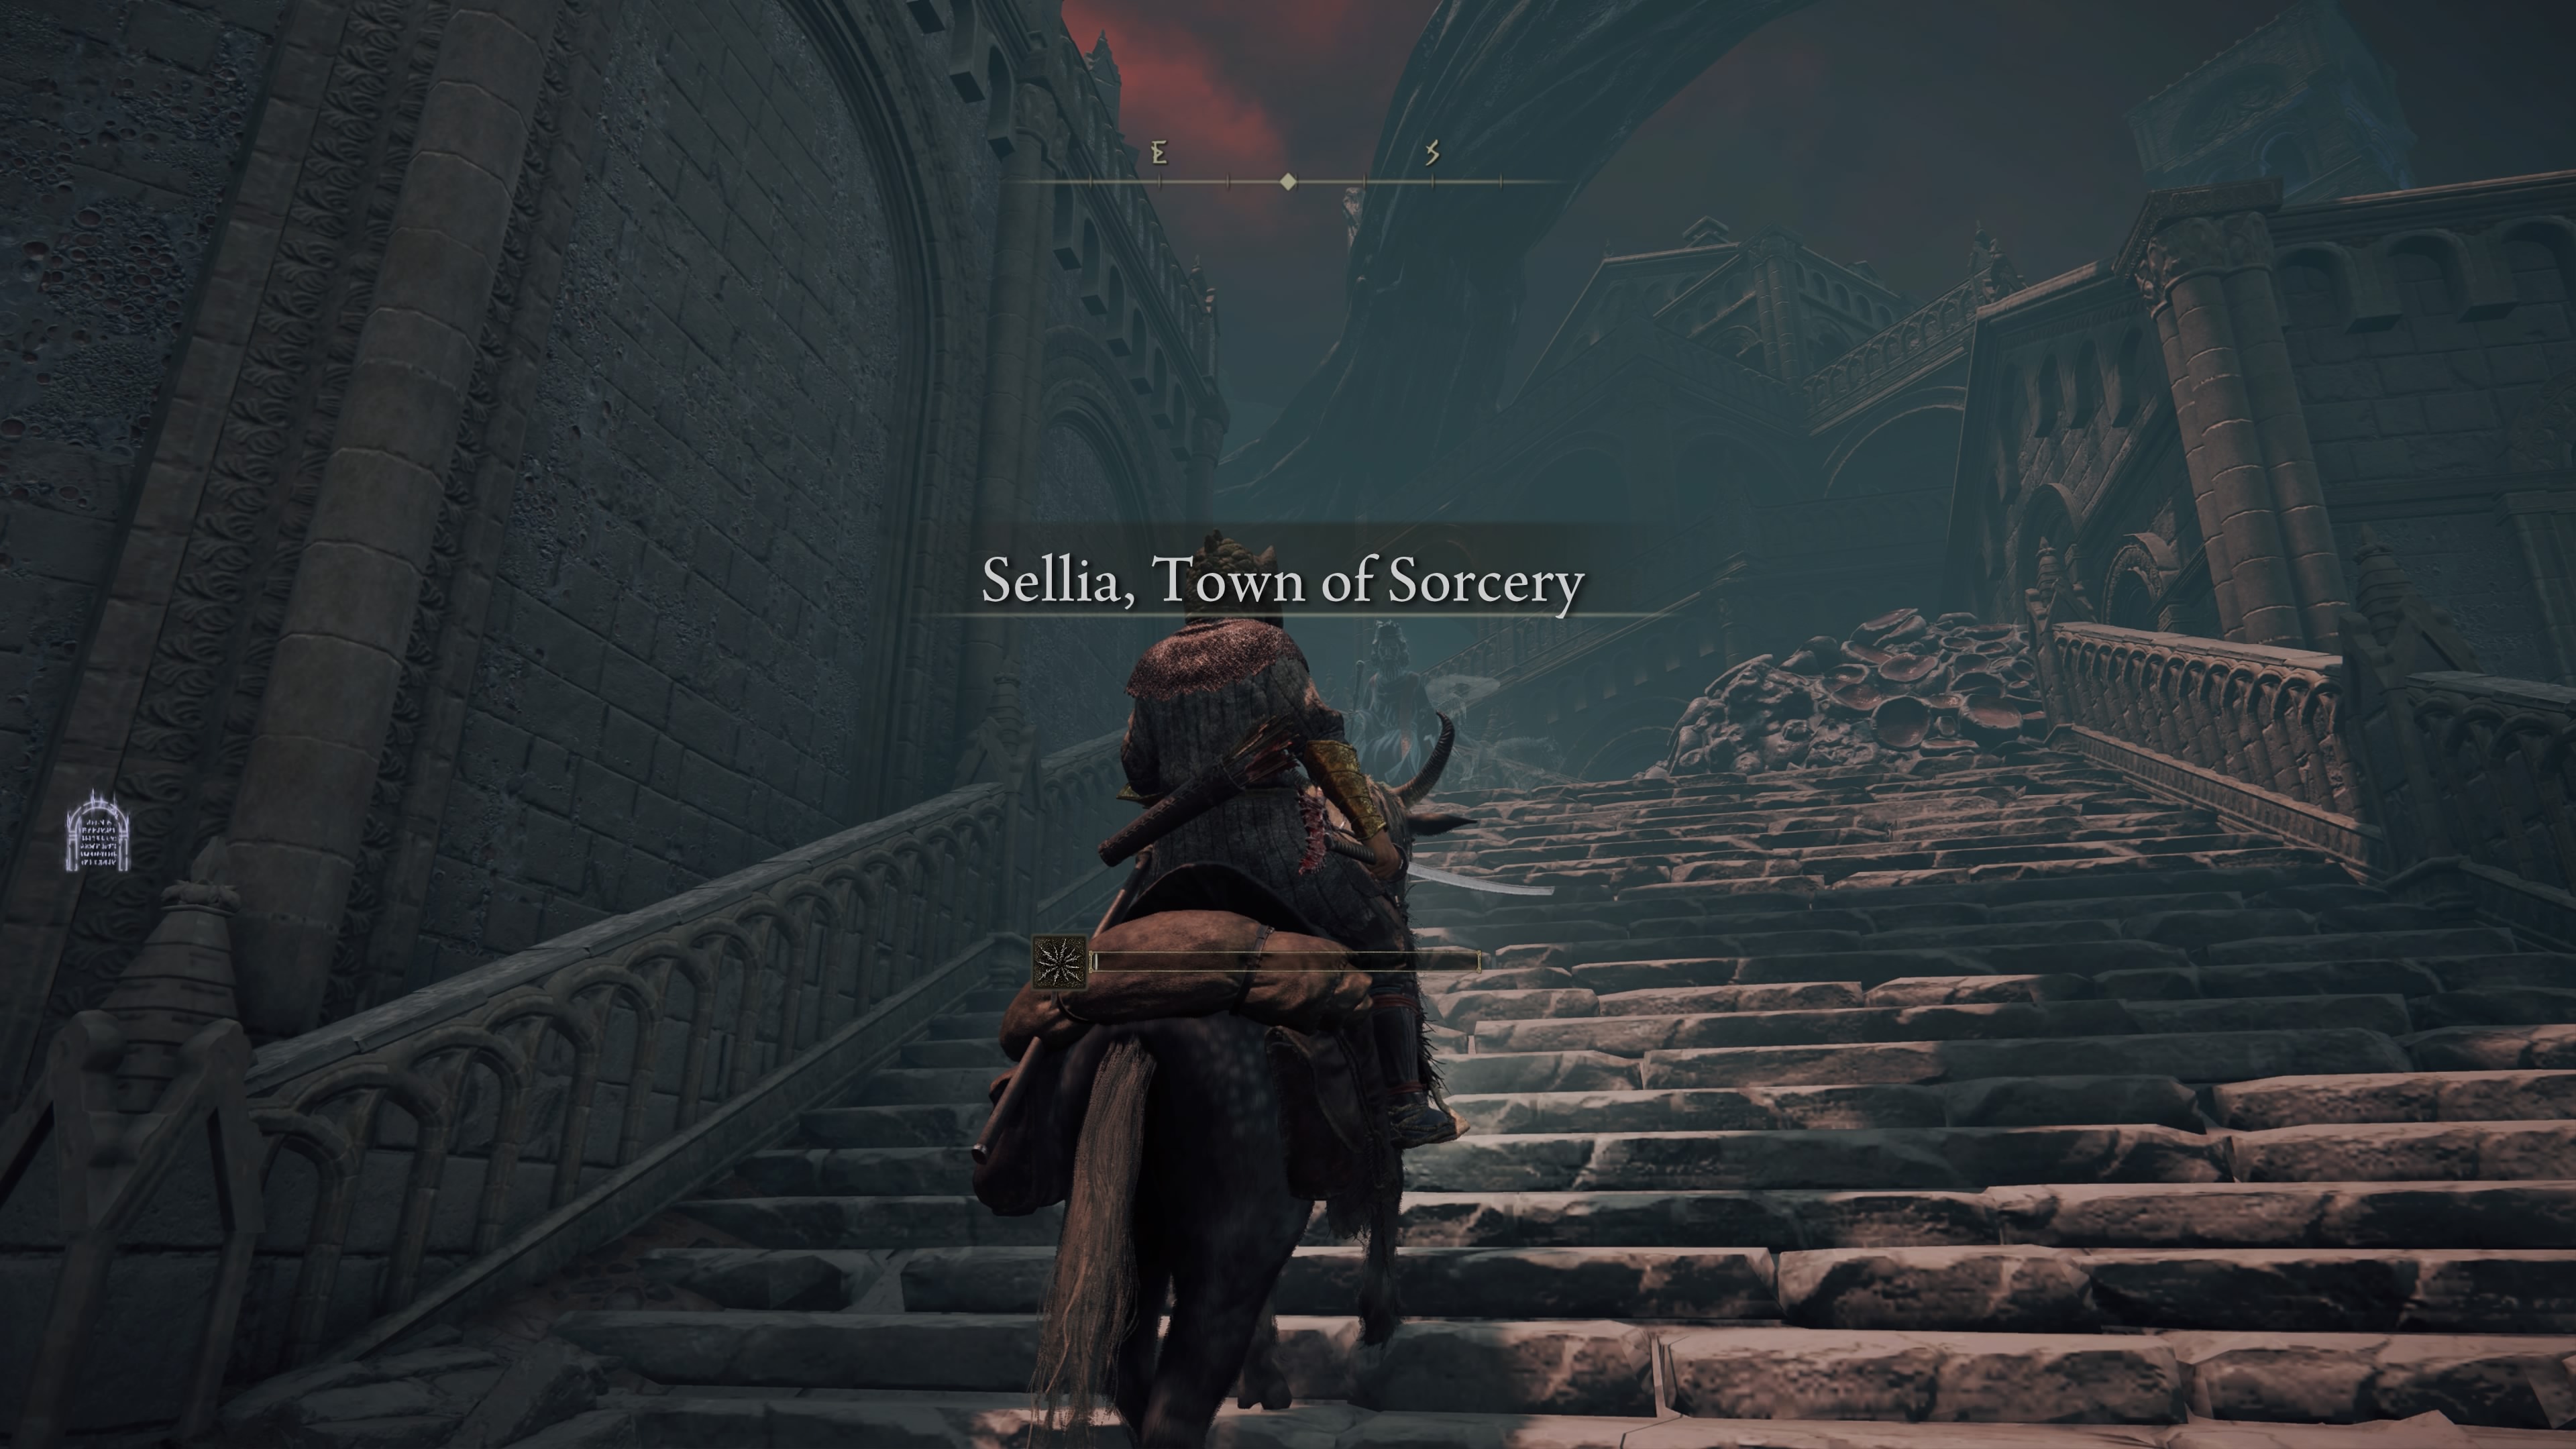
Sellia houses several interesting treasures, such as the Nox Flowing Sword and Lusat’s Glintstone Staff, both of which can be unlocked by lighting the three signal fires throughout town (located in three different towers, which can be accessed via the town’s rooftops) and defeating the Nox Swordstress and Nox Priest located in the Chair-Crypt of Sellia. Once the seal to the Sellia Backstreets is unlocked, you can travel uphill to the Church of the Plague, where you can find Millicent and begin her questline.
Greyoll’s Dragonbarrow

Greyoll’s Dragonbarrow comprises the northern half of Caelid and is named for its wide array of dead and undead dragons. Presumably, it’s also named for the Elder Dragon Greyoll which guards the region south of the Farum Greatbridge that links the Caelid mainland and the northern Bestial Sanctum together. The Farum Greatbridge is, unironically, also guarded by a separate dragon named Greyll. There are two Minor Erdtrees in this region, as well as a plethora of caves and minor dungeons. The best place to farm runes early on in Elden Ring is by stalking the plains outside of Farum Greatbridge (south of Bestial Sanctum) and hunting the Vulgar Militia that wander around and drop 1000+ runes per kill.
Redmane Castle and Eastern Caelid

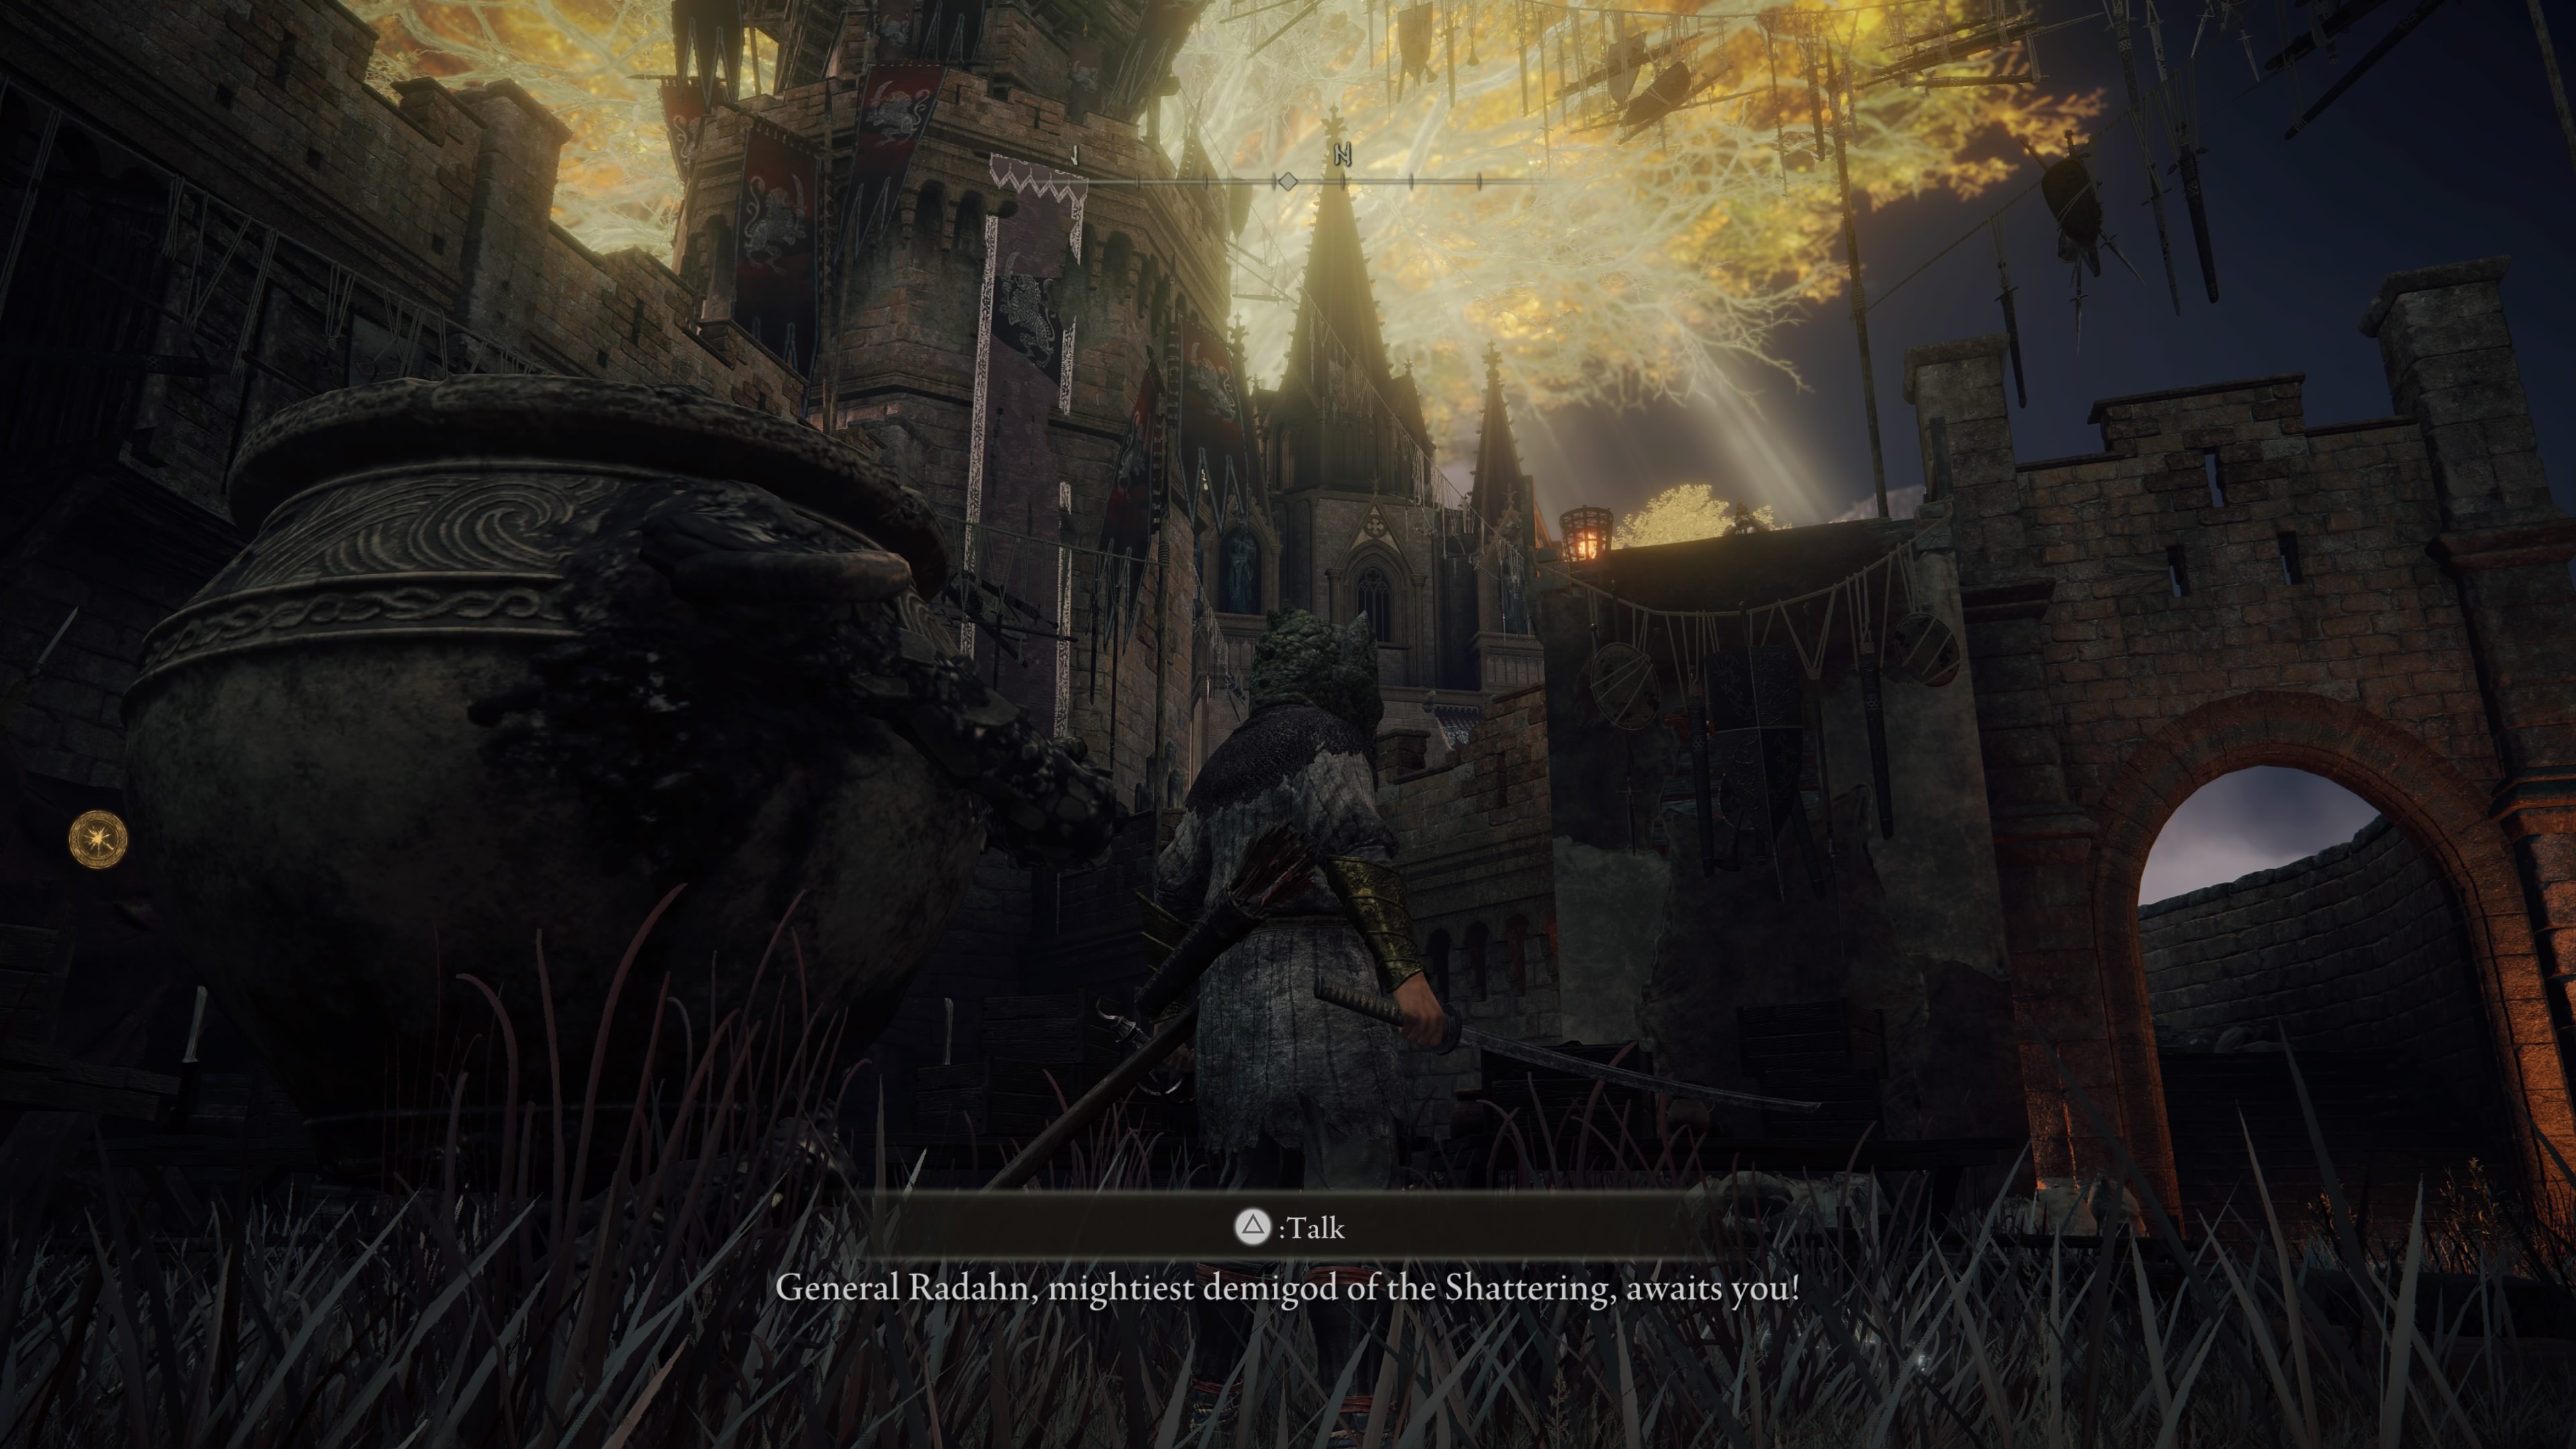
Redmane Castle is similar to Stormveil Castle in Limgrave; it is the toughest part of the zone to break into, and it hosts Caelid’s big fight with the zone boss, Radahn. Unlike Stormveil, there is only one way to get inside once you’ve reached the front gates. Beyond Redmane Castle is a coastal area that hosts a few additional areas.
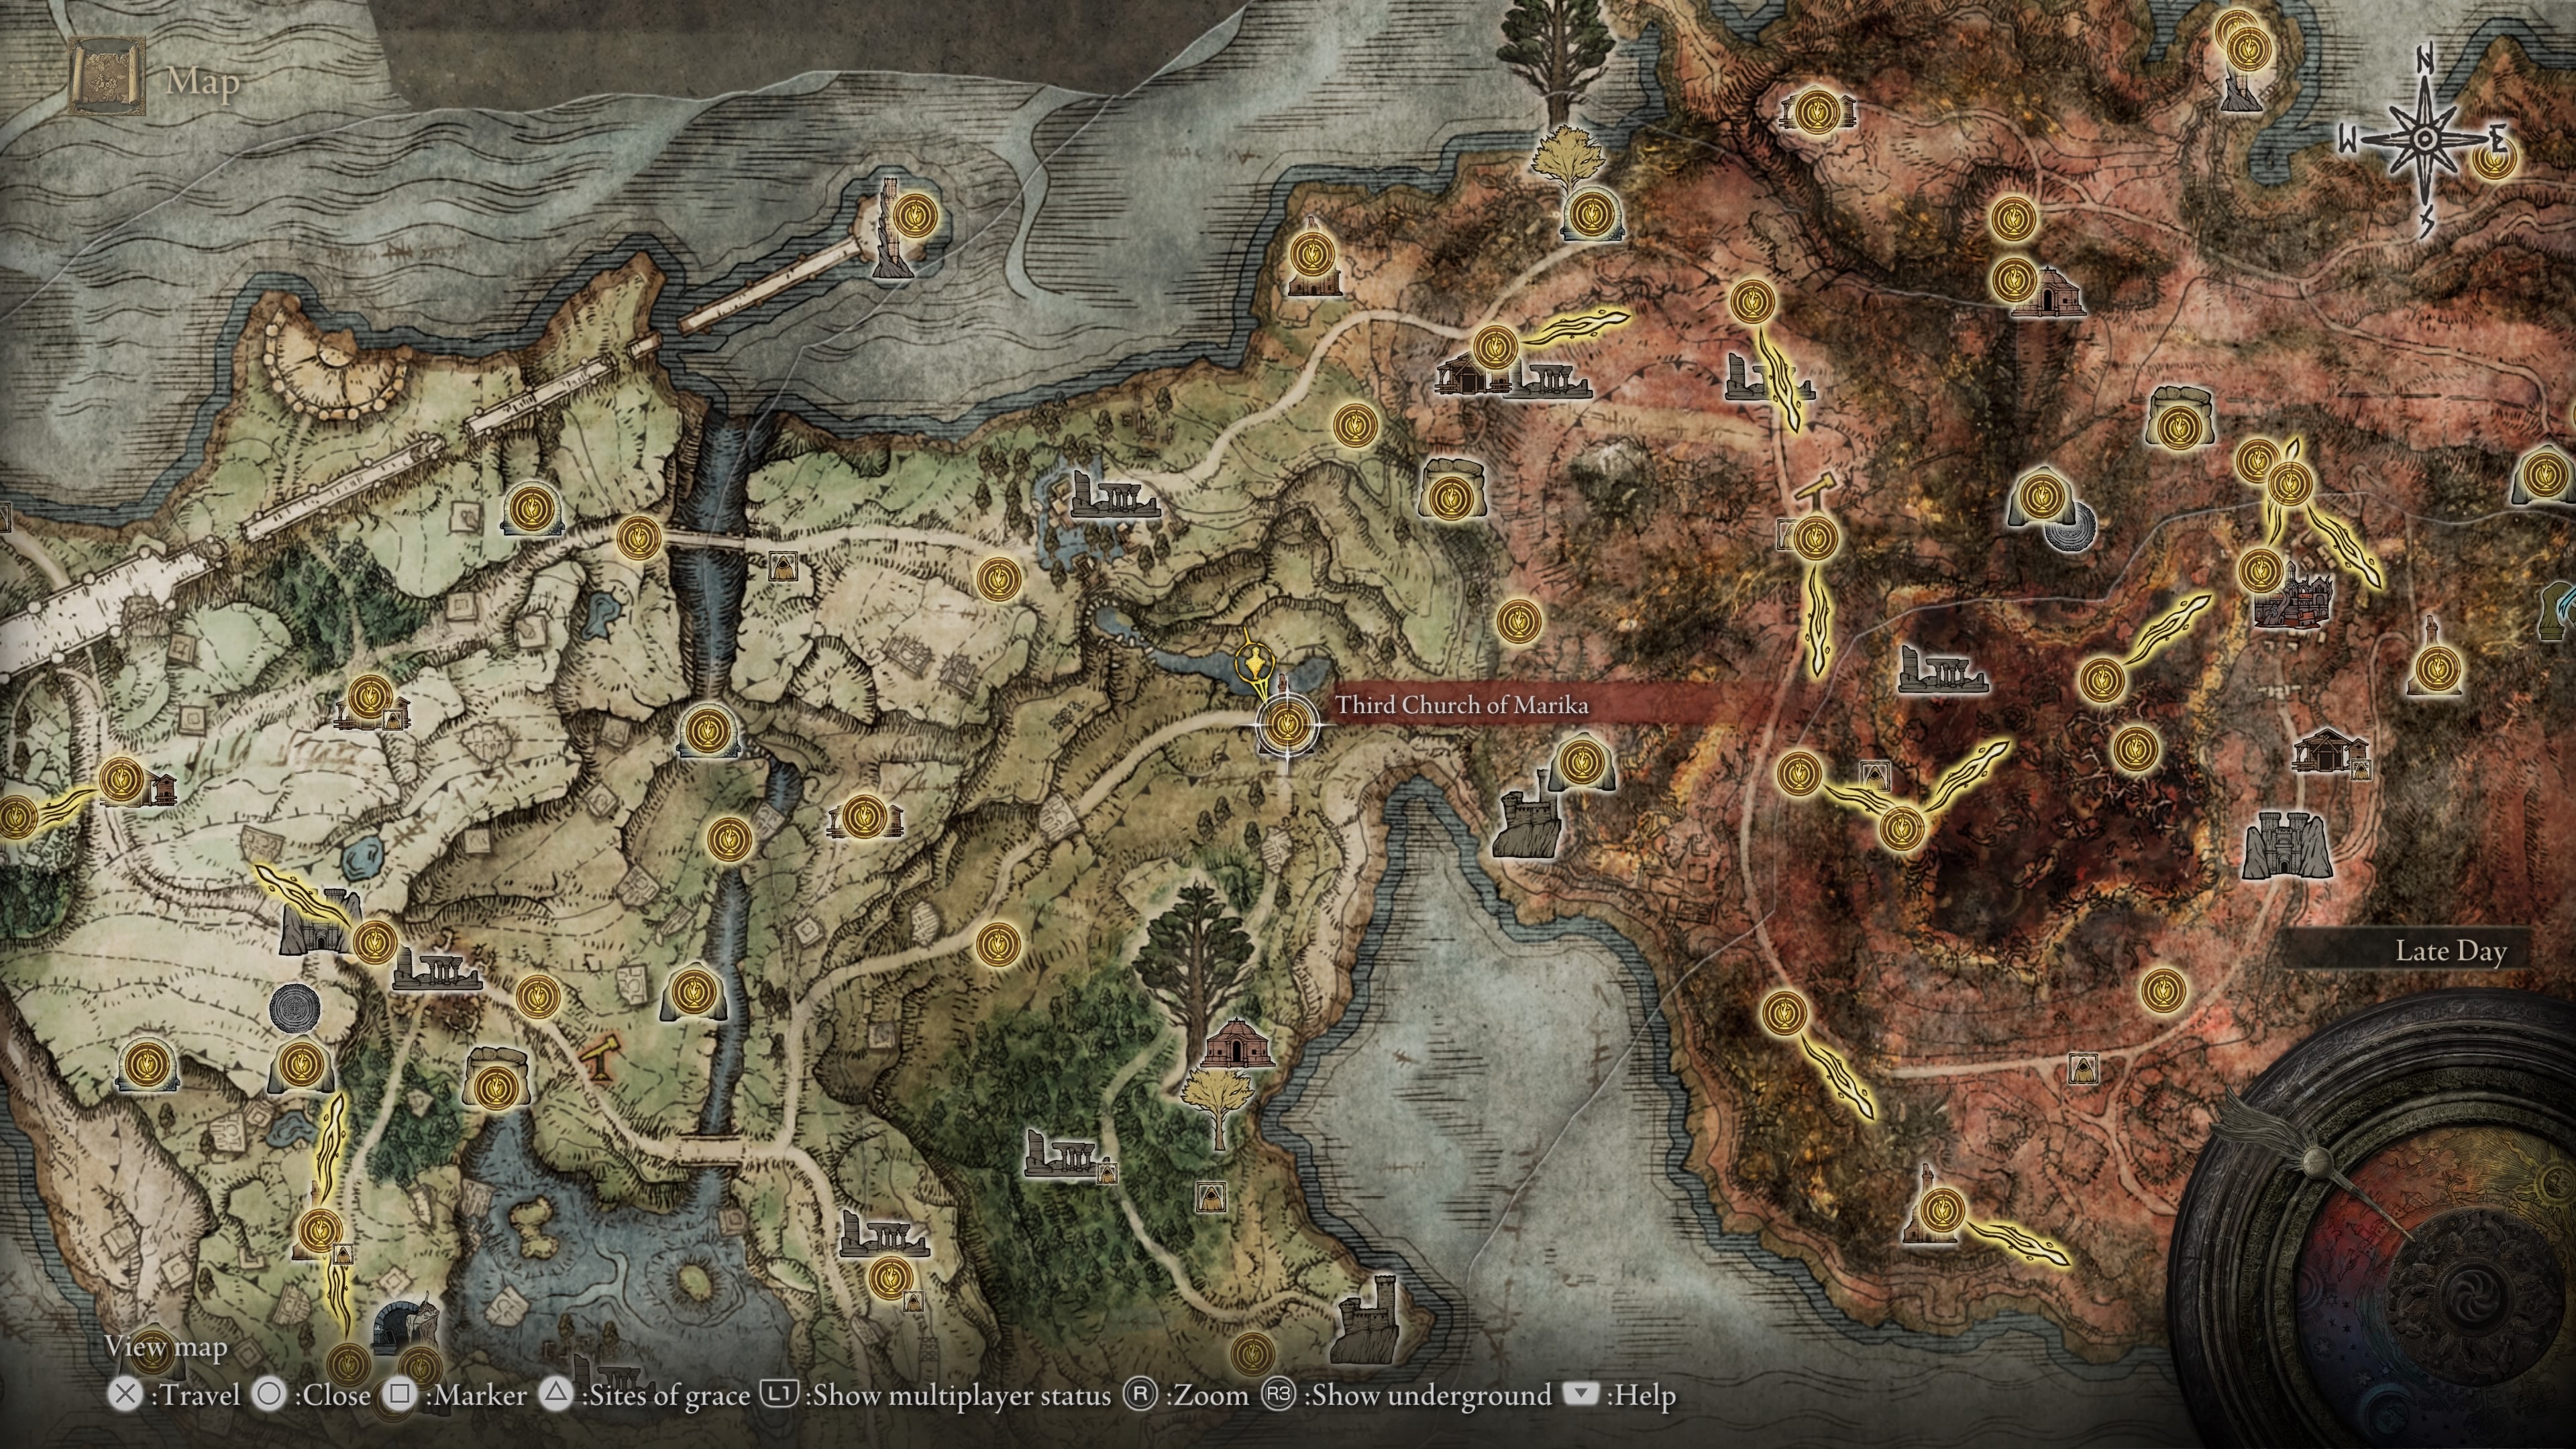
Caelid map location
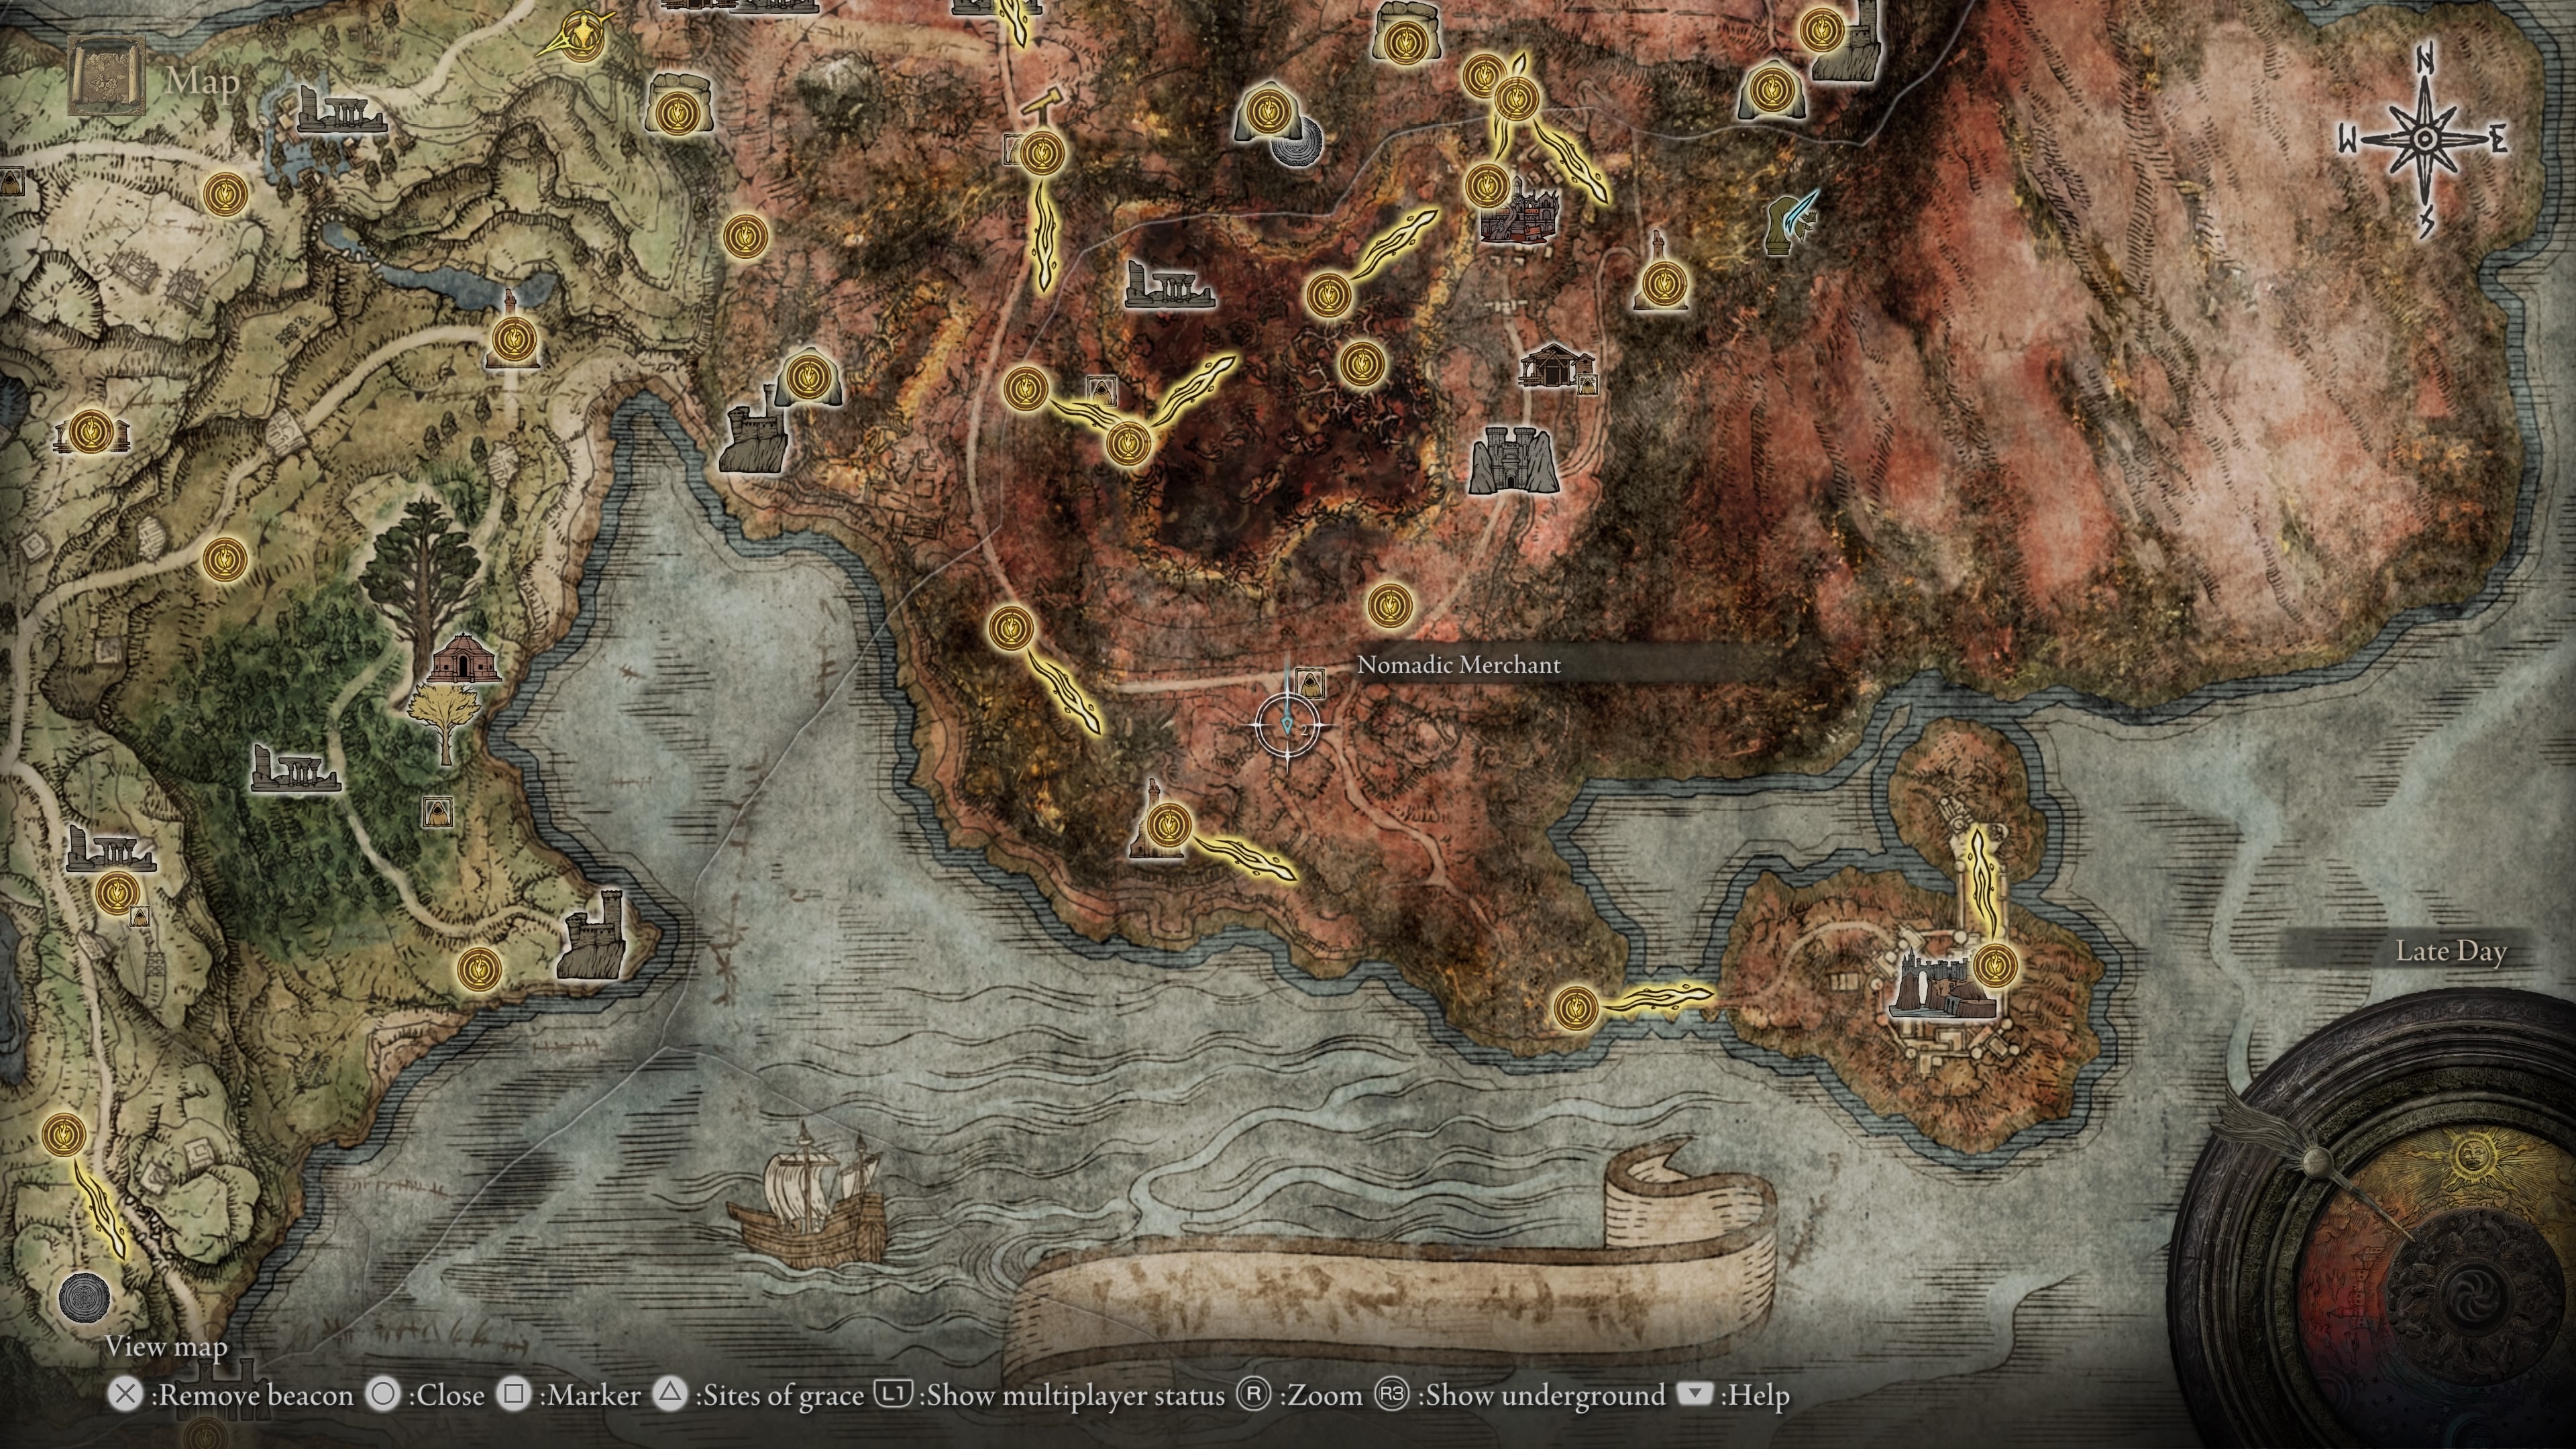
The Caelid map is located on a fork in the road between the Southern Aeonia Swamp Bank point of grace to the northeast, and the Cathedral of Dragon Communion to the southwest. The location where you’ll find the map is also characterized by a nearby Nomadic Merchant who sells Nomadic Warrior’s Cookbook [15] among a few other things.
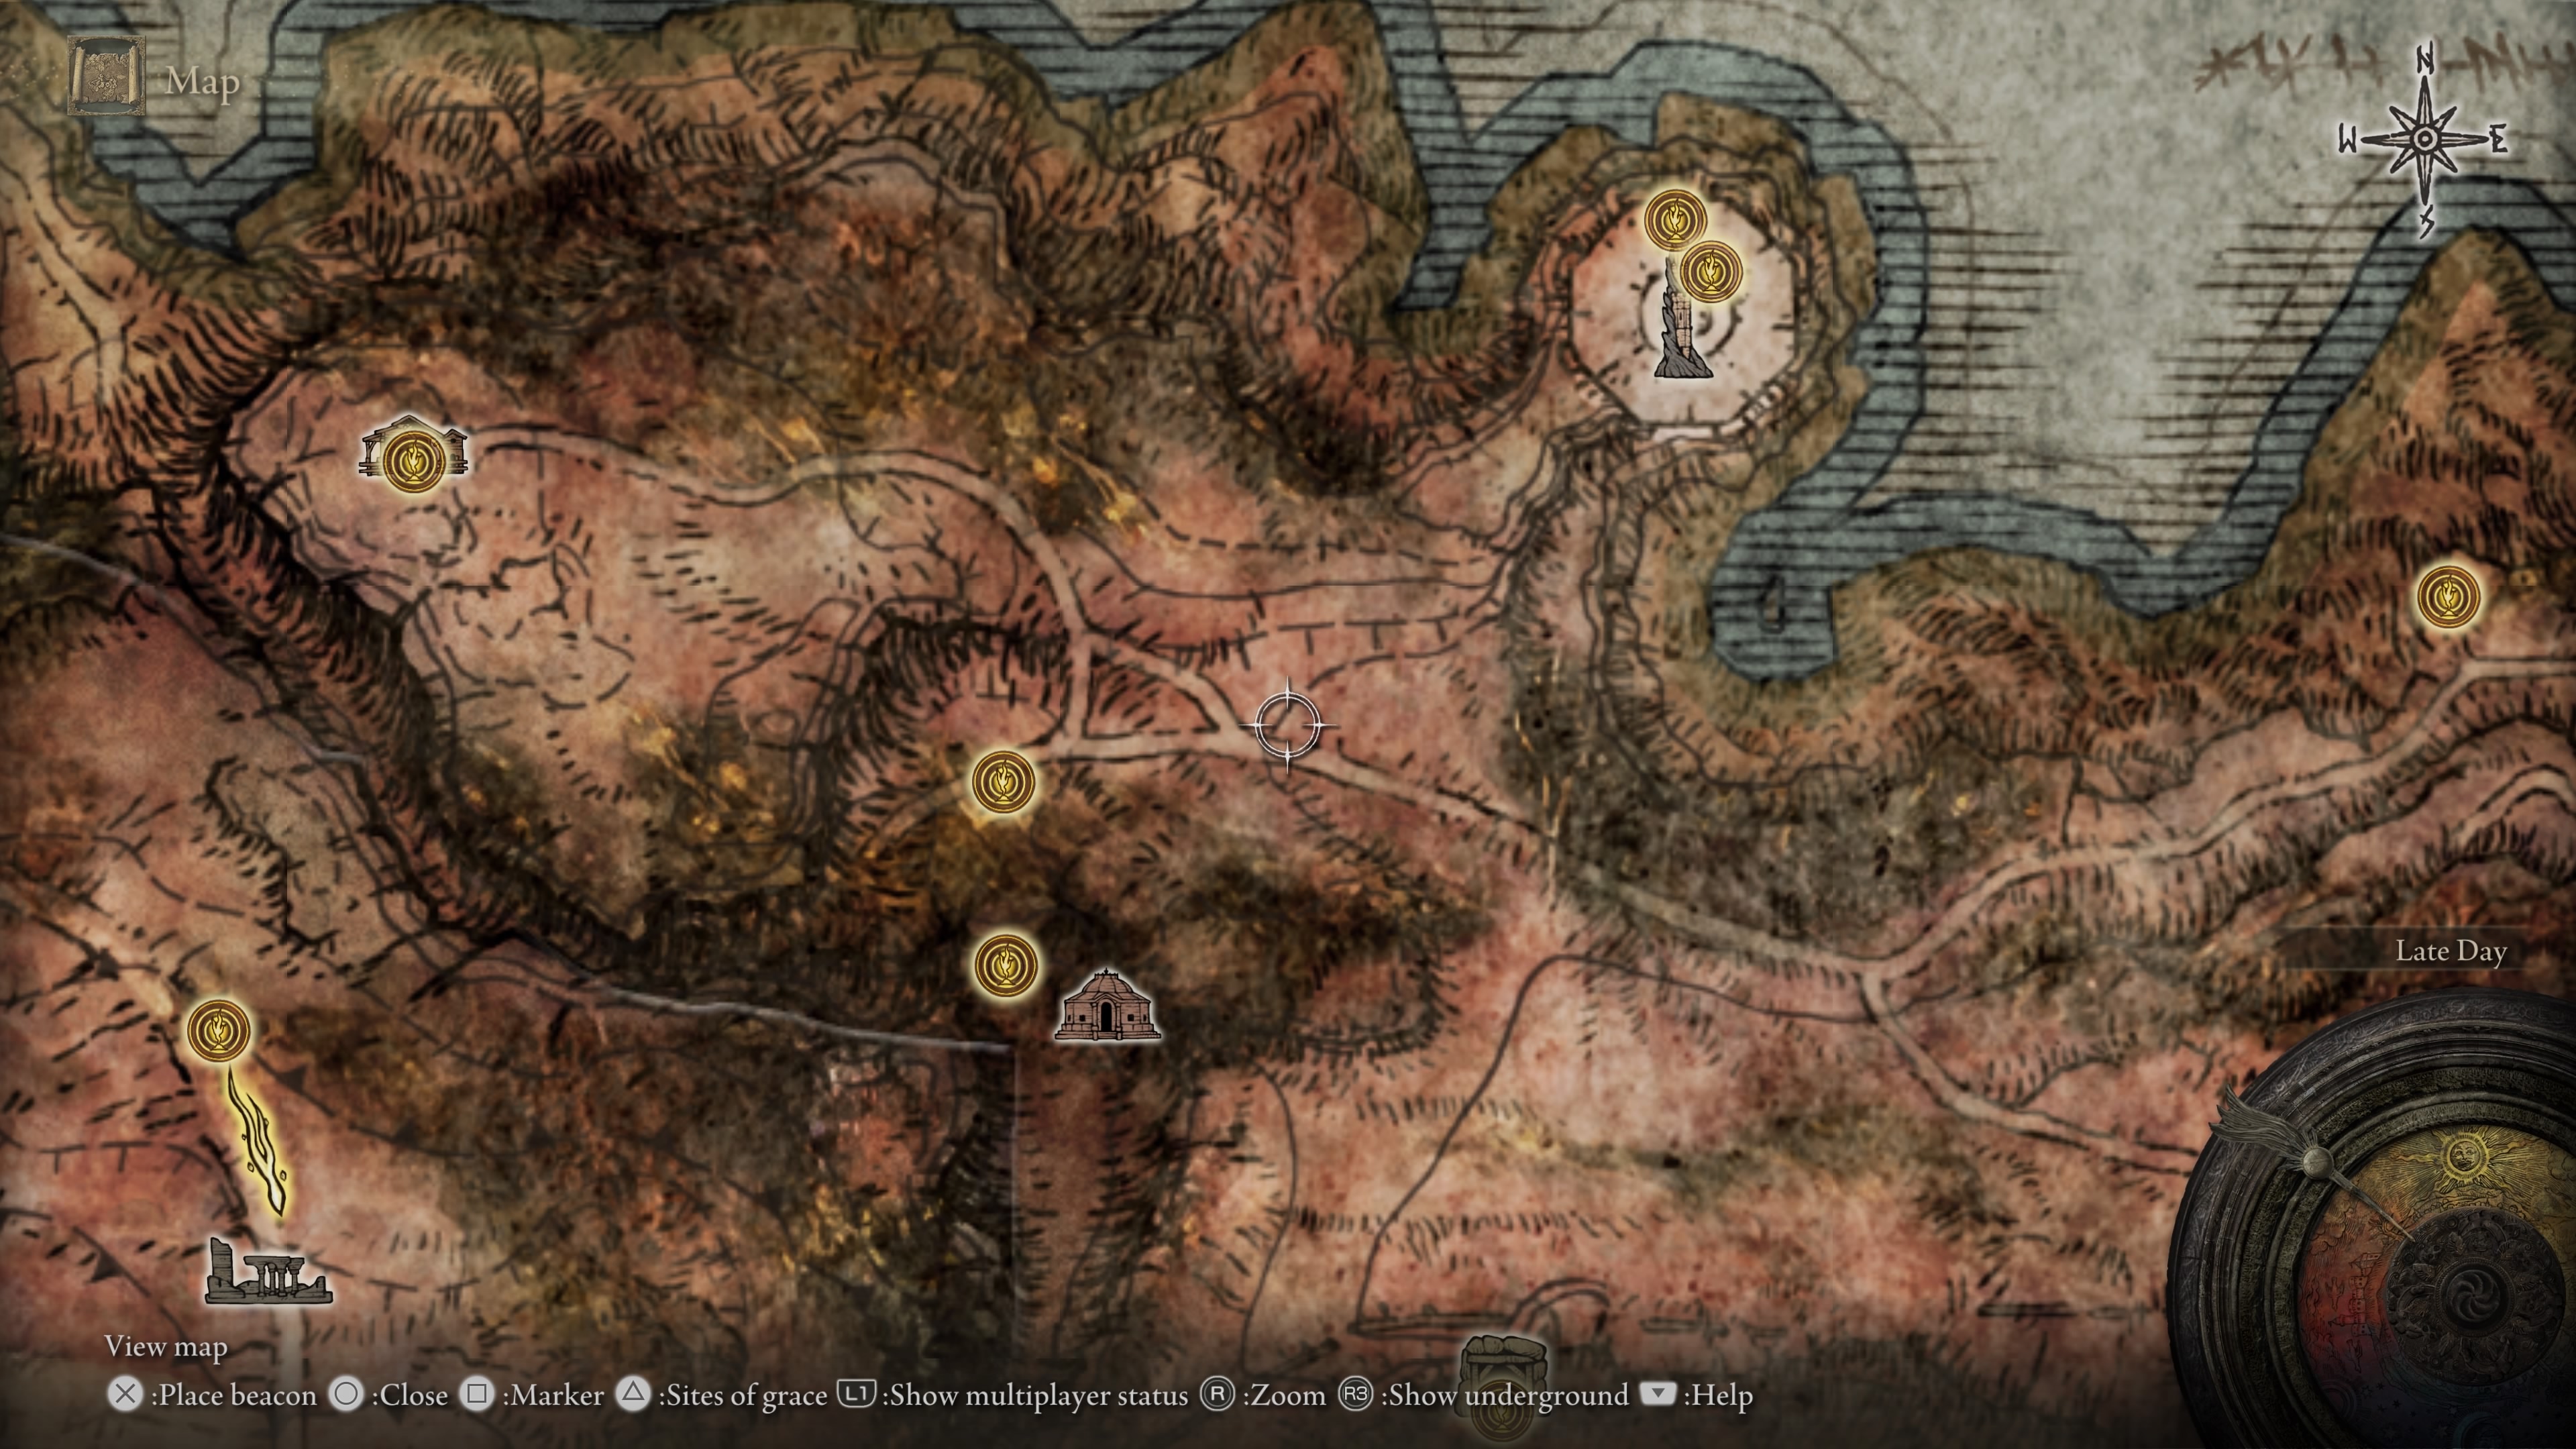
You’ll also want to nab the Dragonbarrow map, which is located east of the Minor Erdtree closest to the Smoldering Church, and southwest of the Divine Tower of Caelid. It’s also in a fork in the road, and you can find the other Caelid merchant in the Isolated Merchant’s Shack to the northwest of where you found the Dragonbarrow map.
Millicent and Gowry
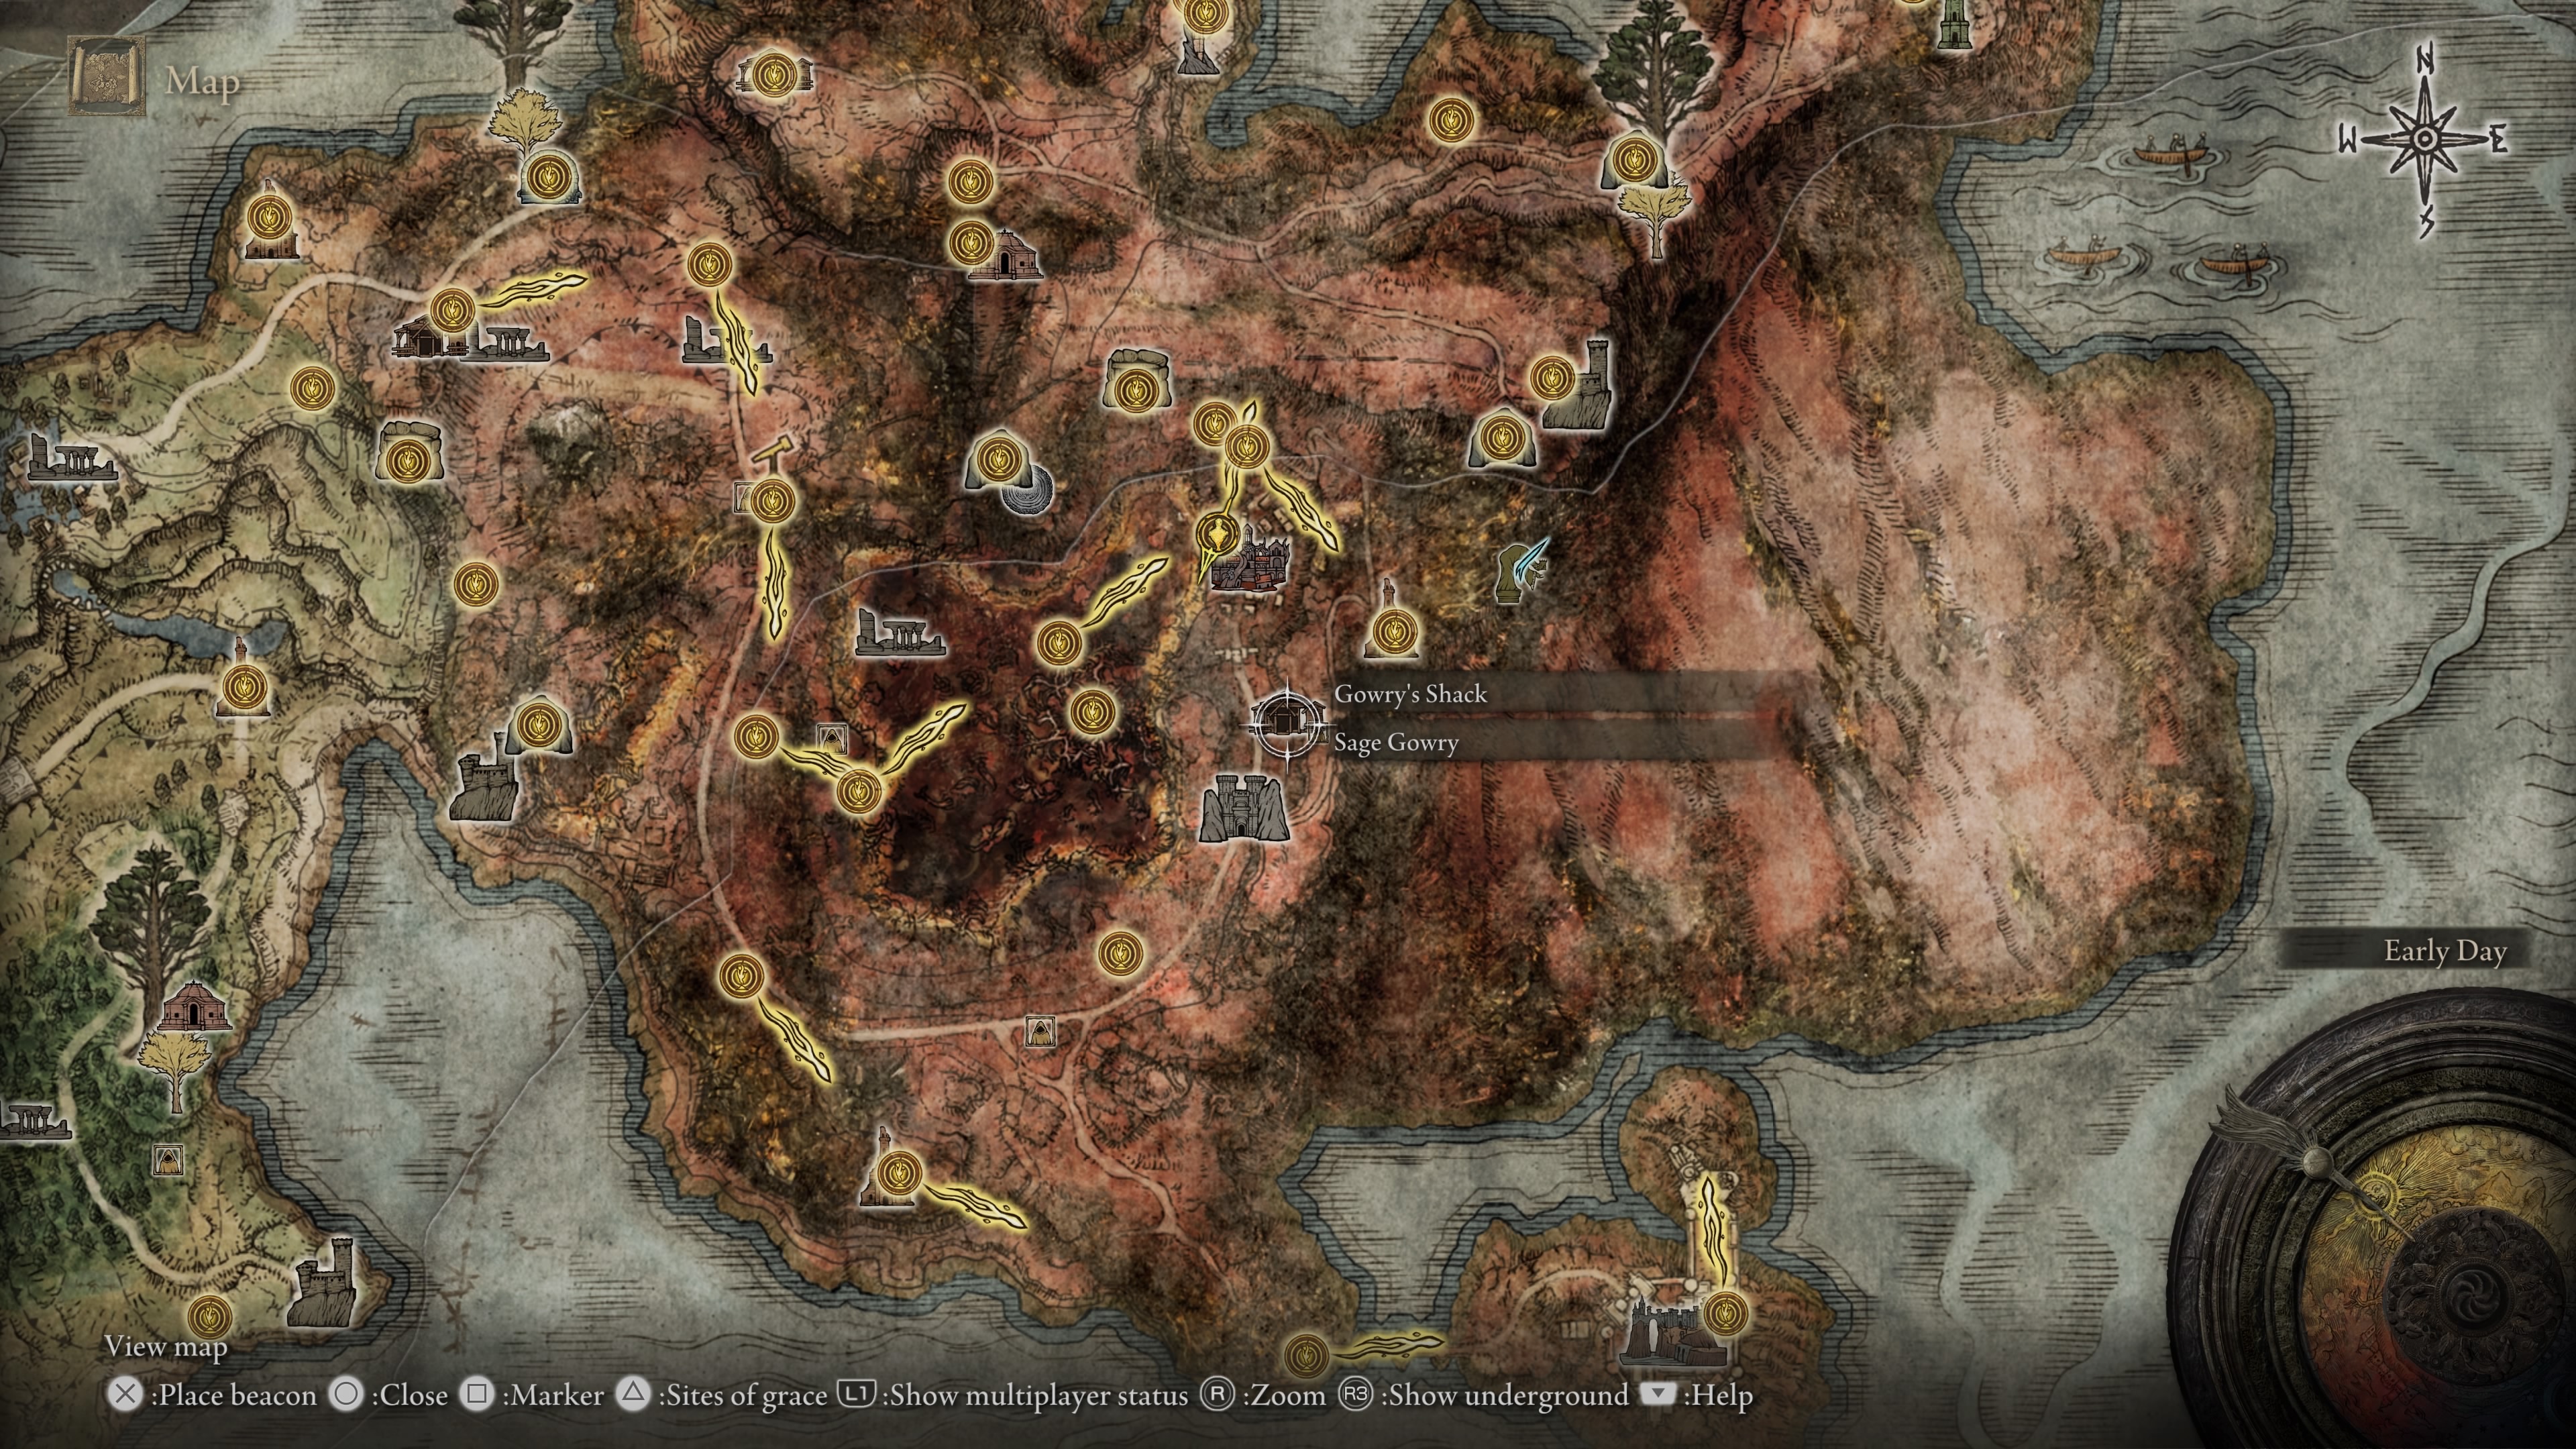
On the road between Sellia, Town of Sorcery (to the north) and Sellia Gateway (to the south) is Gowry’s Shack. Speaking to Gowry inside, he tells you he’d like to cure a young girl who has become stricken with scarlet rot. The only problem is that he needs an Unalloyed Gold Needle to do so.
Finding one is simple, obtaining it for yourself is not. In order to get one, you need to defeat Commander O’Neil who is located immediately west of Gowry’s Shack behind a thick canopy of sickened trees. He’s a particularly tough boss who summons exile soldiers and uses sweeping wind-based attacks with his halberd, so it’s recommended you either invite cooperators or rely heavily on Torrent for the fight.

Once finished, return to Gowry, who tells you to wait for a bit. Return to any point of grace, then back to Gowry’s shake, where he gives you a note explaining that you need to light the fires in Sellia to unlock its secret. Simply double-jump over the rooftops in town using Torrent; each tower is pretty easy to see at any point in town, you simply need to clear a path to each one without falling down onto the streets below.
Once all three are lit, you can enter the Sellia Backstreets and head up to the Church of the Plague, where Millicent is. Offer the item Gowry gave you and rest at the nearby grace point. Once rested, speak to her again to finish the quest.

Finishing Millicent’s quest in Caelid rewards the Prosthesis-Wearer Heirloom, a talisman that raises Dexterity by five points. If you complete her quest and save her from the scarlet rot, she appears later on in a much longer questline that culminates with you being able to earn Millicent's Prosthesis, a talisman that rewards five points of Dexterity and increases the attack power of your consecutive attacks.
Pushing forward to Redmane Castle
At the southern tip of Caelid is a point of grace called Impassable Greatbridge. It’s possible to travel across this bridge, but it did get its name for a good reason; you’ll need to dodge an onslaught of ballista bolts that can easily knock you off of Torrent--even when dashing at full speed--and pin you to the ground if they don’t immediately kill you.
That said, if you can make it past all of Redmane Castle’s frontal defenses, you’ll find that the front gate is closed indefinitely. Good news though: There is a side passage that you can follow by jumping across the siege tower and onto the crag leading around the castle to the right. You’ll run into some potentially tough fights with giant bats along the way, but you’ll eventually find a ladder that you can climb up. Once inside the castle, rush to the ground floor then move north and east until you find the grace point called Chamber Outside the Plaza. This’ll be your foothold for exploring the rest of Redmane Castle on your own time, and this is also where you’ll launch your assault on Starscourge Radahn from.
Alternate route across the bridge
If crossing the Impassable Greatbridge isn’t your style, then there’s a stealthier way to get to the Redmane front gates. Travel to Fort Gael, south of the Rotview Balcony, and sneak inside by climbing onto the tree branch that winds around the corner to the right (past the closed front door). Climb up the ladder, then either fight or ignore the foes on the rampart, including the knight. Don’t fall into the pit or engage the lion guardian if you don’t want to. Your goal is to climb to the top of the tower and open the treasure chest at the top, which is a trapped teleporter chest that ports you directly to the Redmane Castle front gates.
Acquiring Moonveil

Caelid is where you can find one of the most powerful katanas in Elden Ring, Moonveil, which deals magic damage and scales with strength, dexterity, and intelligence. If that’s your style, then you can easily find it by slaying the Magma Wyrm inside of the Gael Tunnel dungeon.
You can travel south from Rotview Balcony to get to the main Gael Tunnel entrance if you'd like to grab that point of grace, but there's a much easier and simple path directly to the boss fight from Limgrave. You can sneak into Gael Tunnel by going to the Third Church of Marika and climbing up the cliffs to the northeast until you find the Rear Gael Tunnel Entrance point of grace, which conveniently places you right next to the entrance to the Magma Wyrm’s lair.

The Magma Wyrm is pretty slow and predictable, only using the same few moves in a row. It’s also weak to piercing attacks. The main attack to watch out for is its magma breath attack where it slowly fills certain areas of the chamber with magma as it plows through. The rest of the Magma Wyrm’s attacks are large area of effect sweeps with its claws and tail which can be telegraphed and dodge-rolled through. It also has an attack where it slashes the ground for a moment, then pulls its claw back in a sort of “fake out” move that can catch you unaware if you reacted too quickly to (i.e. dodge-rolled in closer to strike after) the initial ground-slash.

Other than that, the Magma Wyrm fight is pretty straightforward. Don’t feel shy about inviting friends to help you beat it! Once finished, you’re rewarded with the Moonveil and a fresh new Dragon Heart.
There’s plenty else to see and do in Caelid, but don’t let us spoil all the fun of uncovering the rest of its myriad secrets for yourself. Happy hunting, Tarnished.
Elden Ring Guides
- What Happens In Elden Ring? The Game's Story, Part 1: Limgrave
- Elden Ring Rune Farming: The Best Early Areas To Level Up Fast
- What To Do First In Elden Ring: Best Route, Weapons, And Important Map Locations
- + Show More Elden Ring Guides Links (7)
- Elden Ring: Best Weapons You Can Find Early In Limgrave
- Elden Ring Margit The Fell Omen Guide - Recommended Level And How To Beat The First Boss
- Elden Ring: How To Upgrade Weapons - Smithing Stones Explained
- Elden Ring Tips For Beginners: Learning The Ways Of The Lands Between
- How To Level Up In Elden Ring, Stats Explained
- Elden Ring: Best Keepsakes To Pick During Character Creation
- Elden Ring Map: Where To Find Your First Map Fragment
Got a news tip or want to contact us directly? Email news@gamespot.com
Join the conversation