Crackdown 2 Walkthrough
A new threat has arrived in the form of the Cell terrorists and their Freak virus. Our Walkthrough will show you how to take over Absorption Units, detonate Beacons, and bring order to Pacific City.
Return to Pacific City a decade after its intense war on crime. A new threat has arrived in the form of the Cell terrorists and their Freak virus. Our Game Guide will show you how to take over Absorption Units, detonate Beacons, and bring order to Pacific City.
Here's what you'll find inside:
- Walkthrough: A full walkthrough to help you locate Beacons and complete Project Sunburst
- Secrets: Learn about hidden items, orbs, and vehicles
- Agency Deployment: A full chart of weapons and vehicles earned by collecting orbs
- Achievements : A full list of Achievements to boost your Gamerscore
Cell Stronghold
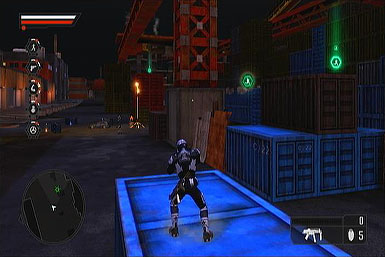
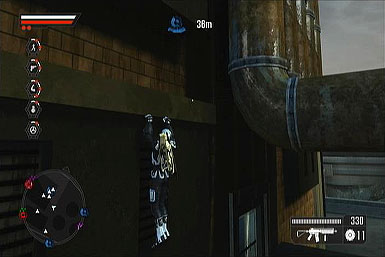
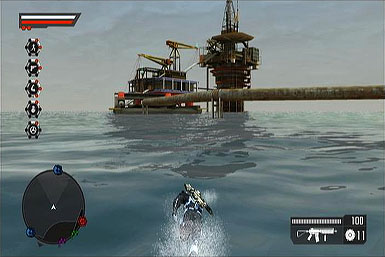
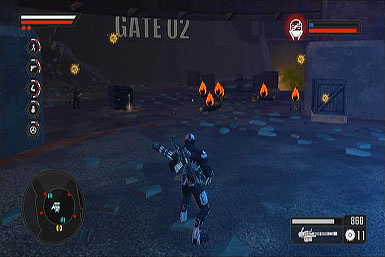
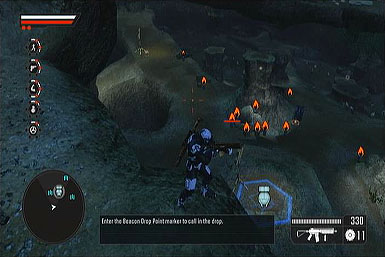
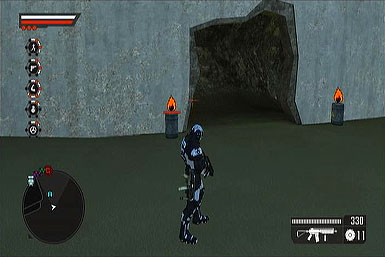
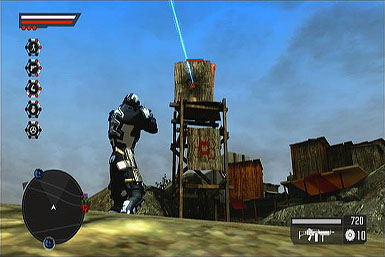
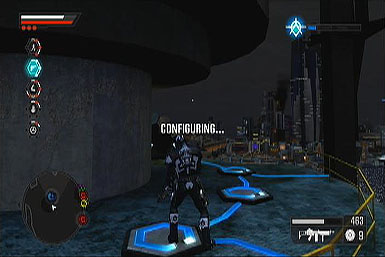
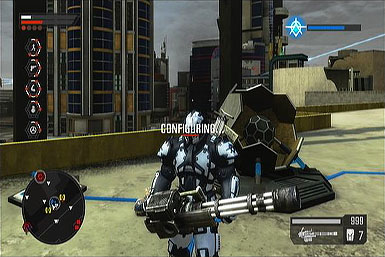
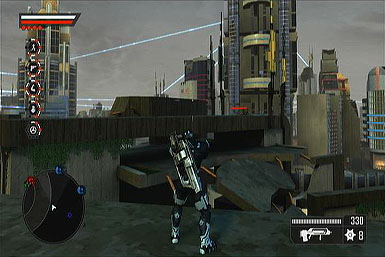
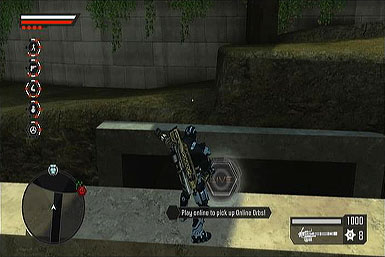
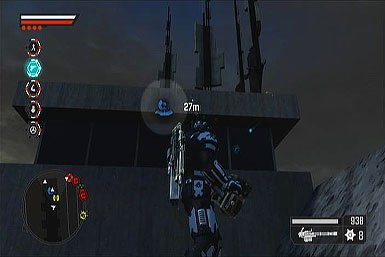
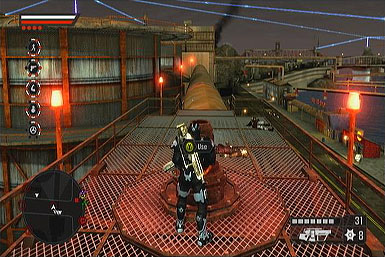
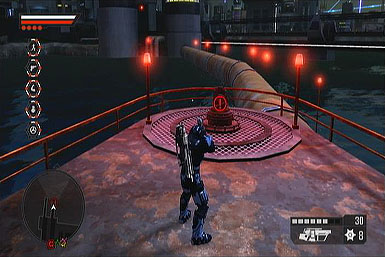
The Agency helicopter will drop you off at the docks. The area is under Cell control and it's your job to quell the situation. You'll start off armed with a standard machinegun and shotgun. Your melee attacks are also a powerful means of dispatching enemies.
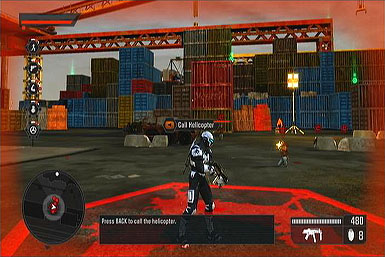
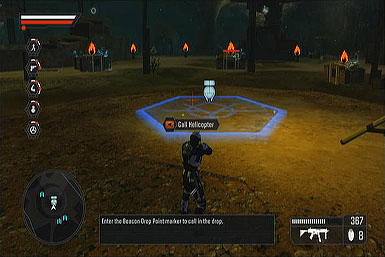
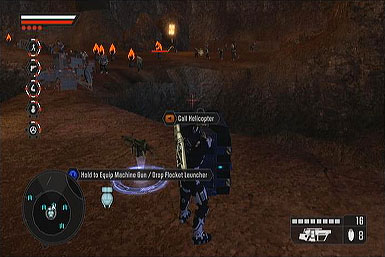
Move forward to the Cell tactical location. Use this spot to call in Agency backup. As a friendly chopper zooms to your location, more Cell resistance will approach from the right side. Quickly shoot at them to clear the area. Once it is safe and reinforcements have arrived, move to the left and loop around the back to reach the second Cell tactical location.

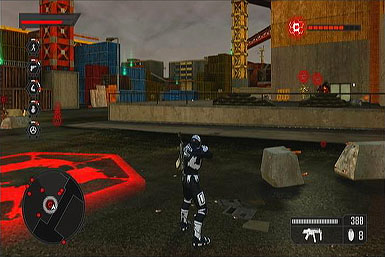
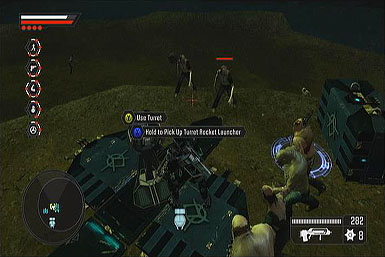
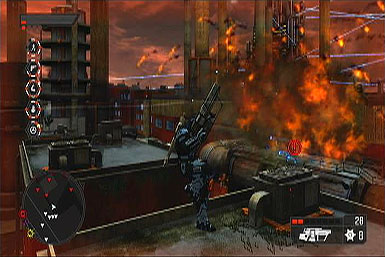
Once again, use this point to call in another Agency helicopter. This time, Cell will deploy even more cronies. It's a good time to make use of your explosives to kill groups of enemies at once. Additionally, you can shoot at explosive canisters and fire barrels to cause additional explosions. If you need even more firepower, there is a mounted machine gun turret just north of the tactical icon.
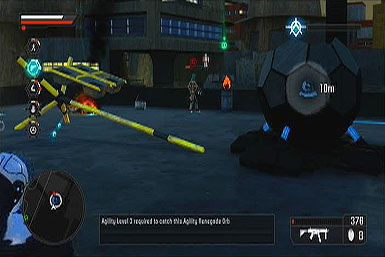
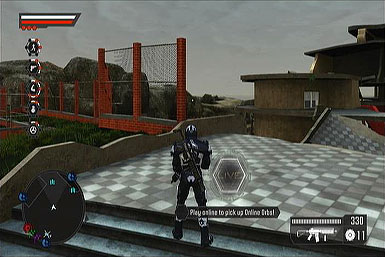
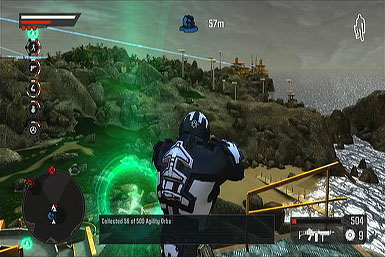
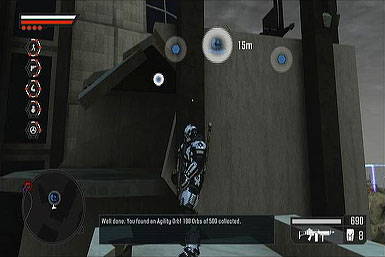
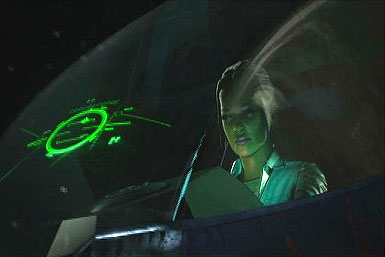
Even after clearing out Cell, the area is still littered with collectable orbs to improve your Agent's abilities. It would be wise to track down some of these before continuing. The most common and valuable orbs are the green Agility Orbs. They are one of the few means of increasing your movement speed and jumping height. Another orb to note is the Live orb, which can only be gained during multiplayer and will improve all stats. After a short time, the Agency Director will brief you on your next objective: Project Sunburst.
Power Station
Absorption Unit 1
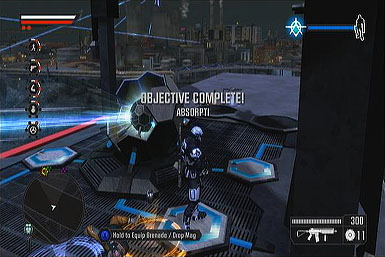
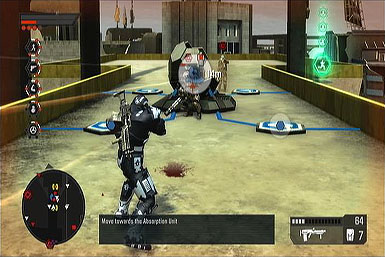
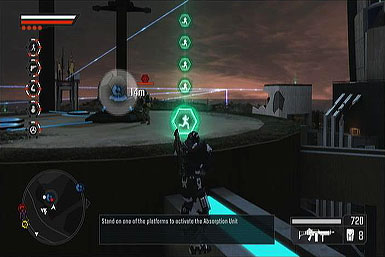
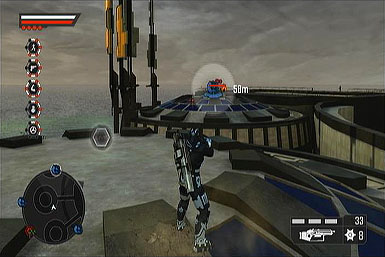
To achieve Project Sunburst you'll need to activate 27 Absorption Units and 9 Beacons. The location of the first three Units will appear on your tracker, with the current target Unit emitting a white glow.

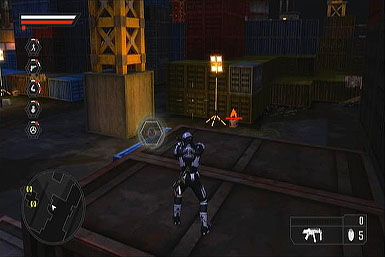
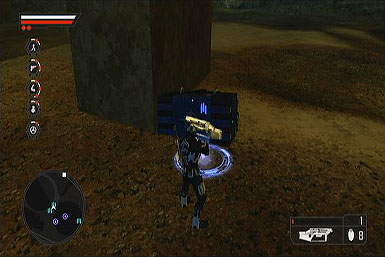
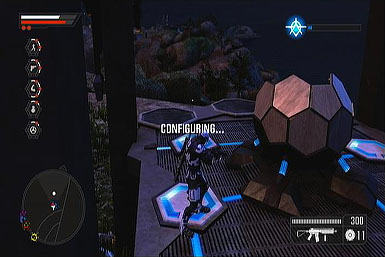
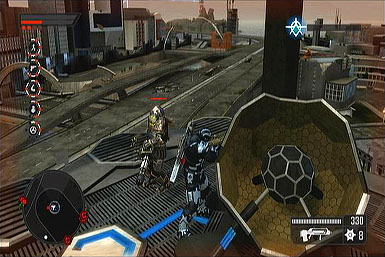
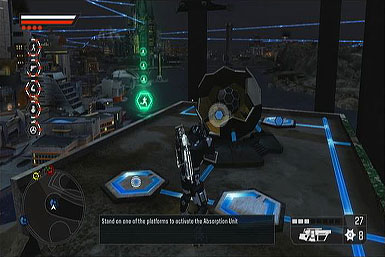
Head north east from the docks to reach the first Absorption Unit. It is lightly guarded by four Cell terrorists. Quickly execute them with your machine gun or melee attack and move up the flight of stairs. Jump across to the building roof and you'll arrive at the Absorption Unit. Stand on one of the four glowing platforms to start up the Unit. Now it's time to head to the 2nd Unit.
Absorption Unit 2
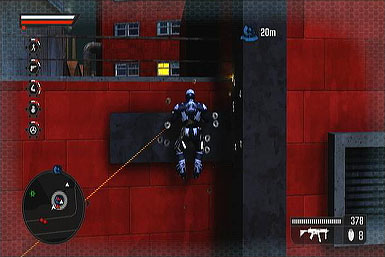
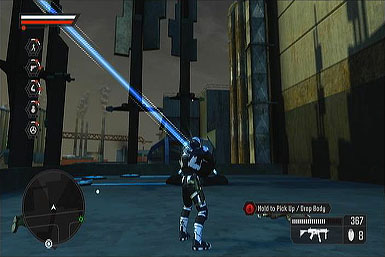
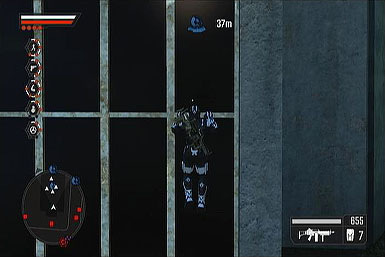
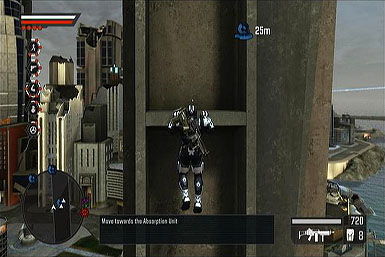
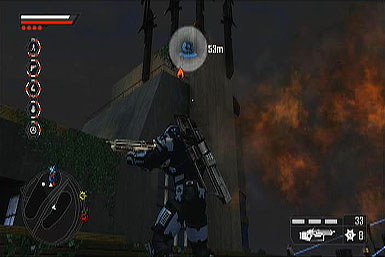
If your agility is low, you can reach the Absorption Unit by climbing over the black bars protruding from the building. As with the first Unit, kill the enemies and stand of the platform pad to power the second Unit.
The third Unit, and the last for the first Beacon, is due west.
Absorption Unit 3
Cell has a few more guards at this location; however they are also poorly stationed near clusters of fire barrels. You can quickly clear out the enemies by detonating the barrels with your machine gun.
Start up this Unit and signal the first Beacon.
Beacon 1
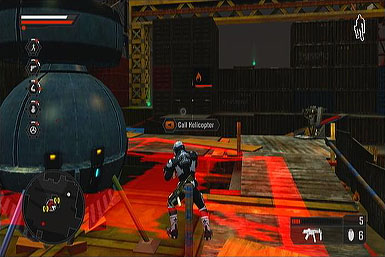
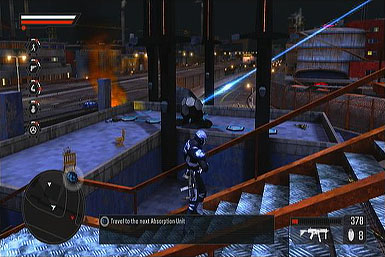
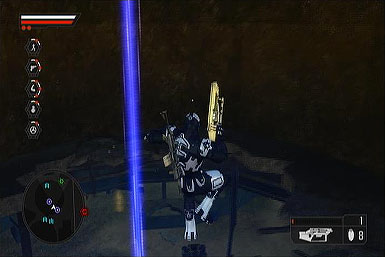
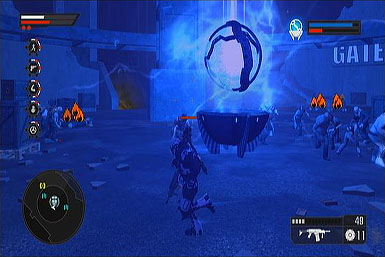
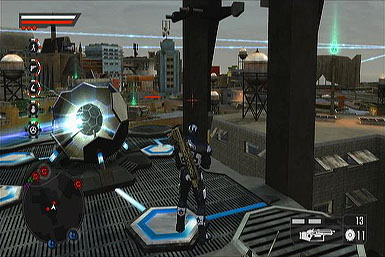
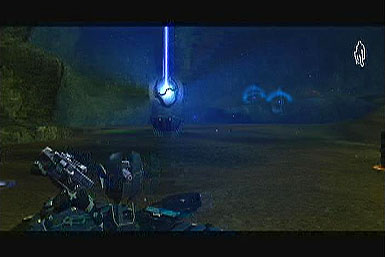
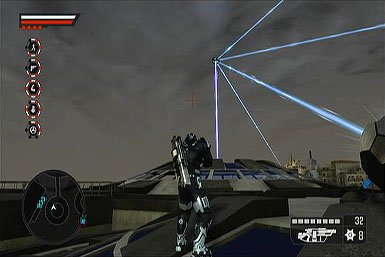
The three energy beams from the Absorption Units will point towards the Power Station, where the first Beacon will be deployed. The Agency Director will instruct you to follow a beam of light, which will in turn lead you to the Beacon's landing zone, deep under the Power Station. Along the way will be a Live Orb, which will come in handy if you're playing with a second Agent.
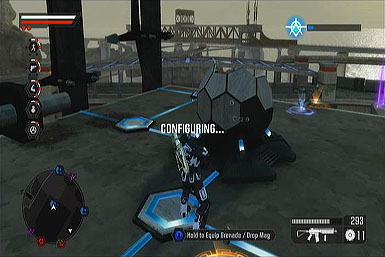
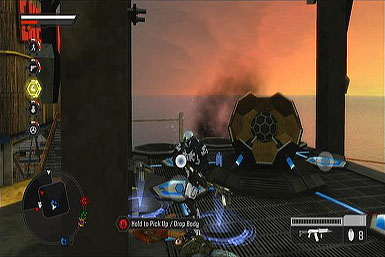
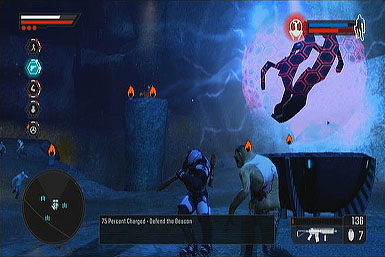
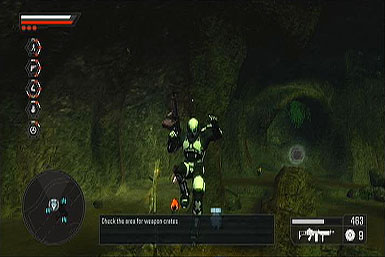
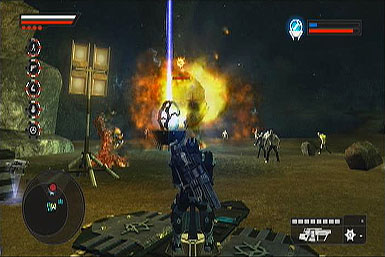
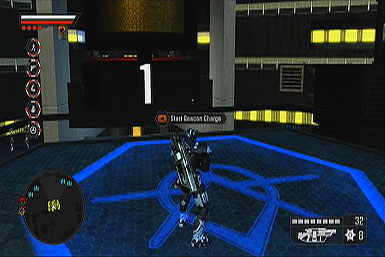
Use the Agency location to call in a helicopter. It will drop off the Beacon, however it will take some time to charge. During this short time, look around the area for new weapons. The one of most interest is the UV Shotgun, which sends out a powerful energy wave, dealing heavy damage to Freaks.
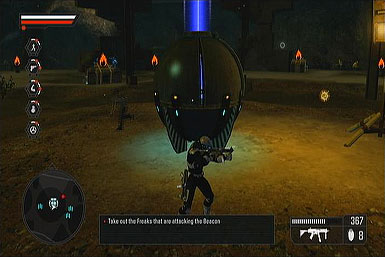
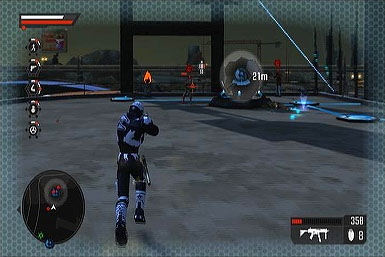
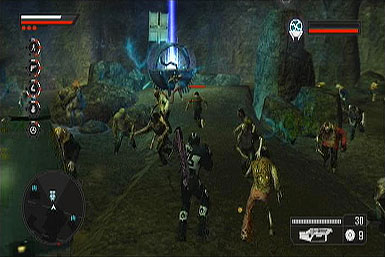
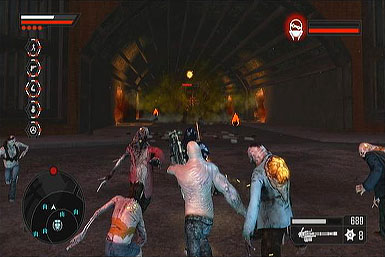
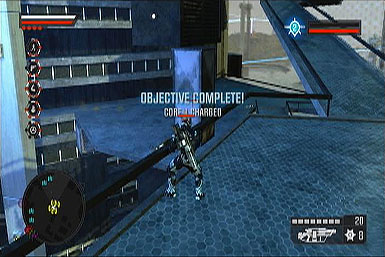
When the Beacon starts up, a horde of Freaks will advance. The Freaks with special icons over their heads and appear on your tracker will be your prime target. These Freaks will specifically ignore you and focus on destroying the Beacon. It is imperative that you keep the Beacon safe as it charges power. When the Beacon has enough power, it will automatically detonate, completing the first phase of Project Sunburst.
When you're ready, use the jump pad to propel yourself back to street level.
Weapons Factory
Absorption Unit 4
Before starting up the next Beacon, you'll need to advance to level 2 Agility. This will allow you to jump 15 feet into the air, able to grab higher platforms that would previously be unreachable. The docks are an excellent location to stockpile orbs.
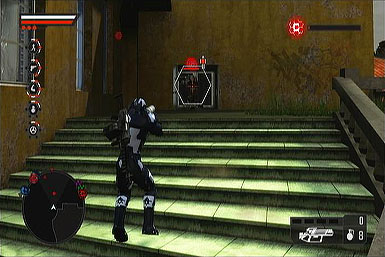
The fourth Absorption Unit can be found on your tracker. Its location is atop a large building. With your increased Agility score, climbing the building will severe as no obstacle. You may come over heavy fire, as the Unit is also located close to a Cell stronghold. It is advised that you start a tactical assault to take back control of this area.
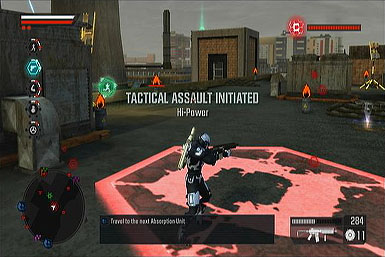
Shoot down the approaching enemies. They serve little threat even with your basic machine gun. The rooftops also have quite a few loose orbs. Take the time to collect them and enhance your powers.
Absorption Unit 5
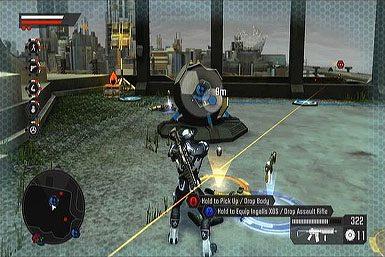
If you're still lugging around the UV shotgun, use one of the Agency tactical locations to swap it for a different weapon. While the UV weapons do considerable damage to Freaks, they do far less when used against humans, such as Cell.
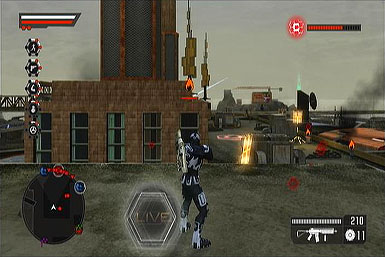
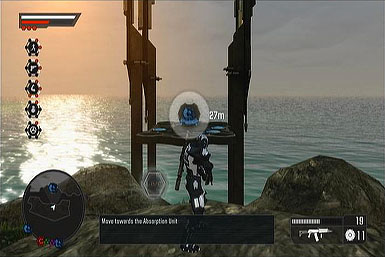
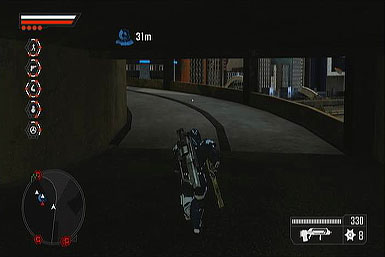
The next Absorption Unit is located out in the coast, so you'll need to swim to reach the location. The place is crawling with low level Cell enemies. Parts of the structure are busted and broken, requiring a few good jumps to make it to the upper levels. After clearing out the enemies, activate the Unit.
Absorption Unit 6
Move to the 6th Unit, located on your tracker. It sits atop a highway overpass. If your Agility is high enough, reaching the top will serve as no challenge. With this last Unit activated, the Beacon will be ready for deployment at the Weapons Factory.
Beacon 2
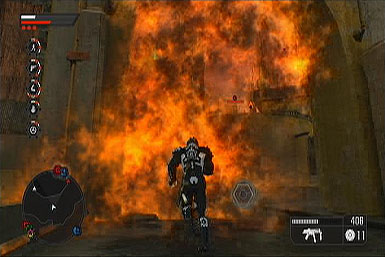
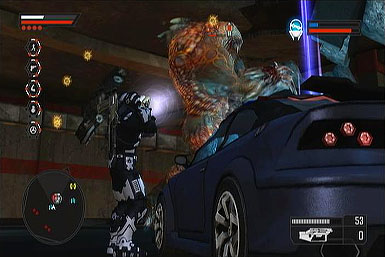
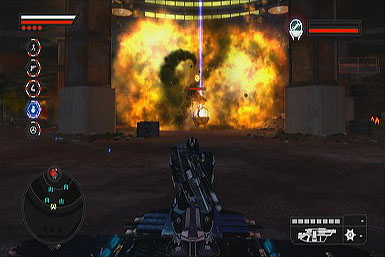
Descend the factory and into the Freak lair. Arm yourself with UV weapons, if possible. If your strength is high enough, you can even grab a machine gun turret from its mount and use it as your personal firearm.
Many of the target Freaks will be above you in the rafters. Aim high and quickly enter auto-lock to find each Freak going after the Beacon. When the Beacon is charged, it will detonate and complete this area.
Mason's Quarry
Absorption Unit 7
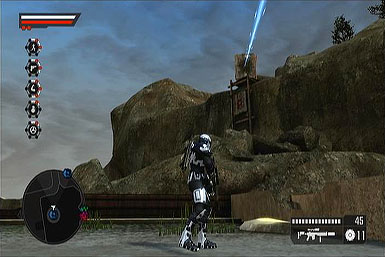
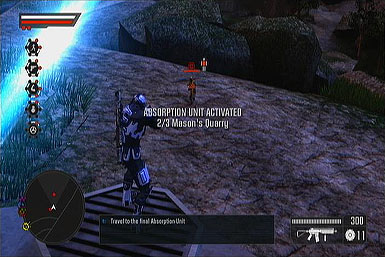
Travel to the next Unit and take out the Cell guards. Go ahead and activate the Absorption Unit. However, this time Cell has spiced things up a bit and posted a makeshift barrier. Travel to the mountain a bit to the south and you'll see that a board has been propped up to block the Unit's energy. It can be destroyed with repeated fire, or from a single quick grenade.
Absorption Unit 8
The 8th Unit is in another rocky ridge. Kill the enemies around with a few punches or gunshot and start up the Unit.
Absorption Unit 9
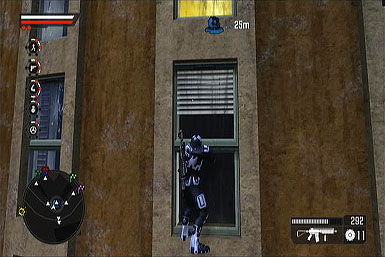
If your Agility is too low, the next Beacon can be reached by climbing up the window sills. The area is also littered with explosives, making it a synch to clear the area and restore power.
Beacon 3
The Beacon in Mason's Quarry is ready for activation. Travel to the marker on your tracker and start up the Beacon's charging process. Enemy Freaks will storm the area, often taking to the higher ground, making it difficult to hit them with a short range UV Shotgun. Stick to longer range weapons, such as the machine gun and the rifle.
If your Strength level is high enough, you may also be challenged by huge Mega Freaks that will constantly pound the Beacon. In this cases, stick with heavy weapons such as rocket launchers and machinegun turrets.
Sportiz Gym
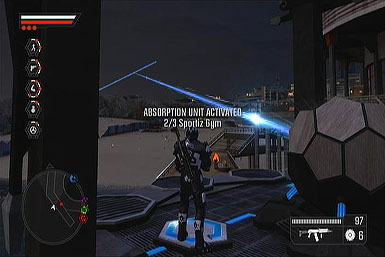
Absorption Unit 10
There are plenty of Live orbs surrounding the 10th Unit. If you have a second Agent with you, be sure to collect them as you approach your goal.
The Unit itself is located just off the coast. With a good Agility score, jump to the platform and start up the Unit.
Absorption Unit 11
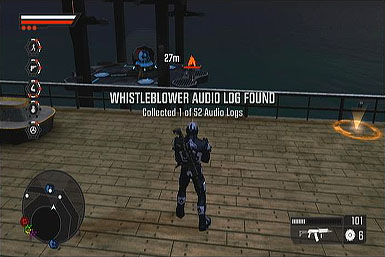
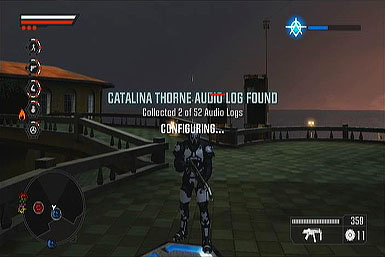
There is an Audio Log along the way to the 11th Unit. Grabbing it will reveal story elements that aren't touched on while playing through the game. The Unit itself is situated just off the pier. With a good Agility level, a single jump will be able to safely land on the platform.
Absorption Unit 12
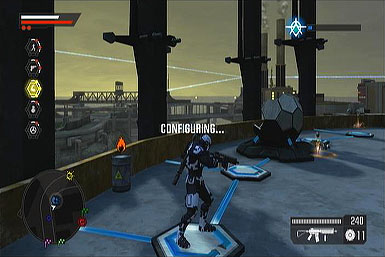
The next Unit is atop a very tall building, surrounding a Cell stronghold. To minimize conflicts, it's a good idea to attack and claim the tactical location for the Agency.
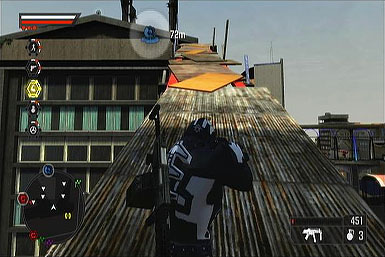
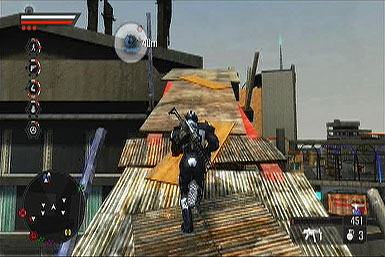
If you've pumped up your Agility high enough, you can quickly climb the building. However, if you're still only on Agility level 2, there are connecting ramps leading to the top of the Unit.
Beacon 4
Despite the UV beam emitting from the crater, if your stats are too low you might not survive the fall. There is however a second entrance to the Sportiz Gym. Move to the beach south-west of the beacon and you'll discover a hole leading to the underground cavern.

Many of the Freaks will gather to the sides, leaving them helplessly close to explosive barrels. Conversely, stay in the center near the beacon to avoid being caught in your own explosions. If you do happen to fall to the lower levels, there are plenty of ramps and jump pads that will quickly return you to the Beacon's spot.
Radio Station
Absorption Unit 13
Even though this is the first Absorption Unit to start up the Radio Station Beacon, the Unit itself is located in the southern island of Green Bay, not far from the Sportiz Gym.
Cell has also set up more barriers to stop the UV energy. However, they are easily destroy with a single Grenade or several assault rifle shots.
Absorption Unit 14
The 14th Absorption Unit is located inside a very well protected Cell Stronghold, the Villa. It's recommended that you capture this tactical location before going for the Unit itself.
Cell will bring out more powerful weaponry than ever before. Enemies will constantly use machine gun turrets and rocket launcher. However, if you defeat even one of these enemies with a quick melee combo, you can nab their dropped weapons and use them against the remaining forces.
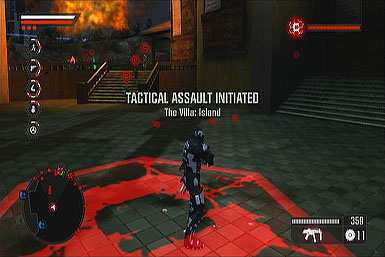
When the area is clear and safe in Agency hands, locate any barriers that might be blocking the UV energy and destroy them.
Absorption Unit 15
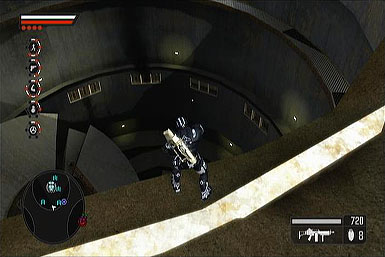
The Absorption Unit stand on a very tall lighthouse. You will be unable to make the climb until gaining a minimum of level 3 Agility. If you still need more orbs, a good place to hunt them down is the Green Bay area, just east of Sportiz Gym.
The winding platforms of the lighthouse can become a bit disorientating due to the camera. However keep jumping and shimmying to the right and you'll soon reach the Unit.
Beacon 4
The Freak cavern where the Radio Station Beacon awaits is filled with small alcoves. Freaks with long ranged attacks will tend to perch in these openings and let loose on the Beacon. Be quick and execute these foes fast single fire shots, mainly from the sniper rifle or harpoon.
If your Agent is strong enough, large mega Freaks may intrude once again. Like before, stick to high powered weapons such as rocket launchers to quell the onslaught.
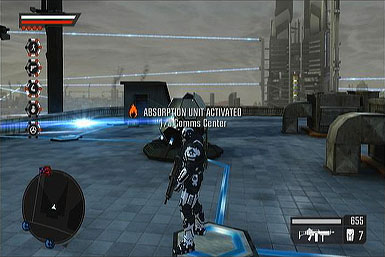
Comms Center
Absorption Unit 16
The 16th Absorption Unit is much too high to reach at only level 3 Agility. It's time for another Agility orb hunt to boost to level 4. Luckily, the surrounding area is littered with more orbs, making it a quick task to collect them all.
Once boosting to level 4, the Unit can be reached by climbing over the window sills and unto the roof.
Absorption Unit 17
The 17th Unit is heavily guarded, but also filled with explosive barrels. Most of the enemy forces can be wiped out by targeting the environment, instead of attacking directly. Additionally, Cell has place more barriers to block the UV rays. Follow the Unit's energy beam to locate the obstruction and destroy it.
Absorption Unit 18
The 18th Unit is guarded by Cell terrorists wielding machine gun turrets. If your strength level is high enough , you can rob these weapons for yourself and use them during the upcoming Beacon fight.
Beacon 6
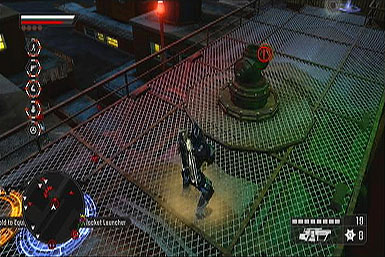
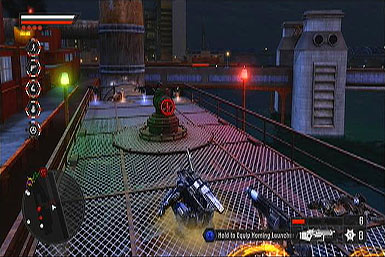
Once again, directly dropping towards the Beacon's location will prove fatal. To brace your fall, use the broken Comms dish to slide down the entrance and land smoothly. Among the weapons littering the area is the Flocket Launcher, a powerful rocket launcher that arcs upward before slamming down with a heavy explosive.
With this new weapon in hand, clearing the area of targeted freaks will prove to be easier than previous encounters. Take make things even simpler, attack the explosives nearby to cause chain reaction blasts, wiping out large groups of Freaks at once.
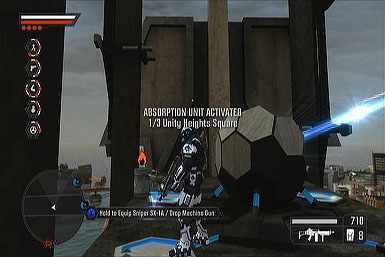
Unity Heights Square
Absorption Unit 19
The 19th Unit is located on top of a suspension bridge leading to Unity Heights. You can use the bridge's small ledges and grooves to climb to the top and activate the Absorption Unit.
Absorption Unit 20
The 20th Absorption Unit can be hard to reach with just jumping, even with high level Agility. In what may seem like a backwards approach, it's actually easier to jump on to the nearby fire escapes and climb up the stairs until arriving on the roof.
There are also many orbs around this roof and the adjacent buildings. After starting up the Unit, be sure to take the time and collect any loose orbs to build up your stats.
Absorption Unit 21
The 21st Unit is located on top of a smashed building. Due to the building's side facing the Square being smashed, it's easier to climb from the street side. There is more challenge in climbing the building than actually assaulting the Unit. Enemies guarding the area are hardly a threat to strong guns such as the harpoon.
Beacon 7
The Unity Heights Square Beacon is heavy impacted by large mega freaks. You may be able to spot a amounted turrets just west of the Beacon drop point. However, its line of fire is blocked by fallen pillars and other debris. If your Strength is high enough, grab the turret from its mount and use it as a primary weapon.

Even the waves of mega Freaks are little match from a constant barrage of turret fire. If you do manage to run out of turret ammo, switch to a rocket launcher to defeat the remaining enemies.
Security Ruins
Absorption Unit 22
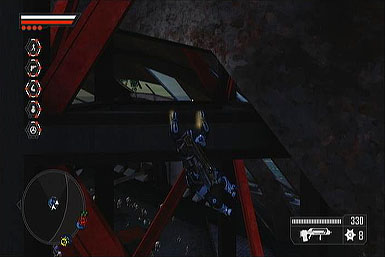
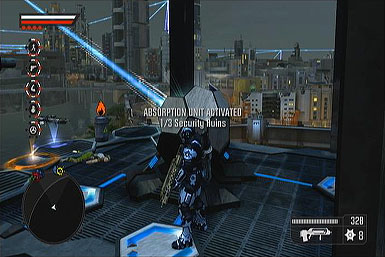
The 22nd Unit is atop a high tower. Even with level 4 Agility it can be tough to leap across the horizontal ledges. Instead, you'll have to shimmy and quickly grab the diagonal red ledges to propel you up to the horizontal ones.
Absorption Unit 23
The next Unit is atop a large building guarded by enemy Cell units. It's easier to peck them off from a distance with a rifle or harpoon before advancing closer.
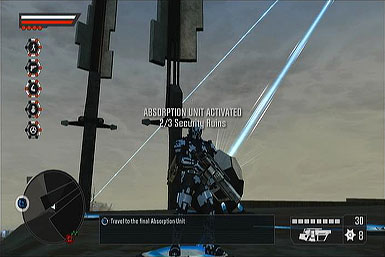
Reaching the Unit itself can be tricky. Instead of making a single long leap, use the destroyed area as platforms leading to building's roof.
Absorption Unit 24
The 24th Unit is stationed on top of a parking garage. Instead of climbing the building from the outside, you can move up the parking ramps just as a car would. Along the way are several orbs worth picking up.
Though there are enemies that will drop machinegun turrets, it's not worth collecting them for the next Beacon fight.
Beacon 8
If you're playing with multiple Agents, there are several Live orbs to collect and build up your team's stats.
The Security Ruins Beacon drop point is surrounded by water, making it likely that you'll have to swim there if your jumps are not carefully timed. If you do enter the water, your Agent will automatically drop any turret weapon they are carrying, making it pointless to arm yourself with one.
You'll be quickly overwhelmed by mega Freaks, with sometimes up to two attacking at once. It's best to arm yourself with both a Flocket and Homing launcher to clear the area quickly. There is also a mounted rocket launcher that retains infinite ammo as long as you don't use it as a primary weapon. However, keep in mind that its turning speed is very slow while it is still mounted.
Research Ruins
Absorption Unit 25
Unit 25 is atop several domes in the northern area of the map. It's a good location to stock up on orbs and steal Cell weapons for your collection.
Absorption Unit 26
The second to last Unit has more Agility orbs to help boost your Agent's performance. The Cell resistance is light, however the Unit rests at the top of a very high building. It's more about your climbing skills rather than tackling a straight firefight.
Absorption Unit 27
The 27th and final Absorption Unit is located in the heart of one of Cell's toughest Strongholds. It's almost imperative that you take the time to claim the tactical location for the Agency, as the heavily armed Cell terrorist will constantly attack as you make your way to the Unit.

The Unit itself is stationed on top of a very high building. Due to Cell's massive numbers, you'll need to clear the area before even making the ascent.
Beacon 9
The final Sunburst Beacon is one of the toughest fights yet. One of the main hazards are the numerous explosives laying about the area. You'll more than likely accidently kill yourself rather than seeing the Beacon be destroyed.
Luckily, the explosives do not respawn, so if you do happen to ignite them and fail the mission, they will not return when you try again. To deal with the enemy Freaks there is a mounted grenade launcher south of the Beacon. This can wipe out huge waves of enemies with every blast. However, be forewarned that it will also do equal damage to other Agents, and even to yourself if you aim at a target that is too close.
Refinery Valves
Even with the Beacons activated, there is not enough energy leading to the Agency tower. To provide more power, you'll need to start the valves at the old refinery. But as expected, the location is under Cell's control.
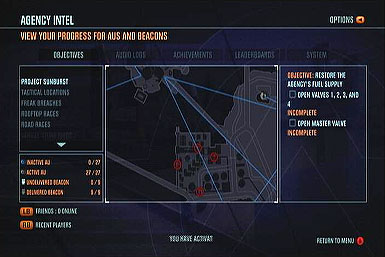
Travel south of the tower and you'll reach the refinery. There are four valves laid across the refinery that you'll need to start up. Cell's forces are heavy and it is recommended that you arm yourself with two rocket launchers.
When the resistance around each valve is dealt with, move close to the valve and select “Use” to have your Agent smash the valve handle and provide extra energy to the Agency.
When the four valves are opened, the Agency Director will point to the fifth valve, the main valve that will give the final needed boost. It isn't more guarded by the Cell forces and can be secured just as easily as the others.
Defend Agency Tower
This is the final phase of Project Sunburst, and among the most hectic. Agency tower is being assaulted by not just standard Freaks, but Freak Agents who were put on ice from the previous game. You'll need two rocket launchers, as anything less will prove too futile to deal with the threat.
Three different Beacons will be charging one after another and you must secure all three of them. If anyone of them is destroyed by the Freak Agents, you'll have to completely restart the defense operation. Each Freak Agent can be killed with a single rocket, or even detonating nearby explosives.
You'll need to be quick on your feet, climbing up the tower's ramps to locate targeted Freak Agents and wipe them out before they can obliterate a Beacon. Like all Beacons, once the tower Beacons gain full energy they will detonate, releasing their UV bursts. The final UV charge will be enough to finally eliminate the Freak threat, successfully completing Project Sunburst and Crackdown 2's story mode.
Agency Deployment
Primary Weapons
| Weapon | Damage | Range | Fire Rate | Feature | Gained |
| SMG | 1 | 4 | 8 | Firearms 1 | |
| Shotgun | 6 | 2 | 2 | Firearms 1 | |
| Assault Rifle | 2 | 6 | 6 | Firearms 2 | |
| Sniper | 8 | 8 | 2 | Firearms 2 | |
| UV Shotgun | 8 | 1 | 2 | UV | Firearms 2 |
| Ultra SMG | 3 | 5 | 10 | Firearms 3 | |
| Ultra Shotgun | 8 | 2 | 1 | Firearms 3 | |
| Machine gun | 7 | 6 | 6 | Firearms 3 | |
| Ultra Assault Rifle | 5 | 7 | 4 | Firearms 4 | |
| Harpoon | 8 | 10 | 2 | Firearms 4 | |
| AM Sniper | 9 | 9 | 1 | Firearms 5 | |
| Turret Machine Gun | 9 | 8 | 6 | Firearms 5 | |
| Flocket Launcher | 8 | 6 | 2 | Explosives 3 | |
| Turret Rocket Launcher | 7 | 7 | 2 | Explosives 5 | |
| Turret Flack | 10 | 5 | 1 | Explosives 4 | |
| Ingalls XGS | 2 | 5 | 6 | Stored | |
| Ingalls AL-107 | 4 | 6 | 6 | Stored | |
| Demp 90-A | 7 | 3 | 2 | Stored | |
| Mach HMG-120 | 8 | 7 | 4 | Stored | |
| Sniper SX-1A | 10 | 10 | 1 | Stored | |
| Grenade Launcher | 8 | 6 | 2 | Stored | |
| Rocket Launcher | 8 | 6 | 2 | Stored | |
| Homing Launcher | 7 | 5 | 1 | Stored |
Explosives
| Weapon | Damage | Blast Radius | Feature | Gained |
| Grenade | 5 | 5 | Explosives 1 | |
| Mag | 1 | 1 | Magnetic | Explosives 1 |
| UV Grenade | 5 | 5 | UV | Explosives 2 |
| Satchel Charge | 5 | 5 | Manual Trigger | Explosives 2 |
| Proximity Mine | 5 | 5 | Auto-Detonate | Explosives 3 |
| Cluster Grenade | 8 | 10 | Stored | |
| Sharpnel Grenade | 8 | 10 | Stored | |
| Quacker | 10 | 10 | Stored |
Agency Vehicles
| Name | Speed | Acceleration | Armor | Feature | Gained |
| Cruiser | 6 | 6 | 6 | Driving 1 | |
| Buggy | 8 | 10 | 4 | Machine Gun | Driving 2 |
| Supercar | 10 | 10 | 7 | Scoop | Driving 3 |
| SUV | 8 | 7 | 7 | Jump | Driving 4 |
| Tank | 5 | 3 | 10 | Rocket Launcher | Driving 5 |
Cell Vehicles
| Name | Speed | Acceleration | Armor | Gained |
| Saloon | 7 | 6 | 6 | Stored |
| Cabriolet | 7 | 8 | 5 | Stored |
| Coupe | 7 | 8 | 5 | Stored |
| Roadster | 8 | 9 | 5 | Stored |
| Muscle Car | 8 | 8 | 6 | Stored |
| J Car | 9 | 8 | 6 | Stored |
| Pickup | 5 | 4 | 6 | Stored |
| Lowrider | 5 | 5 | 5 | Stored |
| SUV | 7 | 7 | 8 | Stored |
| 6-Wheel SUV | 6 | 5 | 8 | Stored |
| Van | 8 | 6 | 7 | Stored |
| Delivery Van | 5 | 5 | 8 | Stored |
| APC | 2 | 2 | 10 | Stored |
| Tow Truck | 3 | 2 | 8 | Stored |
| Heavy Truck | 4 | 2 | 7 | Stored |
| Military Truck | 4 | 3 | 8 | Stored |
| A-Bus | 3 | 3 | 9 | Stored |
| Battle Bus | 3 | 3 | 9 | Stored |
| Artic Truck | 3 | 2 | 8 | Stored |
Civilian Vehicles
| Name | Speed | Acceleration | Armor | Gained |
| Commuter 1 | 4 | 4 | 2 | Stored |
| Commuter 2 | 4 | 4 | 2 | Stored |
| Saloon | 4 | 3 | 2 | Stored |
| Estate | 5 | 4 | 2 | Stored |
| Delivery Van 1 | 4 | 3 | 3 | Stored |
| Delivery Van 2 | 5 | 3 | 2 | Stored |
| Delivery Truck | 4 | 2 | 3 | Stored |
| Ramp Truck | 4 | 3 | 2 | Stored |
Xbox 360 Achievements
| Xbox 360 Achievement | How to Earn | Reward |
| First Hurde | Survive Agent Diagnostics and earn deployment into Pacific City. | 20 |
| Get Connected | Locate and activate an Absorption Unit, alone or with another Agent. | 20 |
| Plugged In | Locate and activate every Absorption Unit in Pacific City, alone or with another Agent. | 50 |
| Big Bang | Oversee the deployment and successful detonation of a Beacon, alone or with another Agent. | 20 |
| Hope Springs Savior | Detonate every Beacon in Hope Springs, alone or with another Agent. | 50 |
| Green Bay Savior | Detonate every Beacon in Green Bay, alone or with another Agent. | 50 |
| Unity Heights Savior | Detonate every Beacon in Unity Heights, alone or with another Agent. | 50 |
| Light Bringer | Detonate every Beacon in Pacific City, alone or with another Agent. | 20 |
| All Under Control | Secure all Tactical Locations within one Cell stronghold, alone or with another Agent. | 20 |
| Location, Location, Location | Secure every Tactical Location in Pacific City for the Agency, alone or with another Agent. | 50 |
| Pest Control | Clear out and close down a Freak Breach, alone or with another Agent. | 10 |
| The Closer | Close down every Freak Breach in Pacific City, alone or with another Agent. | 20 |
| Tower Power | Complete the final phase of Project Sunburst at Agency Tower, alone or with another Agent. | 20 |
| Tellin' Stories | Collect and listen to an Audio Log. | 10 |
| Closed Book | Collect and listen to every Audio Log in Pacific City. | 20 |
| In Plain Sight | Find and collect a Hidden Orb. | 10 |
| Sixth Sense | Find and collect every Hidden Orb in Pacific City. | 30 |
| First Rung of the Ladder | Find and collect an Agility Orb | 10 |
| King of the World | Find and collect every Agility Orb in Pacific City. | 50 |
| In the Net | Catch an Agility Renegade Orb or Driving Renegade Orb. | 10 |
| Renegade Runner | Find and collect every Renegade Agility Orb in Pacific City. | 20 |
| Renegade Racer | Find and collect every Renegade Driving Orb in Pacific City. | 20 |
| Speed Demon | Complete a Road or Rooftop Race | 10 |
| Street Racer | Complete every Road Race in Pacific City. | 20 |
| Rooftop Racer | Complete every Rooftop Race in Pacific City. | 20 |
| Wingsuit Racer | Glide through every Wingsuit Stunt Ring in Pacific City. | 20 |
| Stuntman | Jump a vehicle through every Vehicle Stunt Ring in Pacific City. | 20 |
| LIVE and Let LIVE | Collect every Online Orb in Pacific City. | 10 |
| Who's the Daddy? | Develop each of your skills to their maximum levels. | 50 |
| Solid Block of Orbsome | Find and collect every Agility, Hidden, Renegade and Online Orb in Pacific City. | 50 |
| Jack of all Trades | Complete one of every objective type in Pacific City. | 20 |
| Pebble Dash | From the top of full-height Agency Tower, leap into the chimney stack and live to tell the tale. | 10 |
| City Glider | Wingsuit glide through the airspace of all islands in Pacific City without touching down. | 10 |
| Squad City Glider | 4 Agents, Wingsuit-glide through the airspace of all islands in city within 30 secs of leader. | 20 |
| Open Up a Can | Kill 5 enemies with a single gas cylinder. | 10 |
| Co-Op Keepy-Up | Pass a vehicle back and forth between Agents 3x using UV shotguns. Vehicle must not hit the ground. | 10 |
| Yippee-Kai-Yay | Drive an Agency SUV into an airborne helicopter. | 10 |
| Strike! | Kill 25 Freaks with thrown objects or vehicles. | 10 |
| Victory Roll | Alone or with another Agent, kill an enemy with a mounted turret while airborne and upside-down! | 10 |
| Mosh Pit | Land 20 successful hand-to-hand attacks in a chain. Under 3 secs between attacks to chain them. | 10 |
| Scarface | Use the minigun to amass 20 enemy kills in a 10 second period. | 10 |
| Zero Factor | Use a UV weapon to amass 20 Freak kills in a 10 second period. | 10 |
| Street Sweeper | While driving a vehicle kill 5 enemies in a single power slide. | 10 |
| Pin Cushion | Use Harpoon Gun to pin 5 enemies to a single vehicle. | 10 |
| Bomberman | Create 30 explosions in 60 seconds. | 10 |
| 25 Ways to Die | Find 25 unique ways to destroy your cloned body. | 10 |
| Car Jump | Leap from one fast moving vehicle to another. | 10 |
| Chopper Stomper | Leap from an airborne Agency helicopter and using a Ground Strike, kill at least one enemy. | 10 |
| Party Bus | Four Agents; one driver and three gunners, on a Battle Bus. Must jump through a Vehicle Stunt Ring. | 10 |
| Pile Driver | Kill 5 enemies with a single Ground Strike. | 10 |
Got a news tip or want to contact us directly? Email news@gamespot.com
Join the conversation