Final Fantasy 7 Rebirth - Best Queen's Blood Cards
GameSpot may receive revenue from affiliate and advertising partnerships for sharing this content and from purchases through links.
The Final Fantasy 7 Rebirth Queen's Blood activity has you facing off against challenging foes, taking turns to increase position ranks and achieve a higher score. Naturally, things won't always go according to plan, but there are certain options that can truly improve your deck. Here's our guide on the best Queen's Blood cards in Final Fantasy 7 Rebirth.
The best Queen's Blood cards in Final Fantasy 7 Rebirth
Our picks when it comes to the Final Fantasy 7 Rebirth best Queen's Blood cards are based on our playstyle, one that prioritizes enhancers--i.e. those boost a card's power and those with increased power depending on how many are being buffed. However, we also suggest mixing and matching cards to find options that suit the deck that you want to build. Likewise, we recommend checking a couple of related guides to help you progress further in this minigame:
Note that many of these cards are either purchased from vendors as Booster Packs, or are won from certain players in matches. While we've noted the chapters when these first become available, you won't need to worry since you can still acquire them later in the campaign. In fact, Booster Packs that you weren't able to purchase early on also appear in the wares of vendors in other regions.
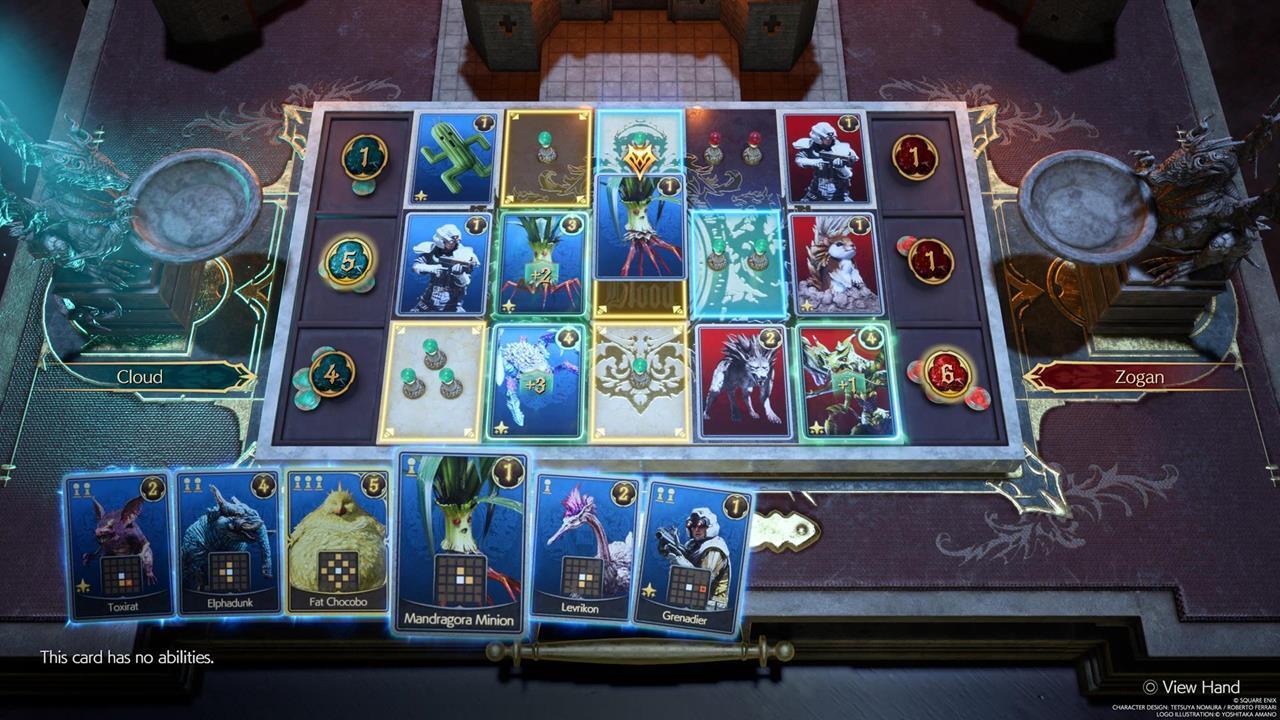
The cheap push: Mandragora
- Mandragora card location: Kalm (Chapter 2) - Purchase the QB Booster Pack (Ruffians) from the item vendor.
- Why it's good: Mandragora isn't a powerful card on its own, but it should serve you well for many early-to-mid-game matches. When played, this right-and-down opener spawns a Mandragora minion, which is a top-and-right opener. This gives you an option to sneak a position flip when you have a card that can add pips in the right directions.

The cheap buffers: Crystalline Crab, Spearhawk, and Cactuar
- Crystalline Crab card location: Kalm (Chapter 2) - A QB player named Ned.
- Cactuar card location: Kalm (Chapter 2) - A QB player named Nene.
- Spearhawk card location: Costa del Sol (Chapter 6) - Spears and Needles challenge in the Card Carnival.
- Why these are good: All three cards can be placed on rank 1 tiles, so they're quite cheap. They also buff the cards in the affected tiles. The Crystalline Crab plus Spearhawk combo is quite good since you can open with them on A1 and C1, respectively, followed by plopping down a powerful rank 3 card on B1.
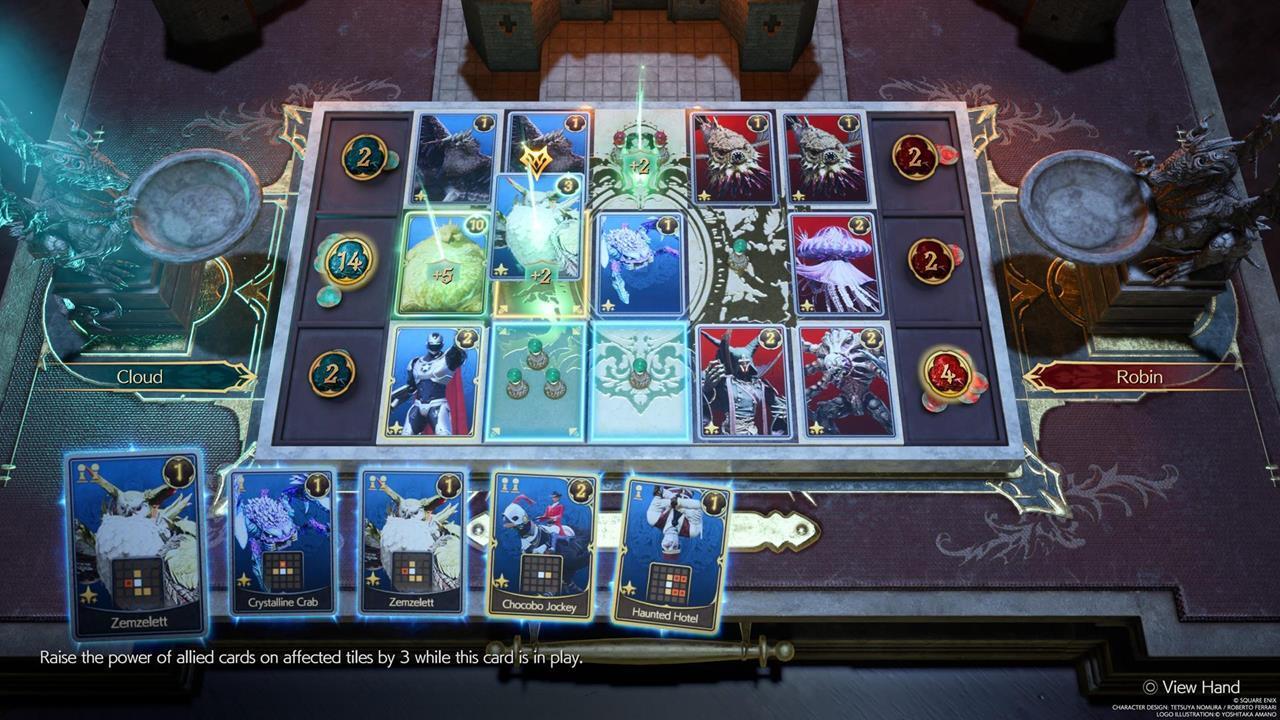
The buff and push combo: Zemzelett
- Zemzelett card location: Under Junon (Chapter 4) - A QB player named Zogan.
- Why it's good: Crystalline Crab and Spearhawk have their uses, but they're still limited. Then, there's Zemzelett, which gives a +3 power buff, and is an opener for the top, bottom, and bottom-right slots. It can pretty much sneak a push toward the bottom lane if you place it on a tile in the middle lane. With proper usage, this becomes one of the best cards in Final Fantasy 7 Rebirth.
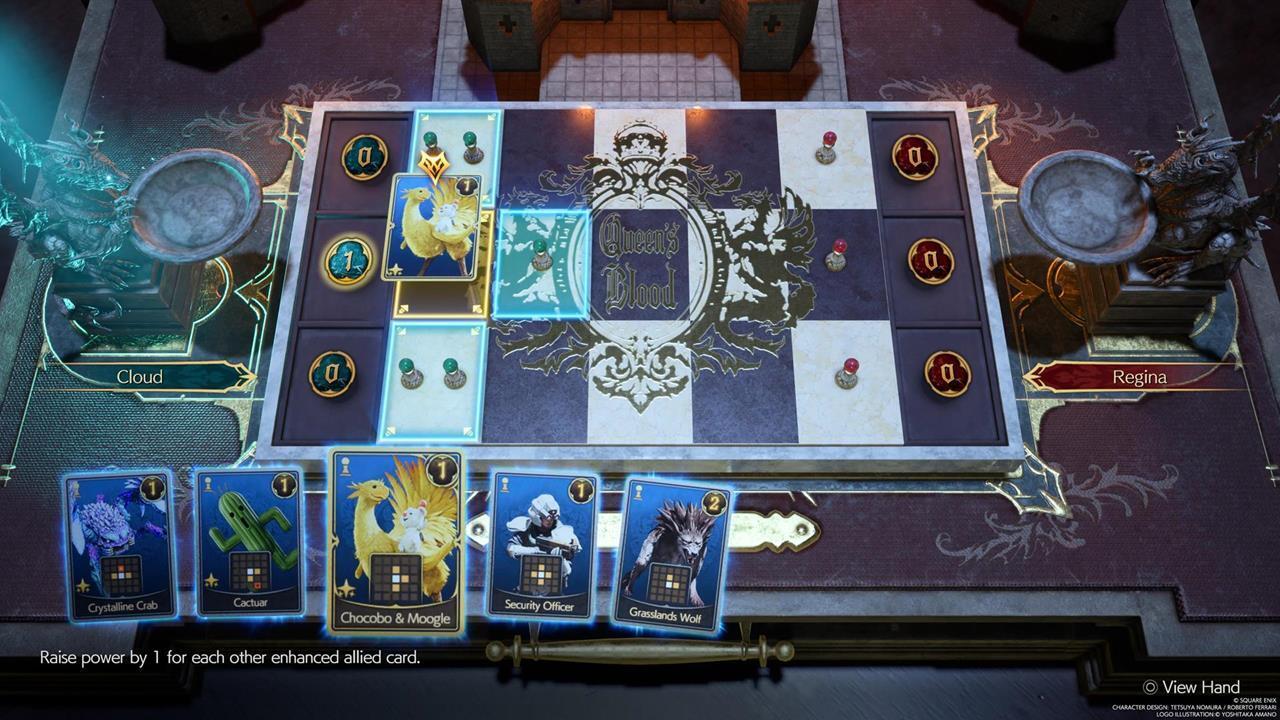
The cheap enhancement: Chocobo and Moogle
- Chocobo and Moogle card location: Kalm (Chapter 2) - A Rare Card Lost side quest.
- Why it's good: Choco-Mog is a cheap card that offers so many benefits. Its power increases by +1 for every enhanced allied card. As such, just buffing your own cards already grants it a boon.

The powerhouse enhancement: Ifrit
- Ifrit card location: Shinra-8 (Chapter 5) - Win the QB Tournament aboard the ship and defeat Red XIII.
- Why it's good: Ifrit might be expensive to play (+3 pips), but it does gain +2 power for every enhanced allied card. Titan is a powerhouse and one of the best Queen's Blood cards in Final Fantasy 7 Rebirth. You definitely need it in your deck.
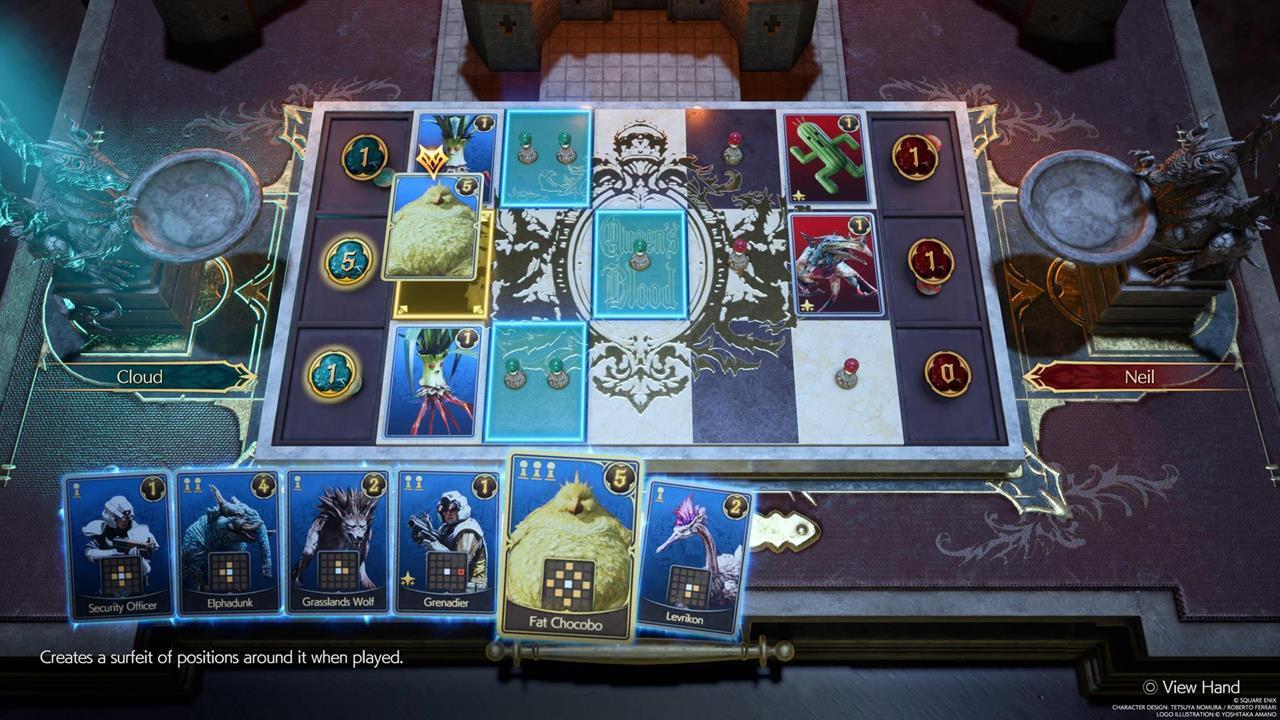
The complex push: Fat Chocobo
- Fat Chocobo card location: Grasslands (Chapter 2) - Purchase from Thorin, a vendor who's also the final opponent in A Rare Card Lost.
- Why it's good: Fat Chocobo's usage is a bit situational, but extremely viable when you play it right. If you can put it on B2, you can add pips closer to your opponent's side, which can lock down their potential placements.
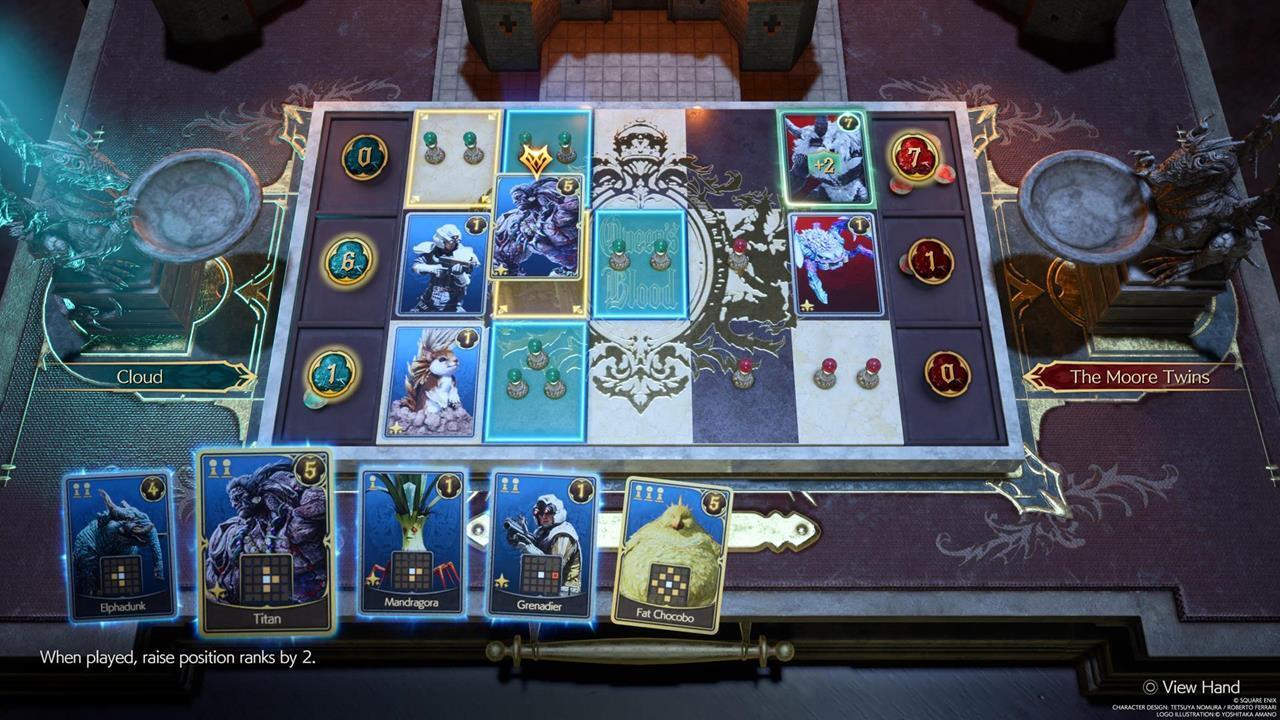
The power push: Titan
- Titan card location: Grasslands (Chapter 2) - Purchase from Thorin, a vendor who's also the final opponent in A Rare Card Lost.
- Why it's good: Titan's usage is more straightforward compared to Fat Chocobo's, though it's still better suited for B2 or even B3.
Late-game openers: Reno and Rude
- Reno and Rude card location: Grasslands (Chapter 13) - Purchased from Thorin's Card Shop.
- Why they're good: Both Reno and Rude are a bit like Zemzelett in that they open a position to the right, as well as the bottom and top, respectively. What makes them invaluable is that they buff two spots, and they only cost +1 rank. These two are among the best openers and the best cards in Final Fantasy 7 Rebirth. You'll want them in your hand very early in your matches.

The snatch-victory-from-the-jaws-of-defeat card: Chocobo Jockey
- Chocobo Jockey card location: Gold Saucer Chocobo Square (Chapter 8) - Purchase from the vendor for 150 GP.
- Why it's good: Chocobo Jockey is the very definition of a "clutch" card. Make sure that you place it on a lane that you're guaranteed to win, and watch as you gain a bonus of +10 points when the final score is tallied. This quirk makes the Chocobo Jockey one of the best cards in Final Fantasy 7 Rebirth.
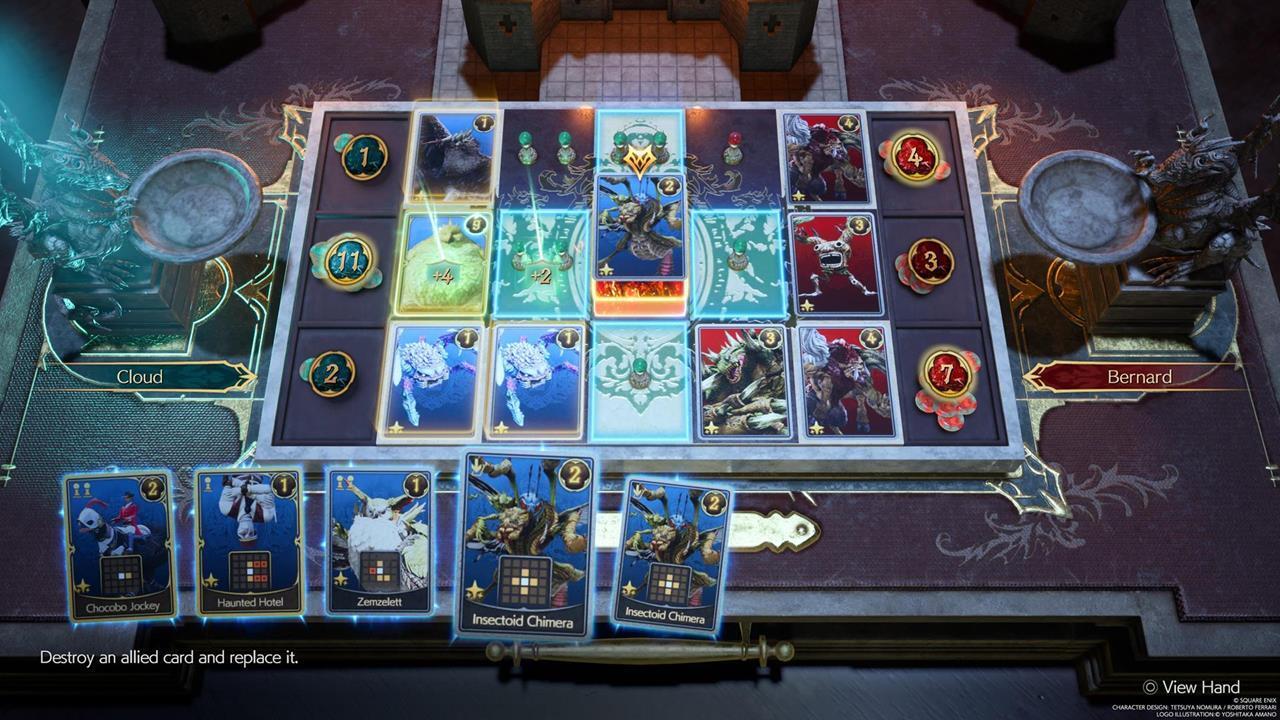
The ideal replacement: Insectoid Chimera
- Insectoid Chimera card location: Cosmo Canyon (Chapter 10) - A QB player named Robin.
- Why it's good: Replacement-type cards are somewhat complicated to use, but they are absolute game-changers. Drop it in a spot occupied by any of your cards that's no longer needed, and watch as it flips the top, left, right, and bottom tiles that are still empty.

Replacement with buff or debuff: Gi Specter or Yin & Yang
- Gi Specter card location: Cosmo Canyon (Chapter 10) - Purchase QB Booster Pack (Stranger Than Fiction) from a vendor.
- Yin & Yang card location: Costa del Sol (Chapter 12) - Purchase QB Booster Pack (Carnival of Carnage) from a vendor in Costa del Sol.
- Why they're good: The aforementioned Insectoid Chimera only replaces a card that's already placed on the board. The Gi Specter, meanwhile, replaces and enfeebles the right-hand side card--the lowered amount is based on the power of the card that it replaced. Conversely, Yin & Yang has a buffing effect, but it boosts the allied card that's two spaces above or below it.
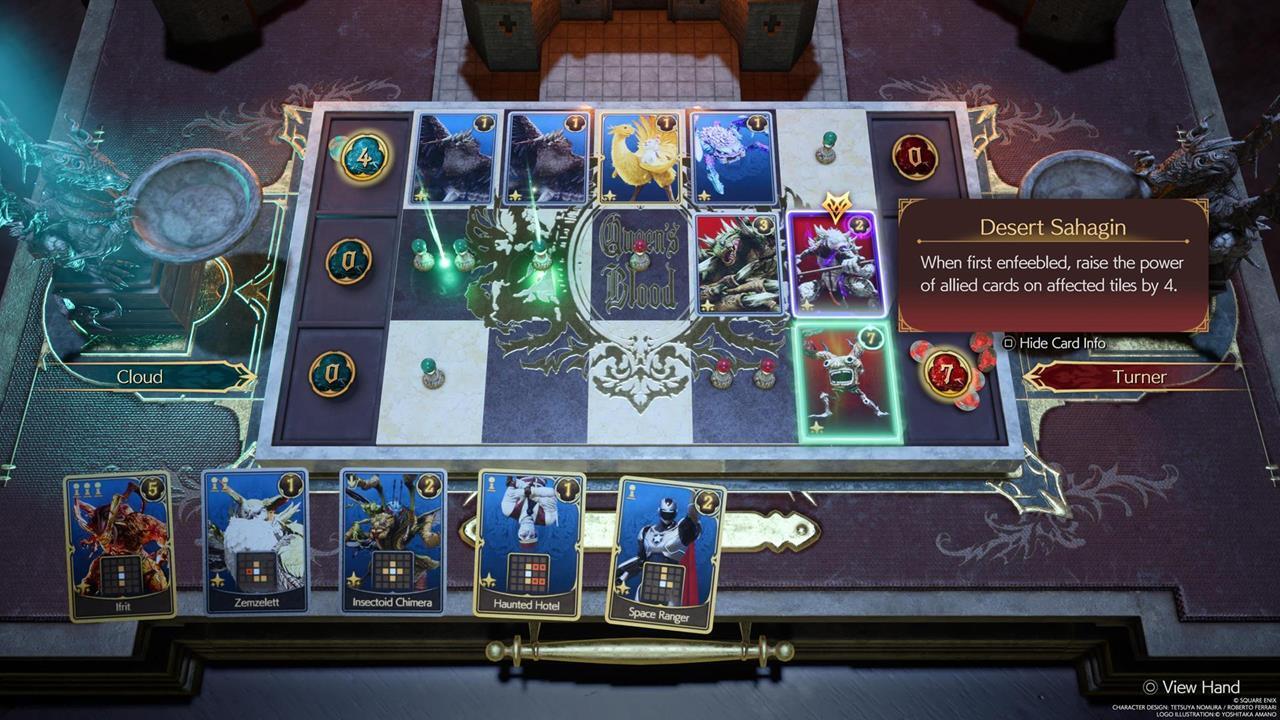
The debuff-enhancement combo: Desert Sahagin, Capparwire, and Jabberwock
- Capparwire card location: Under Junon (Chapter 4) - Purchase QB Booster Pack (Weird and Wicked) from a vendor in Junon.
- Desert Sahagin card location: Cosmo Canyon (Chapter 10) - Purchase QB Booster Pack (Stranger Than Fiction) from a vendor.
- Jabberwock card location: Cosmo Canyon (Chapter 10) - Purchase QB Booster Pack (Stranger Than Fiction) from a vendor.
- Why they're good: You get Capparwire quite early, and you'd have almost no use for it until you obtain Desert Sahagin. Capparwire enfeebles cards above and below it, whereas Desert Sahagin adds +4 power to a card below it if it gets enfeebled. Jabberwock is an even stronger variant compared to Capparwire since it affects those above and below it, as well as the entire column to its left. This combo is often used exceptionally well by most mid-to-late-game opponents, who love enhancements by way of buffs and debuffs.
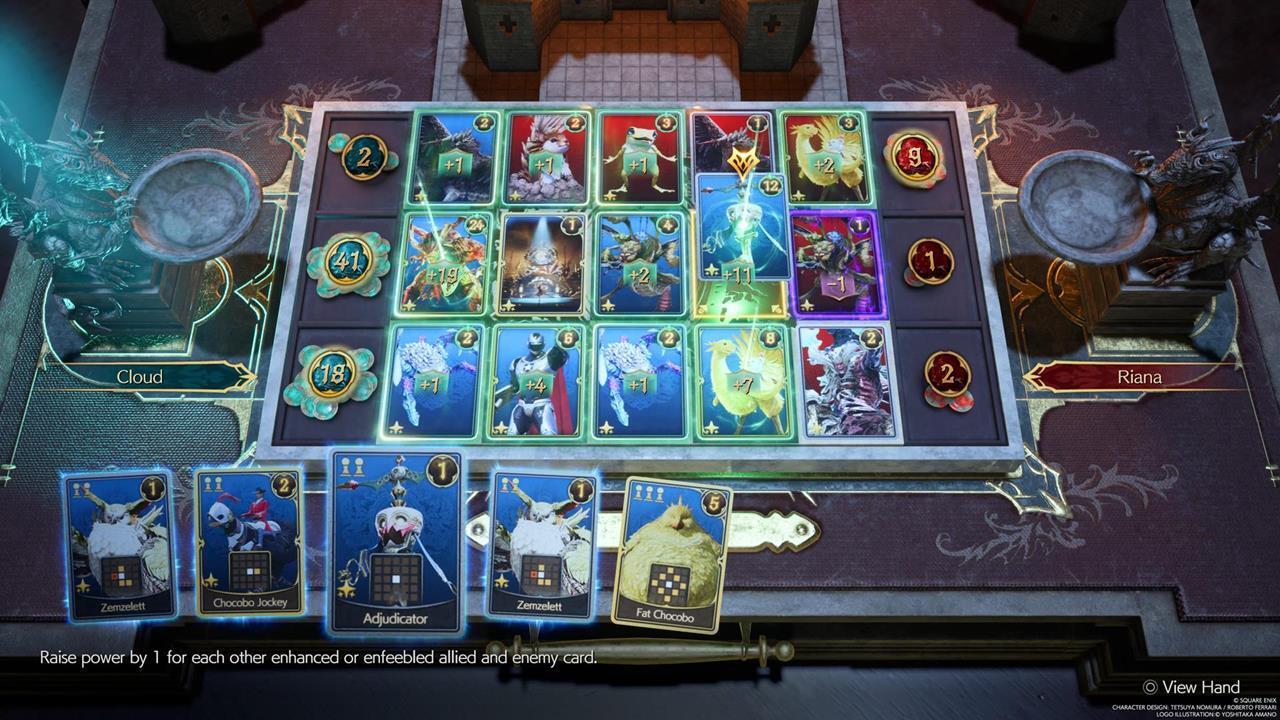
The all-out debuff-enhancement combo: Space Ranger, Loveless, and Adjudicator
- Space Ranger card location: Gold Saucer Speed Square (Chapter 8) - Purchase from the vendor for 150 GP.
- Loveless card location: Gold Saucer Event Square (Chapter 8) - Purchase from the vendor for 150 GP.
- Adjudicator card location: Costa del Sol (Chapter 12) - Purchase QB Booster Pack (Carnival of Carnage) from a vendor.
- Why they're good: You've got a buffer, and two cards that gain more boosts.
- Loveless adds +1 power to all cards around it (allies and enemies).
- Space Ranger has an L-shaped position opener. It also gains +1 power for every enhanced enemy card.
- Adjudicator finishes the setup, since it gains +1 for each enhanced card (allies and enemies).
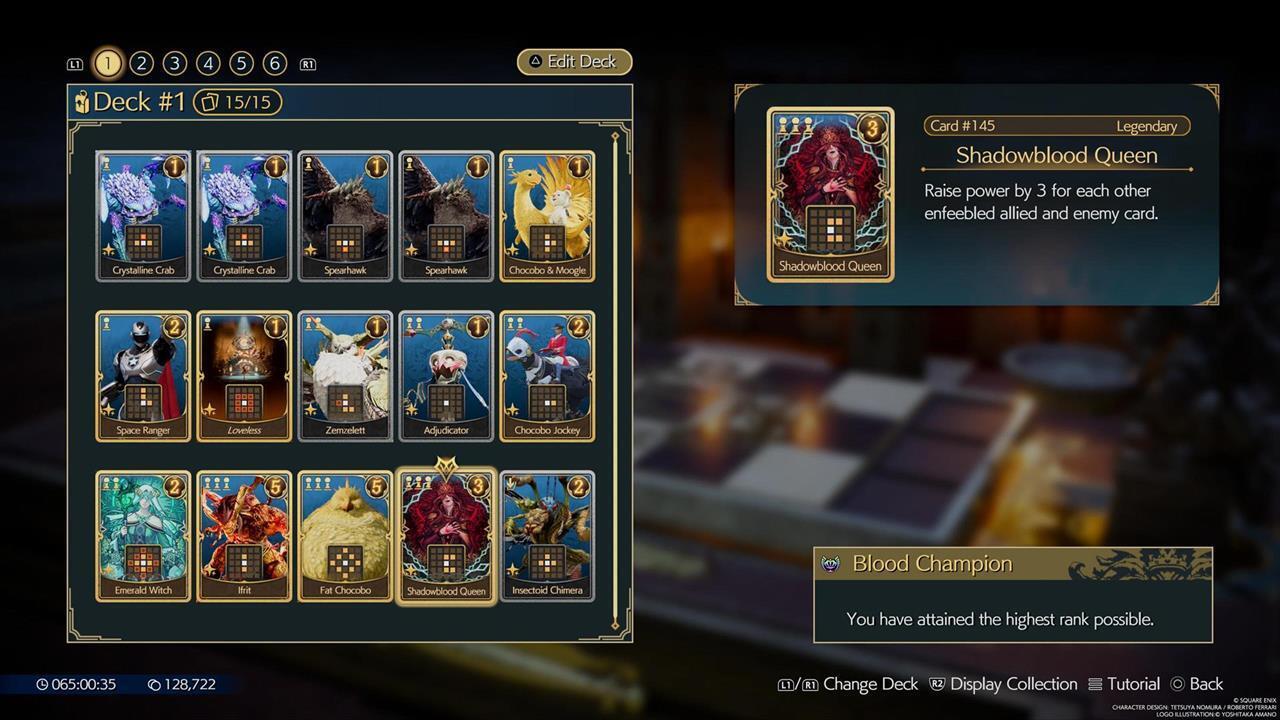
The late-game arc rewards: Emerald Witch and Shadowblade Queen
Both these cards are obtained during the end of the Queen's Blood narrative arc once you've achieved the highest ranks, and they confer massive boons:
- Emerald Witch has a diamond-shaped effect pattern that adds +2 power to all allied and enemy cards.
- Shadowblood Queen gains +3 power for each other enfeebled allied and enemy card.
These are what we consider as the best Queen's Blade cards in Final Fantasy 7 Rebirth. Since your deck has a combination of buffers, debuffers, and those that gain boosts from both buffs and debuffs, you've got a setup that covers all the bases.
A grand adventure awaits you in Final Fantasy 7 Rebirth. We've got all the tips and strategies for you in our FF7 Rebirth guides hub.