Dragon's Dogma 2 Tips: 20 Things To Know Before You Play

GameSpot may receive revenue from affiliate and advertising partnerships for sharing this content and from purchases through links.
Dragon's Dogma 2 will likely take you dozens of hours to complete. With a massive world and many mechanics to master, it's often a good idea to remember what's important if you're just starting out. Here's our Dragon's Dogma 2 beginner's guide with several tips to help you on your journey.
Pick the right Arisen and main pawn combination
There are four starting vocations to choose from, available to your character (the Arisen), and your main pawn. Since your main pawn levels up alongside you, and you can change their class later, you should always consider the best setup for the two. For instance, if your character is an Archer or Mage (i.e. a ranged DPS class that can't take a lot of hits), then you might want your main pawn to be a Fighter (i.e. a class that can tank). You can learn more in our best starting vocation guide.
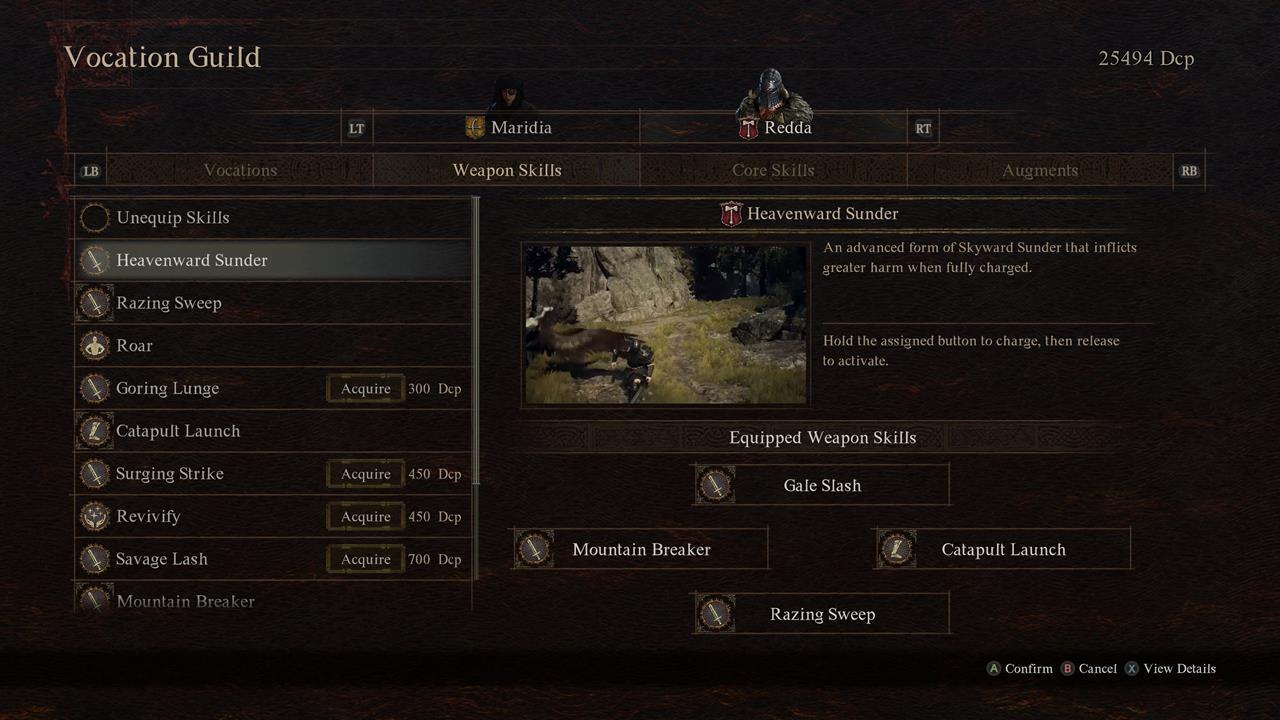
Change your vocation based on your playstyle and remember to equip augments
Vocation Guilds can be found in various settlements, and these shops offer the following services for your character and main pawn:
- Change your vocation/class.
- Acquire new or upgraded skills.
- Obtain augments (i.e. passives).
Take note that these selections require Discipline (DCP), which is gained by defeating enemies and completing certain quests. Moreover, bear in mind that each class has its own augments that can be obtained. Once acquired, augments can be equipped even if you change to other classes. Here's an example:
- The Subtlety augment can be unlocked as you level up the Thief class. It decreases the likelihood of being targeted by foes (i.e. aggro/threat).
- If you switch to the Archer or Mage class, you can still equip the Subtlety augment to help improve their chances at survival.

Unlock secret vocations and acquire ultimate techniques
Dragon's Dogma 2 also has six unlockable vocations that you gain access to once you meet the requirements. Some can only be chosen by the Arisen, while others are also available to pawns.
Moreover, there are Maister NPCs that can teach you the ultimate techniques for each class. These ultimate skills can be used regardless of your active vocation's level, which means it's possible to select a new vocation and activate powerful abilities without spending DCP.
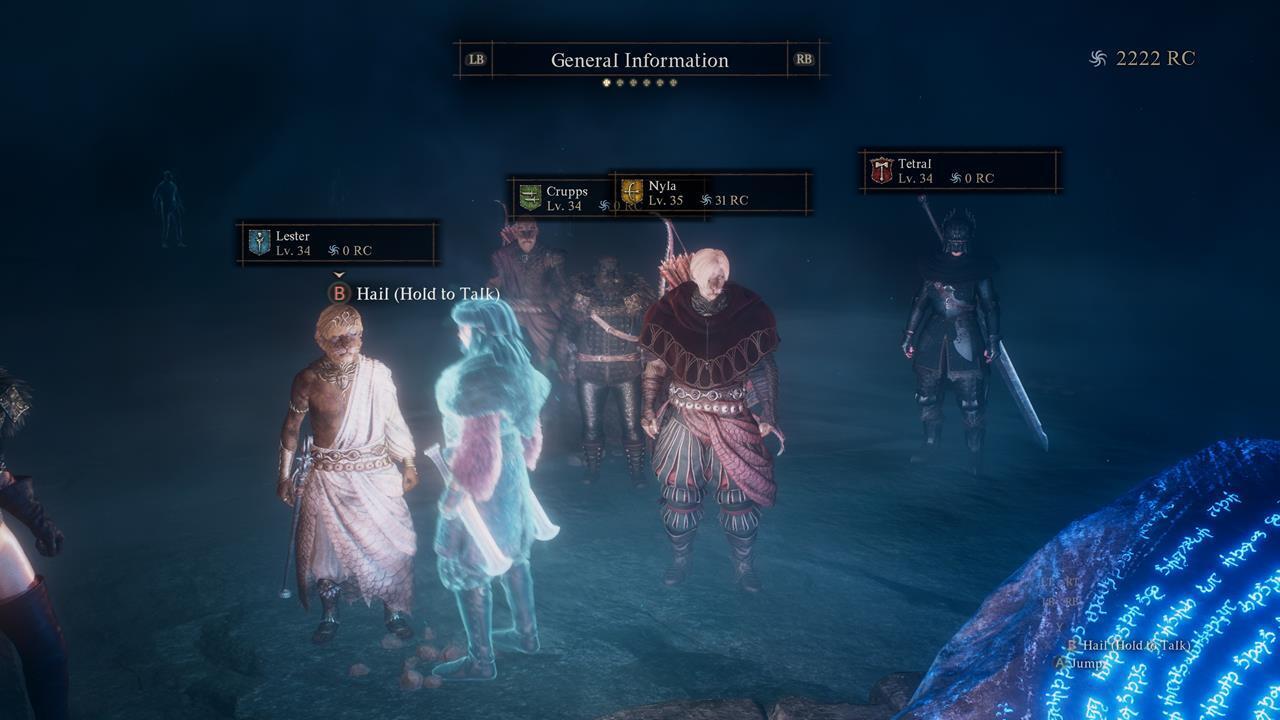
Tag Riftstones and manage your pawn recruits
Apart from your character and your main pawn, your party can also be joined by two support pawns. They can be recruited if you see them while exploring, or via Riftstones that you interact with. Some are created by other players, while others are added by Capcom to help out newcomers. Take note of the class of the pawns you recruit to have a well-rounded party.
In any case, here are additional guides that are related to this mechanic:
- How to recruit pawns - Covers the intricacies of pawn recruitment and management.
- Best pawn inclinations and specializations - These are AI behaviors and features that make pawns more unique.
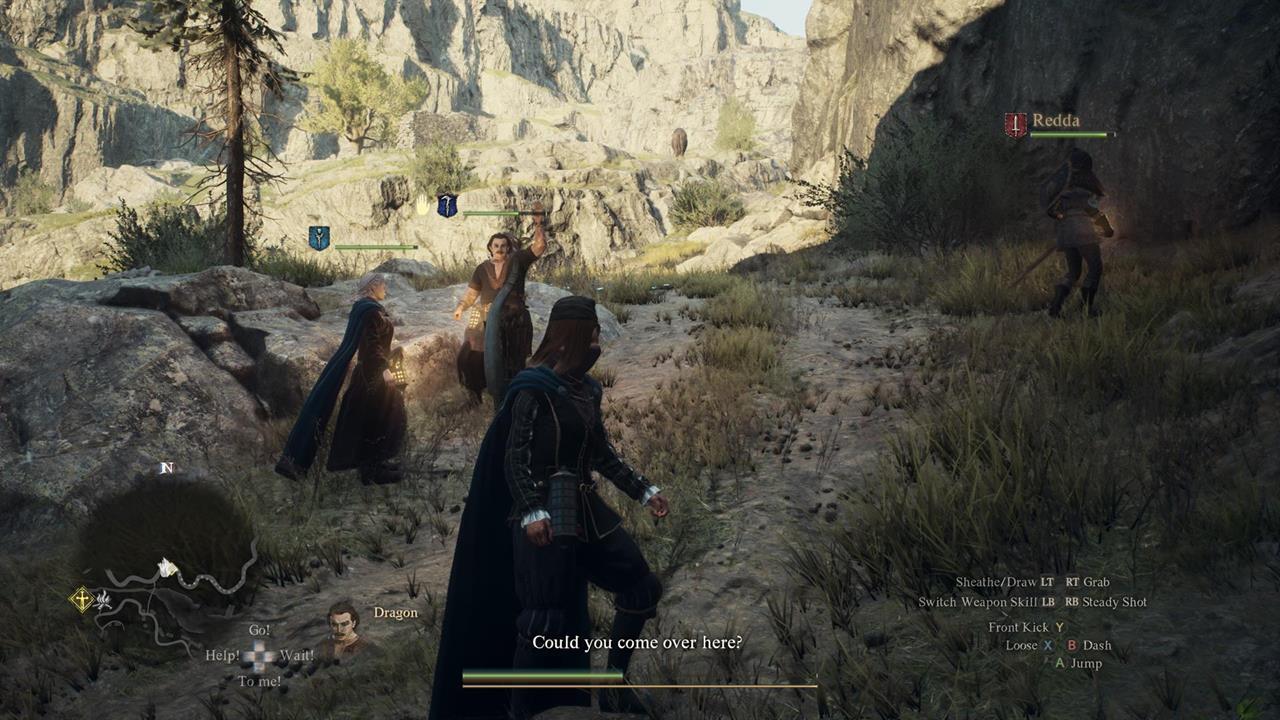
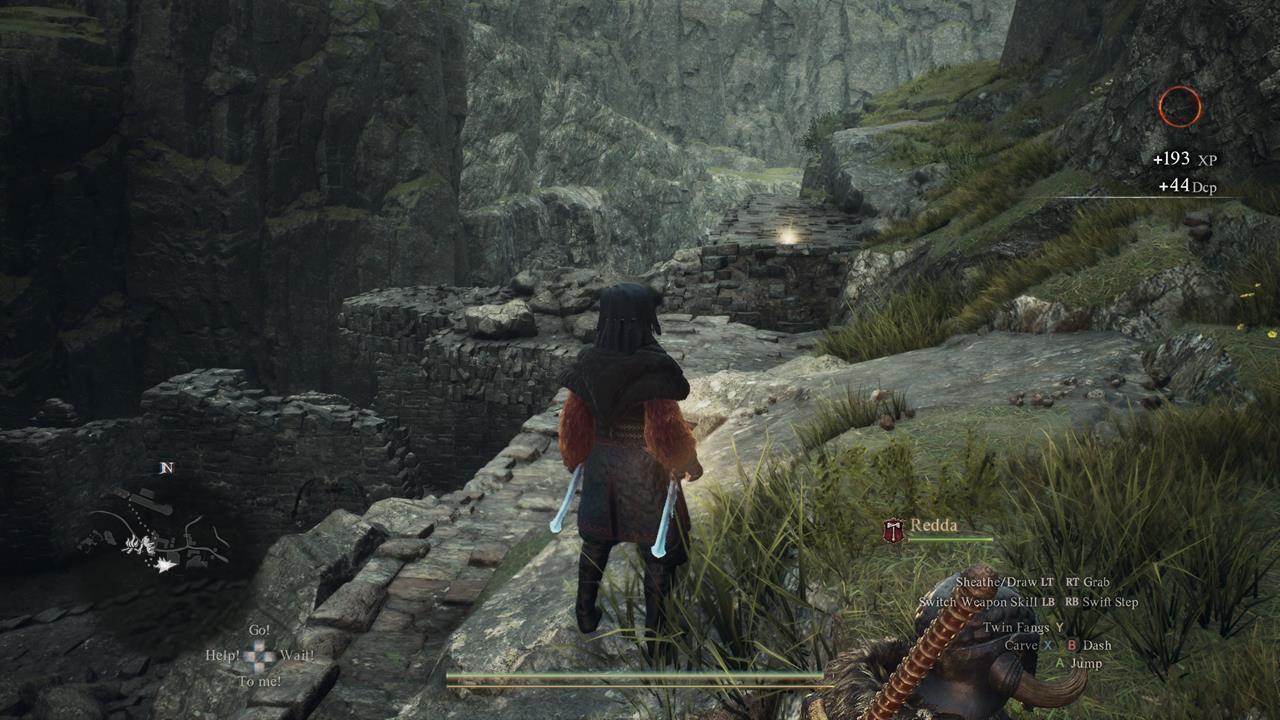
Give simple commands to pawns when necessary
Although you can't control pawns directly, you can give them commands via the D-pad (controller) or number keys (keyboard). These include:
- Go - This has multiple functions:
- If targeting an enemy, pawns will advance ahead of you.
- Assuming there's an active quest and a pawn knows the destination, they'll lead you to it.
- If a pawn makes a remark about items or points-of-interest in the environment, commanding them to "Go" will make them lead you to it.
- There are also contextual actions depending on a pawn's class and skills.
- To me - Pawns will move closer to you. This is useful if you're trying to avoid fights and you want them to run alongside you.
- Wait - Pawns will stay behind, which can be used if you don't want them to accidentally attack others (or get attacked in return).
- Help - Primarily used if you have pawns that can heal, since they'll cast a healing spell on you. If you're suffering from a negative status effect, they'll attempt to aid you, too.
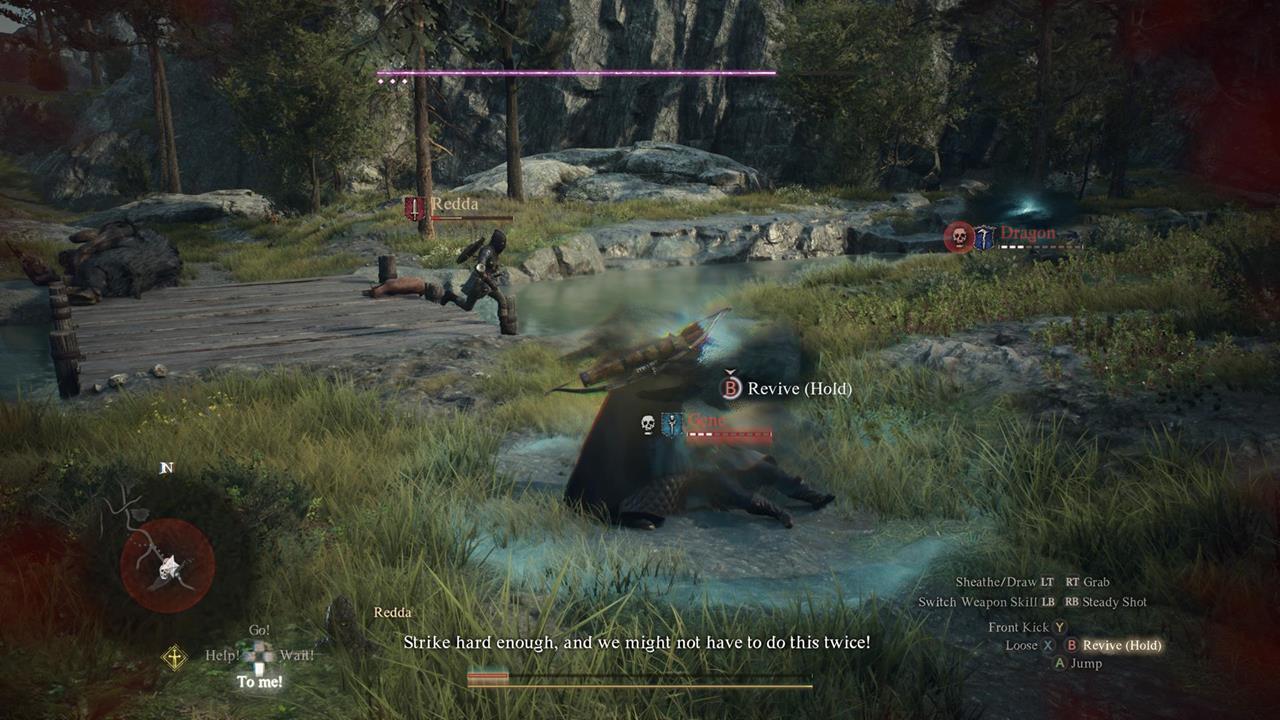
All is not lost even if allies fall in combat
When pawns are incapacitated, you'll see a skull icon appear over them, as well as a meter that gets gradually depleted. Go to them and hold the revive button to help them up. If you're unable to do this in time, then the pawn is "forfeit," which means they'll be forcibly removed from your party. If you lose your main pawn, you'll get them back by interacting with any Riftstone. For support pawns, however, you have to summon them once more.
Named NPCs, however, are an entirely different matter. You can only revive them by using a Wakestone. You can learn more about this mechanic in our NPC and pawn revival guide.
Inns offer storage, sleep, and saving
The inns found in settlements offer the following functions:
- You can deposit your unneeded items to manage inventory/carry weight.
- You can sleep to fully restore HP/remove loss.
- Most importantly, you can trigger an autosave.
Take note that Dragon's Dogma 2 only has two autosaves--one that triggers periodically as long as you're not in combat, and another that's triggered when you sleep at an inn. There will be instances when you have tougher encounters, and the journey back is even more arduous--it's like being stuck between a rock and a hard place. If this occurs, then you could load your autosave at the last inn where you rested. Sure, you probably need to trek back to the same location, but at least you'll be more prepared.
Important: For those playing on PC, you can create a folder for backup saves. The save file directory is in: C:\Program Files (x86)\Steam\userdata\<user ID>\2054970\remote\win64_save. Simply copy the data000, data00-1, and data001Slot .bin files and place them in a separate folder.

Always bring Camping Kits
Camping Kits are fairly heavy, but you should always have at least two of these. That's because, apart from inns, campsites allow you to fully restore your maximum HP. Moreover, you can cook different types of meat to gain a buff.
Plan your trips and make use of fast travel methods
Dragon's Dogma 2 does not have mounts in the traditional sense. Moreover, the fast travel system is quite limited--Oxcarts are slow and can get attacked, while Portcrystals and Ferrystones are relatively scarce and expensive. As such, you might find yourself roaming around on foot for hours just to complete certain quests.
That's why it's imperative that you plan your trips ahead of time. Take note of all the quests that you can do in an area, and then use an available mode of transport if you need to head to another location. You can learn more in our fast travel guide.
Use Ferrystones if you're escorting NPCs to make them teleport alongside you
Ferrystones are expensive, and they're used whenever you wish to teleport your party to different Portcrystals (i.e. waypoints). Still, if ever you're undertaking an escort quest or you need to bring an NPC to a location, using a Ferrystone is viable if you don't want to risk them dying along the way.
Just to be on the safe side, we recommend carrying an NPC on your shoulders. Then, open your inventory and use a Ferrystone. You can then select a Portcrystal that's closer to your destination to teleport the NPC alongside you and your party.
This method is also useful, especially in instances when you have to bring an NPC to a location even though there's no active escort mission. For instance, a couple of Sphinx Riddles require you to bring certain characters to the creature.
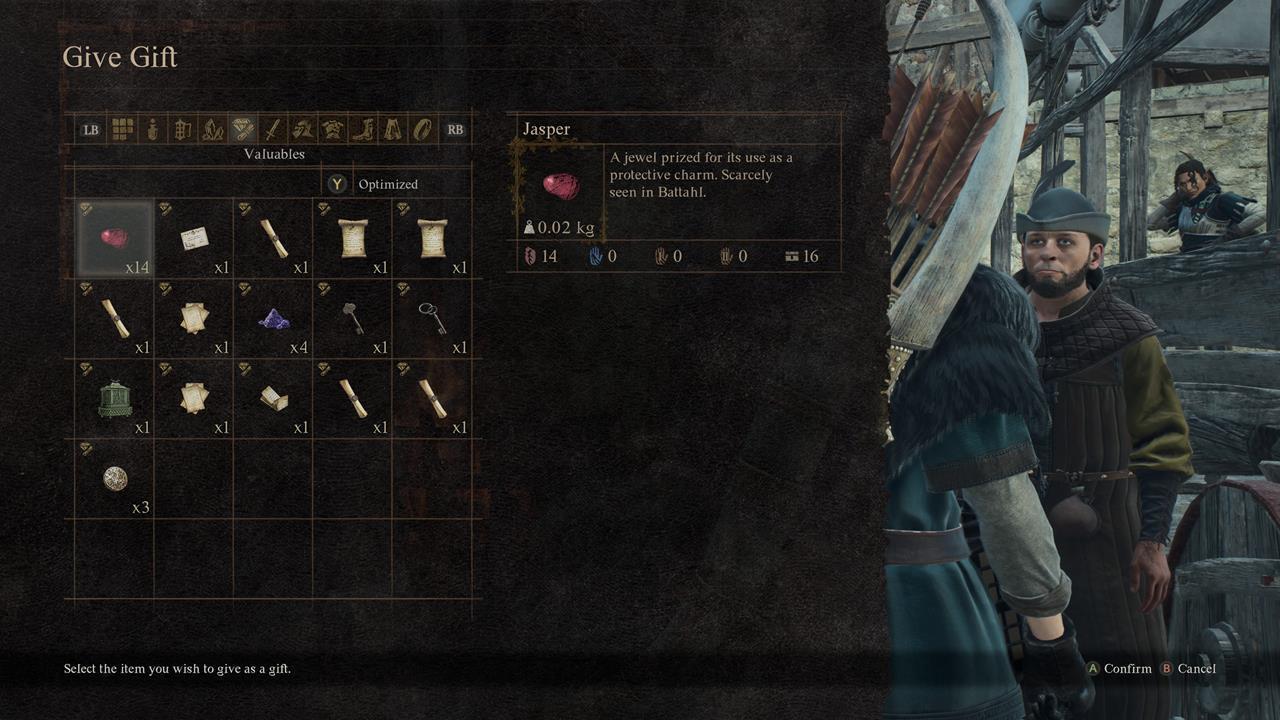
Boost your affinity with NPCs to gain discounts and rewards
Dragon's Dogma 2 allows you to increase your relationship level with multiple named NPCs, from important characters to regular vendors. Giving them the gifts they like, tackling quests, and escorting them to their destination all improve your standing with them. In some cases, you might even receive rewards, discounts, or special scenes.
You can learn more in our romance/affinity guide. You may also check out our articles on how to romance Ulrika and how to romance Wilhelmina.
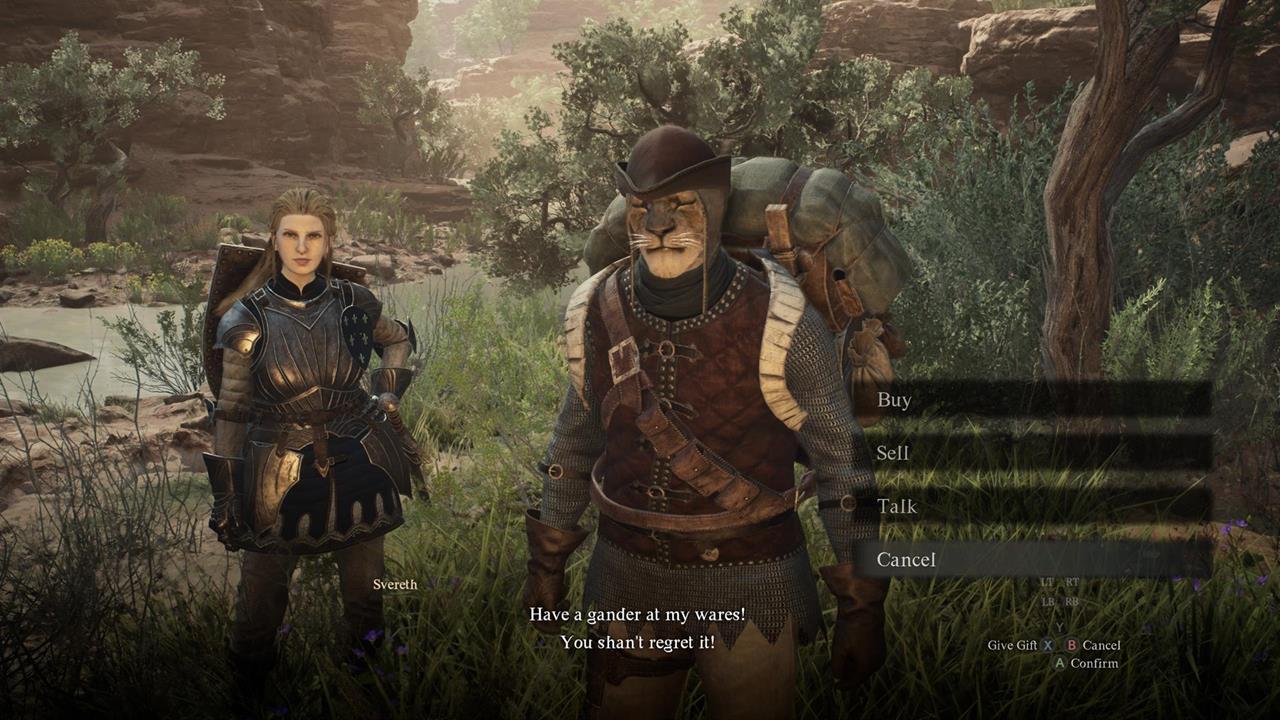
Check out the wares of traveling merchants and gear pieces that can be used by multiple vocations
Although towns have weapon and armor vendors, there are certain items that you can only purchase from traveling merchants. These NPCs lug around large backpacks, trading their wares from one settlement to another. If you see one, check what they're selling and make a mental note of the stuff that you want to buy.
Another thing to keep in mind is that gear pieces tend to be quite expensive. However, some armor pieces might be equippable by multiple vocations/classes. If ever you're planning on playing as an Archer, before eventually switching to a Sorcerer or Thief, then you might want to buy an armor that can be worn by several classes to save some money.
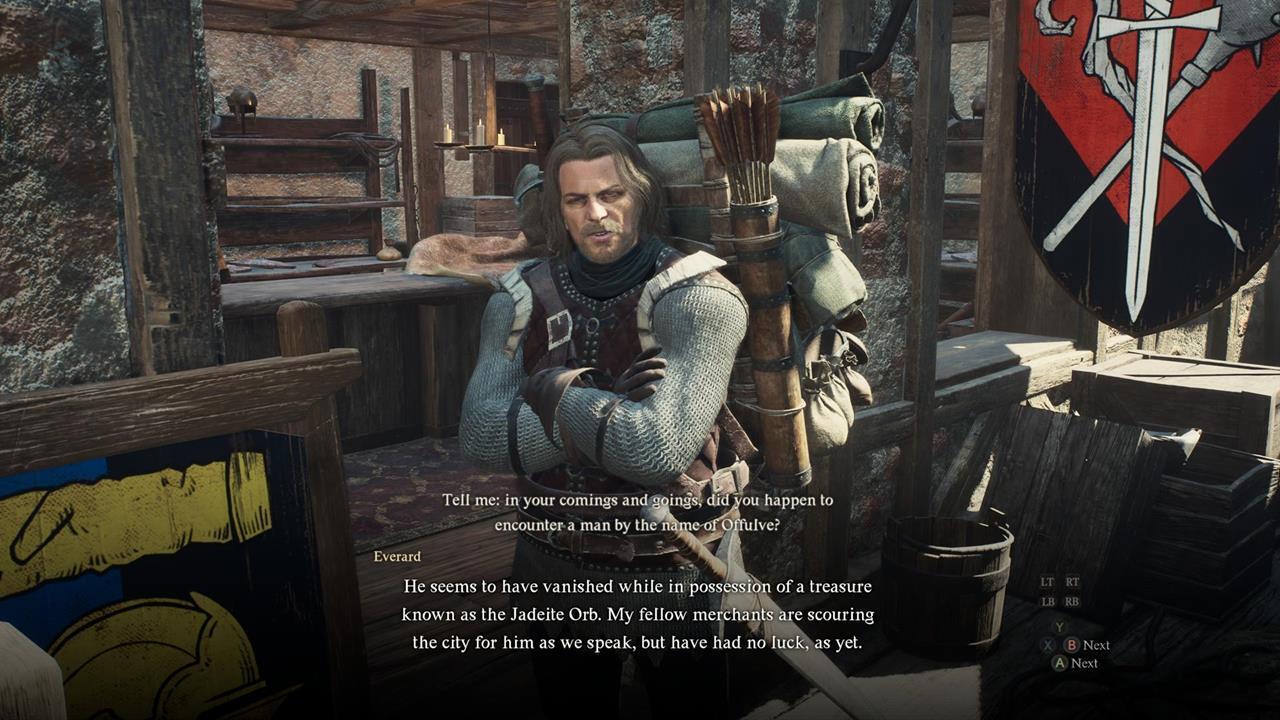
You can create forgeries of valuable items
Got something cool and you don't want to use it immediately? Why not create a forgery of it? You can create forgeries by visiting the Scrap Shop in the Checkpoint Rest Town. Each forgery costs gold, which depends on the value of the initial item. In some quests where you're forced to make a choice, such as the Jadeite Orb and Spellbound/Sorcerer's Appraisal, you might even acquire both sets of rewards.
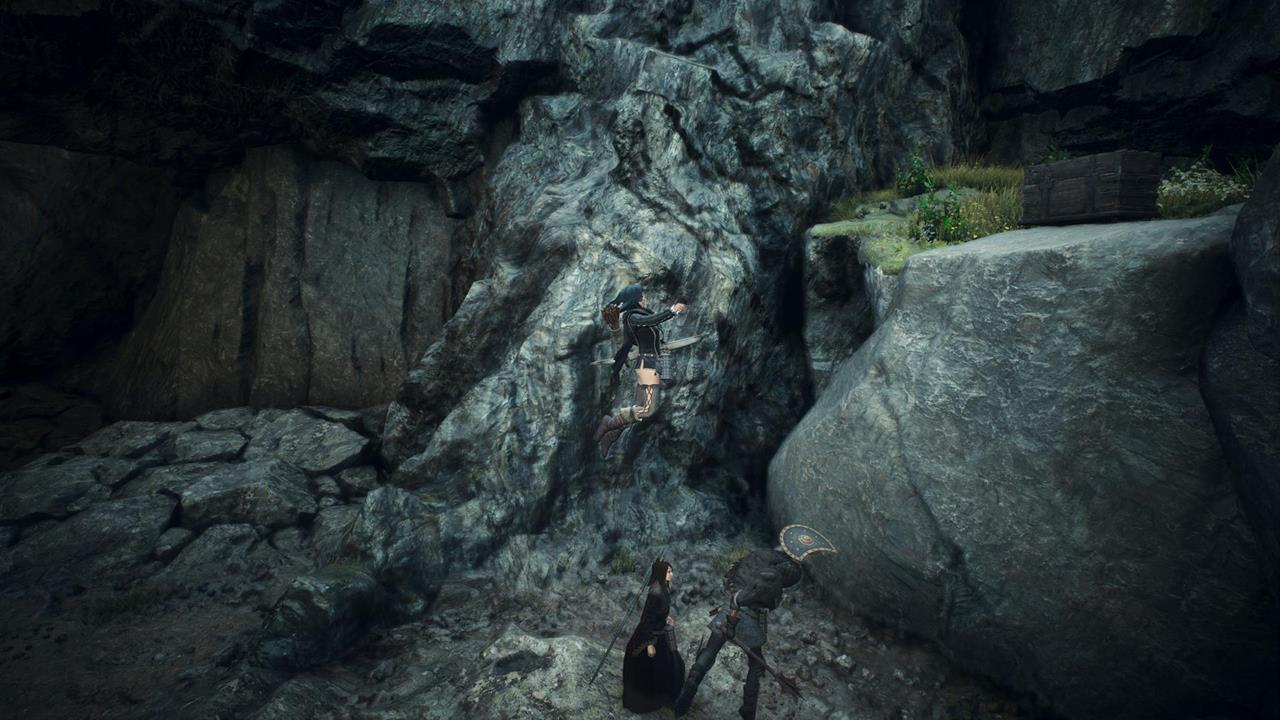
Ledge too high? Activate an ability that lets you get up top
If there's a Fighter or Warrior pawn in your team, check their skills to see if they have the following:
- Fighter - Springboard or Launchboard
- Warrior - Ladder Launch or Catapult Launch
These abilities can be used to help you reach higher ledges. If you see one that happens to have a treasure chest or an item, look at it and press the "Go" command. The Fighter or Warrior pawn will brace, allowing you to run up to them to get tossed high up into the air.
Be on the lookout for Seeker's Tokens
Seeker's Tokens are the extra collectibles in Dragon's Dogma 2. There are 240 of them, and they're scattered all over the world. Hand them over at Vocation Guild NPCs to increase your tally. Upon providing a certain number of Seeker's Tokens, you'll automatically earn rewards, such as armors and rings.
Note that the Trickster vocation has the Detection augment. If equipped, you'll hear a tapping noise if there are Seeker's Tokens or Wakestone Shards in the vicinity.
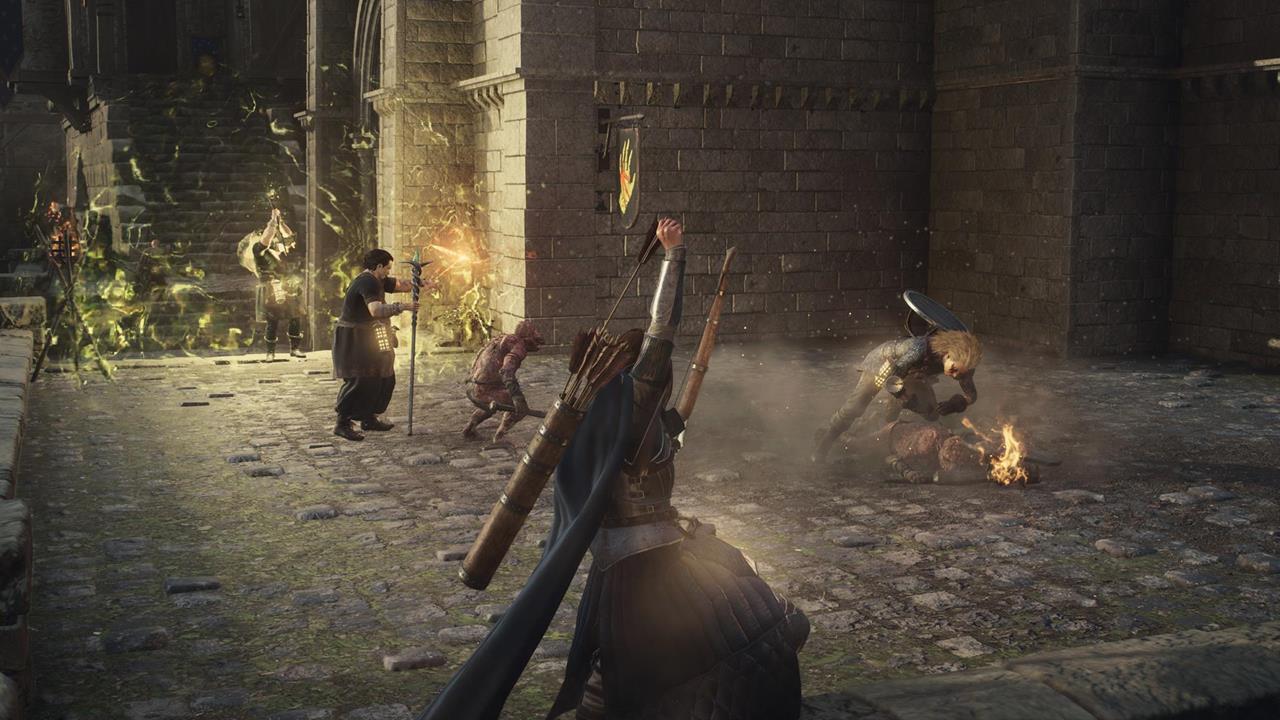
Stagger enemies, then toss them off cliffs
Continuously striking your foes may leave them staggered or prone. Certain vocations, like the Thief, Warrior, and Mystic Spearhand, allow for follow-up attacks, which are devastating, execution-style blows. Staggered enemies are also susceptible to getting lifted. You may then throw them off cliffs to instantly kill them, or at their own comrades to cause further mayhem.
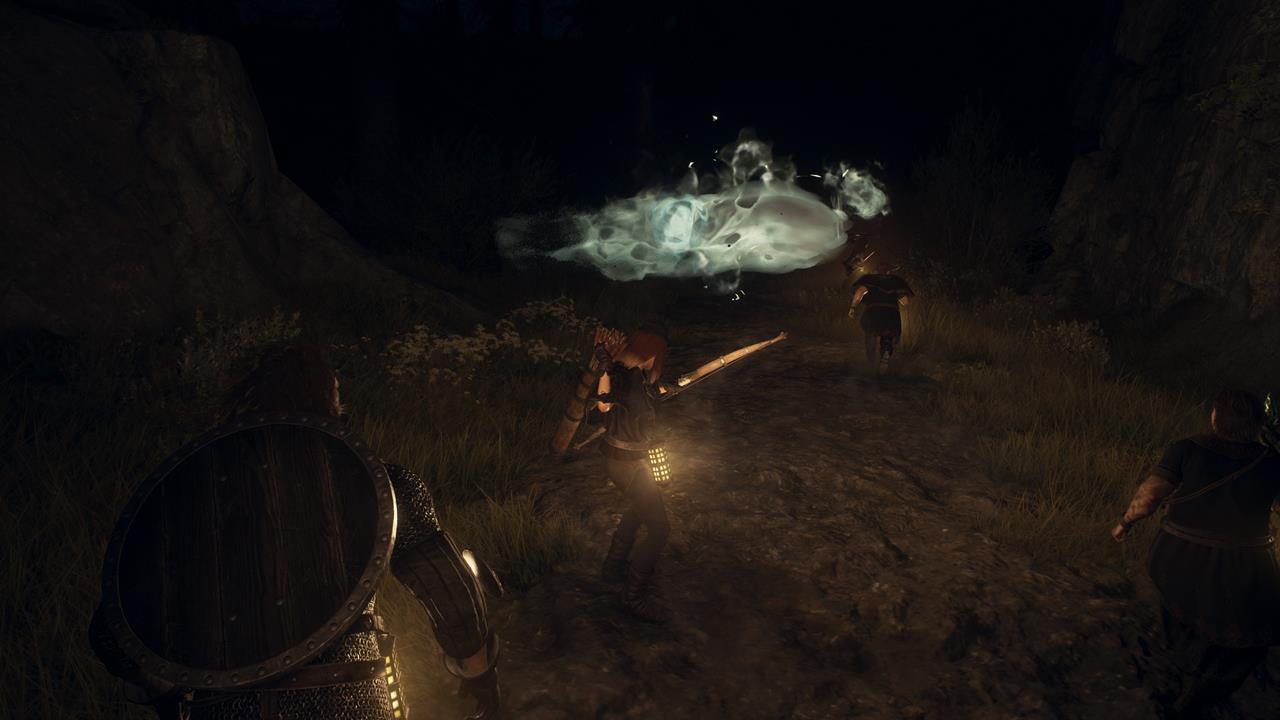
Pass the time to change the day-night cycle, and beware of dangers in the evening
The passage of time is constant in Dragon's Dogma 2. Still, you can change the day-night cycle by resting at inns and campsites, or by sitting on benches with a cloth wrapping.
If you're heading out at night, then consider the following:
- It's extremely dark, so make sure you have enough fuel for your lantern to keep it lit.
- Certain enemies will only appear at night. These include zombies, skeletal warriors, and phantoms.
- Darkened areas, such as caverns and marshlands, also count as "nighttime" since the sun never shines in those places. You might even stumble upon a Dullahan or a Lich.
- Some spectral enemies are more likely to drop Rift Coins (RC), which are primarily spent when recruiting pawns.
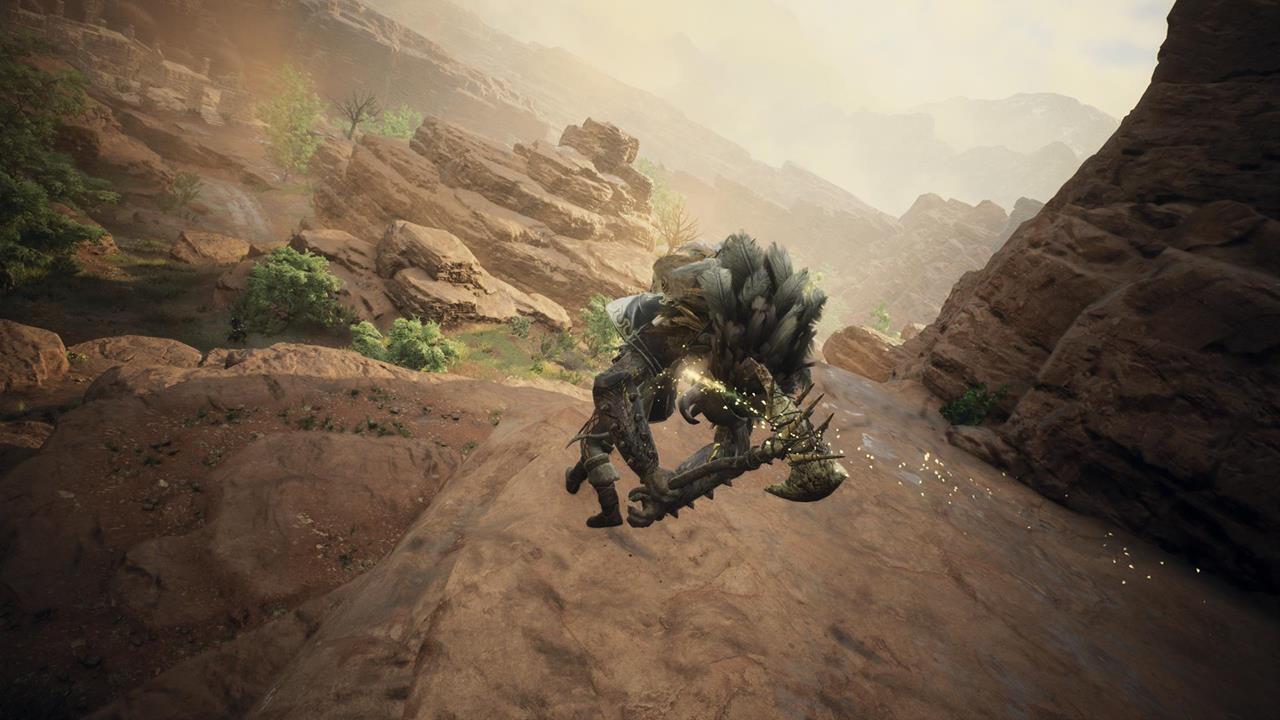
Battling boss monsters: Hitting weak spots and finding allies on the road
Dragon's Dogma 2 has you facing off against numerous giant beasts, from typical fantasy tropes to mythological creatures. Each creature has a weak spot, which you'll want to hit hard as often as possible to deal more damage. It's also a good idea to look for NPCs/pawns that are traveling along the road, since they'll automatically aid you in battle. You can learn more in our monstrous creatures guide.
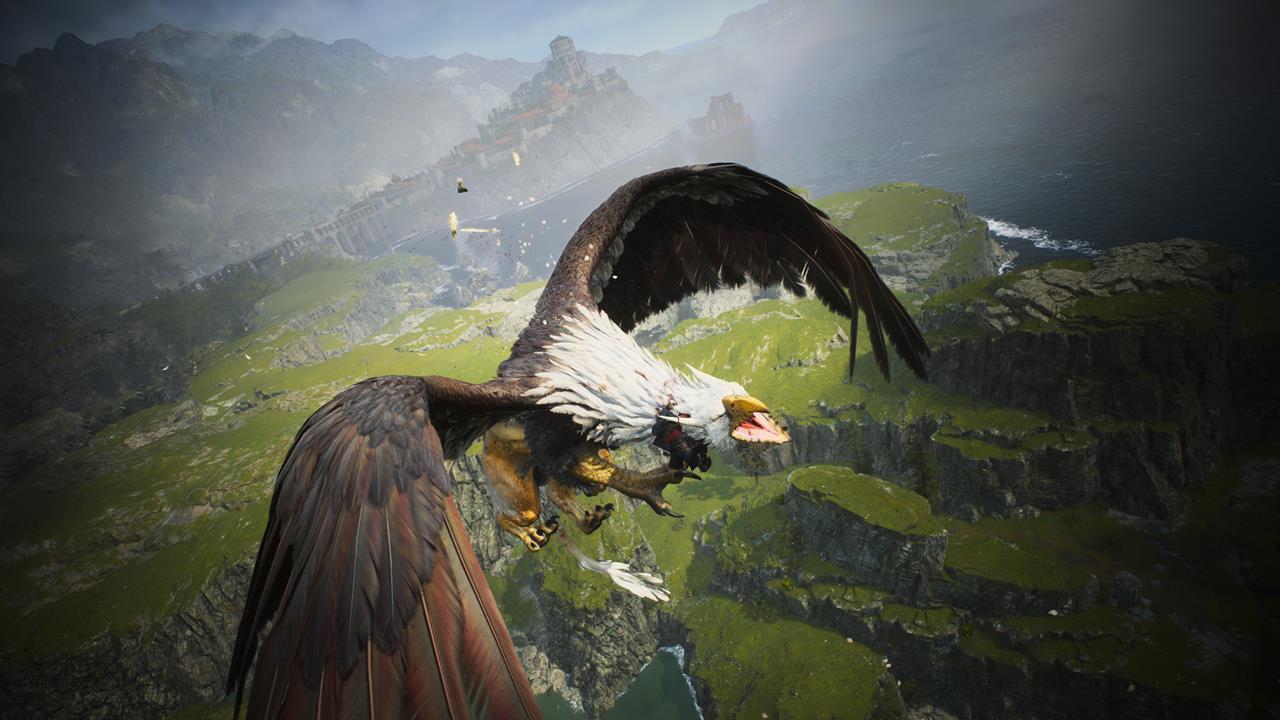
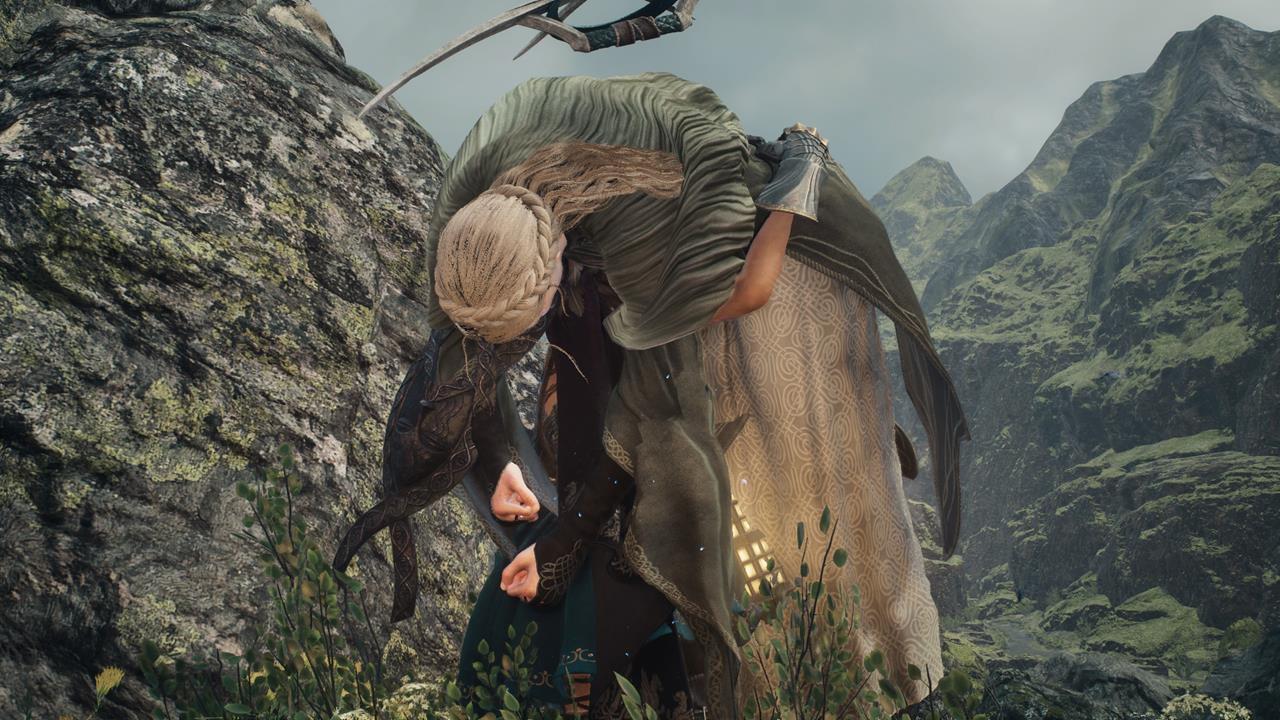
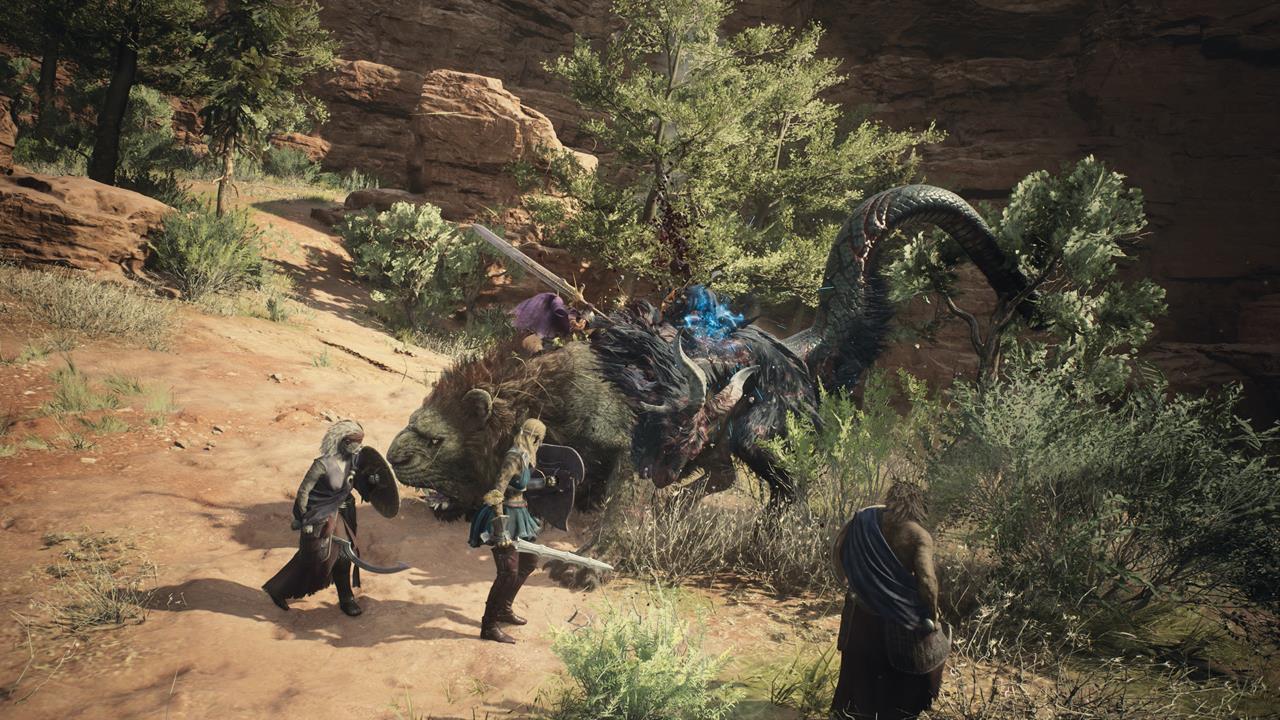
You can hitch a ride on the back of flying monsters
If you're fighting a giant beast and you can't seem to reach its weak spot, you can jump and press the grab button. This allows you to clamber onto its body and limbs, so you can strike its parts with ease. Just pay attention to your stamina meter, which gradually gets depleted while you're moving around a monster's body.
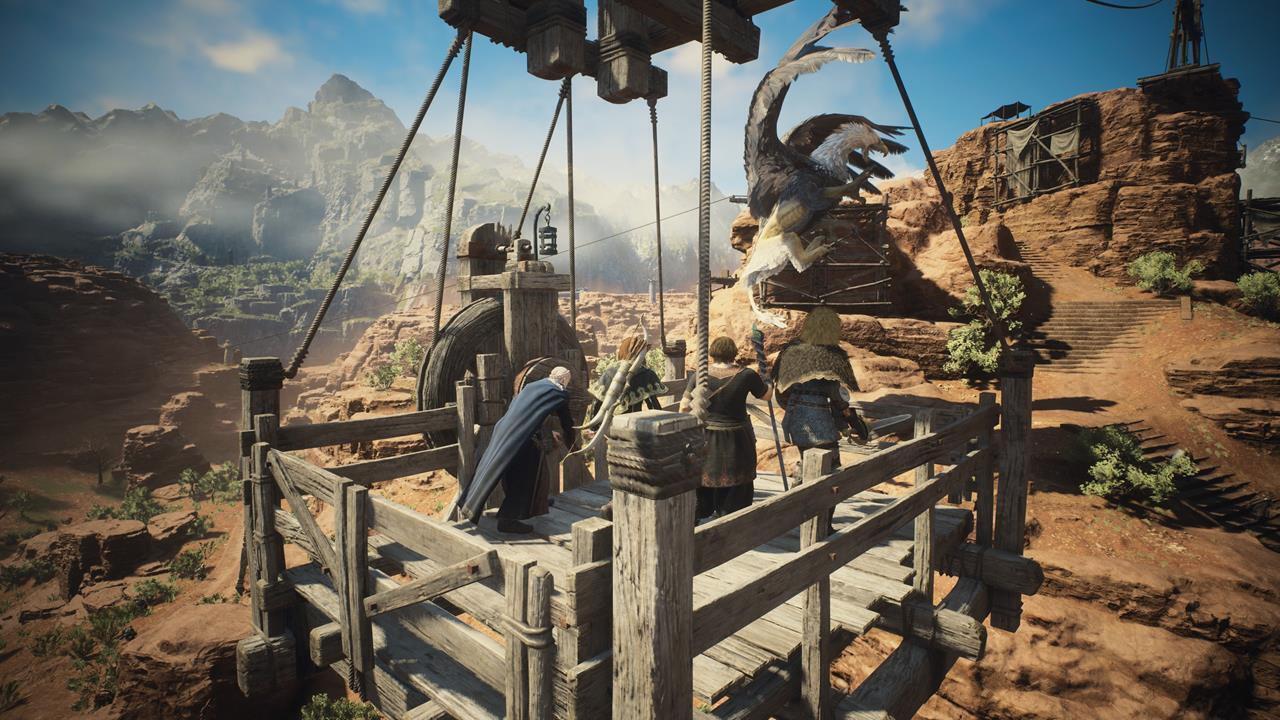
Moreover, some creatures, such as the Griffin and Sphinx, tend to fly to other locations. You might think your hunt is at an end until the next time you encounter them. However, you can grab them just before they fly off. Hold on for dear life as these creatures take you to new areas.
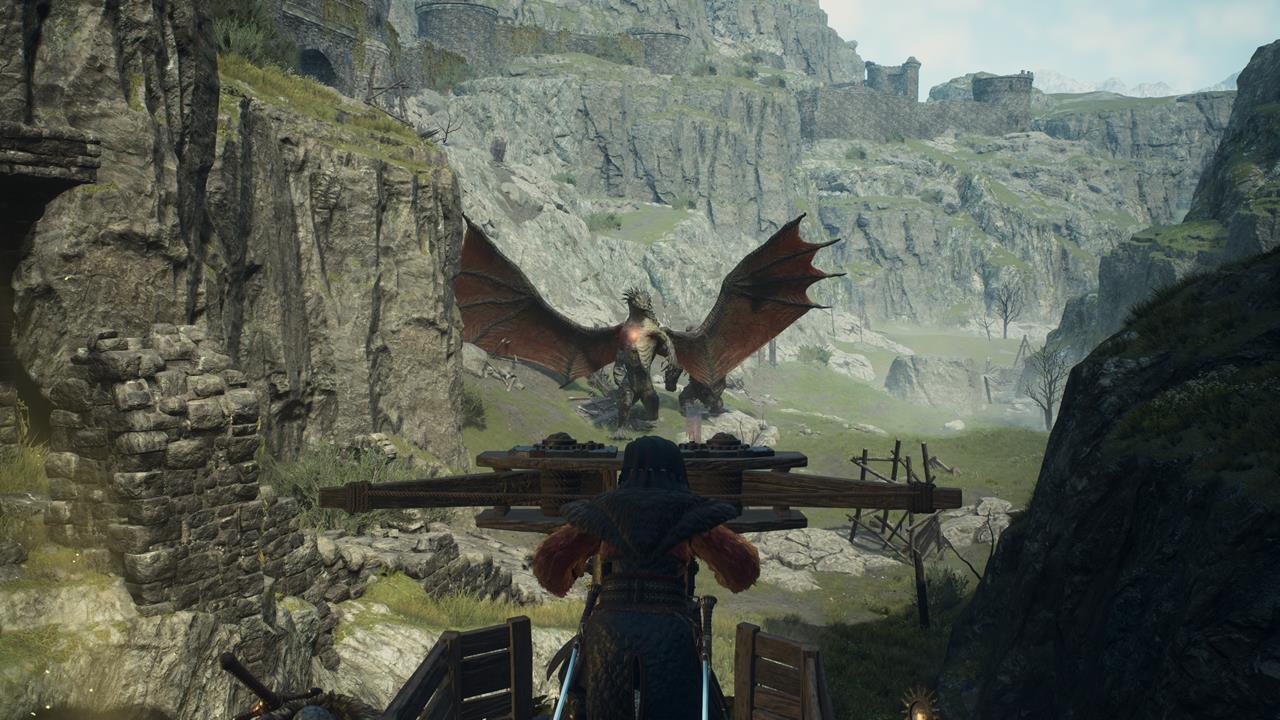
Use siege weapons if you find one on the battlefield
There are some places where you might find siege weapons, such as ballistae. If there are monsters nearby, you can try shooting them with projectiles to cause tremendous damage. Keep in mind that monsters can and will attempt to go to your location and they could destroy the ballistae in a single hit.
In any case, these are just some Dragon's Dogma 2 tips to help you get started on your adventure. There's a long road ahead, filled with countless encounters and memorable moments, so it's better to be prepared.
Fierce foes and loyal companions await you as you journey onward in Dragon's Dogma 2. For other tips and strategies, you can visit our guides hub.